1992-96 Bronco Parts
Follow along as we walk you through the steps of installing shorty headers on a 1992-1996 Ford Bronco.
If you are looking to upgrade your OBS Bronco's exhaust or simply replace old exhaust manifolds, a set of shorty headers is always a great option. Today, we are installing a set of JBA shorty headers on our Eddie Bauer Bronco, but the steps will be similar for other shorty headers on the market.
Depending on your year model, some emissions components might be different.
Parts List:
Tool List:
Step-by-Step Guide:
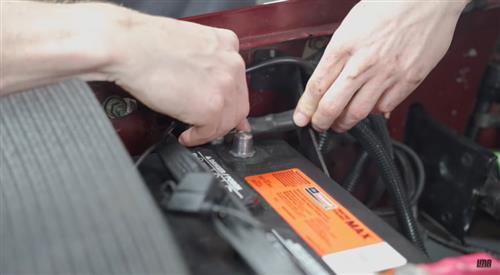
1. Disconnect The Battery
Start by disconnecting the negative battery cable to avoid any risk of danger since we will be working in the engine bay.
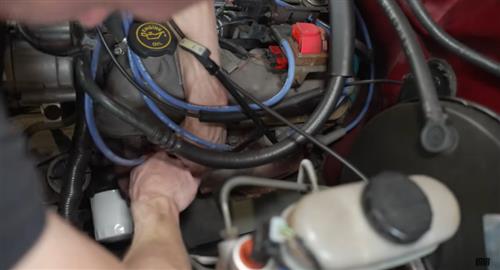
2. Disconnect and Label The Plug Wires
You may have to disconnect and reposition some vacuum lines on the passenger side.
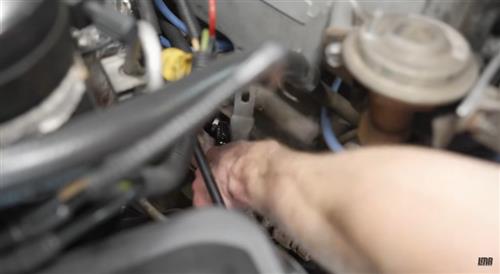
3. Remove The Plenum Support Bracket
4. Spray The Manifold & Midpipe Connecting Hardware With Penetrating Oil & Allow To Sit For Several Minutes
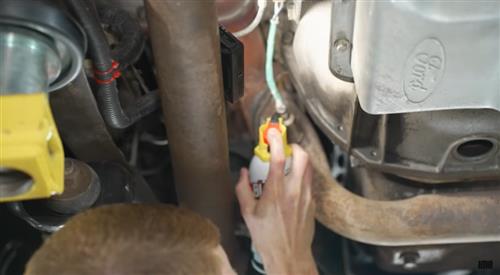
5. Remove the midpipe nuts with an 11/16" deep socket. To get leverage on the EGR nut, you may need to remove the inner fender splash shield on the passenger side. (Review Videos For Steps To Remove Splash Shield)
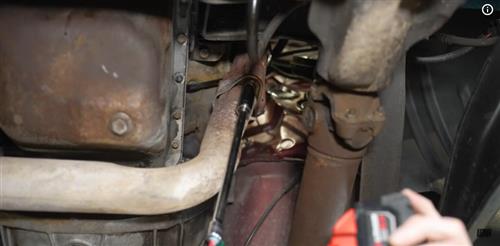
6. Use an adjustable wrench and loosen the EGR tube nut. Back this all the way off the tube and manifold.
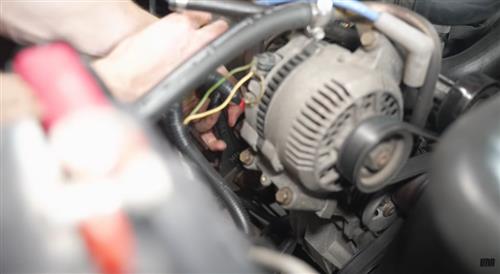
7. Remove the manifold hardware working from the back-forward with a 9/16" socket. Depending on the header, your oil dipstick may need to be removed and modified for fitment.
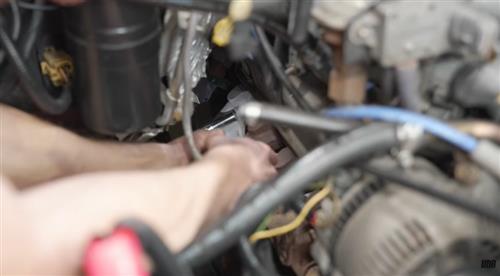
8. Prep the area by cleaning the cylinder heads. If you are using iron heads, you can use a steel wire wheel. If you have aluminum heads, you should use a brass wire wheel. Plug the ports with shop towels and use a low speed to safely clean the heads. Use compressed air to blow the area clean.
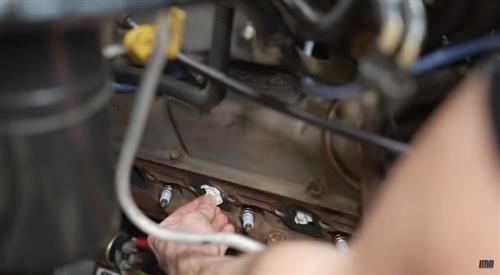
9. Prepare your driver-side header hardware and install your header gasket onto the header using a header bolt to hold it in place. Install all hardware finger-tight and reinstall oil dipstick to determine modifications needed. Modify, reinstall, and then tighten all hardware to 19ft/lbs working from the inside-out.
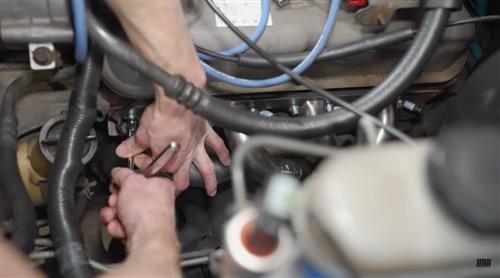
10. For the passenger side, put the factory manifold in a vice, and use a torch to heat up the EGR adapter fitting. Using a 1 1/4" socket and an impact, remove the fitting from the manifold. 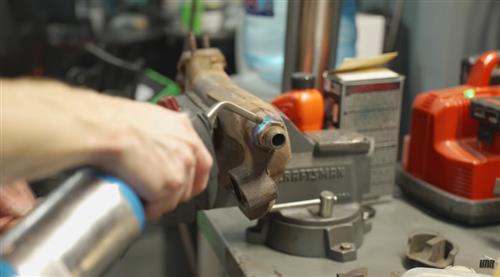
11. Using a wire wheel, clean up the fitting, apply some antiseize to the threads of the adapter, and then install it onto the new header.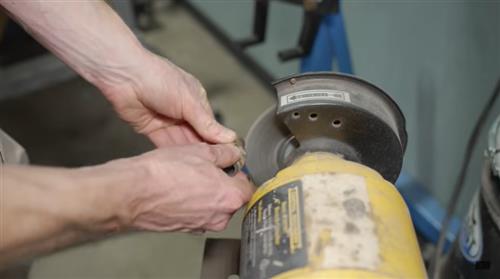
12. Install antiseize to the other side of the fitting, and install the header into the vehicle. Install the gasket the same way you did on the driver's side, using one bolt in the middle, hand-tighten, and then torque from inside to outside.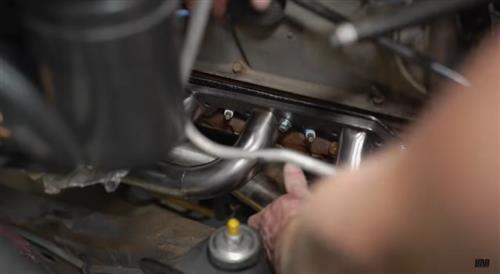
13. Modify the plenum bracket to clearance it where it makes contact with the header tube. You may need to use a vice to modify the bracket's bends to gain extra clearance. Once it has been modified, you can paint it and reinstall it. Don't forget to reinstall the grounding strap.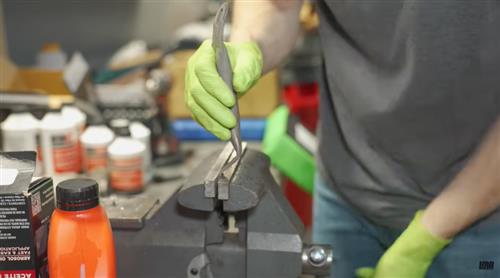
14. Using a prybar, position the egr tube into postition and attach it to the adapter.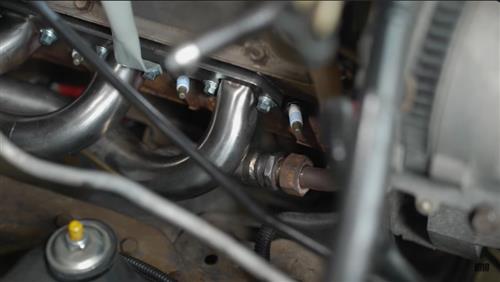
15. Reinstall all of your disconnected and removed components in reverse order, and you are all done! Once completed, start your Bronco and check for any exhaust leaks.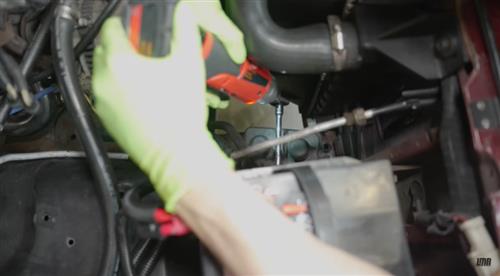
Check out our YouTube channel for even more tech tips, installation videos, how-tos, and more. The best place to go for anything Mustang related!