SHOP

1992-96 Bronco Parts
Free Shipping on qualifying orders over $99* Details
LMR showroom & will call pickup service will be closed beginning Monday 9/21/26 for renovations until further notice. Need help? Contact Us.

How To Install Coverlay Door Panels On A Ford OBS Truck & Bronco

Created by Andrew Perry / 10 min read
Date Created: 1/17/2025
Last Updated: 2/12/2025

Follow along as we walk through the installation of Coverlay door panels on a 1992-1996 OBS Bronco!

Viewing this install and using the information shared is subject to the terms set forth here - View the LMR Install Instructions Disclaimer.
We get quite a few questions about the Coverlay door panels for the OBS Bronco and trucks. What's the quality like? Do they look like the OEM door panels? How do I install them? Well, we're going to break it all down for you.

Product Links

Watch

Ford OBS Truck Fitment
  • Chassis: Bronco F-150, F-250, F-350
  • Year Range: 1992, 1993, 1994, 1995, 1996, 1997 (F250, F-350 only)
Torque Specs
  • Phillips Head Screw - Hand Tight

Installation Instructions

Step 1: Remove & Transfer Factory Courtesy Light Housing

  • With the door panel removed, clean up the door frame with an all-purpose cleaner and microfiber towel.
  • If you plan on transferring the courtesy light, place the factory door panel on a workbench.
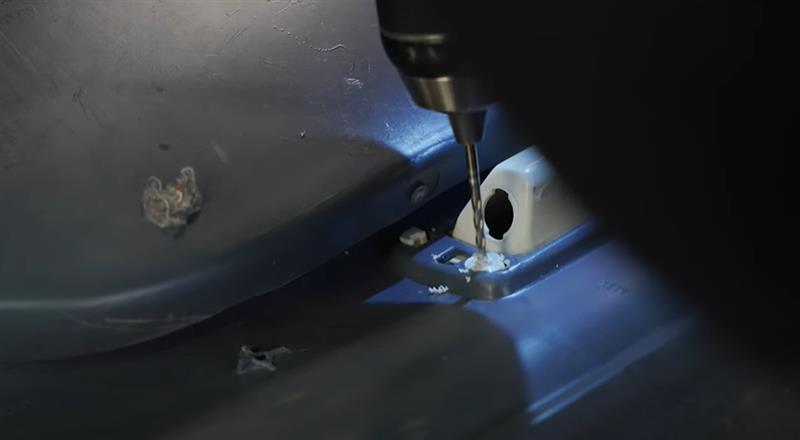
  • Remove the housing by drilling out the spot welds. Use a 1/8" drill bit first followed by a 1/4" bit.
  • Clean up the housing and either file or sand down the leftover spot welds and locating tabs. Clean the lens as well.
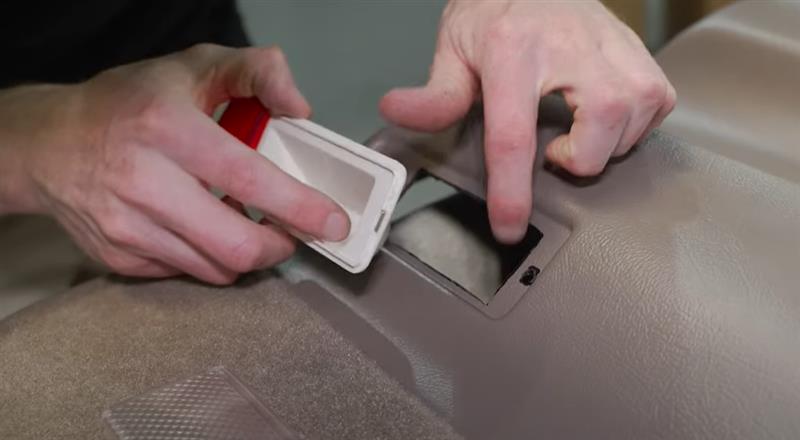
  • Take some measurements of the opening of the factory door panel and transfer these measurements to the new door panel and mark the area.
  • Then use an appropriate cutting tool to cut out the marked area. Debur the edges with a file.
  • Test fit the housing and enlarge the area as needed.
  • Apply some adhesive designed for plastic to the backside of the housing. Rig up some weighted device to keep pressure on the housing.

1992-1996-obs-truck-bronco-coverlay-door-panel-how-to-installation_7c7eb5aa.jpg (800×440)

Step 2: Install Jute Padding & Moisture Barrier

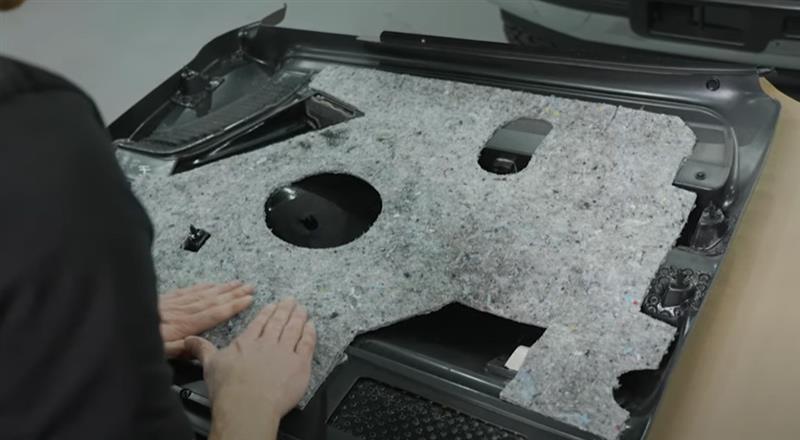
  • Once the adhesive has cured, flip the panel over and dry fit the new padding.
  • Spray one side with spray adhesive or the attaching method of your choice.
  • Adhere the jute padding to the door panel. We chose the cut out for the push pion as the alignment area.
  • Run your hand across any areas that make contact with the door panel.
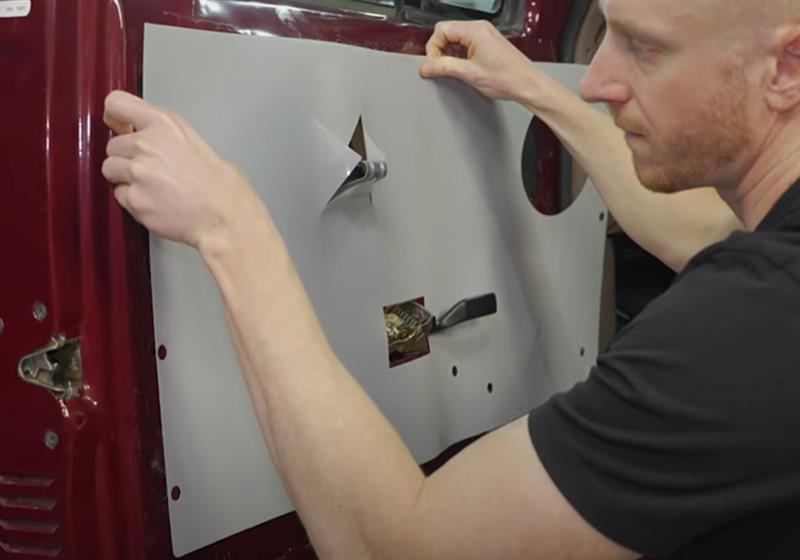
  • Wipe the door frame with a prep spray and install the moisture barrier. Now you can install the door panel.
1992-1996-obs-truck-bronco-coverlay-door-panel-how-to-installation_433ac462.jpg (800×440)

1992-1996-obs-truck-bronco-coverlay-door-panel-how-to-installation_6fd190be.jpg (800×560)

Step 3: Install Coverlay Door Panel

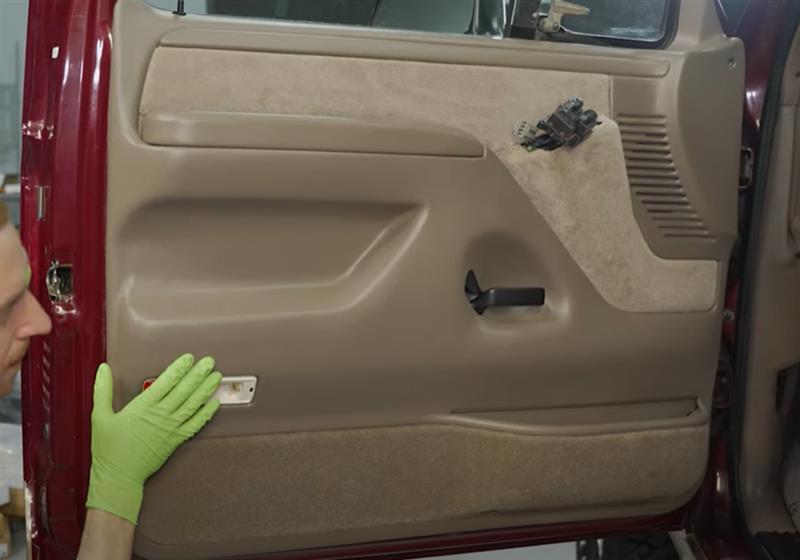
  • Hold the door panel up to the door and install the courtesy light socket into the housing.
  • Feed the electrical connections for the door locks and windows through the opening followed by the door handle.
  • Make sure the door lock rod passes through the opening and that the inner door belt weatherstrip is situated over the top edge of the door frame.
  • Align the push pins and carefully seat each one.
  • Use the screws in the install kit and start at the rearward bottom corner. Run the drill at a slow speed and ensure the screw penetrates the door frame. Run the screw the rest of the way down by hand and not the drill as you can run the risk of cracking the door panel.
  • Repeat these steps for the other two screw locations which are located underneath the cubby.
  • Align the screw hole in the door cup and fully tighten. This is the screw that does not have the floating washer.
  • Now you can install the long screw into the front upper location. Do not overtighten this screw.
1992-1996-obs-truck-bronco-coverlay-door-panel-how-to-installation_eb870fcc.jpg (800×560)

Step 4: Install Switch Bezel & Courtest Light Lens

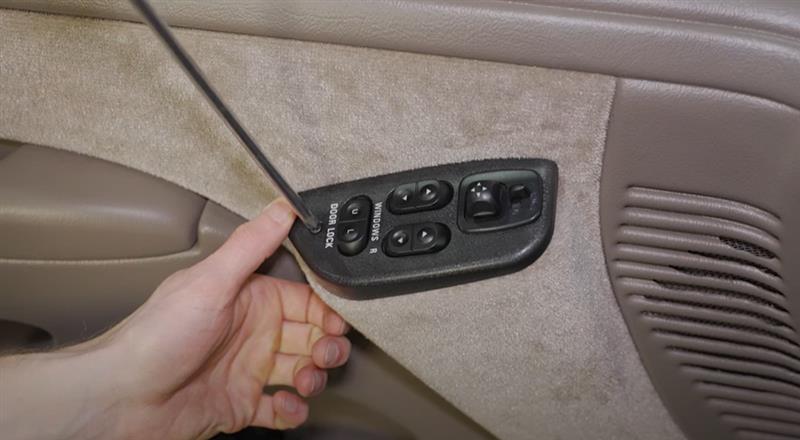
  • Reconnect the electrical connections.
  • Test fit the bezel to see if you need to remove any material from the door panel. Remember, you can always remove more but you can't put back.
  • Align the speed nut and then fully seat the bezel.
  • Install the retaining screw but don't over tighten.
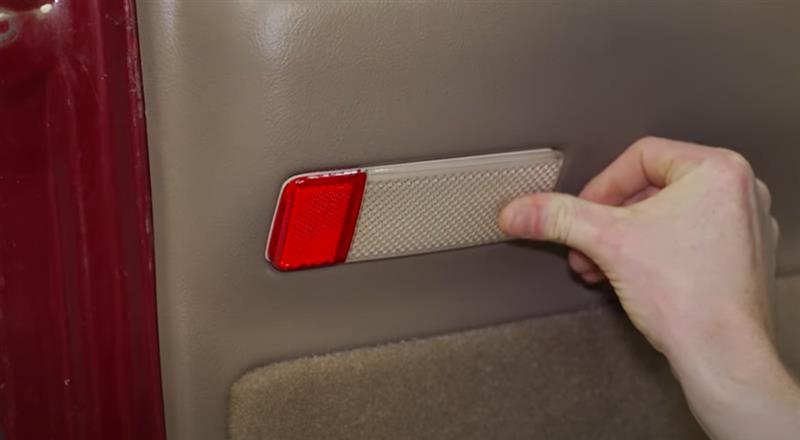
  • Snap the courtesy light bezel into position and then check over your work.
  • Repeat these steps for the other door panel. After that you are good to go.
1992-1996-obs-truck-bronco-coverlay-door-panel-how-to-installation_d6326c90.jpg (800×440)

1992-1996-obs-truck-bronco-coverlay-door-panel-how-to-installation_047a148b.jpg (800×440)


About the Video

Ford OBS Bronco & Truck: Coverlay Door Panels - How To Install & Comparison to OEM

Check out our YouTube channel for even more tech tips, installation videos, how-tos, and more. The best place to go for anything Mustang related!

Published on 2024-11-12
We get quite a few questions about the Coverlay door panels for the OBS Broncos and trucks. What's the quality like? Do they look like the OEM door panels? How do I install them? Well, we're going to break it all down for you in this video.
Thumbnail image of the author of this article, Andrew Perry.

About the Author

Andrew has been writing content for Late Model Restoration for over 2 years, producing over 50 articles. Over the years, Andrew has owned numerous Mustangs, including a 2007 V6, 2003 GT, 1967 GT, 1994 GT, 1995 GT, 2014 GT (2), 2000 V6 (V8 swapped), 2016 GT/PP, 1988 LX 5.0, and a 2009 GT/CS. Read more...