SHOP

1999-04 Lightning Parts
Free Shipping on qualifying orders over $99* Details
LMR showroom & will call pickup service will be closed beginning Monday 9/21/26 for renovations until further notice. Need help? Contact Us.

1999-2004 F150 SVT Lightning Sway Bar End Links Installation

Created by Andrew Perry / 5 min read
Date Created: 12/19/2024
Last Updated: 1/17/2025

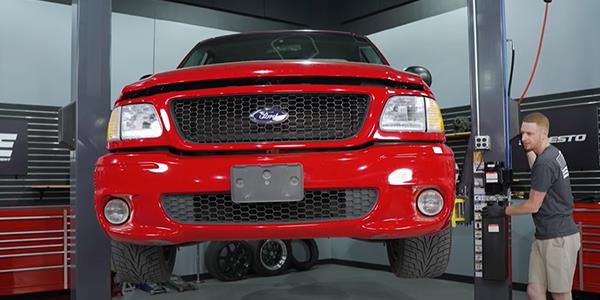
In this video, Landan explains the process of replacing the sway bar end links for a 1999-2004 Ford F-150 SVT Lightning truck.

Viewing this install and using the information shared is subject to the terms set forth here - View the LMR Install Instructions Disclaimer.

Follow along as we show the steps for replacing the sway bar end links on a 1999-2004 SVT Lightning. The procedure shown in this video would also be applicable to 1997-2003, 2004 Heritage model F-150s as well.


Shop


Tool List
  • Jack & Jack Stands or Lift
  • Microfiber Towels & All-purpose Cleaner
  • Polyurethane Bushing Grease
  • 3/8" Socket Set
  • 3/8" Torque Wrench
  • 1/2" Torque Wrench
  • 1/2" Socket Set
  • Combination Wrench Set

Removal & Installation Instructions

Step 1: Lift Truck & Remove Wheels

  • Begin by safely supporting the truck via a lift or jack and jack stands.
  • Remove both front wheels.

Step 2: Sway Bar End Link Removal

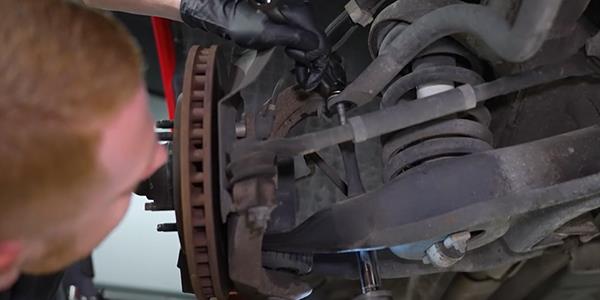
  • Starting on the driver's side, remove the retaining nut by using either a 5/8 box end wrench or socket on the bolt head and a 5/8 deep socket on the nut.
  • Remove all of the existing end link hardware.
  • Clean the area.
  • Do the same for the other side.

Step 3: Bushing Lubrication

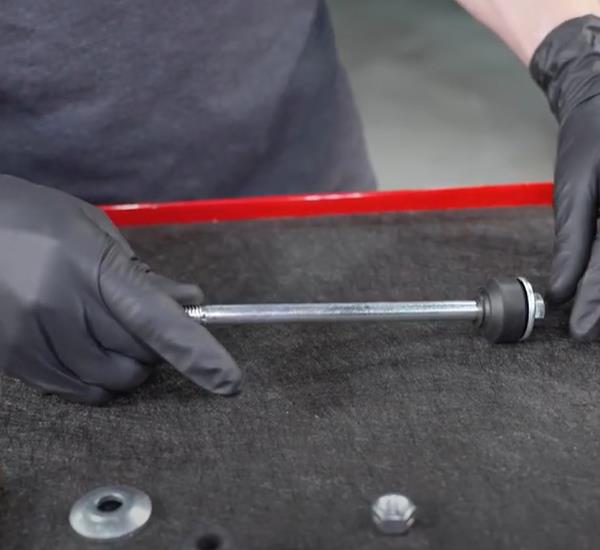
  • On a workbench, lubricate the bolt shoulder if its needed.
  • Use a grease designed for polyurethane bushings.
  • Go ahead and slide a single washer over the bolts followed by a bushing.

Step 4: Sway Bar End Link Installation

  • Install this bolt through the sway bar.
  • Install another bushing followed by a washer and sleeve.
  • Rotate the sway bar up with your hand to allow additional working room, and then install another washer and bushing.
  • Alighn the bolt with the control arm and pass it through the opening.
  • Go back through and lubricate the bushings where they make contact with the lower control arm and sway bar.
  • Lubricate the last bushing and install it over the bolt.
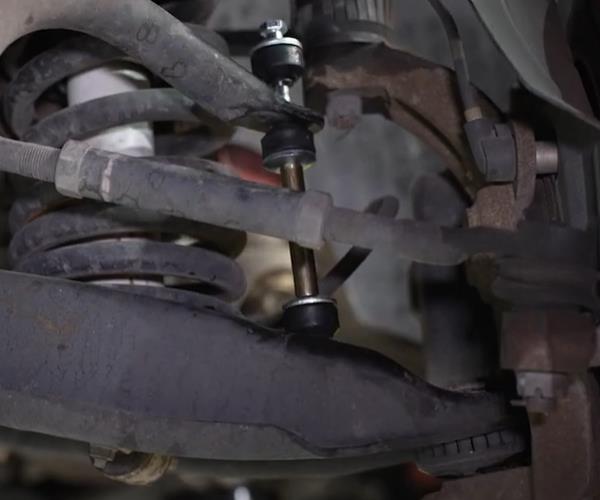
  • Now you can align the tapered section to the bushings with the control arm and sway bar and push the bolt down to fully seat it.
  • Repeat these same steps for the other side.
  • Now you can install the last washer and then thread on the nut. The torque spec for this is 15-21 lb/ft.
  • Do the same for the other side.

Step 5: Reinstall The Wheels

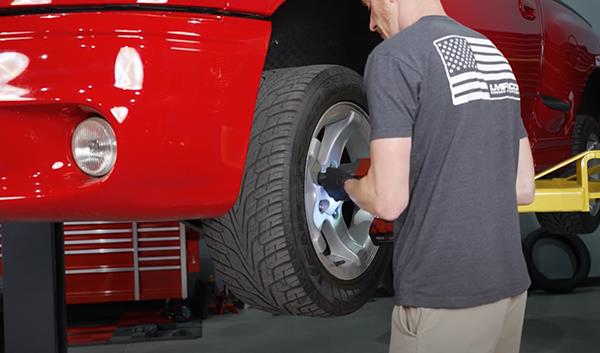
  • Check over your work and then reinstall the front wheels.
  • Once the lug nuts are torqued, you are good to go.


About the Video

1999-2004 Ford F-150 SVT Lightning: How To Install Sway Bar End Links

Check out our YouTube channel for even more tech tips, installation videos, how-tos, and more. The best place to go for anything Mustang related!
Published on 2023-04-14
In this video, Landan explains the process of replacing the sway bar end links for a 1999-2004 Ford F-150 SVT Lightning truck. The procedure shown in this video would also be applicable to 1997-2003, 2004 Heritage model F-150s as well.
Thumbnail image of the author of this article, Andrew Perry.

About the Author

Andrew has been writing content for Late Model Restoration for over 2 years, producing over 50 articles. Over the years, Andrew has owned numerous Mustangs, including a 2007 V6, 2003 GT, 1967 GT, 1994 GT, 1995 GT, 2014 GT (2), 2000 V6 (V8 swapped), 2016 GT/PP, 1988 LX 5.0, and a 2009 GT/CS. Read more...