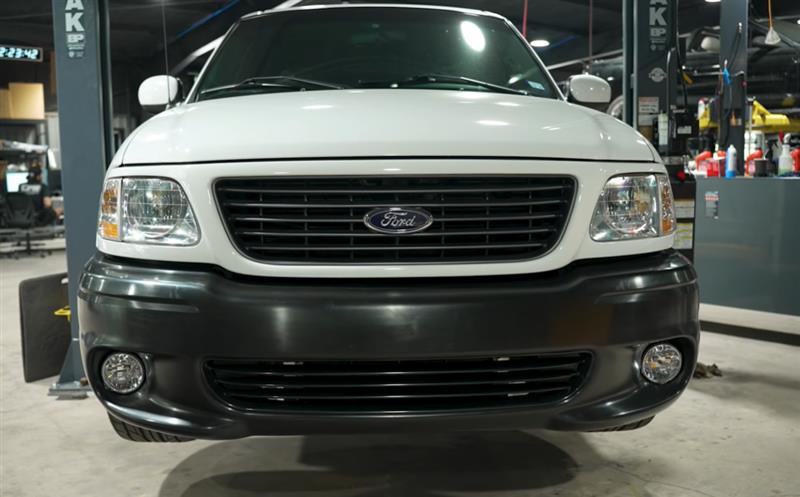
Removing the front bumper on a Ford F-150 Lightning is a straightforward process when the correct steps and tools are followed. This guide covers front bumper removal, preparation for grille or bumper upgrades, fog light removal and installation, and bumper reinstallation.
Whether you are replacing the bumper, installing a new grille, upgrading lighting components, or performing repairs, this guide will walk you through the process.
Recommended Tools
- Phillips head screwdriver
- 7 mm socket
- 8 mm socket
- Torque bit/socket (for corner light fasteners)
- Push pin removal tool
- Angled push pin removal tool
- Pry tool
- Microfiber towel
Product Links
Watch
Front Bumper Removal
Step 1: Remove the Spare Tire Rod
- Begin by removing the spare tire rod from its mounting locations.
- Remove the rod from these clips and set it aside.
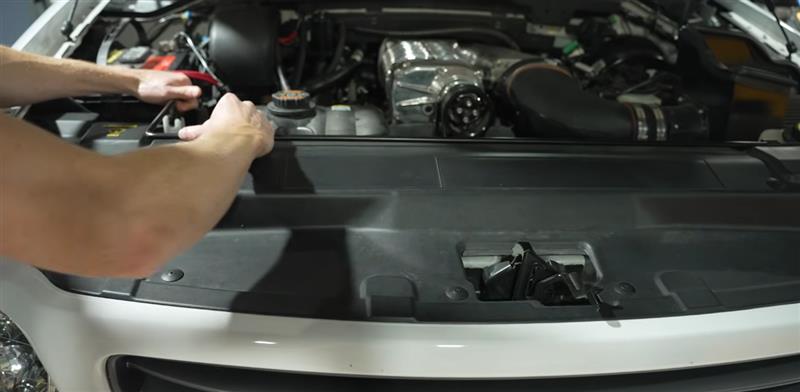
Step 2: Remove the Radiator Cover Retainers
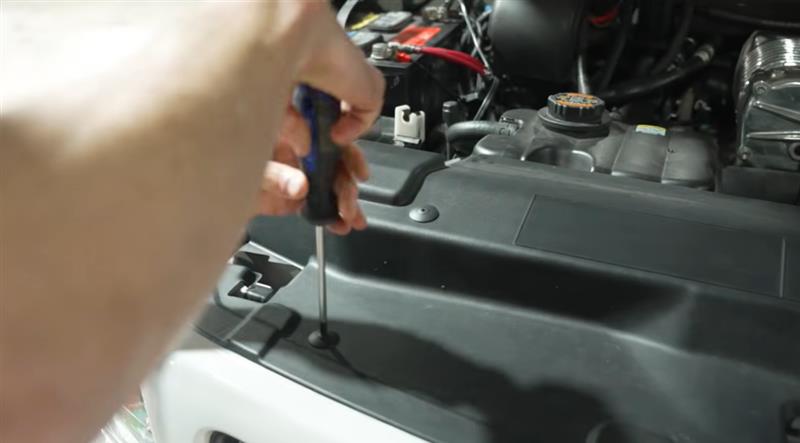
- Using a Phillips head screwdriver loosen each screw.
- Lift the retainers out of their mounting locations. There are seven retainers total.
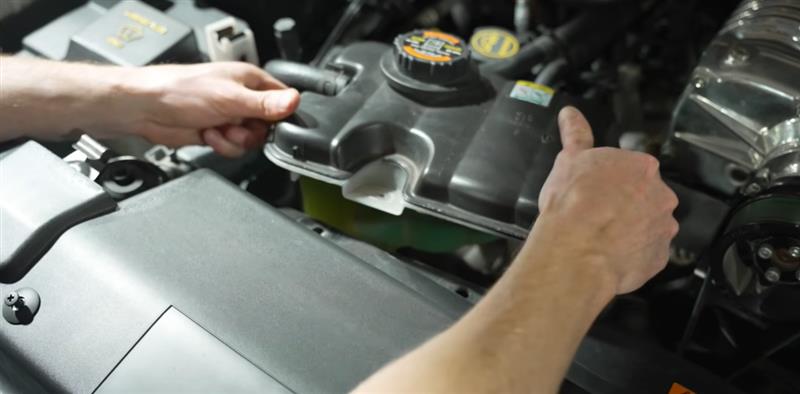
Step 3: Move the Intercooler Reservoir
- Remove the 8 mm bolt securing the intercooler reservoir.
- Lift the reservoir upward and move it out of the way to provide additional working room.
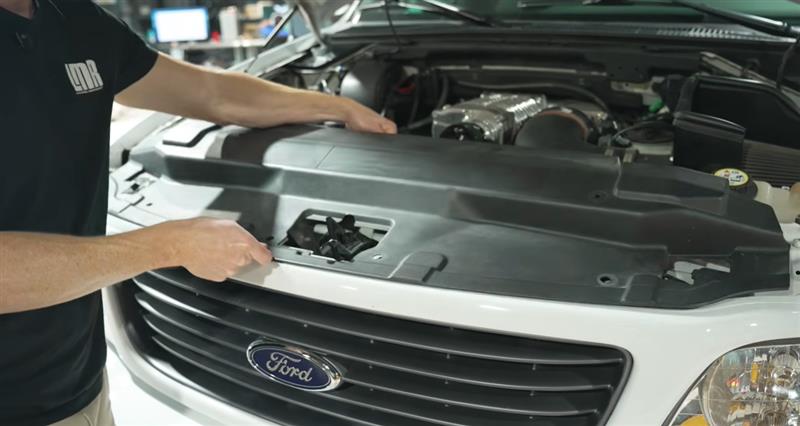
Step 4: Remove the Upper Radiator Cover
- Starting underneath the radiator cover, gently pull upward to release the push pins.
- Carefully clear the hood latch area.
- Remove the cover and set it aside. Be careful not to allow the push pins to fall into the engine bay.
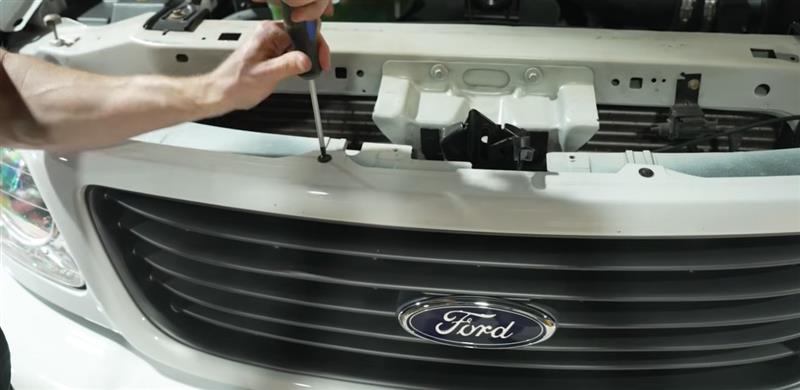
Step 5: Remove the Upper Grille Screws
- Remove the Phillips head screws across the top of the grille shell.
- There are six screws securing the upper section.
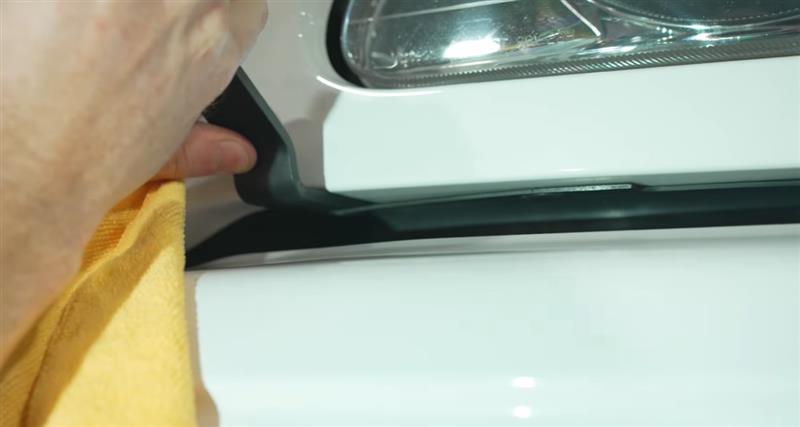
Step 6: Remove the Bumper Filler Panel
- Use a pry tool between the filler panel and grille shell.
- Start with the inner push pins.
- Carefully work each push pin loose. The clips may make a cracking or crunchy sound during removal. This is normal as the retainers release. A microfiber towel can be used to protect surrounding surfaces.
- Remove the outer push pins attached near the fenders as well. Removing these first provides additional room when removing the bumper.
- Repeat the process on both sides.
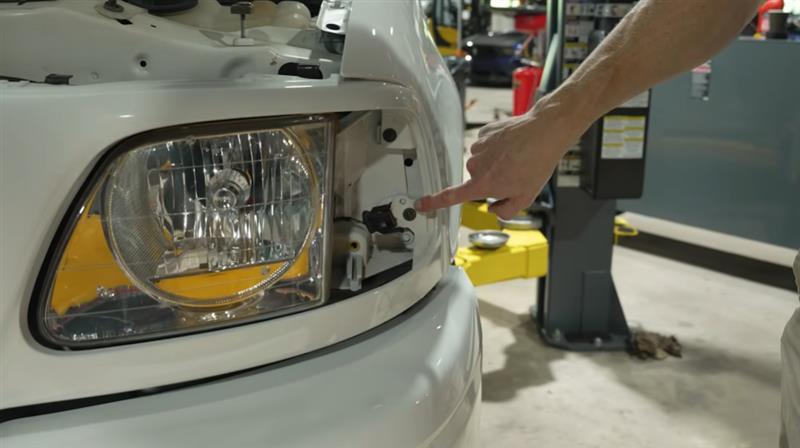
Step 7: Remove Corner Light Fasteners
- Each corner light is secured with one torque screw.
- Remove the screw on each side.
- Pull the corner light straight forward.
- Carefully disconnect it from the bulb socket.
- Set the light aside.
- Repeat on the opposite side.
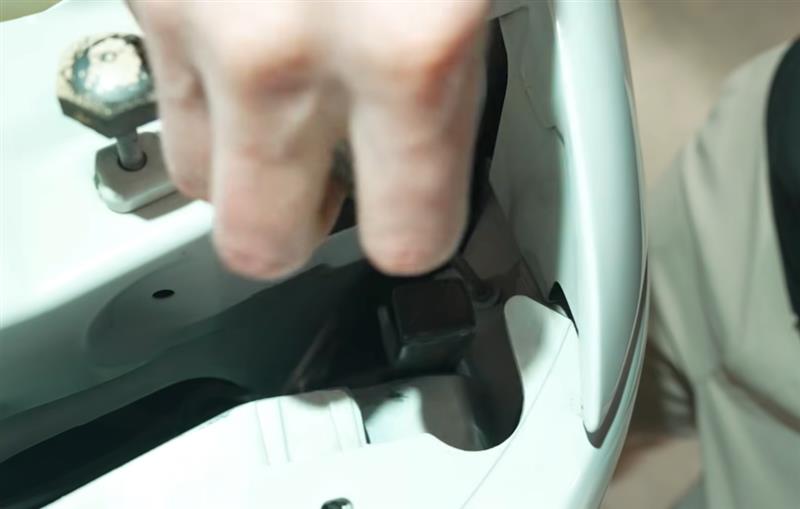
Step 8: Remove Remaining Upper Bumper Screws
- Remove the remaining Phillips head screws on each side.
- There are two screws per side, four total.
Step 9: Remove Upper Bumper Push Pins
- The bumper is secured with four blind push pins along the top. Two of these are accessible from underneath.
- Using an angled push pin removal tool, reach behind the bumper. Locate the head of the fastener by feel. Find the groove in the retaining pin. Lift upward and remove the fastener.
- The remaining push pins are difficult to see and are removed by feel.
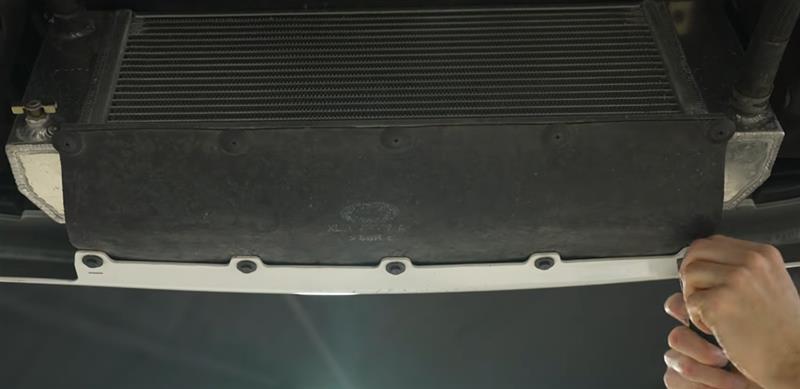
Step 10: Remove Heat Exchanger Shield Fasteners
Underneath the truck, remove the heat exchanger shield fasteners. There are two options:
Option 1:
- Remove the rear shield fasteners so the shield comes off with the bumper.
Option 2:
- Remove the front bumper-side fasteners so the shield stays attached to the heat exchanger.
- For this installation, the shield remains attached to the heat exchanger.
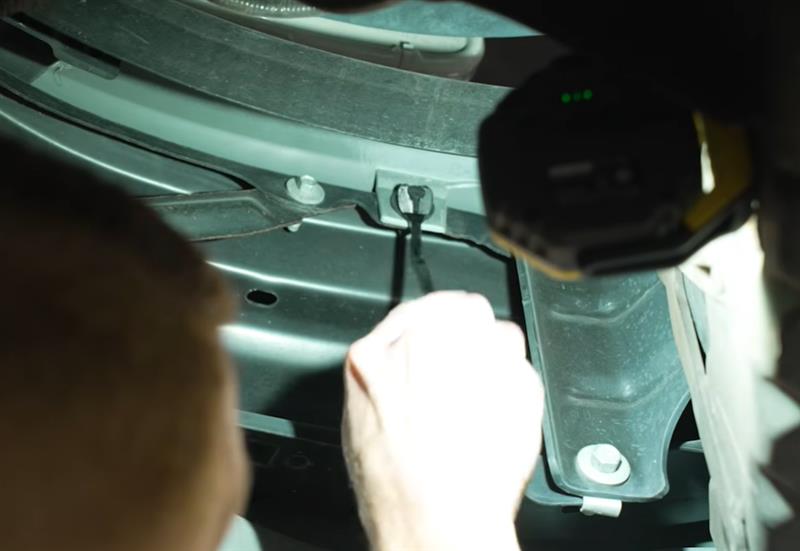
Step 11: Disconnect Lower Bumper Hardware
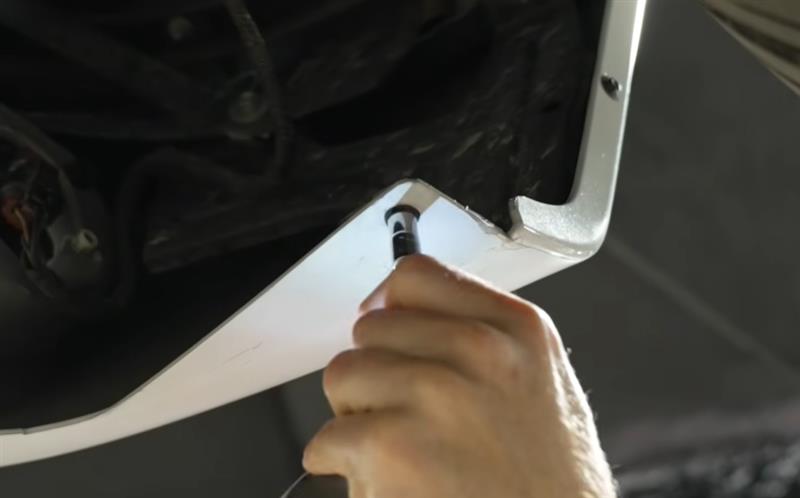
- Remove the two 7 mm screws securing the lower bumper bracket.
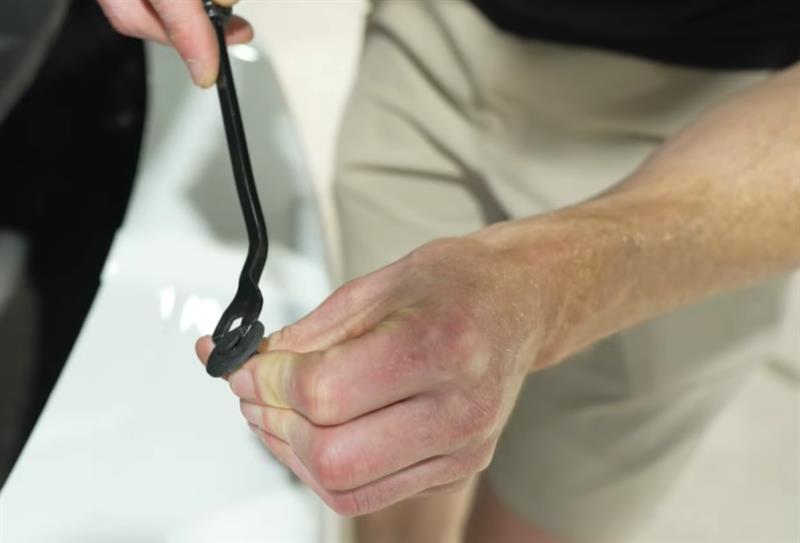
- While underneath the truck, disconnect the fog light wiring harness.
- The harness is attached to a clip on the lower bracket.
Step 12: Remove Upper Bracket Screws
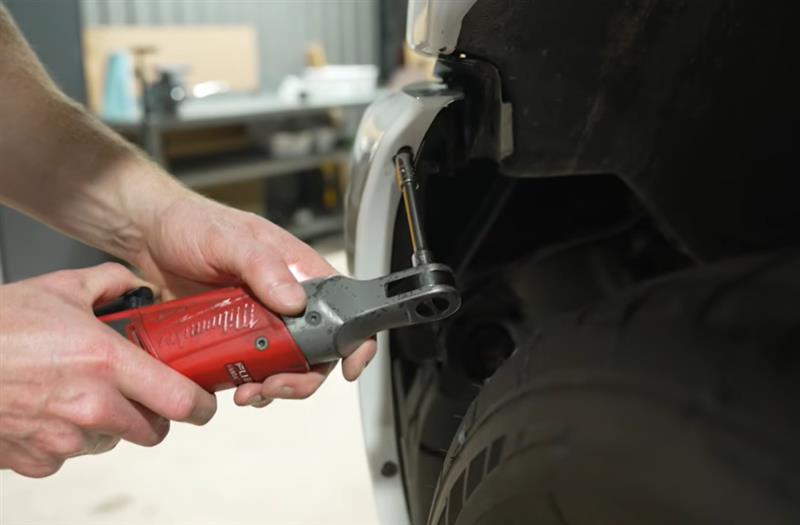
- Remove the two 7 mm screws on each side securing the bumper to the upper bracket.
Step 13: Remove the Bumper
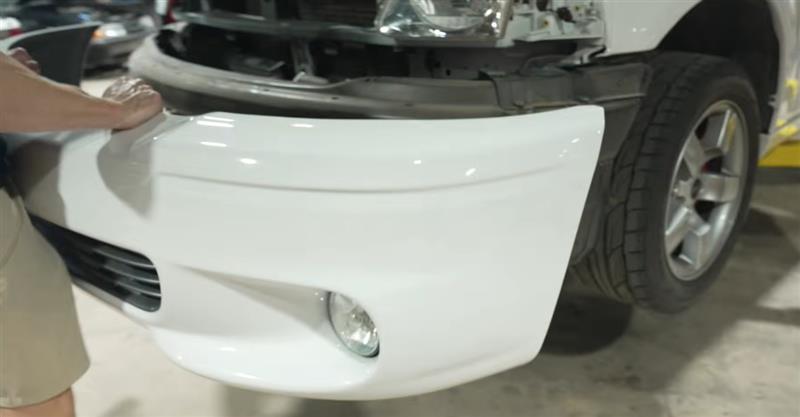
To remove the bumper:
- Start on one side.
- Roll the bumper around the upper bracket.
- Lift the bumper tabs over the crash bar.
- Work across the bumper.
- Pull the opposite side outward. Take care around painted surfaces to prevent scratches.
Lightning-Specific Bracket Information
The Ford F-150 Lightning uses two bumper brackets:
Upper Bracket
- Attached to the crash bar.
- Secured with two nuts.
- Accessed from inside the bumper area.
Lower Bracket
- Also attached to the crash bar.
- Secured with two bolts.
- Supports the fog light harness clip.
These brackets must be transferred if installing a replacement bumper.
Front Bumper Preparation and Grille Installation
If installing a new grille or transferring your existing grille, complete these steps before reinstalling the bumper.
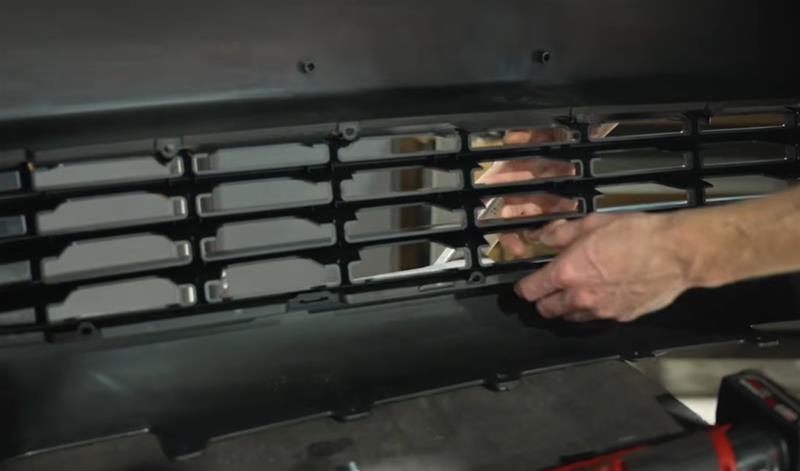
Install Lower Grille
- Position the grille into the bumper.
- Ensure the lower tabs pass through the bumper openings.
- Align the grille with the bumper.
- Start the self-threading screws by hand.
Do not fully tighten using a power tool. Once all screws are started:
- Tighten them by hand.
- Secure the grille evenly. Do not overtighten. Excessive force can strip the plastic grille threads.
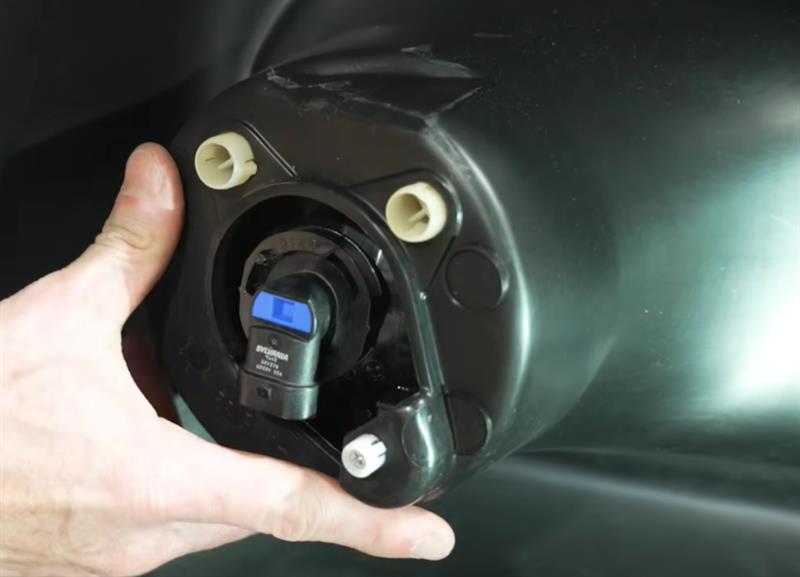
Fog Light Installation
To install the fog lights:
- Align the three mounting points.
- Position the adjuster at the bottom.
- Push the two mounting studs into place.
- Press until the tabs lock.
Repeat for the opposite fog light. If replacing fog lights, adjust their aim after installation to ensure proper alignment.
Front Bumper Installation
Installation is the reverse of removal.
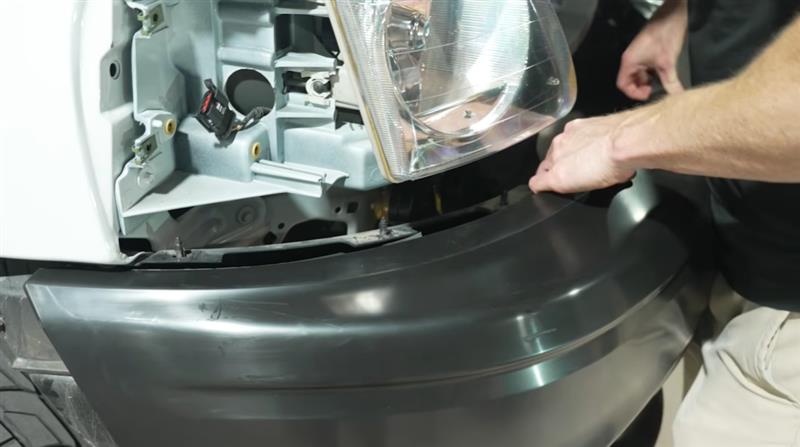
Step 1: Hang the Bumper
Start on either side:
- Hook the bumper corner into position.
- Carefully work the bumper over the upper and lower brackets.
- Lift the bumper tabs over the crash bar. Work slowly to prevent scratching painted surfaces.
Make sure:
- Tabs sit over the brackets correctly.
- Brackets do not overlap the bumper edge.
- The bumper is fully seated.
When handling painted areas, use clean hands and avoid dirt, grit, or debris that could scratch the finish.
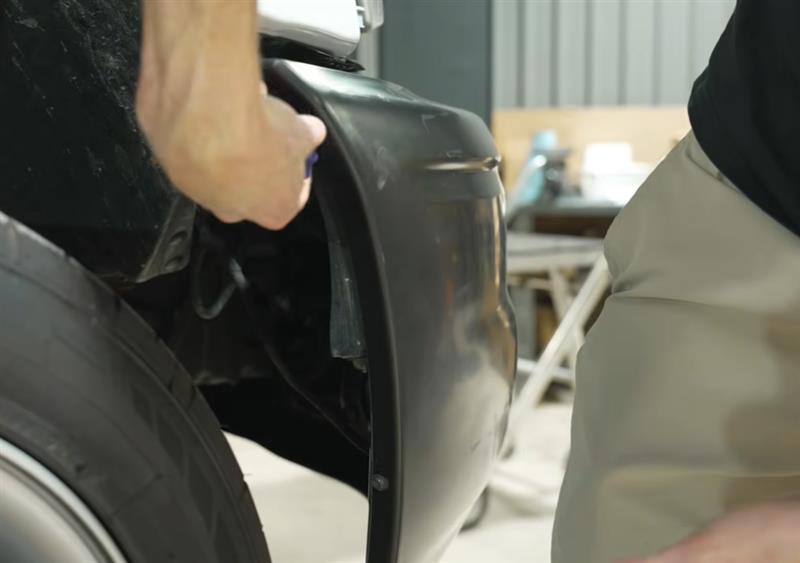
Step 2: Install Bumper Hardware
Install:
- Three 7 mm screws securing the bumper to the upper bracket
- Lower bracket fasteners
- Four upper push pins
Tighten hardware securely but avoid overtightening.
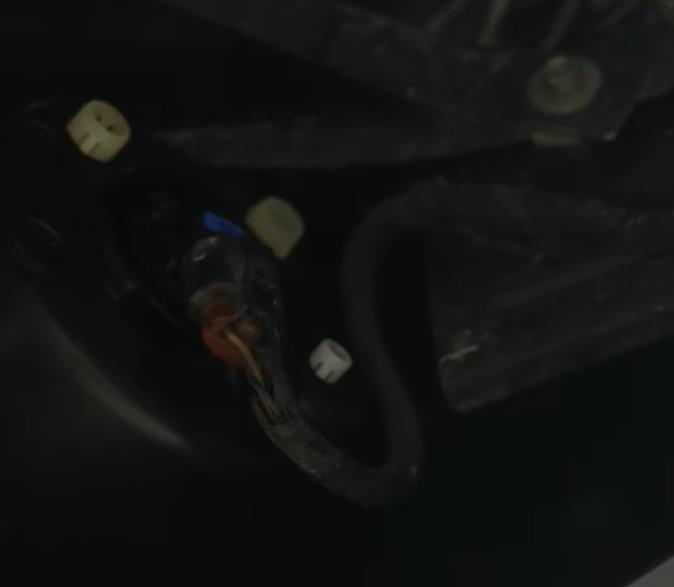
Step 3: Reconnect Fog Lights
- Reconnect both fog lights and verify the harness is properly secured.
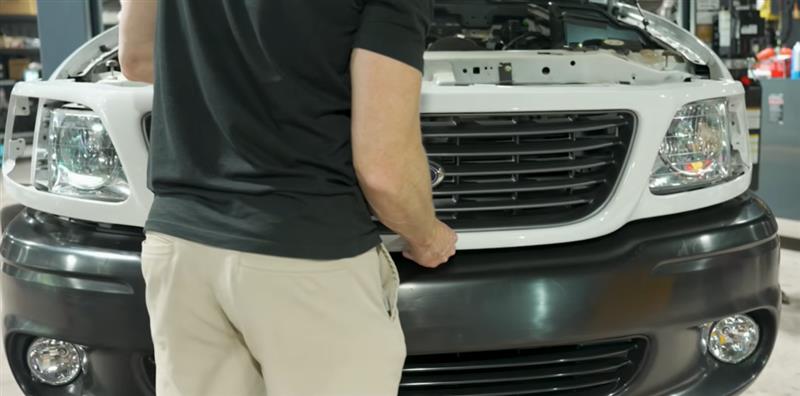
Step 4: Reinstall Grille Shell
Before installing the grille shell:
- Align the lower clips.
- Ensure clips are not binding.
- Align the side locating dowels.
- Install all Phillips head screws. Do not overtighten.
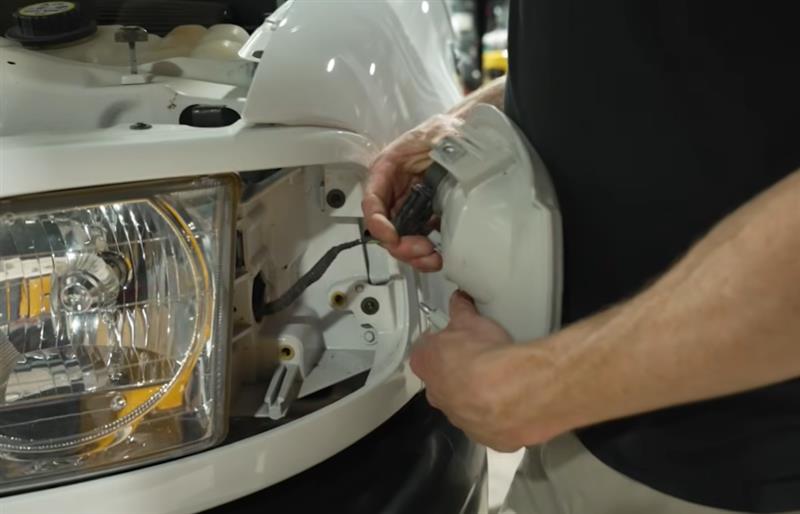
Step 5: Install Corner Lights
Reinstall the corner lights:
- Align the locating slots at the top and bottom.
- Connect the light socket.
- Secure the mounting screw.
- Repeat on both sides.
Final Inspection
Before driving the vehicle:
- Verify all bumper fasteners are installed.
- Confirm fog lights are connected and aimed properly.
- Check grille alignment.
- Confirm corner lights are secure.
- Ensure the bumper is properly seated around all brackets.