SHOP

2010-14 Mustang Parts
Free Shipping on qualifying orders over $99* Details
LMR showroom & will call pickup service will be closed beginning Monday 9/21/26 for renovations until further notice. Need help? Contact Us.

How to install 2010-2014 Mustang SVE Smooth Decklid Panel

Created by Andrew Perry / 5 min read
Date Created: 8/23/2024
Last Updated: 1/13/2026

Follow along as we walk you through the simple steps of installing SVE's smooth decklid panel on your 2010-2014 S197 Mustang.

Viewing this install and using the information shared is subject to the terms set forth here - View the LMR Install Instructions Disclaimer.

Product Links

Tool List
Installation Instructions

Step 1: Remove Factory Decklid

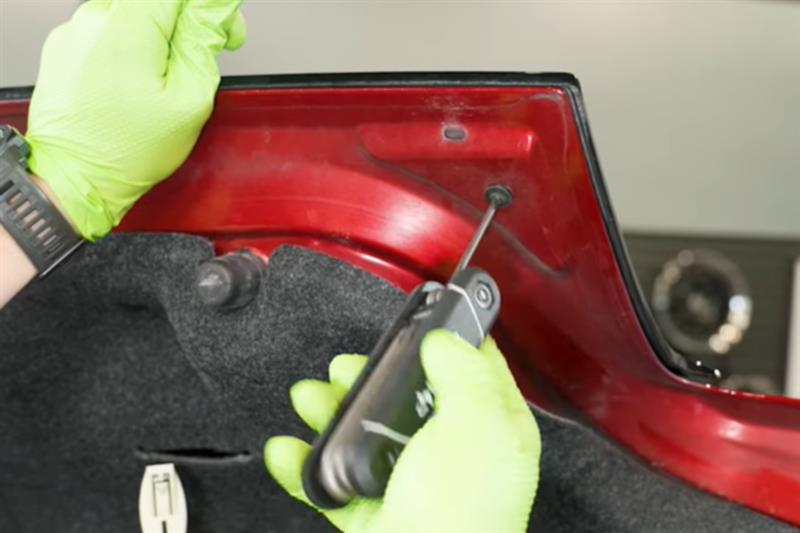
  • Open the trunk and remove the (2) T15 screws on the underside of the trunk.
  • From the factory, the decklids and medallions are held on by double-sided adhesive as well as plastic clips.
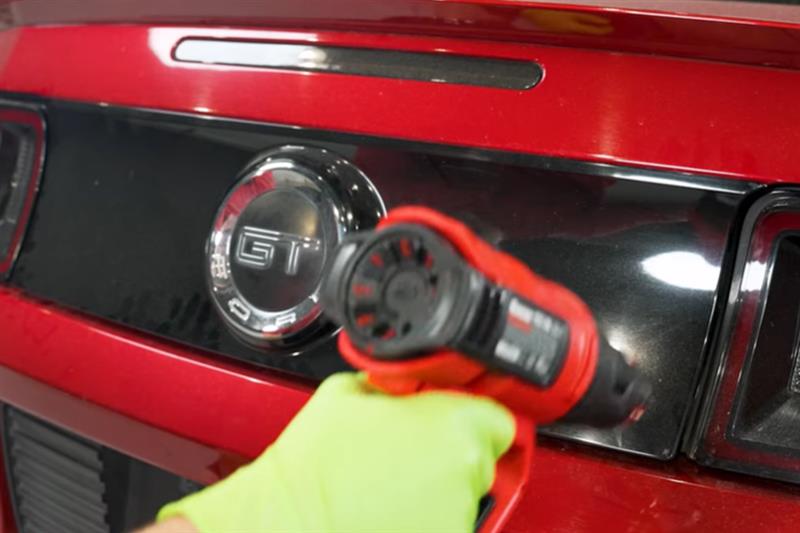
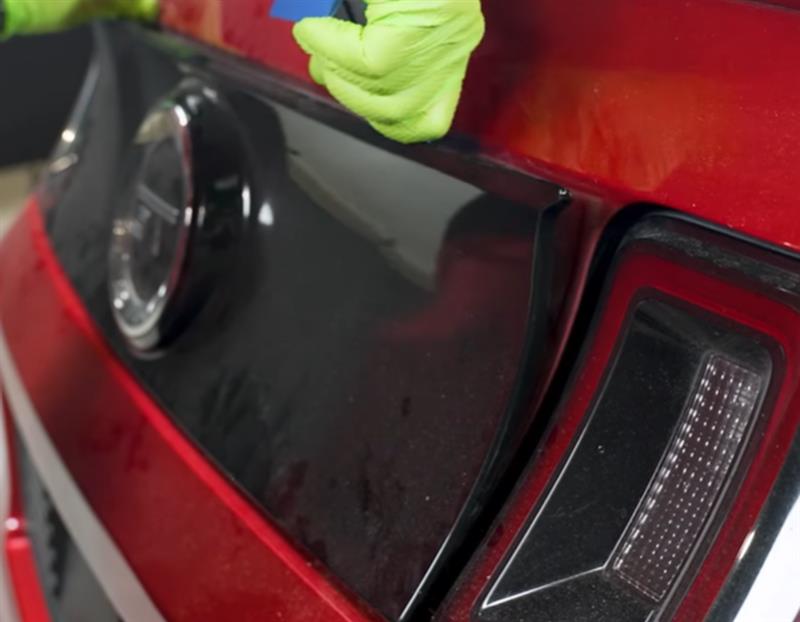
  • Carefully use a head gun to soften the adhesive and use a plastic pry tool to start lifting up a section of the emblem. You may also use fishing line to help make the initial cut through the adhesive however, keep in mind that the line will not be able to go fully through the emblem due to the studs on the back.
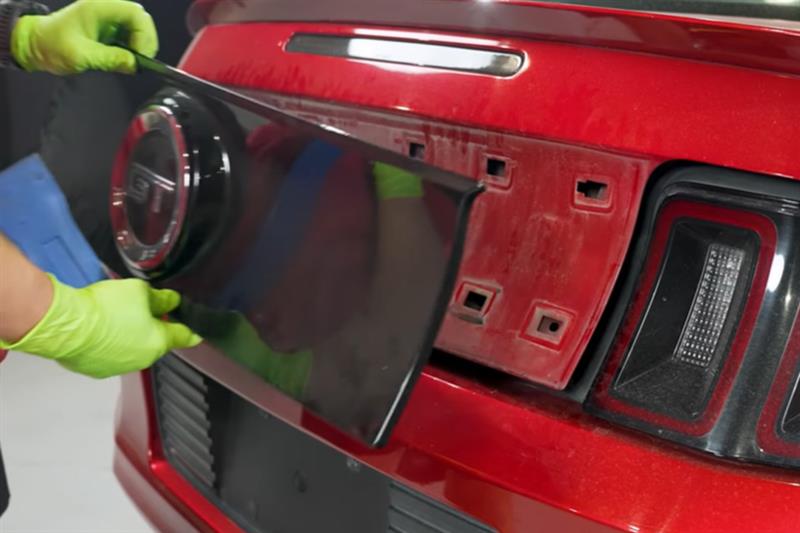
  • Once you have the decklid lifted up enough, pry the rest of the clips to fully remove it from the deck lid.
2010-2014-mustang-sve-smooth-decklid-panel-sve-63423a-installation_ff968cc5.jpg (800×533)
2010-2014-mustang-sve-smooth-decklid-panel-sve-63423a-installation_f1e577cf.jpg (800×533)
2010-2014-mustang-sve-smooth-decklid-panel-sve-63423a-installation_e46a4645.jpg (800×622)
2010-2014-mustang-sve-smooth-decklid-panel-sve-63423a-installation_59908e49.jpg (800×533)

Step 2: Clean & Cut Hole To Smooth Area

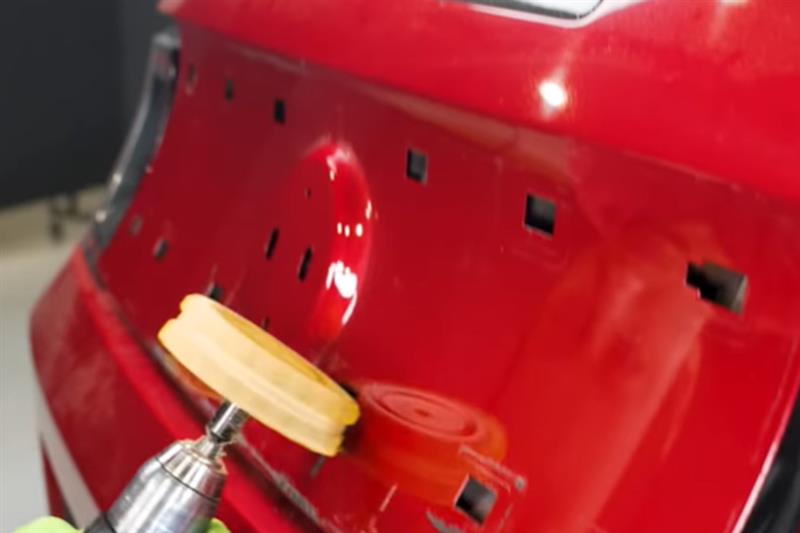
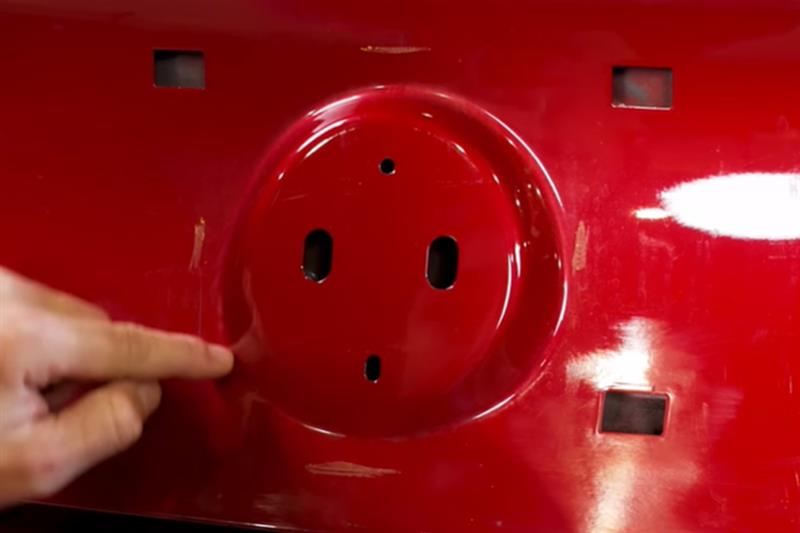
  • Once the panel is removed, take some isopropyl alcohol and an eraser wheel to remove the dirt and old adhesive.
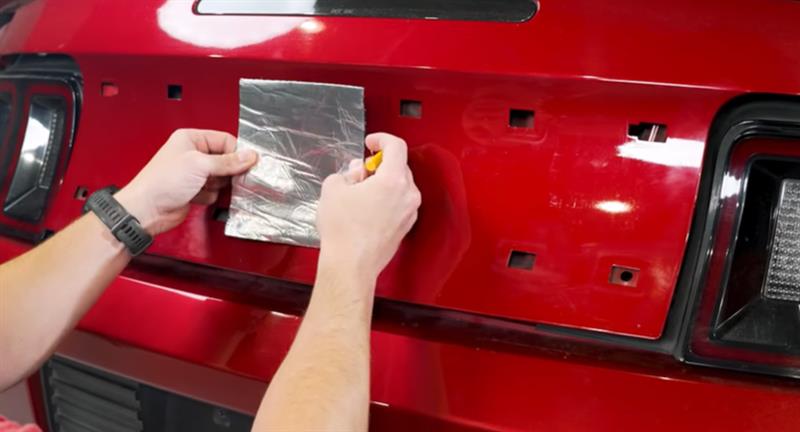
  • Before cutting, measure the area to ensure the cut area is correct. Use the provided tape as a template.
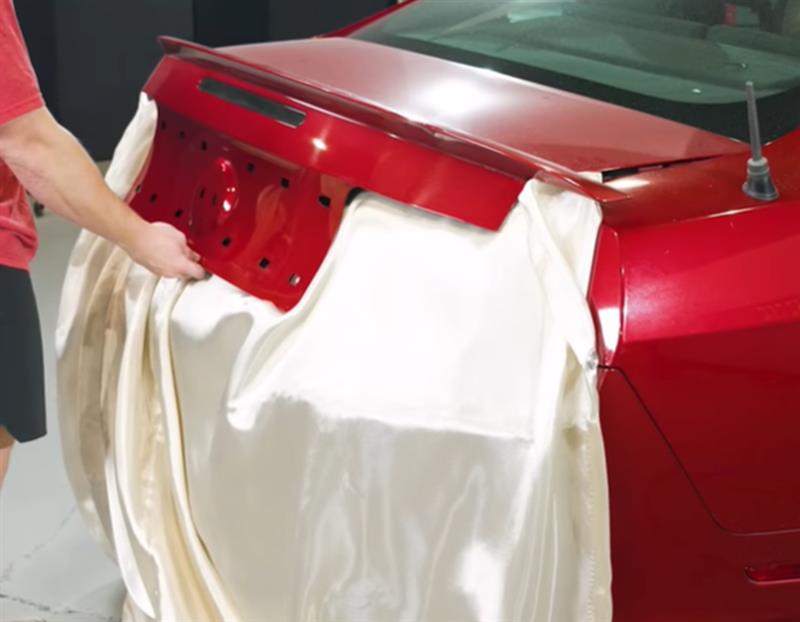
  • Prep the area and cover/mask off the trunk before making the cut. We used a flame-resistant blanket.
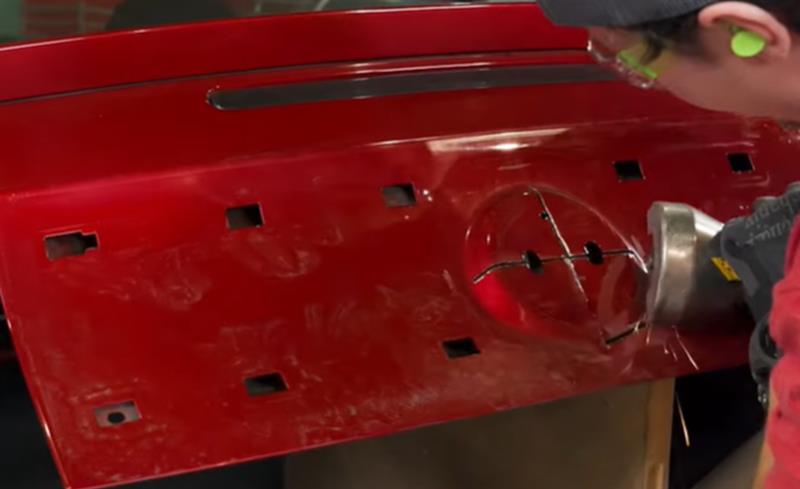
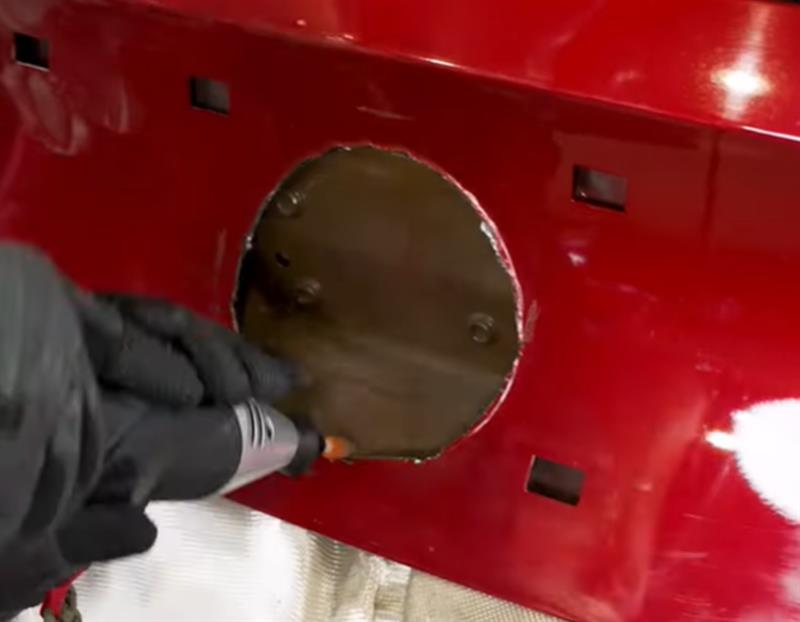
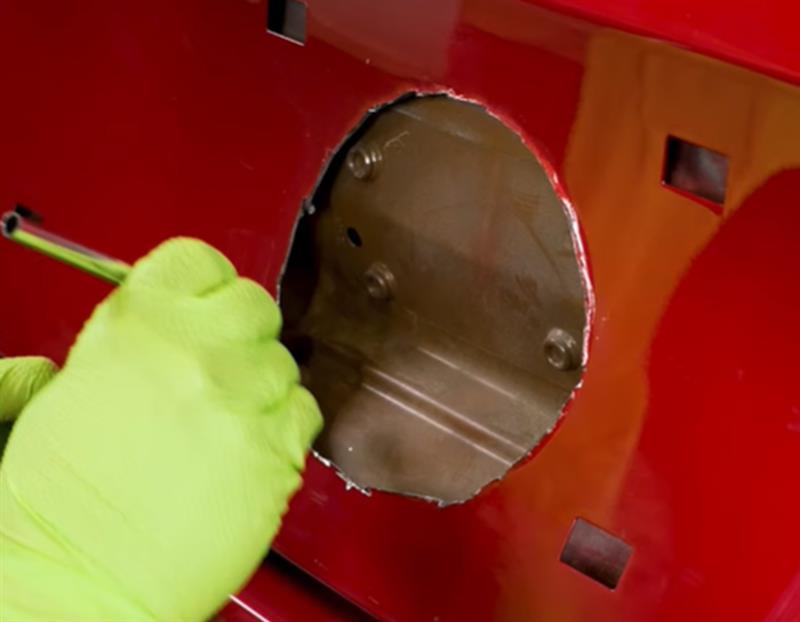
  • Cut out the hole using a die grinder or Dremel tool. Then use a file to clean up the hole after you finish cutting it out.
  • After that, take some paint to coat the raw metal that is exposed from cutting out the hole.
2010-2014-mustang-sve-smooth-decklid-panel-sve-63423a-installation_ab128a0a.jpg (800×533)
2010-2014-mustang-sve-smooth-decklid-panel-sve-63423a-installation_349bc1b1.jpg (800×432)
2010-2014-mustang-sve-smooth-decklid-panel-sve-63423a-installation_adaf3bcc.jpg (800×533)
2010-2014-mustang-sve-smooth-decklid-panel-sve-63423a-installation_66acc0d9.jpg (800×622)
2010-2014-mustang-sve-smooth-decklid-panel-sve-63423a-installation_3c334f65.jpg (800×489)
2010-2014-mustang-sve-smooth-decklid-panel-sve-63423a-installation_4ad526ff.jpg (800×622)
2010-2014-mustang-sve-smooth-decklid-panel-sve-63423a-installation_70bbde4a.jpg (800×622)

Step 3: Install The New SVE Decklid

  • After the hole is cut, use isopropyl alcohol and a microfiber towel to clean the area.
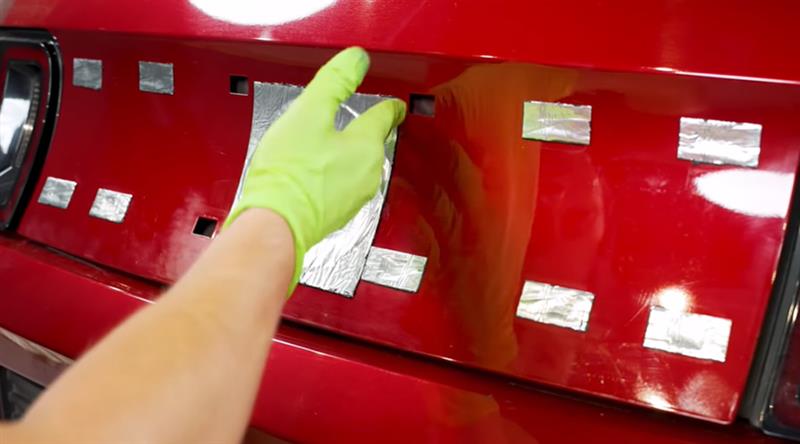
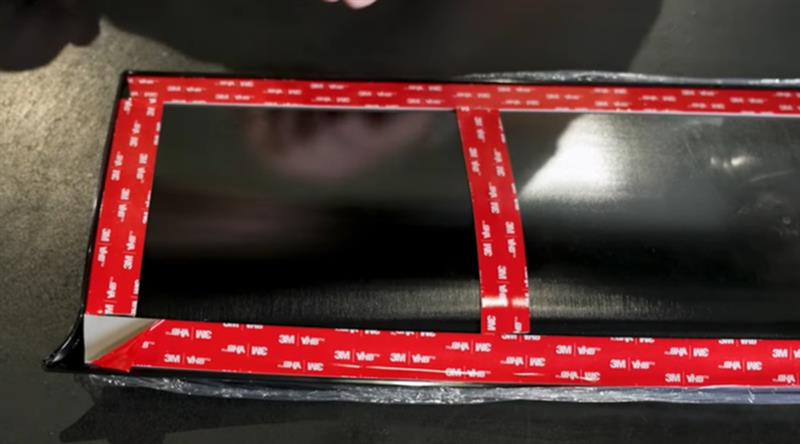
  • Once cleaned, install the provided tape to cover the hole and any other areas left open to prevent dirt, debris, and water from entering the trunk. 
  • Now that the tape has been placed and the decklid area is smoothed out, take your microfiber towel and isopropyl alcohol once more and thoroughly wipe the decklid clean. Prep is key in promoting proper adhesion of the double-sided tape.
  • Take this time to add any additional double-sided tape to the backside of the decklid for an even stronger hold if desired. (Additional tape is not included)
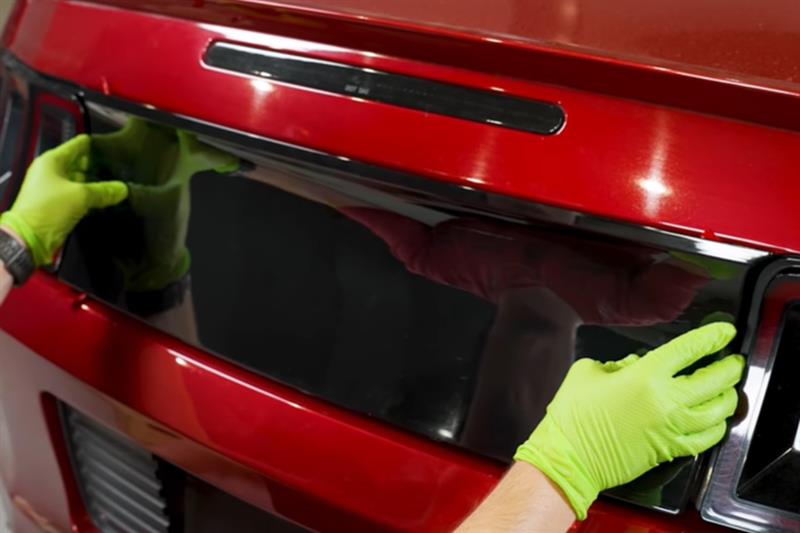
  • Remove the backing of the double-sided tape and carefully line up the decklid to the trunk. Once the alignment is good, press and hold the decklid in place for at least 30 seconds with firm pressure. This will give the tape time to adhere.
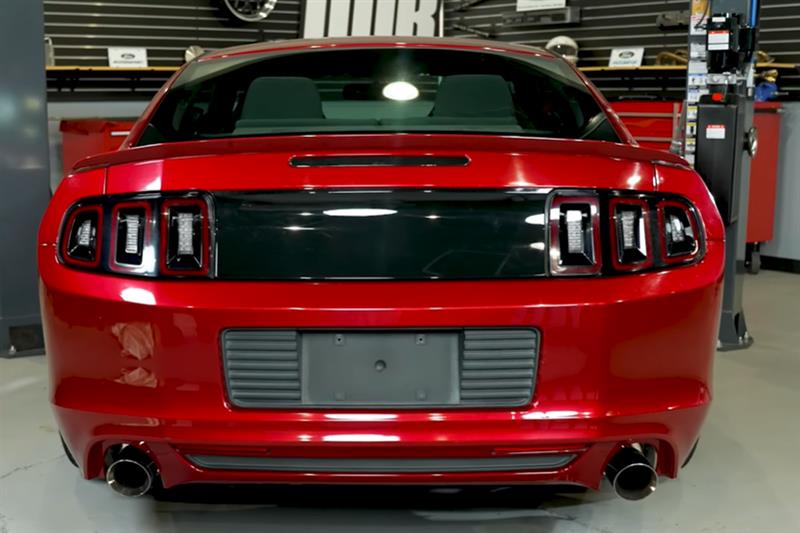
  • Wipe down any smudges on the decklid that may be present from installation, and this will complete the installation of the SVE smooth decklid panel. 
2010-2014-mustang-sve-smooth-decklid-panel-sve-63423a-installation_b9aa4ce1.jpg (800×444)
2010-2014-mustang-sve-smooth-decklid-panel-sve-63423a-installation_3a83e64e.jpg (800×444)
2010-2014-mustang-sve-smooth-decklid-panel-sve-63423a-installation_1d8b7da1.jpg (800×533)
2010-2014-mustang-sve-smooth-decklid-panel-sve-63423a-installation_af2bff12.jpg (800×533)


About the Video

2010-2014 S197 Mustang: SVE Smooth Decklid - How To Install

Check out our YouTube channel for even more tech tips, installation videos, how-tos, and more. The best place to go for anything Mustang related!

Published on 2025-06-03
In this video, Jude explains the process of installing a SVE smooth deck lid panel onto a 2010-2014 S197 Ford Mustang. This is a popular mod amongst the S197 crowd due to the problematic delaminating and fading issues with the factory deck lid.
Thumbnail image of the author of this article, Andrew Perry.

About the Author

Andrew has been writing content for Late Model Restoration for over 2 years, producing over 50 articles. Over the years, Andrew has owned numerous Mustangs, including a 2007 V6, 2003 GT, 1967 GT, 1994 GT, 1995 GT, 2014 GT (2), 2000 V6 (V8 swapped), 2016 GT/PP, 1988 LX 5.0, and a 2009 GT/CS. Read more...