SHOP

2010-26 Raptor Parts
Free Shipping on qualifying orders over $99* Details
LMR showroom & will call pickup service will be closed beginning Monday 9/21/26 for renovations until further notice. Need help? Contact Us.

2010-2014 Gen 1 Raptor Grille Marker Light Repair Kit Install Guide

Created by Andrew Perry / 5 min read
Date Created: 8/10/2026
Last Updated: 8/13/2026

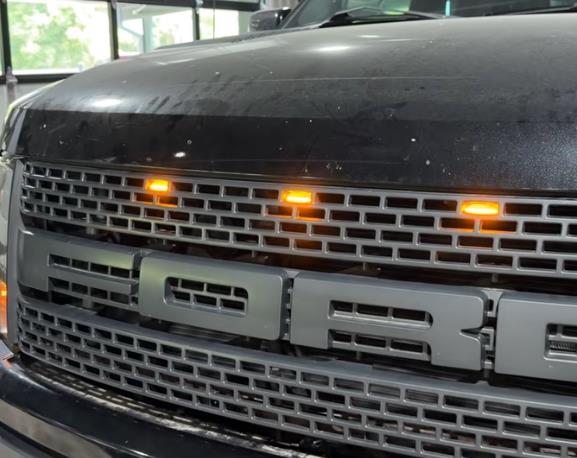
Installing upper grille light brackets on a 2010-2014 Gen 1 Ford Raptor is a straightforward way to reuse your factory grille while giving it the proper mounting points for the grille lights. This guide walks you through removing the grille, preparing the mounting areas, installing the brackets, reinstalling the lights, and putting everything back together!
Viewing this install and using the information shared is subject to the terms set forth here - View the LMR Install Instructions Disclaimer.
A problematic area on the 2010-2014 Ford Raptor trucks are the studs for the marker (running) lights on the back of the upper grille. Until now, there wasn't a dedicated solution for this problem. The LMR Products Gen 1 Raptor upper grill light repair bracket kit is the perfect fix.
 
The repair brackets are precision-cut from durable stainless steel and feature threaded mounting studs that are far superior than the OE-plastic studs. Retaining nuts are supplied in the correct thread pitch to properly secure each running light. One tube of adhesive is provided to glue the brackets to your grille.
 
Product Links
Watch
 
Vehicle Fitment
Make/Mode/Trim: Ford F-150 Raptor
Year Range: 2010, 2011, 2012, 2013, 2014

Installations Instructions

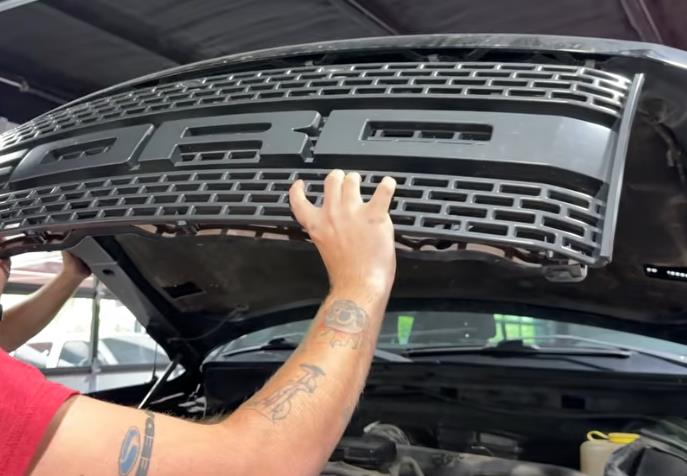
Step 1: Disconnect the Battery and Remove the Upper Grille

  • Begin by opening the hood and disconnecting the battery cables.
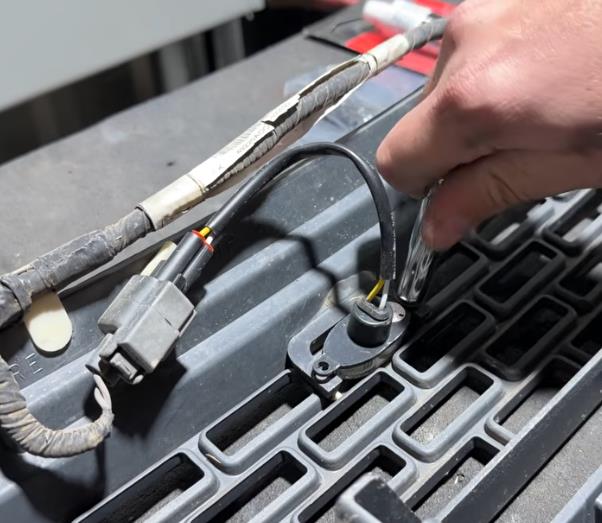
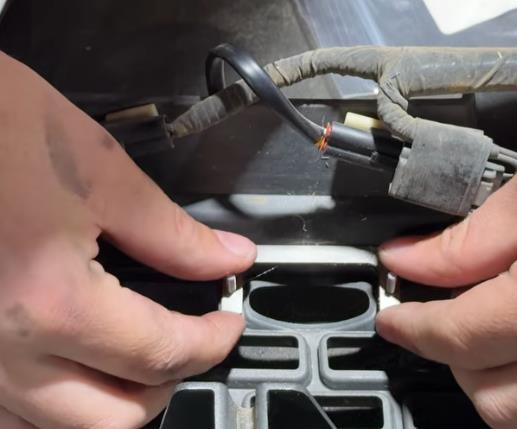
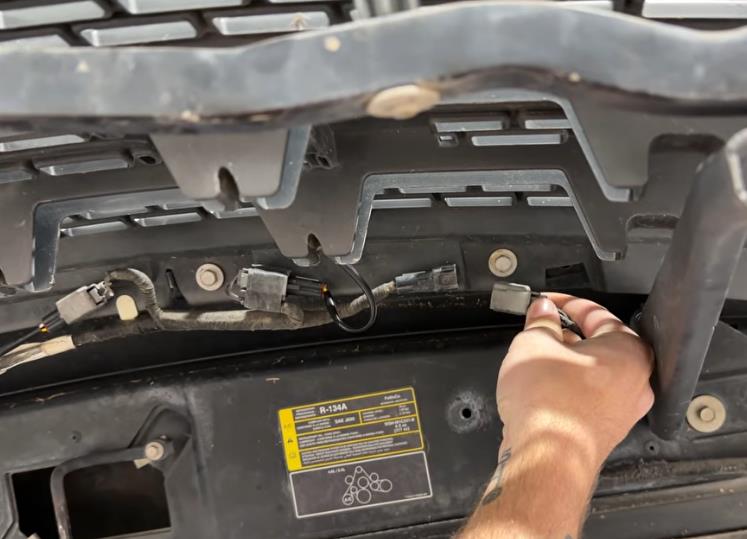
  • Next, disconnect the wiring harness from the grille lights.
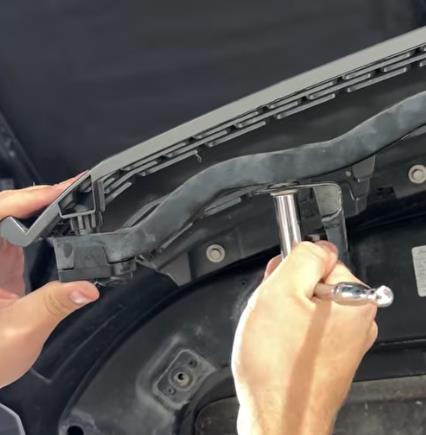
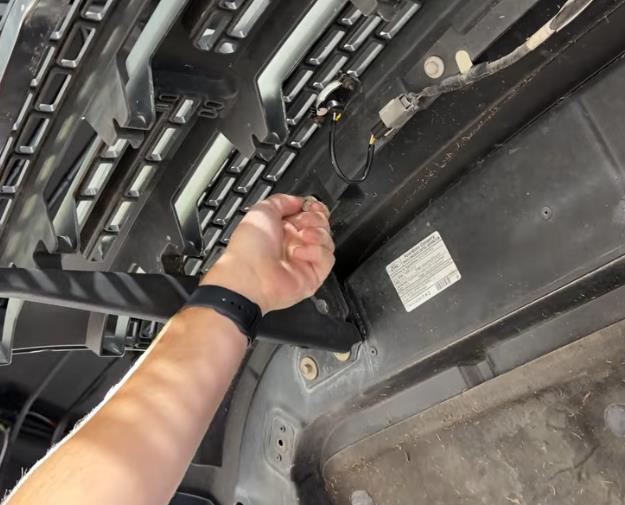
  • With the electrical connections disconnected, remove the eight nuts securing the grille to the hood.
  • There are also two tabs connecting the grille to the hood. Carefully release these tabs while removing the grille. Avoid applying excessive force, as the tabs can break.
  • Once the grille is removed, place it on a clean, flat, and level work surface.

2010-2014-raptor-gen-1-grille-marker-light-repair-kit-how-to-install_9dccfc32.jpg (747×539)
2010-2014-raptor-gen-1-grille-marker-light-repair-kit-how-to-install_d59887a9.jpg (625×505)
2010-2014-raptor-gen-1-grille-marker-light-repair-kit-how-to-install_e6c4bc6d.jpg (687×476)

2. Remove the Existing Grille Lights

  • With the grille on your work surface, remove the three existing Raptor grille lights.
  • Once the lights are removed, set them aside in a safe location. They will be reused later in the installation.

2010-2014-raptor-gen-1-grille-marker-light-repair-kit-how-to-install_47c0ddc3.jpg (602×523)

3. Prepare the Grille for the Brackets

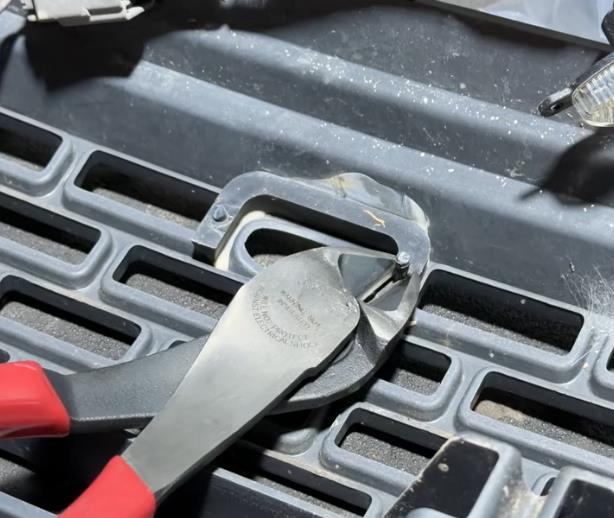
  • The factory grille will need to be modified to provide a flat mounting surface for the new brackets.
  • Using a set of cutters, remove each of the plastic posts in the areas where the brackets will be installed. These posts are no longer needed with the new bracket setup.
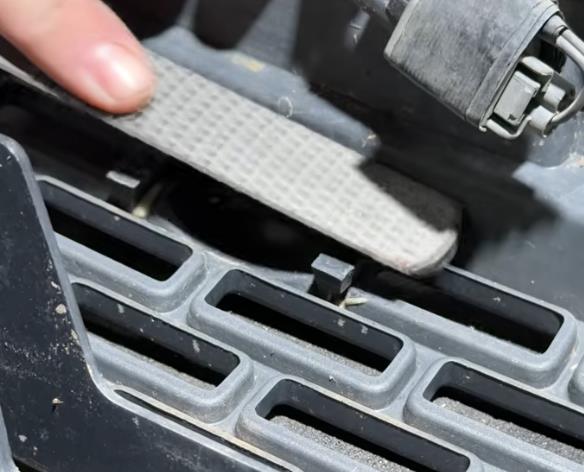
  • After removing the posts, use sandpaper, a file, or another suitable tool to smooth the mounting areas.
  • Continue sanding or filing until each mounting surface is flat and level.

Test-Fit the Brackets

  • Before applying any adhesive, test-fit each bracket against the grille.
  • The brackets should sit flush against a flat, level surface. If a bracket rocks, sits unevenly, or does not make proper contact with the grille, remove additional plastic and smooth the area until the bracket sits correctly.
  • Take your time during this step. A properly prepared mounting surface will help ensure the brackets bond securely.

2010-2014-raptor-gen-1-grille-marker-light-repair-kit-how-to-install_a059891a.jpg (614×518)
2010-2014-raptor-gen-1-grille-marker-light-repair-kit-how-to-install_230f0c8d.jpg (584×472)

4. Install the Grille Light Brackets

  • Once all three mounting surfaces have been properly prepared, you're ready to install the brackets.
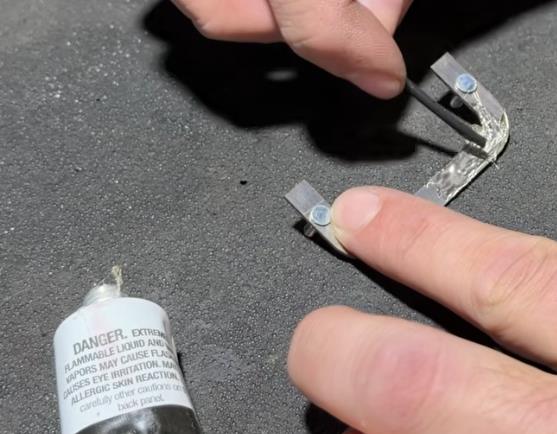
  • Use the provided 3M plastic emblem and trim adhesive to bond the brackets to the grille.
    Caution: Be extremely careful when applying the adhesive. Keep it off the visible/front surface of the grille, as it can cause damage.
  • A toothpick, small piece of wire, or another disposable applicator can be used to apply the adhesive to the back of each bracket.
  • Apply an even coat across the back of the bracket, then carefully position it on the prepared mounting surface.
  • Repeat the process for the remaining two brackets.
  • Once all three brackets are installed, allow the adhesive to cure for 24 hours before reinstalling the grille lights.

2010-2014-raptor-gen-1-grille-marker-light-repair-kit-how-to-install_c6a57ef0.jpg (557×434)
2010-2014-raptor-gen-1-grille-marker-light-repair-kit-how-to-install_052bebcd.jpg (517×429)

5. Reinstall the Grille Lights

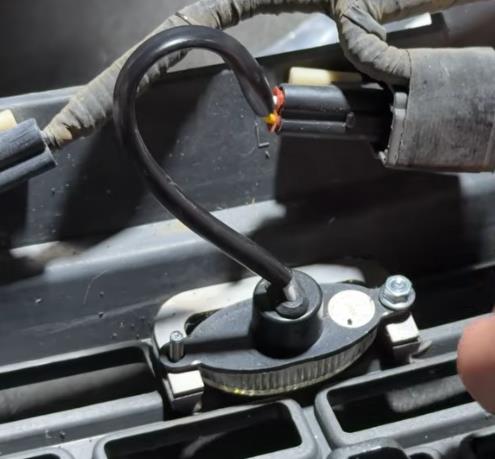
  • After the adhesive has fully cured, reinstall the three grille lights using the provided hardware.
  • When positioning the lights, make sure the DOT letters and numbers are facing downward.
  • Place each light into its corresponding bracket and install the provided hardware.
  • Tighten the hardware by hand. The lights do not need to be excessively tightened.
  • If necessary, use an appropriately sized socket to snug the hardware slightly further, but avoid overtightening.
  • Once all three grille lights are installed, inspect each one to make sure it is properly positioned and secure.

2010-2014-raptor-gen-1-grille-marker-light-repair-kit-how-to-install_369b6cbf.jpg (495×459)

6. Reinstall the Upper Grille

  • With the brackets and grille lights installed, reinstall the upper grille by reversing the removal procedure.
  • Carefully position the grille and secure it using the original mounting hardware.
  • Reconnect the grille light wiring harness.
  • Finally, reconnect the battery cables.

2010-2014-raptor-gen-1-grille-marker-light-repair-kit-how-to-install_6eb452ff.jpg (426×435)

7. Test the Grille Lights

  • Before finishing the installation, turn the vehicle on and test the grille lights.
  • Verify that all three lights illuminate properly and that the wiring connections are secure.
  • If everything is functioning correctly, the installation is complete.

2010-2014-raptor-gen-1-grille-marker-light-repair-kit-how-to-install_618addd3.jpg (577×458)

Installation Complete

  • Installing upper grille light brackets on a Gen 1 Ford Raptor is a relatively simple way to add the proper mounting points for the factory-style grille lights without replacing the entire grille.
  • The key to a successful installation is properly preparing the grille's mounting surfaces and allowing the adhesive to fully cure before reinstalling the lights.
  • With everything reassembled and tested, you're ready to hit the road with your newly equipped Gen 1 Raptor grille!


About the Video

2010-2014 Gen 1 Raptor: How To Fix Broken Grille Running Light Studs

Check out our YouTube channel for even more tech tips, installation videos, how-tos, and more. The best place to go for anything Mustang related!

Published on 2026-07-31
A problematic area on the 2010-2014 Ford Raptor trucks are the studs for the running lights on the back of the upper grille. Until now, there wasn't a dedicated solution for this problem. The LMR Products Gen 1 Raptor upper grill light repair bracket kit is the perfect fix.

The repair brackets are precision-cut from durable stainless steel and feature threaded mounting studs that are far superior than the OE-plastic studs. Retaining nuts are supplied in the correct thread pitch to properly secure each running light. One tube of adhesive is provided to glue the brackets to your grille.
Thumbnail image of the author of this article, Andrew Perry.

About the Author

Andrew has been writing content for Late Model Restoration for over 2 years, producing over 50 articles. Over the years, Andrew has owned numerous Mustangs, including a 2007 V6, 2003 GT, 1967 GT, 1994 GT, 1995 GT, 2014 GT (2), 2000 V6 (V8 swapped), 2016 GT/PP, 1988 LX 5.0, and a 2009 GT/CS. Read more...