SHOP

2024-26 Mustang Parts
Free Shipping on qualifying orders over $99* Details
LMR showroom & will call pickup service will be closed beginning Monday 9/21/26 for renovations until further notice. Need help? Contact Us.

2024-2026 Mustang Air Design Deck Lid Trim Panel Install

Created by Andrew Perry / 5 min read
Date Created: 8/20/2025
Last Updated: 12/10/2025

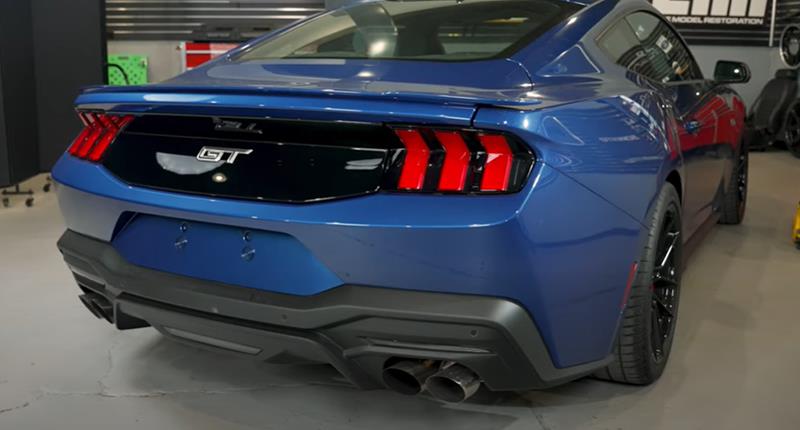
Follow along as we guide you through the steps of installing the Ford "Air Design" deck lid trim panel on a 2024-2026 S650 Mustang!
Viewing this install and using the information shared is subject to the terms set forth here - View the LMR Install Instructions Disclaimer.
Add some extra style to your 2024-2026 S650 Mustang with this Air Design gloss black deck lid trim panel directly from Ford!

Product Links:

Tool List:

  • Heat Gun
  • 7/16" Drill Bit
  • Drill
  • Squeege
  • Microfiber Towel

Installation Instructions

Step 1: Remove Factory Decklid Emblem

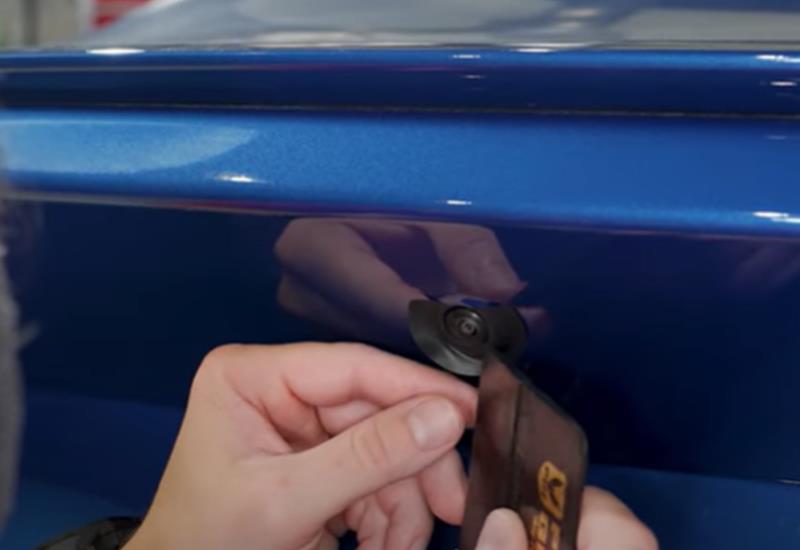
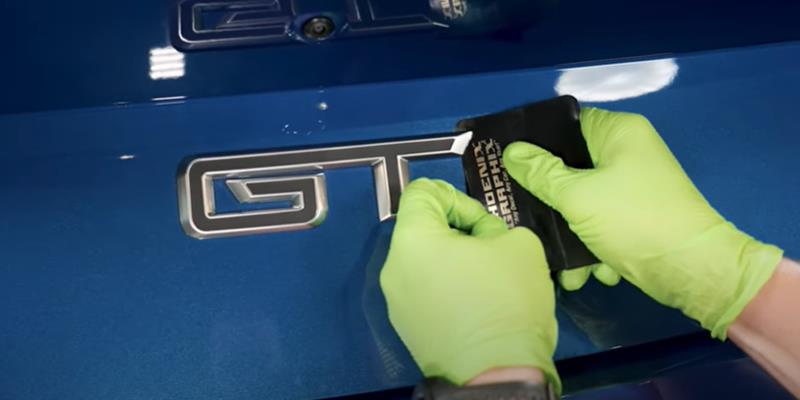
  • Start by removing the factory decklid emblem if equipped.
  • Take a heat gun and heat around the emblem, moving back and forth.
  • Take a squeege or plastic pry tool to remove the emblem. You can also use fishing line to help cut the double-sided tape.
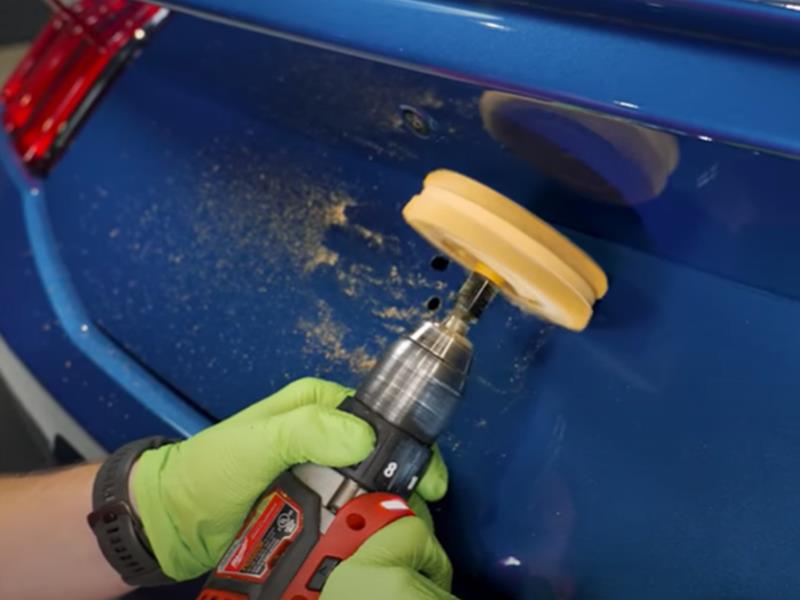
  • Remove the rest of the remaining adhesive. We used an eraser wheel to ensure ease of cleanup.
  • Take this time to also clean the back of the emblem if you plan to reuse it.
2024-2025-mustang-s650-air-design-deck-lid-trim-panel-install_b0cf8cc6.jpg (800×400)
2024-2025-mustang-s650-air-design-deck-lid-trim-panel-install_91631f44.jpg (800×600)

Step 2: Install Deck Lid Panel

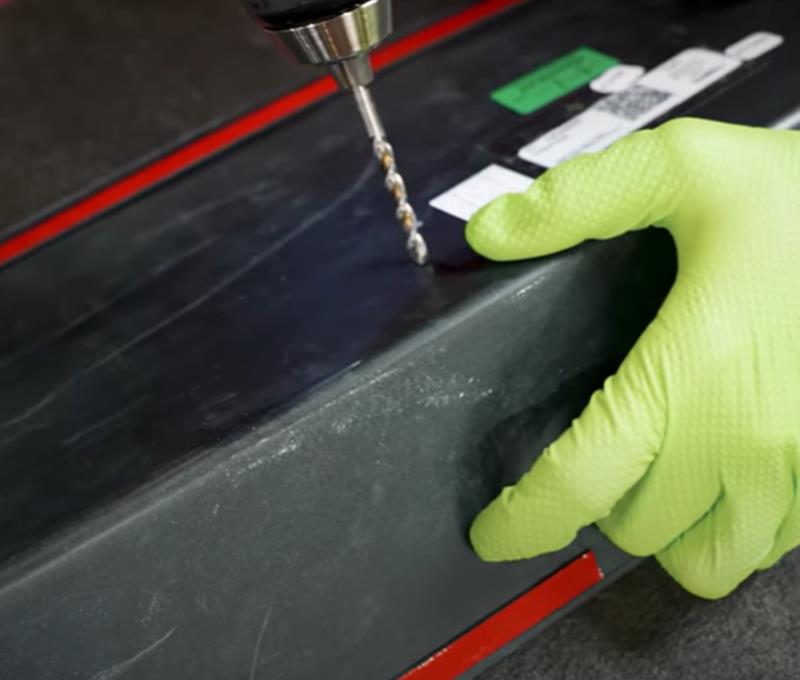
  • With the new trim panel on a workbench, mark and drill out the two holes using the 7/16" drill bit.
  • Test fit the new panel to the trunk and align the panel before removing any of the double-sided tape.
  • Apply the black out liner to eliminate the body color of the car showing through the panel.
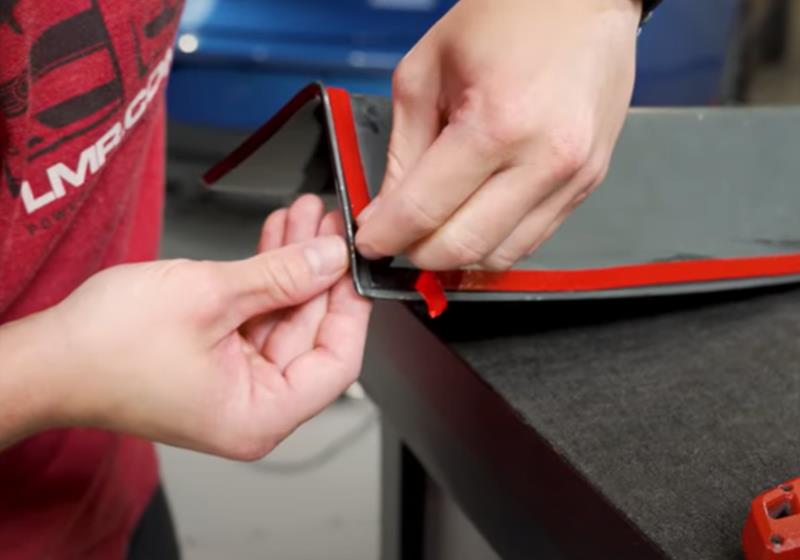
  • Dog-ear the double-sided tape on the back of the panel and remove the backing around the backup camera hole.
  • Take the head gun to heat up the deck lid panel and trunk to ensure adhesion.
  • Apply the adhesion promoter to the trunk where the 3M tape will make contact.
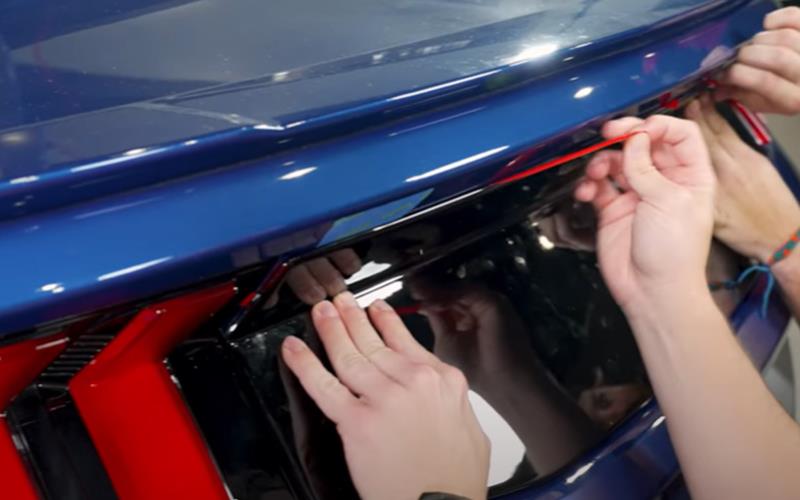
  • Once all of that is done, position the new deck lid on the trunk and remove the 3M tape.
  • After the deck lid panel is installed, test-fit and reinstall the emblem if desired.
  • After that, you are good to go!
2024-2025-mustang-s650-air-design-deck-lid-trim-panel-install_1b45748c.jpg (800×680)
2024-2025-mustang-s650-air-design-deck-lid-trim-panel-install_357297f6.jpg (800×550)
2024-2025-mustang-s650-air-design-deck-lid-trim-panel-install_ad34adf4.jpg (800×560)
2024-2025-mustang-s650-air-design-deck-lid-trim-panel-install_449b63bc.jpg (800×500)
2024-2025-mustang-s650-air-design-deck-lid-trim-panel-install_34ec7b8c.jpg (800×450)
2024-2025-mustang-s650-air-design-deck-lid-trim-panel-install_c2257d75.jpg (800×430)


About the Video

2024-2026 S650 Mustang: Ford "Air Design" Gloss Black Deck Lid Trim Panel - How To Install

Check out our YouTube channel for even more tech tips, installation videos, how-tos, and more. The best place to go for anything Mustang related!

Published on 2025-06-09
2024-2026 S650 Mustang: Ford "Air Design" Gloss Black Deck Lid Trim Panel - How To Install
Thumbnail image of the author of this article, Andrew Perry.

About the Author

Andrew has been writing content for Late Model Restoration for over 2 years, producing over 50 articles. Over the years, Andrew has owned numerous Mustangs, including a 2007 V6, 2003 GT, 1967 GT, 1994 GT, 1995 GT, 2014 GT (2), 2000 V6 (V8 swapped), 2016 GT/PP, 1988 LX 5.0, and a 2009 GT/CS. Read more...