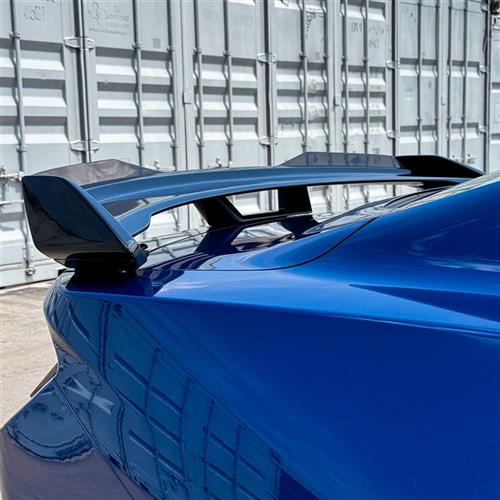
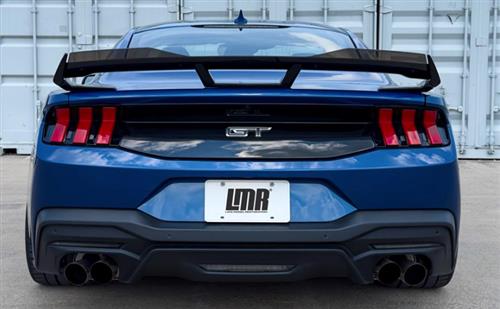
If you are installing the LRS-16600D 2024-2026 Mustang Dark Horse Style Spoiler on your S650 Mustang, this step-by-step guide will help you every step of the way.
Purchase S650 Mustang Dark Horse Style Spoiler
* A #3 Phillips screwdriver is required for assembly of this dark horse rear spoiler.
* To ease installation, a small piece of masking tape can be used to hold the screws onto the driver
during placement.
* Before installation, refer to the QR code below for detailed instructions on removing the factory
spoiler module.
Installation Instructions
- Unbox all components and arrange them on a clean, flat level surface, utilizing the provided protective foam to prevent damage to painted surfaces. Carefully inspect and verify that all components and hardware are present prior to beginning installation.
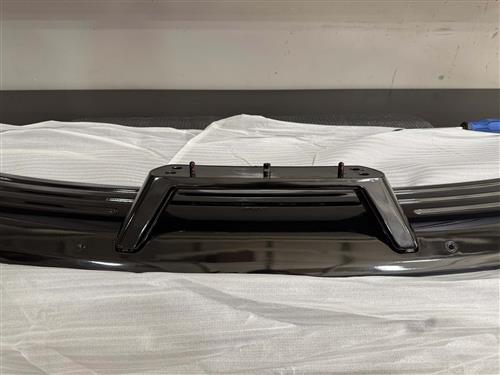
- Before beginning, carefully remove all protective film from the components. Starting with the main spoiler deck, position it upside down in the forward orientation. This will aid in the installation of the center support and side winglets. (See Figure 1)
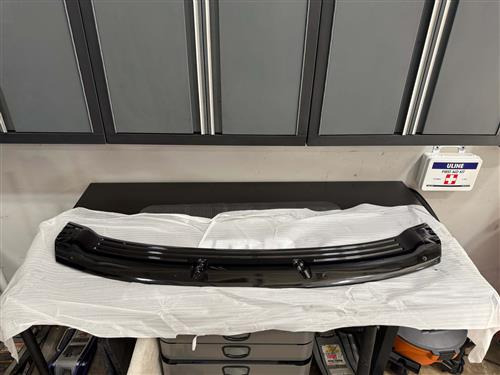
- Position the center support onto the underside of the spoiler deck, aligning the mounting holes. Using the four (4) supplied short screws (B), securely fasten the center support to the spoiler. (See Figure 2)
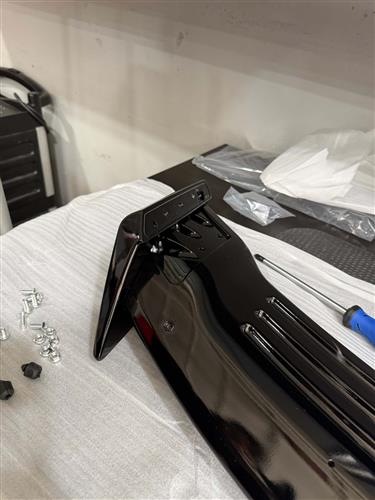
- With the center support securely fastened, proceed to the side winglets. Position each winglet onto the spoiler, align the mounting holes, and secure using three (3) short screws (B). Repeat this process for both sides. (See Figure 3)
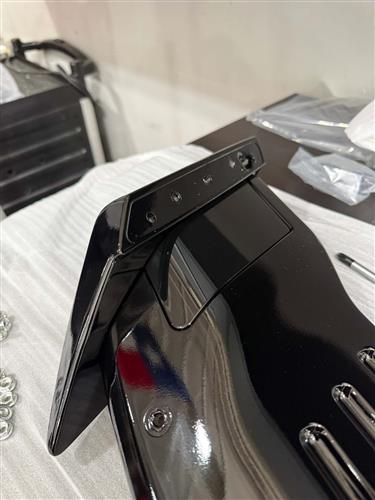
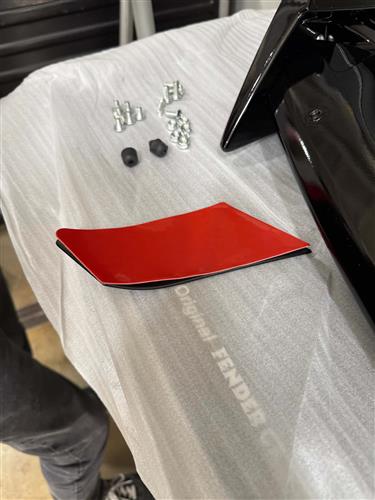
- Once the winglets are securely fastened, apply the side-specific adhesive tape padding to the hardware cover plate. Remove the red backing from the tape, then carefully position and press the cover plate into place, ensuring it fully conceals the winglet mounting screws. (See Figure 4 & 5)
- Once the hardware cover plate is attached, proceed to the side mounting brackets. Position each mounting bracket onto the winglet and secure it using three (3) supplied short screws (B). Repeat this step for both sides. (See Figure 6)
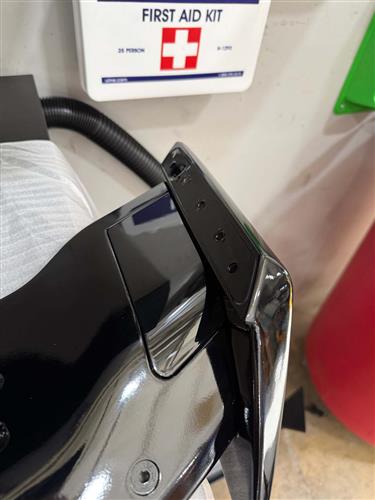
- Using the supplied, side-specific bracket hardware cover, apply the provided tape padding to the cover plate. Once the padding is in place, peel off the red backing and carefully position and secure the cover onto the bracket. (See Figure 7 & 8)
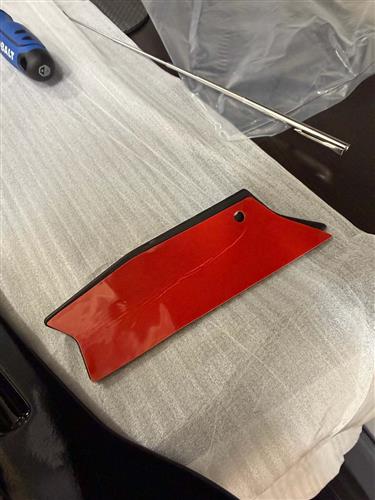
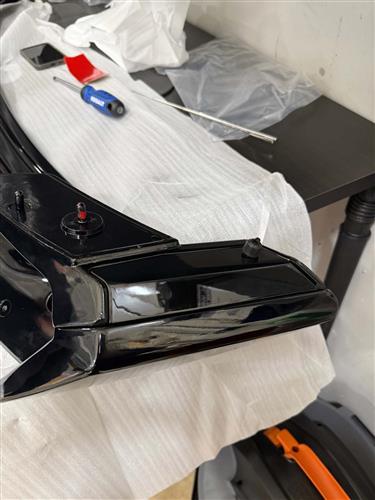
- Place the wing bumper stop (D) onto the mounting bracket hardware cover plate. (See Figure 8)
- Now that all components are in place, install the provided gurney flap. Position the gurney flap on the rear of the spoiler, aligning it with the screw holes. Using the supplied screws (C), securely attach the gurney flap to the spoiler. (See Figure 9)
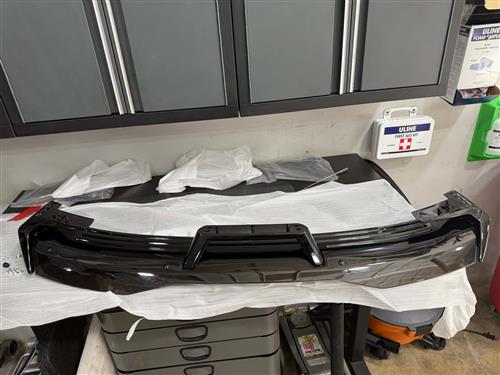
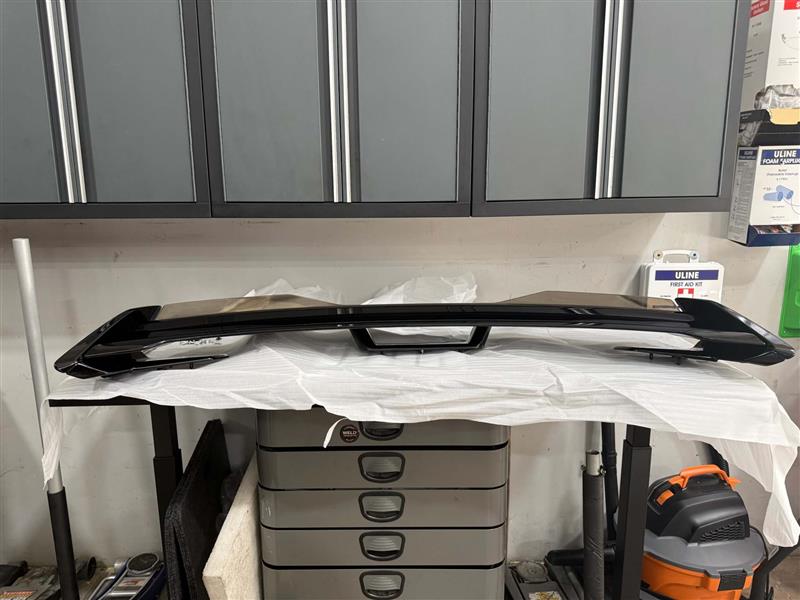
- Remove the spoiler module from the vehicle. (Scan QR Code And See Video Tab)
- To install the assembled spoiler onto the spoiler module, first remove the rear camera backing plate and camera, followed by the internal support structure. These components are secured with multiple T-15 Torx screws. Once removed, detach any existing spoiler currently mounted on the module.
- Reinstall the spoiler module, with the spoiler attached, onto the vehicle, ensuring all mounting points are properly aligned and securely fastened.
*Not all hardware included will be used.