SHOP

1992-96 Bronco Parts
Free Shipping on qualifying orders over $99* Details
LMR showroom & will call pickup service will be closed beginning Monday 9/21/26 for renovations until further notice. Need help? Contact Us.

1992-1996 Bronco Tailgate Restoration

Created by Brian Horn / 15 min read
Date Created: 4/22/2026
Last Updated: 4/22/2026

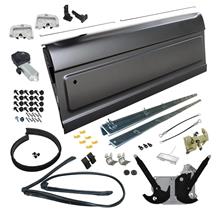
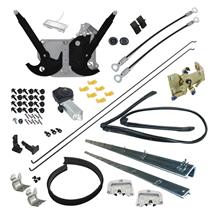
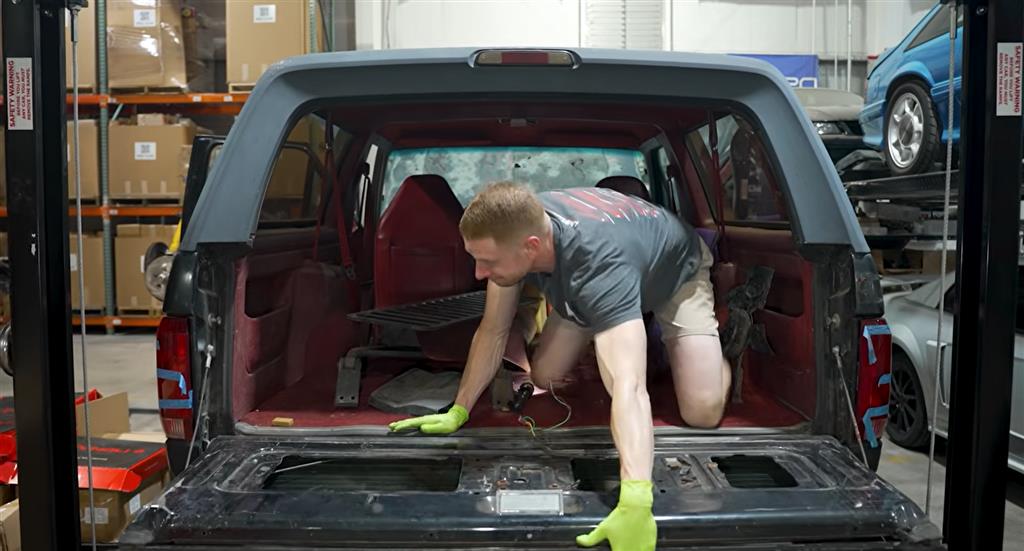
The LMR crew shows the process of replacing and restoring the tailgate on a 1992-1996 Ford OBS Bronco.

Viewing this install and using the information shared is subject to the terms set forth here - View the LMR Install Instructions Disclaimer.

1992–1996 OBS Bronco Tailgate Removal & Installation Guide

This is best to be watched in our installation video provided above, but if you would prefer to have a step-by-step guide, we have provided one here as well.

Tools Needed:
  • 7/16", 1/2", 9/16" sockets
  • T50 Torx bit
  • Ratchet + extensions
  • Screwdrivers
  • Drill + step bit
  • Pry tool
  • Grease + adhesive
  • 12V power source + jumper wires
  • Painter’s tape

Safety & Prep (READ FIRST)

  • Have at least 1–2 helpers (tailgate is heavy and awkward)
  • Wear gloves → sharp edges everywhere
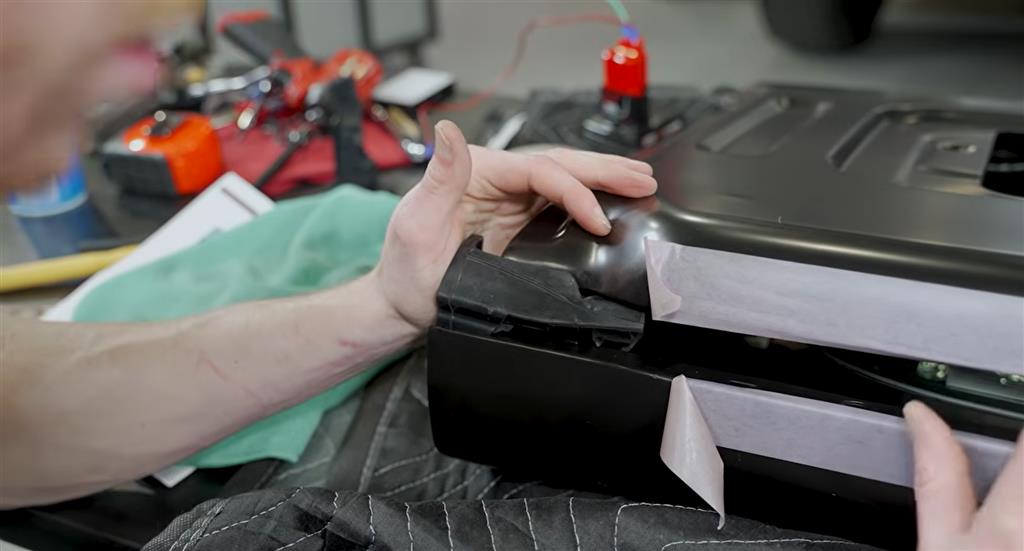
  • Protect surfaces:
    • Towels / moving blankets on workbench
    • Painter’s tape on painted areas
  • Expect:
    • Heavy components
    • Rusted or mismatched hardware
  • Before painting a new tailgate:
    • Test-fit and pre-assemble EVERYTHING first
    • Drill all required holes BEFORE paint

PART 1: Tailgate Removal

1. Lower the Rear Window

  • Reconnect battery or use external power (12V)
  • Apply power to window motor:
    • Positive → positive
    • Negative → negative
    • Reverse polarity if needed
  • If stuck:
    • Manually assist or free glass

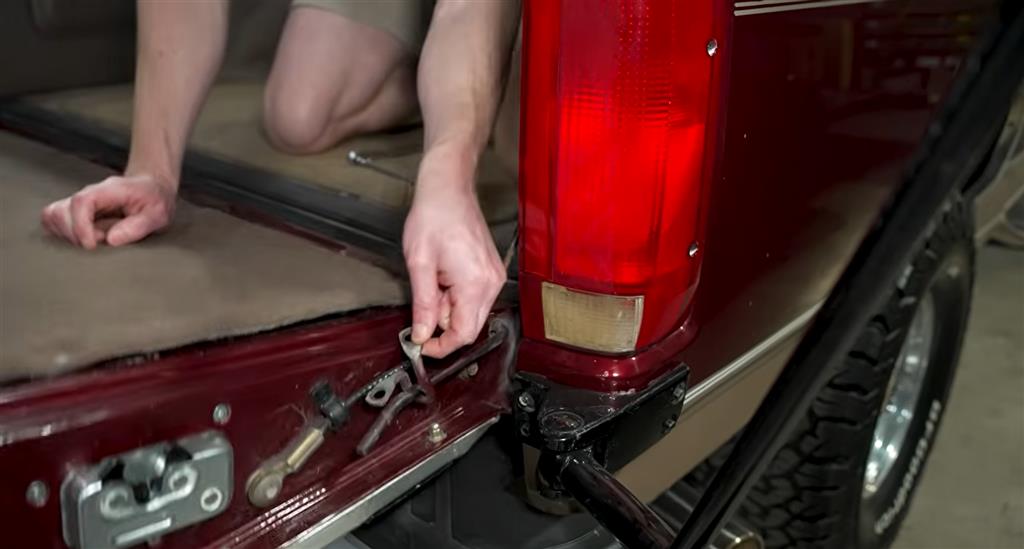
2. Open Tailgate Manually (if needed)

  • Access latch rod inside
  • Pull latch manually if handle is broken

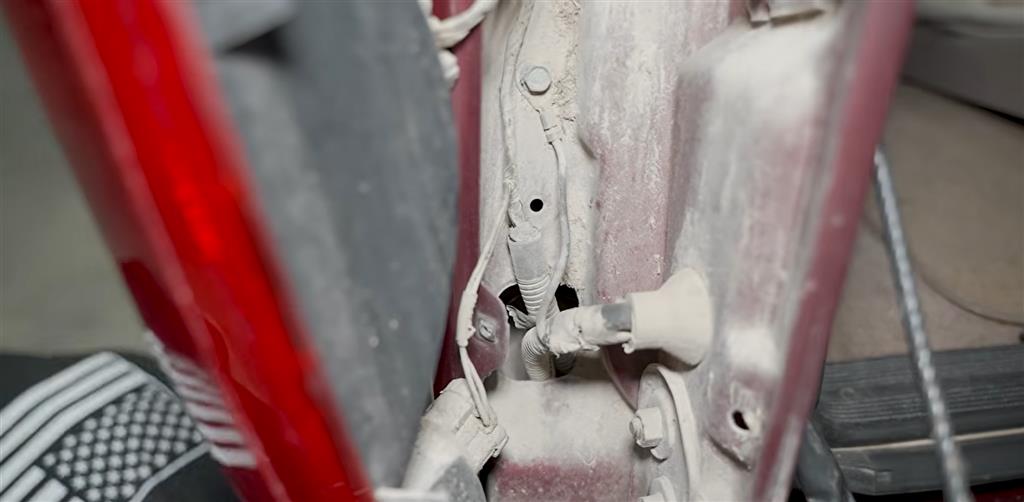
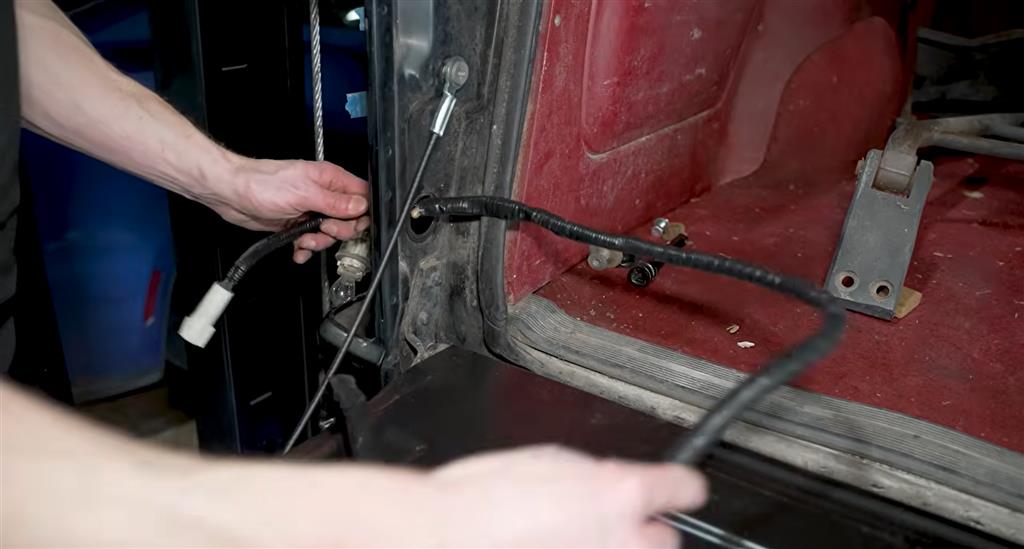
3. Disconnect Wiring Harness

  • Remove driver-side tail light (4 screws)
  • Locate harness:
    • Tailgate → bedside
  • Disconnect and move out of the way

4. Remove Torsion Rod Loop Bracket (CRITICAL STEP)

  • Peel back weather stripping
  • Use 7/16 socket
  • Remove:
    • Top bolt first
    • Then slowly loosen bottom bolt
  • Have helper hold tailgate pressure
  • Carefully release tension (avoid injury)

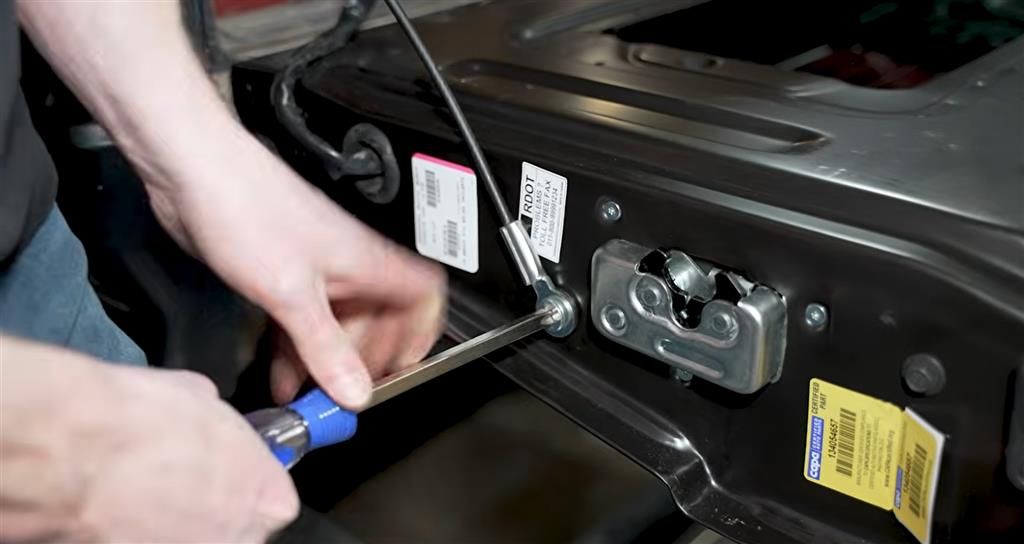
5. Remove Tailgate Cables

  • Remove bolts (size may vary: T50 / 1/2 / 9/16)
  • Do BOTH sides

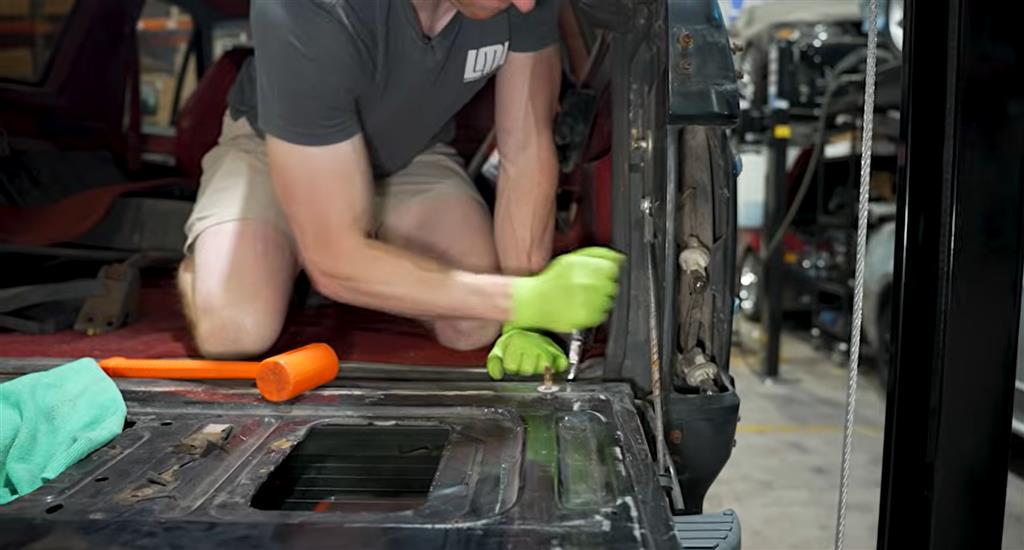
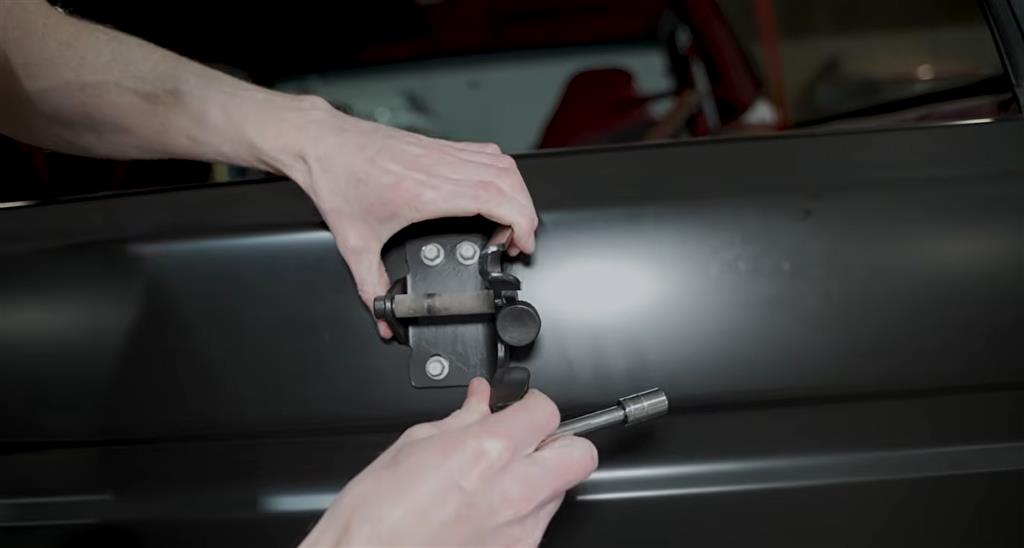
6. Remove Tailgate Hinges

  • Remove two 9/16 bolts per side (jam area)
  • With helpers holding tailgate:
    • Lift and remove tailgate from vehicle

PART 2: Tailgate Disassembly

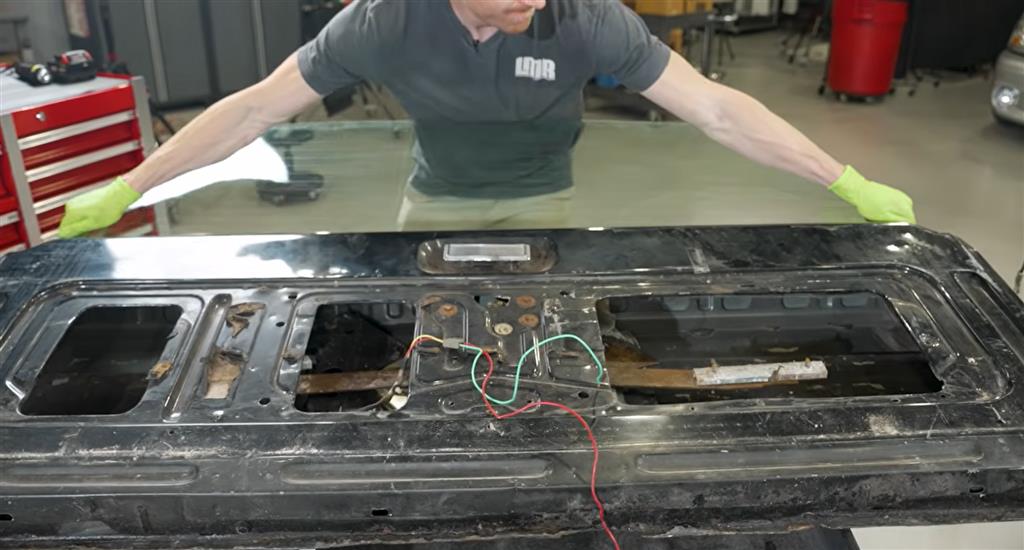
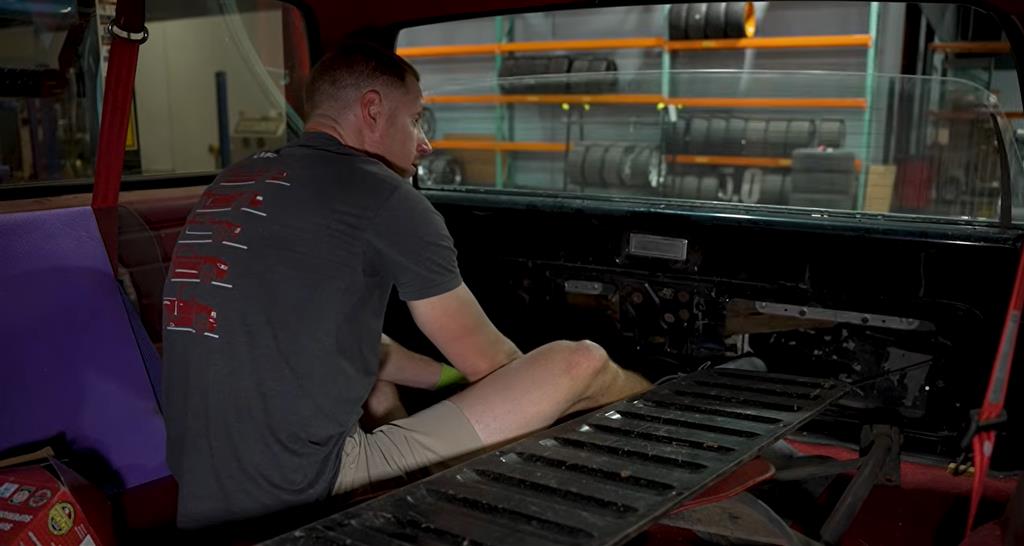
1. Remove Glass

  • Raise glass halfway
  • Remove 4 regulator nuts (7/16")
  • Push regulator down, lift glass off
  • Slide glass out carefully

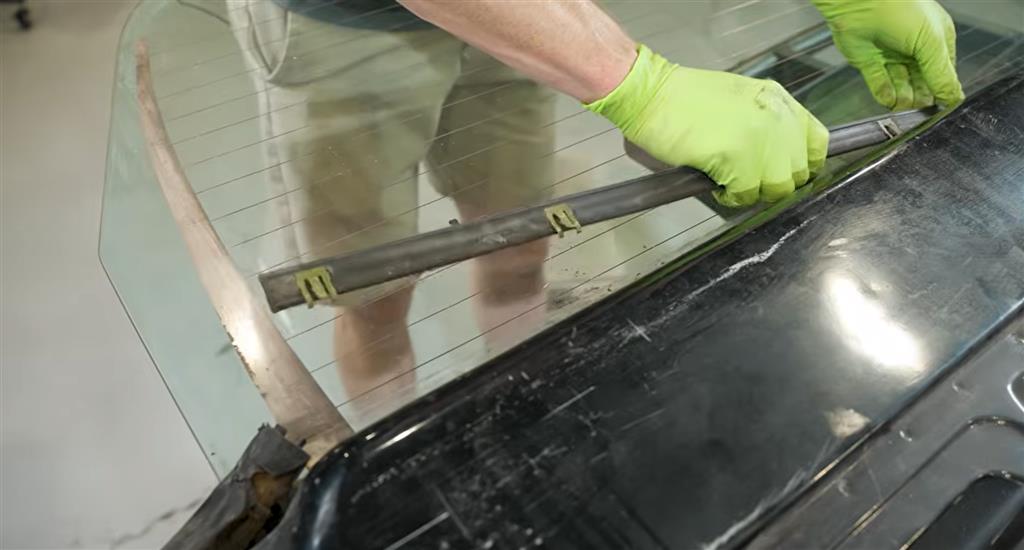
2. Remove Seals & Trim

  • Remove:
    • Glass weather strip
    • Inner/outer seals (Phillips screws)
  • Be careful—likely brittle

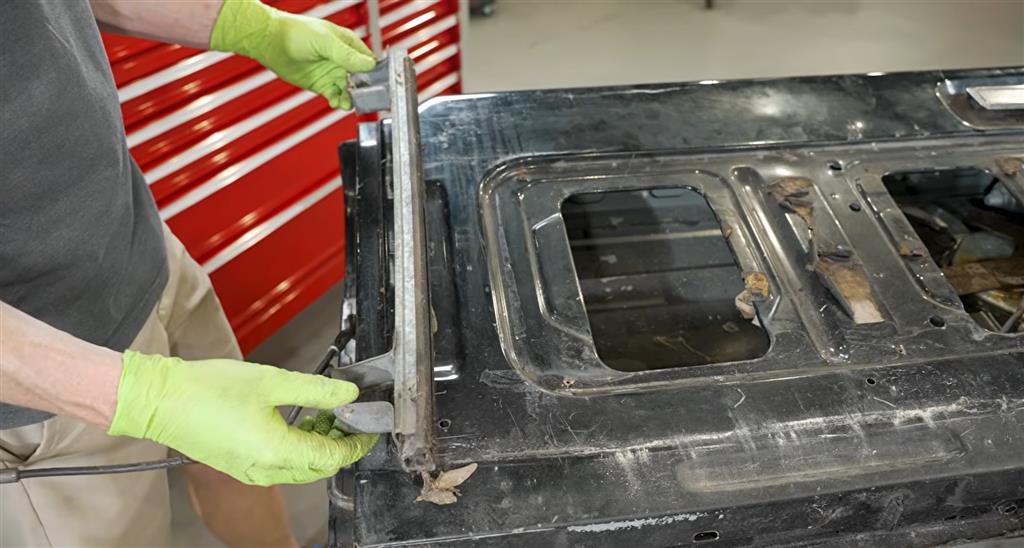
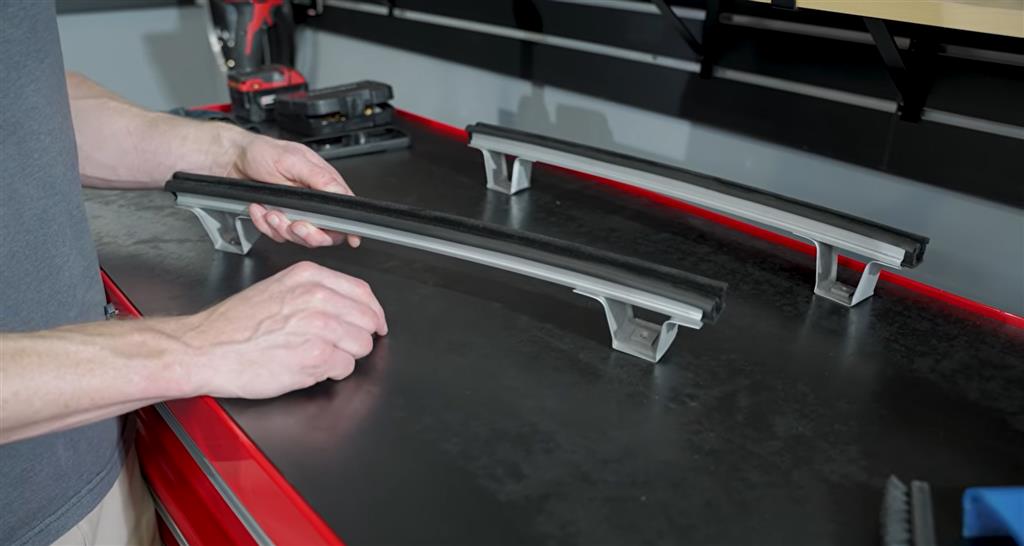
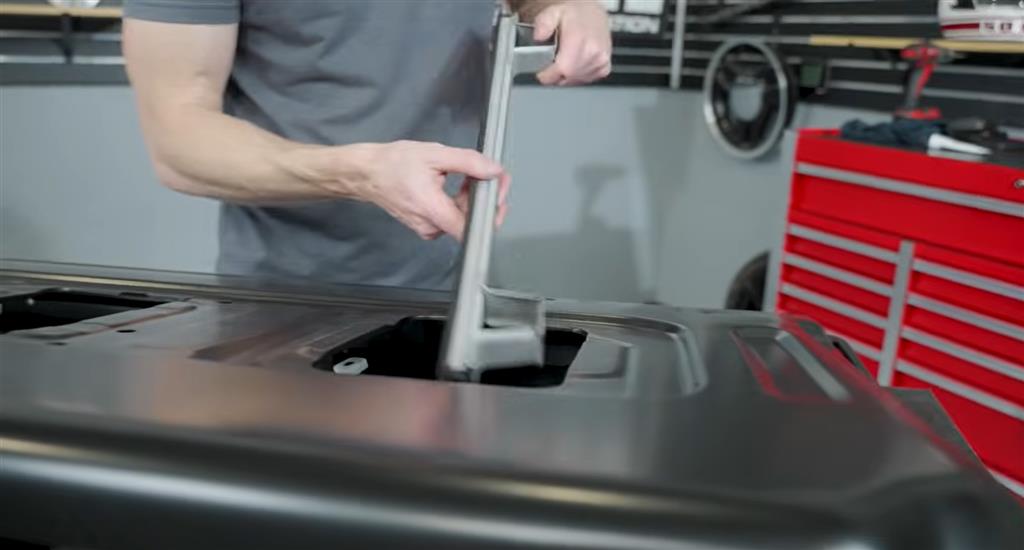
3. Remove Run Channels

  • Remove two 7/16 bolts per side
  • Pull channels out
  • Mark orientation (important!)

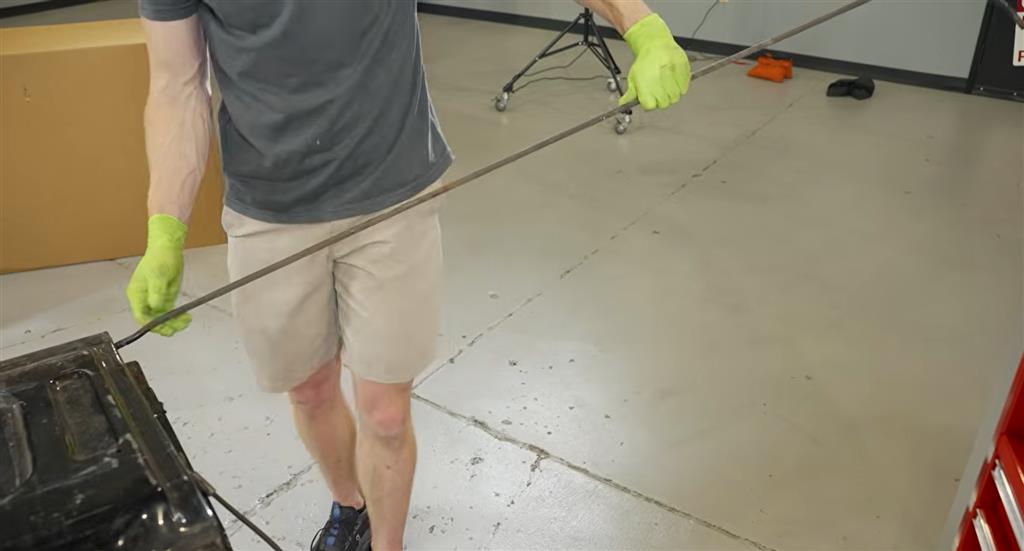
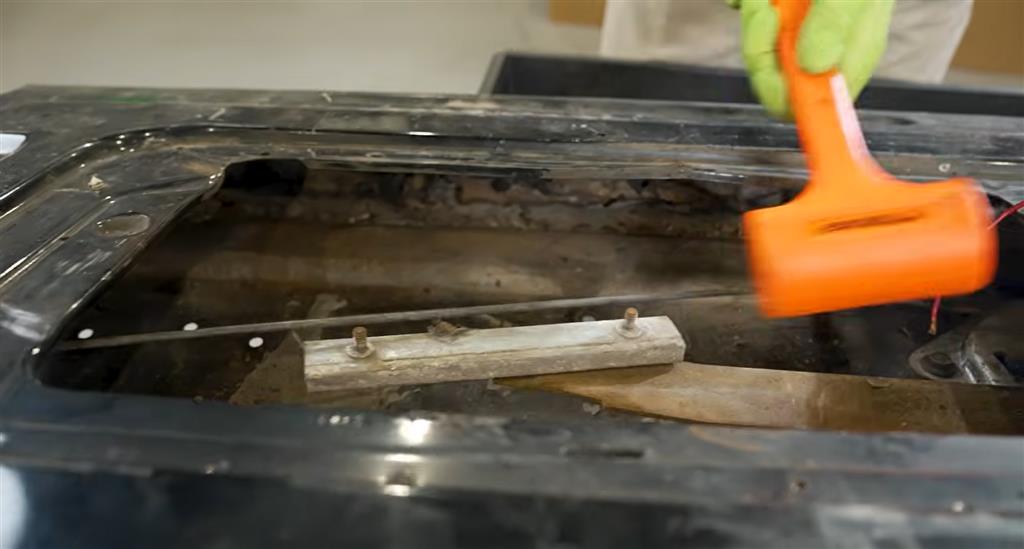
4. Remove Torsion Rod

  • Remove retaining brackets (7/16 bolts)
  • Pry rod out carefully
  • Slide and rotate out of tailgate

5. Remove Regulator Components

  • Remove arm rollers (tap off if stuck)
  • Disconnect latch rods
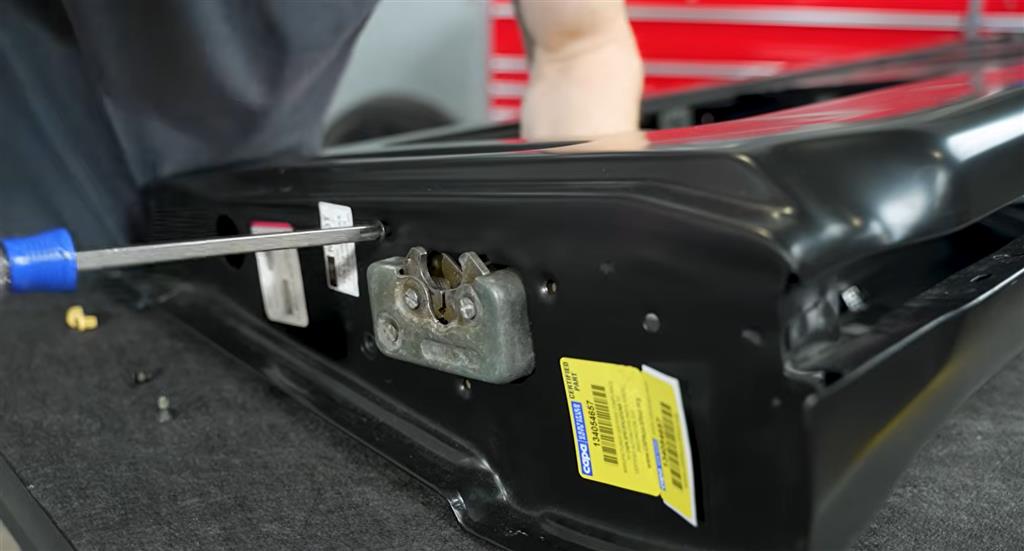
  • Remove latch assembly

PART 3: Clean & Refurbish Parts

Clean & Restore:

  • Glass
    • Vacuum debris
    • Clean with APC + non-abrasive pad
    • Optional: polish or #0000 steel wool
  • Run Channels
    • Remove old weatherstrip
    • Clean, repaint (optional)
    • Apply clear coat
  • Latch & Hinges
    • Soak in cleaner
    • Lubricate with spray grease
  • Hardware
    • Clean rust
    • Repaint if desired

PART 4: New Tailgate Assembly

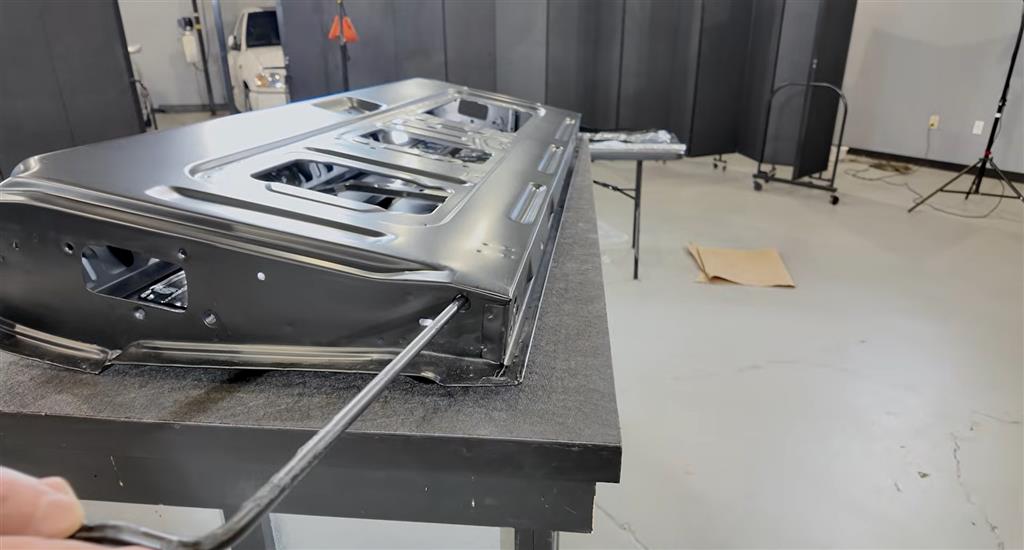
1. Install Torsion Rod

  • Insert 90° bend first (driver side)
  • Slide across tailgate
  • Seat into bracket
  • Install retaining brackets + bolts

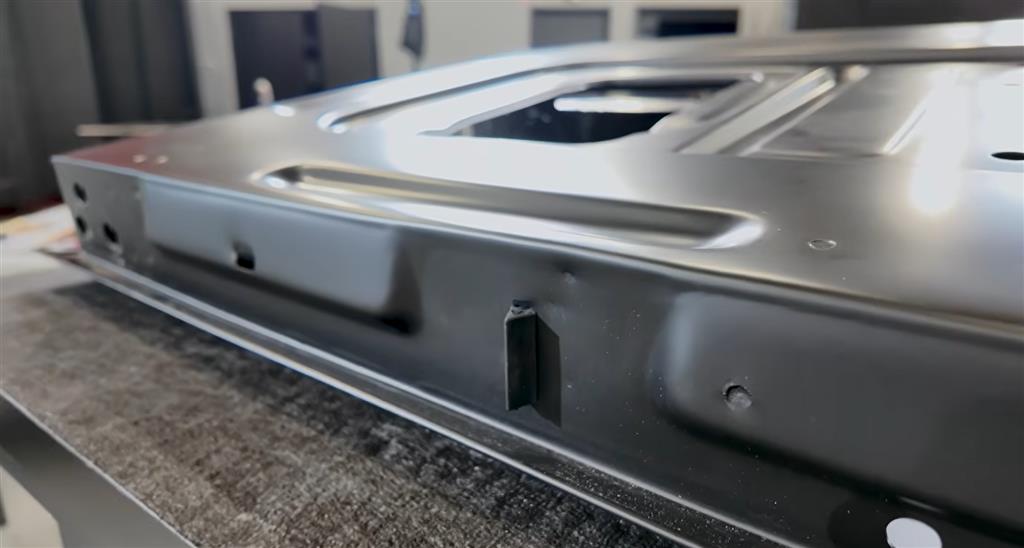
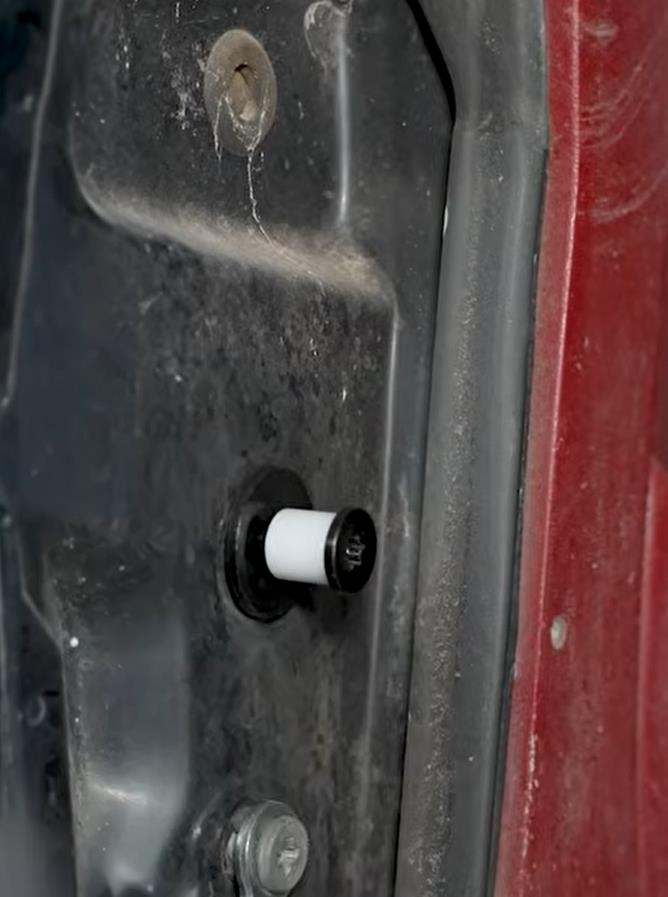
2. Install Bump Stops

  • Push into rectangular openings until seated

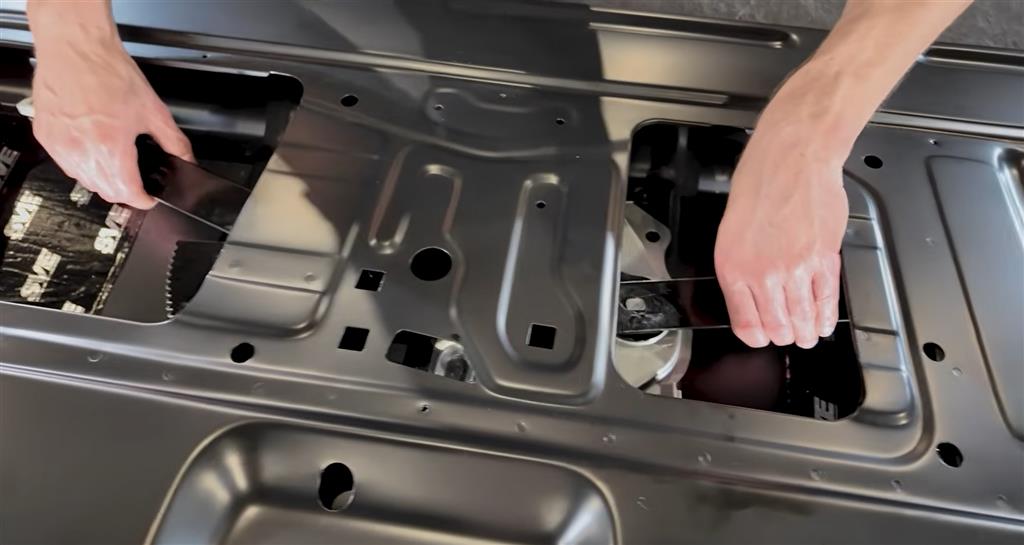
3. Install Window Regulator

  • Attach motor (8mm bolts)
  • Ensure gear teeth mesh properly
  • Install assembly into tailgate:
    • 5 mounting bolts total
  • Tighten snug (don’t strip plastic threads)

4. Install Latch Assembly

  • Position latch inside tailgate
  • Install mounting bolts
  • Install latch rods:
    • Clip securely into place
  • Grease all pivot points

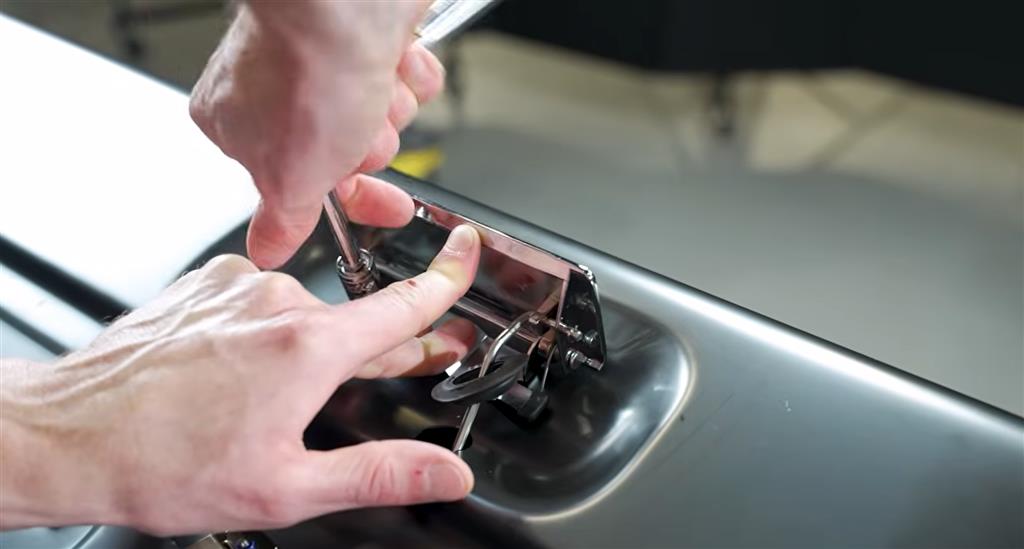
5. Install Tailgate Handle

  • Insert handle through opening
  • Install bolts (7/16)
  • Attach handle rod to latch

6. Install Weatherstrips

  • Apply adhesive to:
    • Channel AND weatherstrip
  • Let tack, then install
  • Allow ~24 hr cure

7. Install Run Channels

  • Align with bolt holes
  • Ensure correct orientation
  • Leave slightly adjustable for tuning

8. Install Wiring Harness

  • Route through tailgate
  • Seat grommets
  • Secure with clips
  • Extend wiring if needed (for window motor)

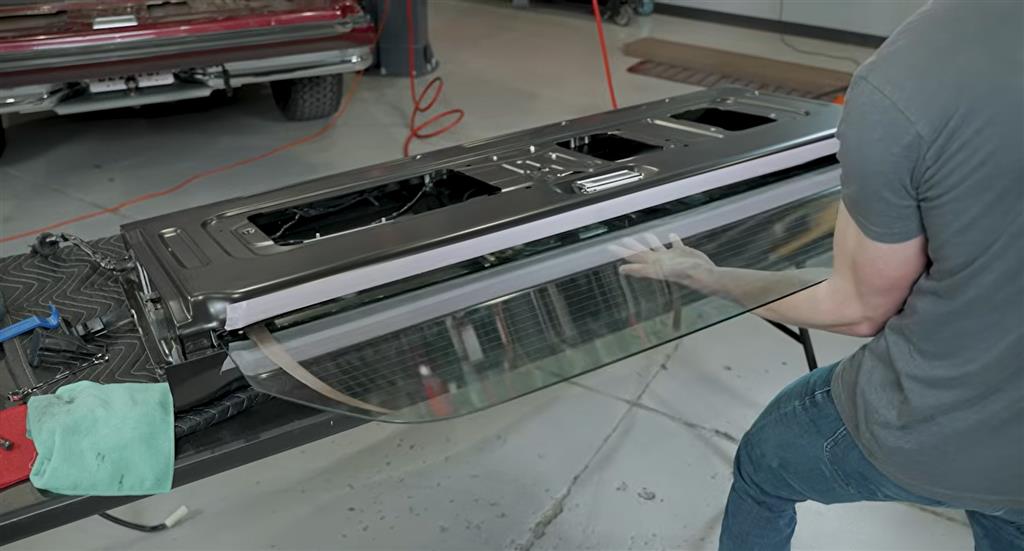
9. Install Glass

  • Grease regulator tracks
  • Set glass onto rollers
  • Install and tighten 4 nuts
  • Test movement

10. Install Seals

  • Corner seals (screw in carefully)
  • Beltline seals (press clips into place)

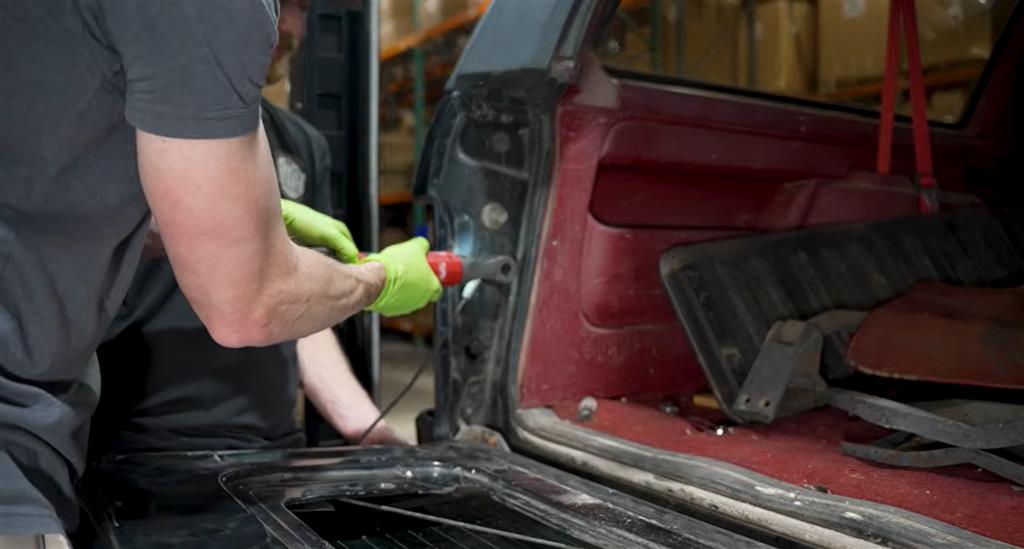
PART 5: Drilling New Tailgate (if applicable)

  • Measure from original tailgate:
    • Spare tire carrier holes
    • Bumper pad holes
  • Tape work area
  • Drill:
    • Start small (1/8")
    • Enlarge with step bit
  • Clean metal shavings

PART 6: Tailgate Installation

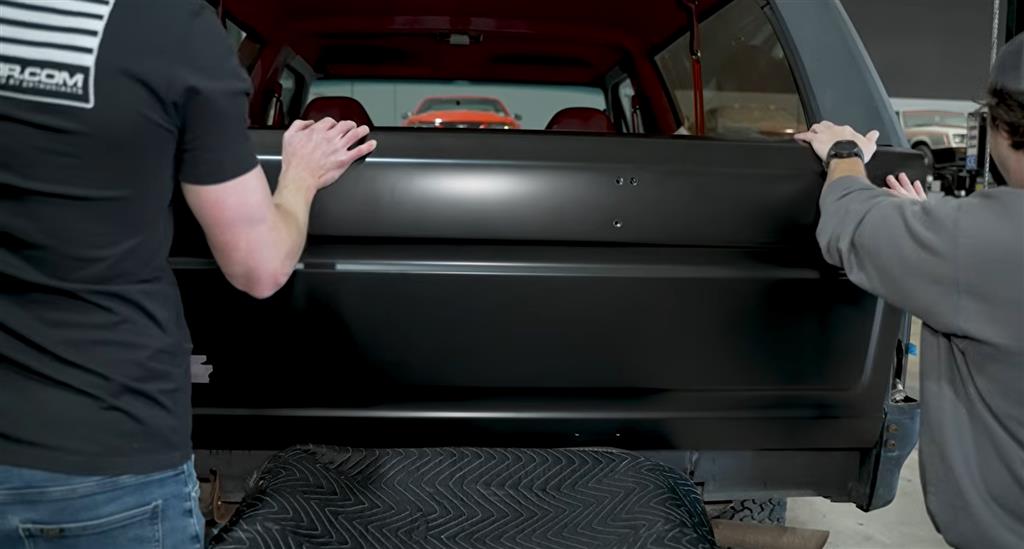
1. Mount Tailgate

  • Get help
  • Align hinges
  • Install 6 bolts
  • Leave loose for adjustment

2. Install Torsion Rod Loop Bracket

HIGH TENSION – BE CAREFUL
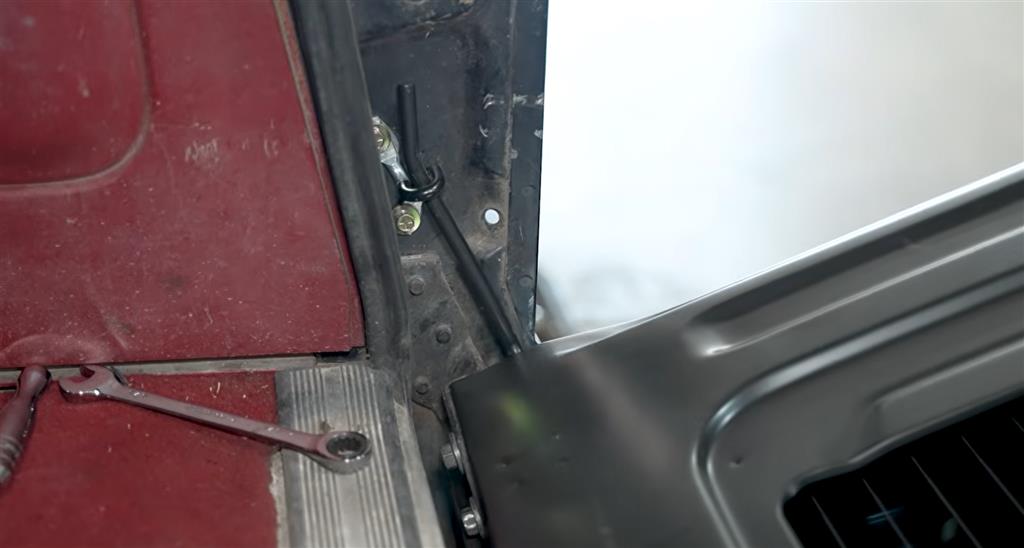
  • Helper holds tailgate nearly closed
  • Install:
    • Top bolt first
    • Then bottom bolt
  • Tighten fully

3. Install Support Cables

  • Bolt both sides
  • Tighten securely

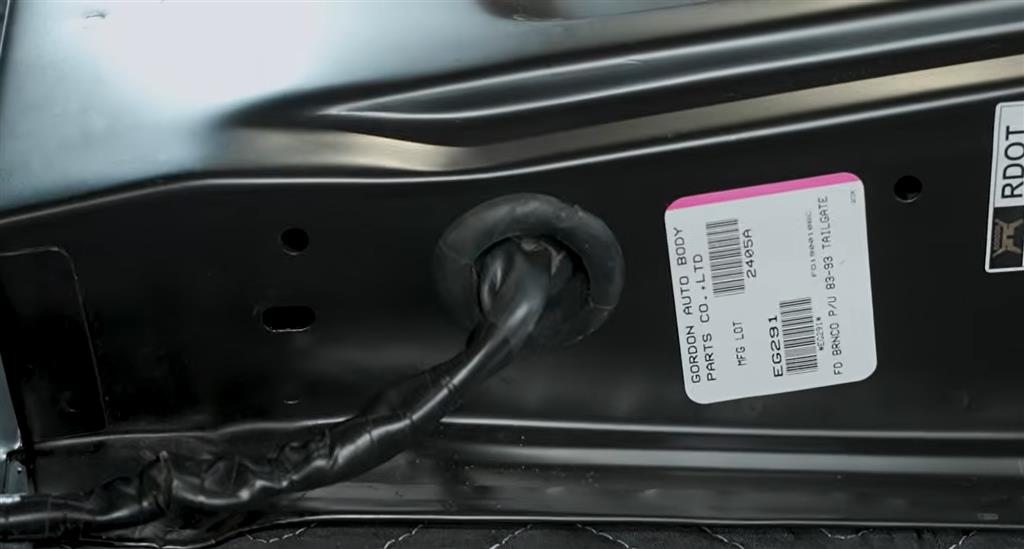
4. Reconnect Wiring

  • Route harness through bedside
  • Seat grommet
  • Connect all plugs

5. Adjust & Test

  • Install strikers (T50)
  • Adjust alignment:
    • Tailgate closing
    • Latch engagement
  • Cycle window:
    • Ensure smooth operation

6. Final Assembly

  • Install:
    • Access panel
    • Clips
    • Spare tire striker bracket
  • Tighten all hardware 

Final Checks

  • Tailgate opens/closes smoothly
  • Glass moves freely (no binding)
  • Latches engage evenly
  • No wiring tension when window is down
  • No paint damage

Pro Tips from the Video

  • Always mock assemble before paint
  • Take pictures during disassembly
  • Label parts if needed
  • Expect worn-out clips → replace them
  • Don’t overtighten into sheet metal

Filter by:
Featured
Sort By
Shop by:

Featured Tailgate Resto Parts


About the Video

Complete OBS Bronco Tailgate Restoration From Start to Finish

Check out our YouTube channel for even more tech tips, installation videos, how-tos, and more. The best place to go for anything Mustang related!
Published on 2026-01-14
In this video, the LMR crew shows the process of replacing and restoring the tailgate on a 1992-1996 Ford OBS Bronco.
Thumbnail image of the author of this article, Brian Horn.

About the Author

Brian has been with LMR in a variety of positions since 2017. While working mostly in the warehouse and shipping your orders, Brian is now taking on a new role of writing articles for us. Read more...