SHOP

1979-93 Mustang Parts
Free Shipping on qualifying orders over $99* Details
LMR showroom & will call pickup service will be closed beginning Monday 9/21/26 for renovations until further notice. Need help? Contact Us.

1979-93 Fox Body Mustang Shorty Header Installation Instructions

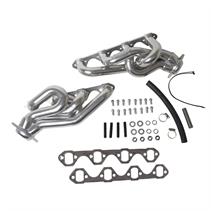
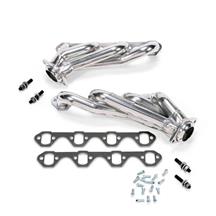
Late Model Restoration 1979-1993 Mustang Shorty header installation instructions will give you in-depth instructions on installing your new headers!
Viewing this install and using the information shared is subject to the terms set forth here - View the LMR Install Instructions Disclaimer.
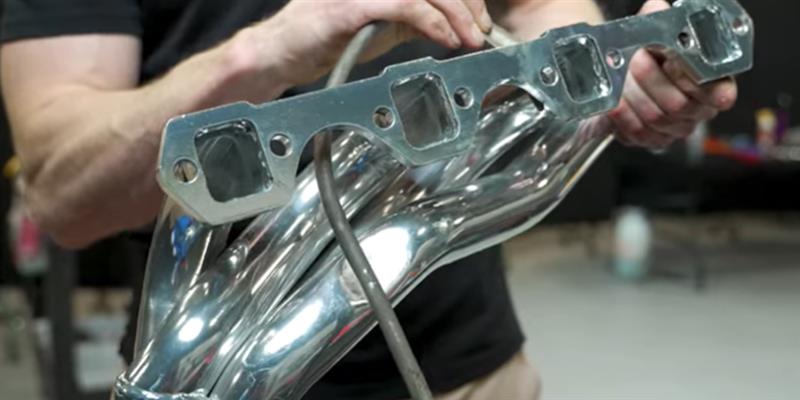
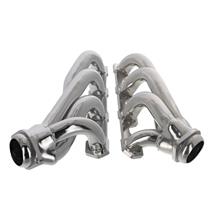
In this video, Landan shows the process of how to install a set a of SVE shorty headers onto a 1990 Fox Body Mustang. The SVE shorty headers are designed to fit all 1979-1993 5.0L Fox Mustangs and will connect to a factory or aftermarket factory-style mid-pipe. Modification of one of the primaries and clearancing of the driver side flange could be required.


Product Links:

Watch:
Vehicle Fitment:
  • Chassis: Ford Fox Body Mustang
  • Year Range: 1979, 1980, 1981, 1982, 1983, 1984, 1985, 1986, 1987, 1988, 1989, 1990, 1991, 1992, 1993

Installation Instructions

Step 1: Remove Mid Pipe

  • Jack your Mustang up and use jack stands to gain ample working room under the car. 
  • Remove any strut tower bars if equipped.
  • Air Intake System Removal: 1979-1985 - Remove any air cleaner tube(s) from the air cleaner assemblies. 1986-1993 - Disconnect the mass air sensor electrical connection (if equipped) and remove the air intake system from the throttle body and fender. 
  • Disconnect the negative battery cable. 
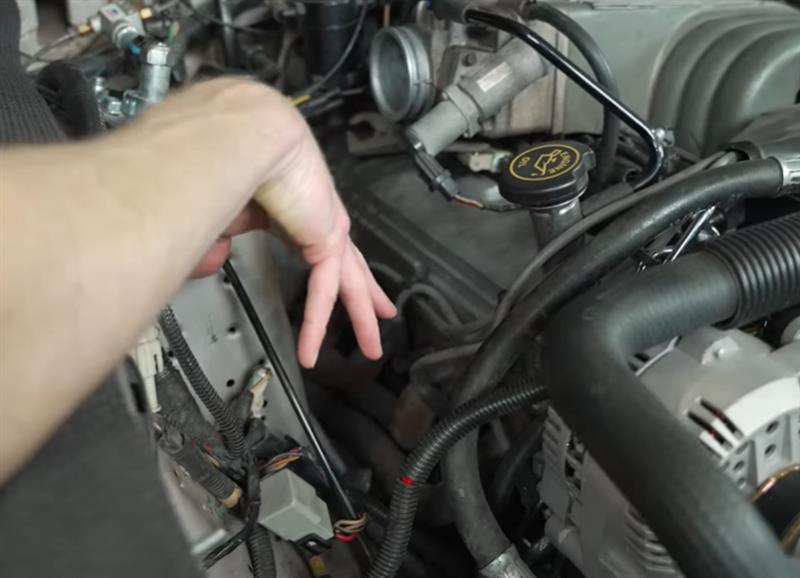
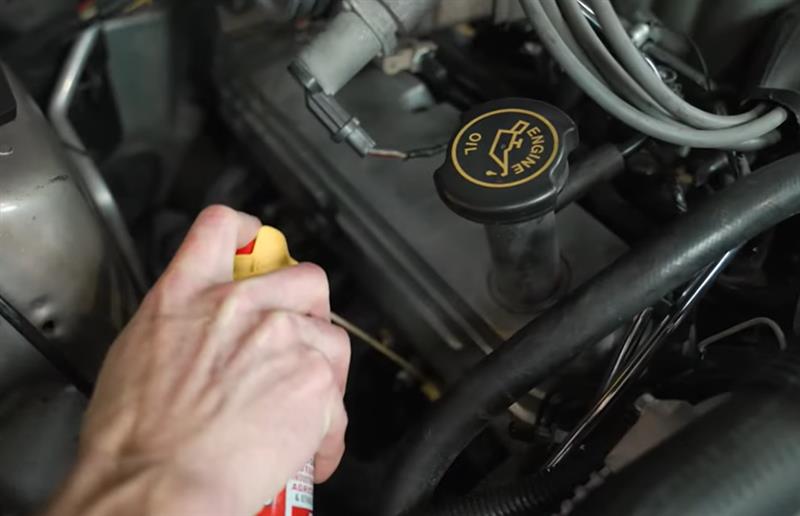
  • With the age of the Fox Mustang, it might be best to spray exhaust manifold bolts and cat back bolts with penetrating oil to ease removal.
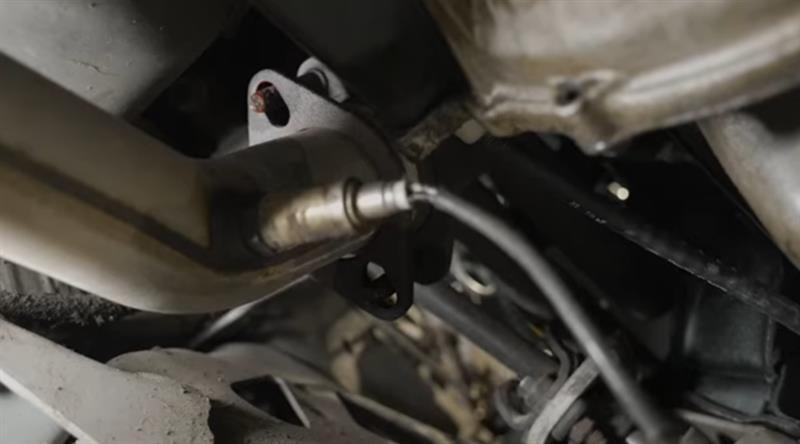
  • From under the car, disconnect the oxygen sensor electrical connections from the main wiring harness. 1979-1985 Carbureted - There will not be oxygen sensors so this step will be skipped.  1984-1993 Fuel Injected - There will be two oxygen sensors that will need to be disconnected.
  • Disconnect the midpipe to cat back bolts. Slide the cat back away from the midpipe to disengage and support the cat back lead pipes. If you let the cat back hang, the tailpipes can come in contact with the rear bumper and may damage the rear bumper.
  • Support the midpipe and disconnect the four midpipe to exhaust manifold/header bolts. This will allow the midpipe to be removed or pulled away from the manifolds. Note: If a smog system is still installed, disconnection of the smog pump tube may be required. 
fox-body-mustang-shorty-header-installation_3190e769.jpg (800×578)
fox-body-mustang-shorty-header-installation_34626e94.jpg (800×516)
fox-body-mustang-shorty-header-installation_2a560721.jpg (800×444)

Step 2: Remove Factory Headers

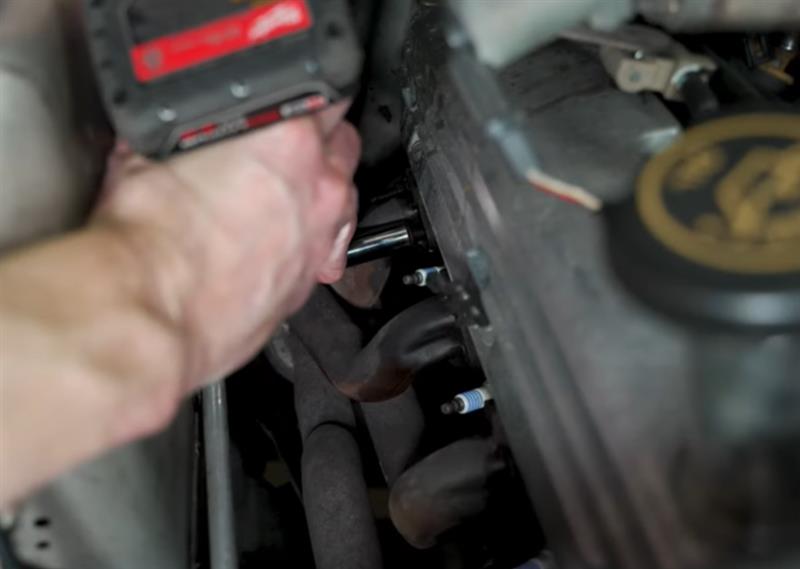
  • Disconnect the spark plug wires. Mark the spark plug wires if they are not numbered so you can reconnect them back correctly. 
  • Remove the spark plugs.
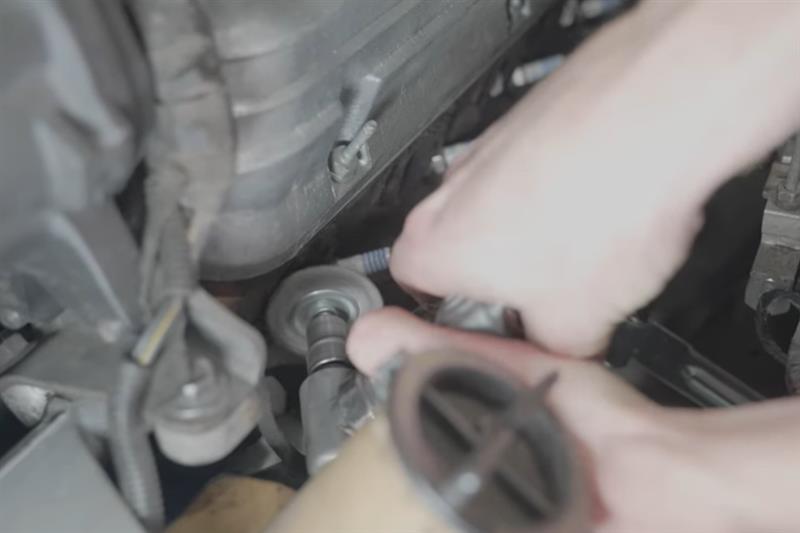
  • Remove the manifold to cylinder head nuts/bolts. Once all the retaining hardware is removed, the exhaust manifold can be removed from the top of the engine. (Header removal and installation is done at the top of the engine compartment)
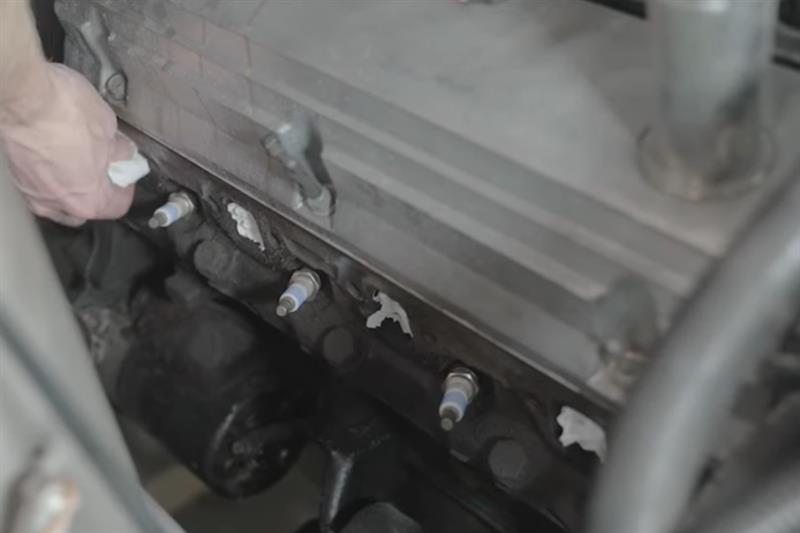
  • Clean any gasket material from the cylinder heads. Use caution to prevent material from entering the spark plug holes. You can plug the exhaust ports with rags and plug the spark plug holes with the previously removed spark plugs to seal the holes if you need to clean gasket material from the cylinder head.
fox-body-mustang-shorty-header-installation_db087179.jpg (800×569)
fox-body-mustang-shorty-header-installation_51a5aba6.jpg (800×533)
fox-body-mustang-shorty-header-installation_86bdab40.jpg (800×533)

Step 3: Install New Shorty Headers

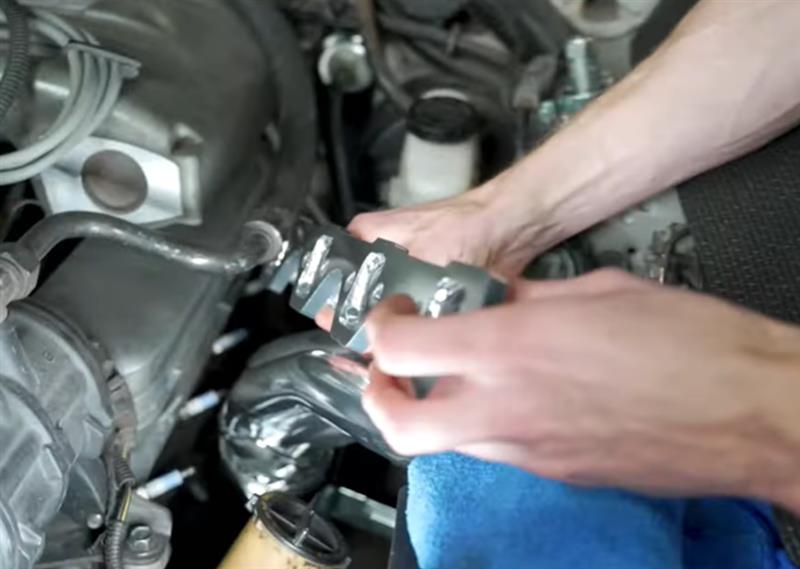
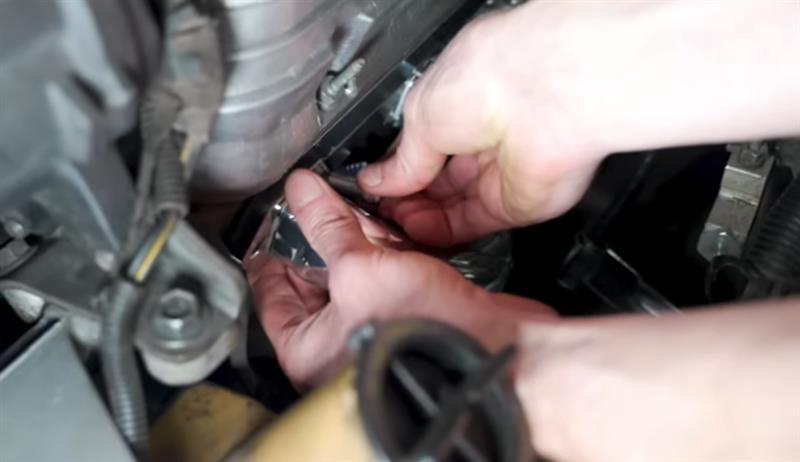
  • Feed the headers down first, to their respective positions and let it rest in place.
  • Replace the exhaust manifold gasket and install the shorty headers. This is a great time to replace your cylinder head to manifold hardware with fresh hardware.
  • Due to the larger header primaries, the factory lift plate will not be reinstalled.
  • The ball and socket flange of the new headers may also come into contact with the engine block. 
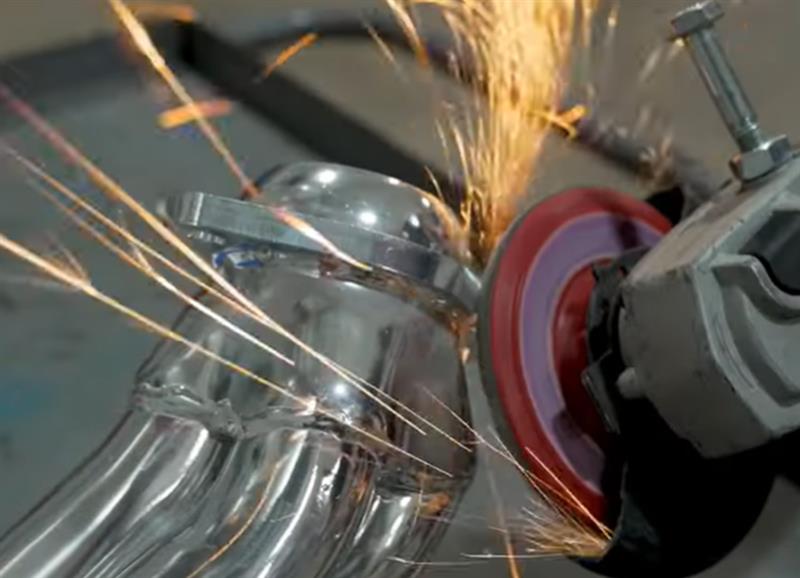
  • Make any modifications and clearances you may need to fit the new headers.
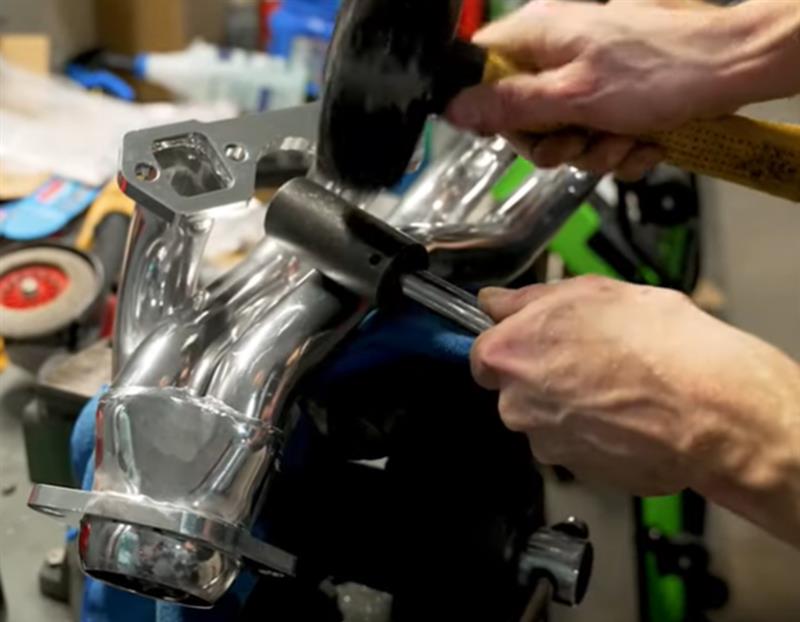
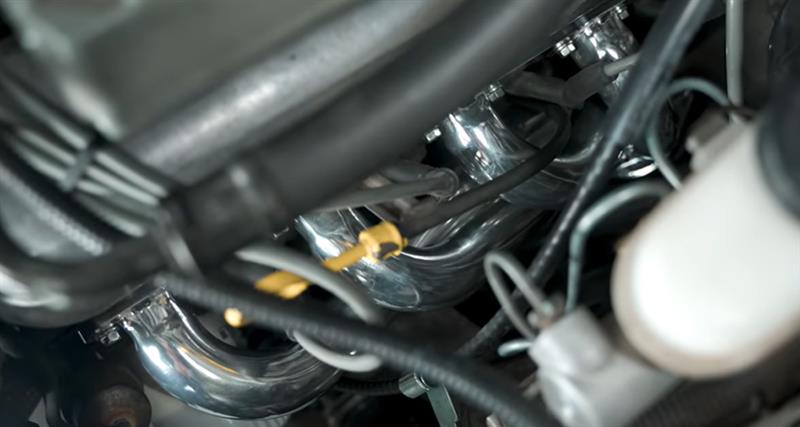
  • We used a socket and hammer to dimple/dent in the primary tube to allow clearance of the oil dipstick tube. This will NOT affect the header flow.
  • Lastly, we modified the side of the bracket for the dipstick tube to allow proper clearence.
  • Restall all removed components.  Reverse the previous steps to complete the installation.
fox-body-mustang-shorty-header-installation_b12b905b.jpg (800×569)
fox-body-mustang-shorty-header-installation_ab16a2bc.jpg (800×462)
fox-body-mustang-shorty-header-installation_2dadffa3.jpg (800×578)
fox-body-mustang-shorty-header-installation_f168b784.jpg (800×622)
fox-body-mustang-shorty-header-installation_c27bf04d.jpg (800×400)
fox-body-mustang-shorty-header-installation_9f956c6d.jpg (800×427)

Sort By
Shop by:

About the Video

Fox Body Mustang Shorty Headers 101: Full Install, Before & After Dyno, Sound Clips

Check out our YouTube channel for even more tech tips, installation videos, how-tos, and more. The best place to go for anything Mustang related!

Published on 2025-09-04
In this video, Landan shows the process of how to install a set a of SVE shorty headers onto a 1990 Fox Body Mustang. The SVE shorty headers are designed to fit all 1979-1993 5.0L Fox Mustangs and will connect to a factory or aftermarket factory-style mid-pipe. Modification of one of the primaries and clearancing of the driver side flange could be required.