About the Video
Mustang Alternator Install - SVE 130 Amp (86-93 Fox Body)
Check out our YouTube channel for even more tech tips, installation videos, how-tos, and more. The best place to go for anything Mustang related!
Published on 2013-08-06
SVE 130 Amp Alternator Upgrade Kit.
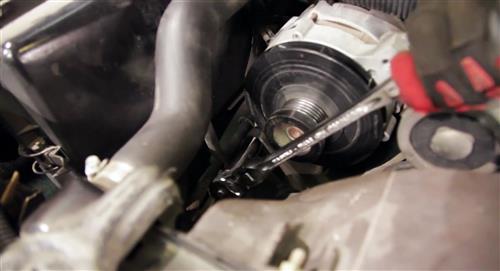
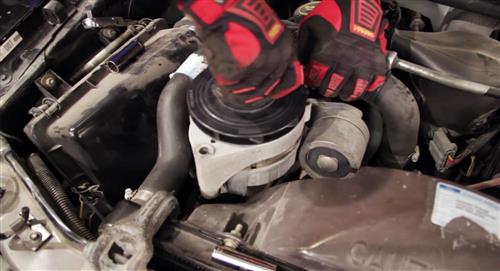
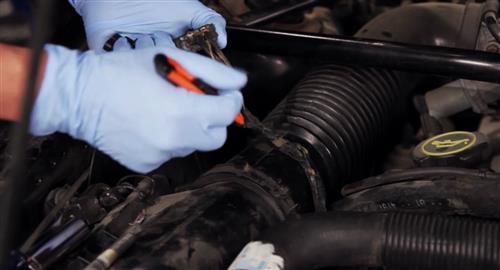
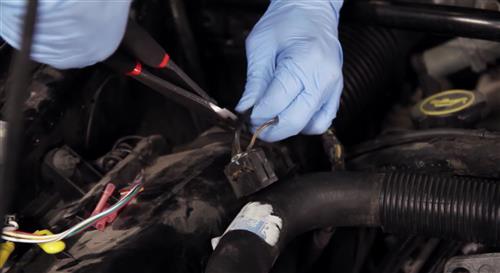
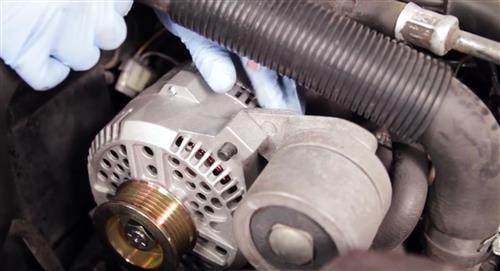
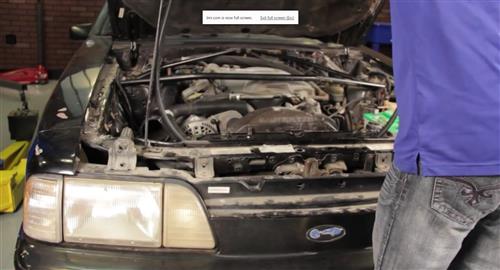
This SVE 130 amp alternator upgrade kit gives your 1986-1993 Foxbody Mustang more charging power for your accessories! 1986-1993 Mustang stock alternators suffer from small wiring and low output, and the power wire plug is prone to melt and even cause an underhood fire. Add under drive pulleys and running your accessories such as headlights, A/C or the heat and you'll likely see the lights dim and the battery gauge drop. Throw an electric cooling fan in to the mix and the stock alternator simply cant keep up. This kit includes a new complete power wire to supply your accessories with the right amount of power!
More Output Power.
Our 130amp SVE alternator is 100% brand new, no core charge, and carries a lifetime warranty. This alternator is from the internally regulated 3G series, includes the correct pulley (installed), and produces 75-100 amps at idle when used with the stock crank pulley and the installed alternator pulley. The idle output of the SVE alternator meets or exceeds the peak output of the stock alternator! The SVE alternator is rated at 130 amps continuous output, but is capable of producing 160+ amps at peak. A dyno sheet, specific to every alternator, is included with every alternator to verify these stats.
4 Gauge 3G Power Wire Kit.
This is a complete kit to upgrade the main power feed wire from the alternator to the vehicle on most Fords. The OEM wire from the alternator to the vehicle was not designed to carry the added load of higher amp alternators. Using this large (#4 Gauge) wire kit will add the safe carrying capacity needed for lengths up to 10 feet. When using our high output alternators you must upgrade this cable to retain warranty coverage. It also includes noise suppression.
Fitment Note:
- Being slightly larger then most other Ford units, minor bracket clearance/modification will be necessary.
Transcript
0:00:01.030,0:00:05.450
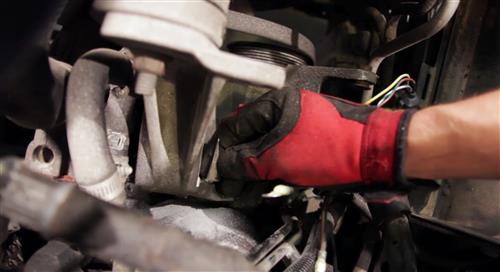
Fox Mustangs were cursed from the factory
with a puny charging system.
0:00:05.450,0:00:09.170
The tiny 75 amp alternator
found on 1986 to 1993 five
0:00:09.170,0:00:14.200
ohs puts out a whopping 15 amps at
idle with the peak only going up to
0:00:14.200,0:00:18.529
75 amps under load at 2000 rpm.
0:00:18.529,0:00:20.470
Throw an electric fan in the mix and
0:00:20.470,0:00:24.589
your alternator can't keep up. We love
solving problems and our
0:00:24.589,0:00:27.760
130 amp SVE Alternator kits do
just that.
0:00:27.760,0:00:31.630
The two most popular kits are the basic
upgrade kit and the complete conversion
0:00:31.630,0:00:35.809
kit that includes a 4 gauge power wire
upgrade. The heart and soul of both of
0:00:35.809,0:00:39.140
these kits is the massive 130 amp alternator
0:00:39.140,0:00:43.289
thats brand new and carries a limited
lifetime warranty. Now the physical size
0:00:43.289,0:00:46.480
of the SVE 130 amp alternator will require your alternator
0:00:46.480,0:00:48.640
bracket to be modified for clearance,
0:00:48.640,0:00:49.680
but keep watching,
0:00:49.680,0:00:53.820
and I'll walking through the wiring and
modifications to the bracket needed for
0:00:53.820,0:00:55.760
installation.
0:00:55.760,0:00:58.500
Do you like watching helpful videos like
this?
0:00:58.500,0:01:02.370
Then subscribe to our youtube channel and be
notified every time we upload new
0:01:02.370,0:01:03.530
content.
0:01:03.530,0:01:06.169
You'll want to start by removing your
stock alternator.
0:01:06.169,0:01:09.930
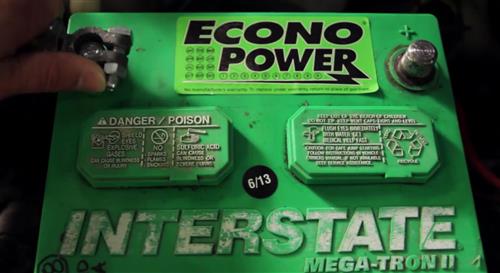
First thing you want to do is disconnect
your battery.
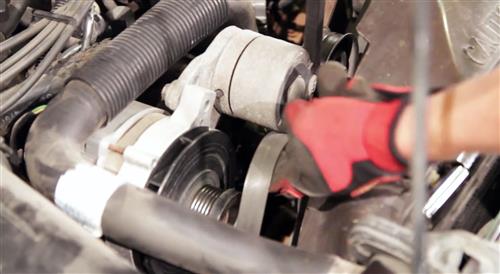
0:01:09.930,0:01:13.520
Then remove your serpentine drive belt.
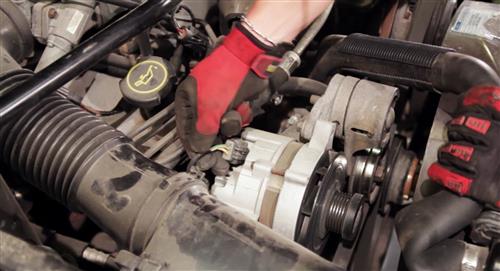
0:01:13.520,0:01:16.620
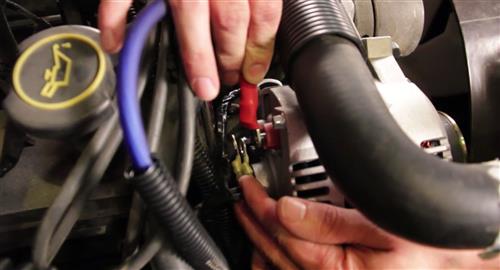
Unplug your voltage regulator.
0:01:16.620,0:01:19.100
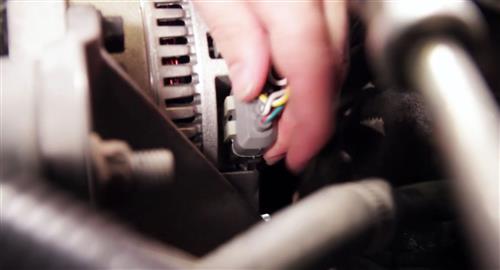
Unplug the stator.
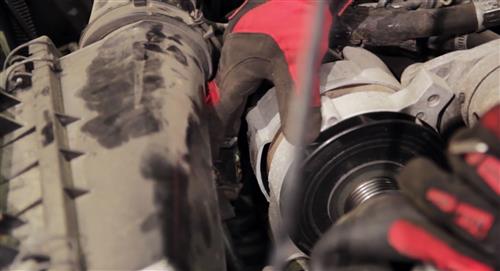
0:01:19.100,0:01:23.610
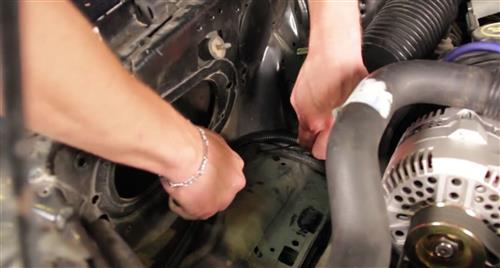
Remove the two attaching bolts that
hold the alternator to the bracket.
0:01:23.610,0:01:25.620
Finally remove the alternator
0:01:25.620,0:01:27.040
from your Mustang.
0:01:27.040,0:01:30.450
this is the main failure point of the
stock alternator. Even though the
0:01:30.450,0:01:34.610
regulator plugs are the same, we included
a new one because the stock one is
0:01:34.610,0:01:36.420
often broken.
0:01:36.420,0:01:39.630
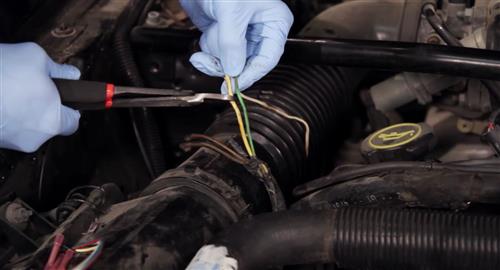
Trim back the harness tape and wire loom.
0:01:39.630,0:01:44.050
Cut the two black with orange stripe
wires from the stock stator plug.
0:01:44.050,0:01:48.100
Cut the yellow wire and the green wire
from the regulator plug, and discard the
0:01:48.100,0:01:52.540
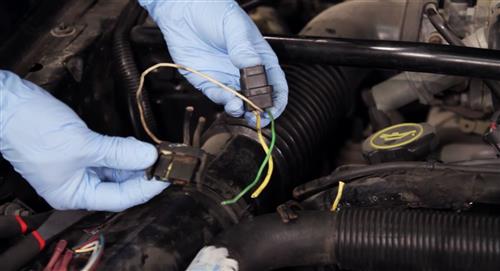
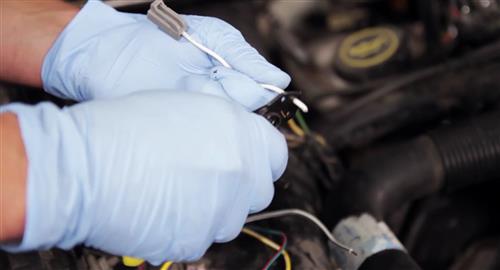
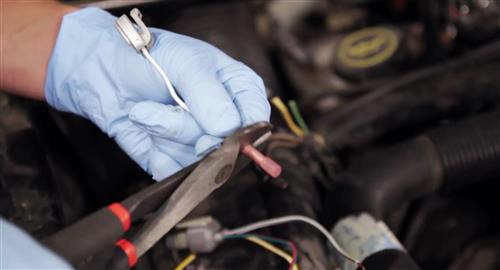
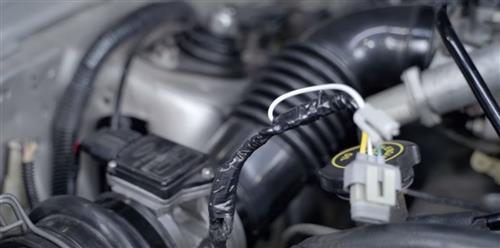
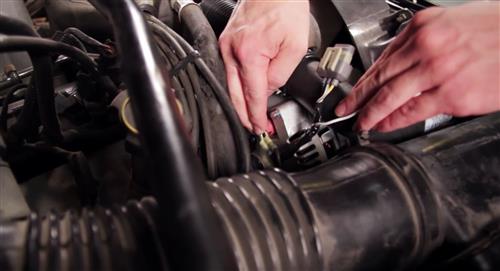
old regulator and stator plugs. Trim the new stator plug down and strip the
0:01:52.540,0:01:53.750
end of the wire.
0:01:53.750,0:01:58.179
Do the same to the white wire on the
center of the new regulator plug.
0:01:58.179,0:02:00.800
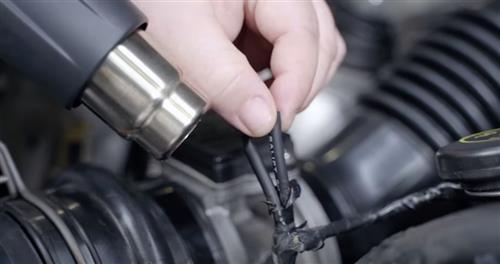
Connect them with the supplied butt
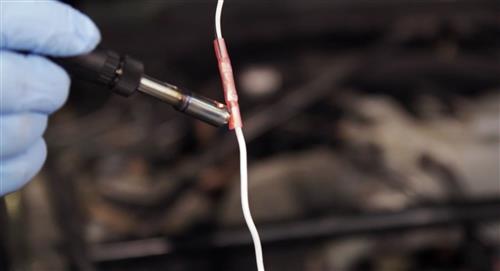
connector.
0:02:00.800,0:02:04.320
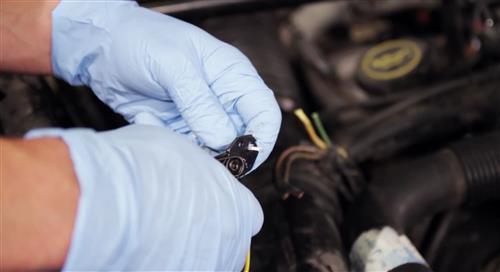
Because the heat shrink is built into
our connectors, all you need to do is
0:02:04.320,0:02:08.930
heat the connector to seal it after
crimping. Trim and strip the yellow wire and
0:02:08.930,0:02:12.620
the green wire on the new regulator
connector, strip the ends on the
0:02:12.620,0:02:13.999
harness side,
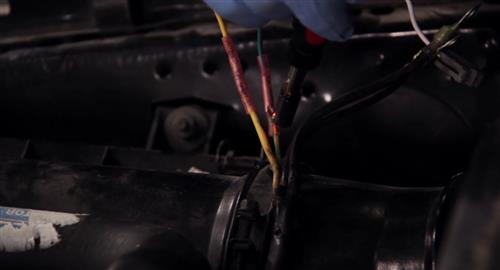
0:02:13.999,0:02:15.929
and connect the yellow to yellow
0:02:15.929,0:02:19.829
and green to green using the supplied
connectors.
0:02:19.829,0:02:22.650
Then, heat to seal.
0:02:22.650,0:02:25.789
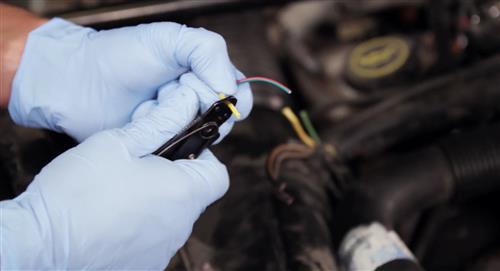
Strip the two black with orange stripe wires
0:02:25.789,0:02:28.909
and crimp on the supplied ring terminals
0:02:28.909,0:02:31.599
and heat to seal.
0:02:31.599,0:02:35.149
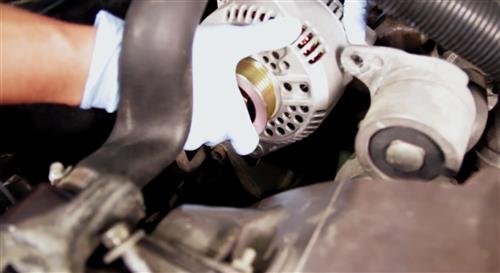
Slide the 130 amp alternator
into the bracket and loosely install
0:02:35.149,0:02:36.769
the lower retaining bolt.
0:02:36.769,0:02:40.879
Rotate the alternator over and mark the
bracket where the alternator is touching
0:02:40.879,0:02:41.790
it.
0:02:41.790,0:02:45.900
Remove the alternator and cut the bracket
along your marks. Reinstall the
0:02:45.900,0:02:50.219
alternator and check for clearance. If
it's all good, install the supplied
0:02:50.219,0:02:54.329
upper retaining bolt and nut and fully
tighten the lower retaining bolt. Wrap
0:02:54.329,0:02:58.819
the harness with quality tape like 3M super 33+.
0:02:58.819,0:03:03.099
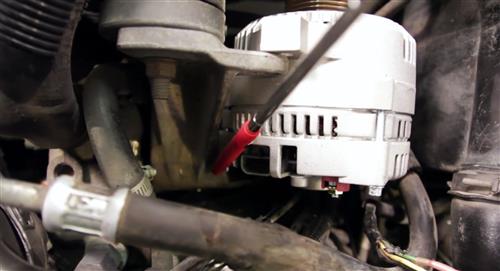
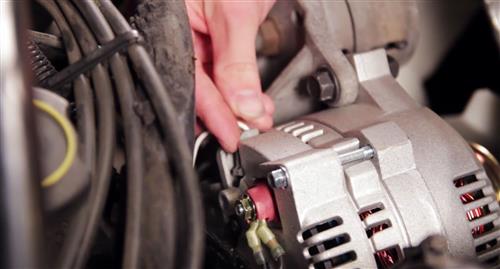
Slide the two ring terminals onto the
power lug of the alternator and install
0:03:03.099,0:03:04.889
the retaining nut.
0:03:04.889,0:03:06.809
Connect the stater plug.
0:03:06.809,0:03:09.879
Connect the regulator plug.
0:03:09.879,0:03:12.469
Re-install the serpentine drive belt.
0:03:12.469,0:03:14.950
Our SVE 130 amp alternator
0:03:14.950,0:03:17.339
puts out about 60 amps at idle
0:03:17.339,0:03:22.019
and about a 150 amps under load at 2000 rpm!
0:03:22.019,0:03:26.429
This'll keep up with just about anything you throw at it, but because of this added
0:03:26.429,0:03:31.249
output, it is a very strong
recommendation that you support
0:03:31.249,0:03:32.540
your factory power wire
0:03:32.540,0:03:35.169
with the 4 gauge power wire upgrade.
0:03:35.169,0:03:39.299
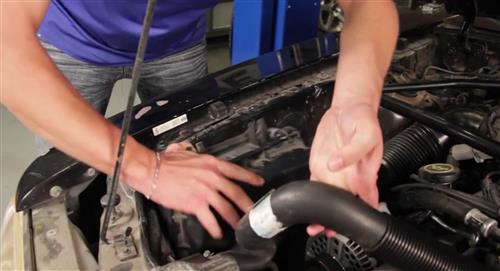
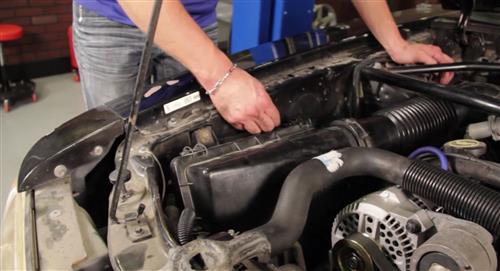
Remove your air box.
0:03:39.299,0:03:42.959
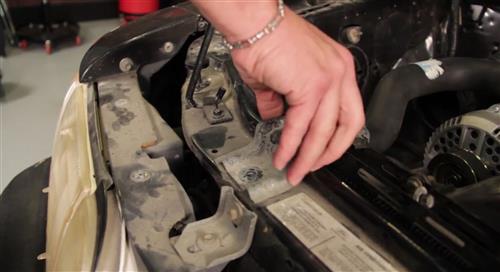
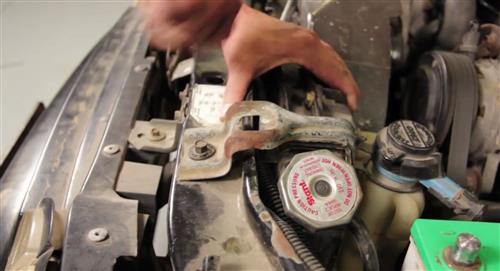
Remove your two upper radiator
brackets.
0:03:42.959,0:03:46.729
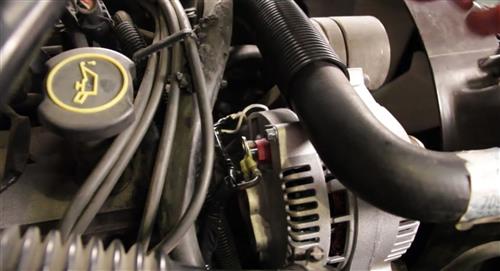
Remove the retaining nut from the
alternator power wires. Lay out your
0:03:46.729,0:03:48.140
upgrade power wire.
0:03:48.140,0:03:49.680
Slide the 4 gauge
0:03:49.680,0:03:53.839
ring eye over the alternator terminal and
reattach the nut.
0:03:53.839,0:03:57.839
Start zip tying the new power wire
running along the old power wire
0:03:57.839,0:03:59.649
harness.
0:03:59.649,0:04:02.269
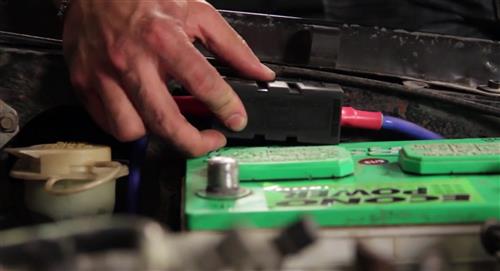
Position your fuse holder right over the
battery,
0:04:02.269,0:04:06.349
and attach it using the two supplied
retaining screws.
0:04:06.349,0:04:09.929
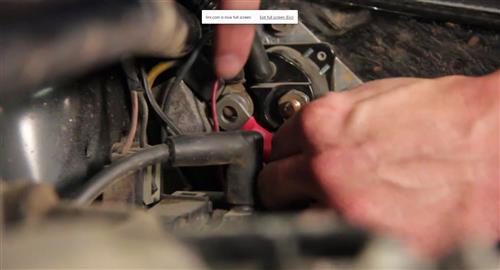
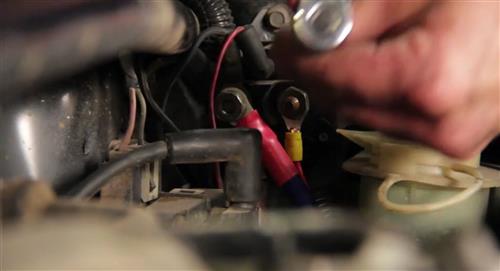
Remove the nut off the starter solenoid.
0:04:09.929,0:04:13.629
Connect the remaining ring terminal of
the new power wire
0:04:13.629,0:04:16.279
and re-install the nut.
0:04:16.279,0:04:18.989
Reattach your upper radiator brackets
0:04:18.989,0:04:22.219
and re-install your air box.
0:04:22.219,0:04:25.300
For all of you out there that think the
battery is not going to come out with the
0:04:25.300,0:04:27.650
fuse holder in this position, check this
out.
0:04:27.650,0:04:29.729
Comes out with no problem!
0:04:29.729,0:04:32.569
Reconnect your battery and test operation.
0:04:32.569,0:04:36.680
For comparison sake, we tested battery
voltage with the stock alternator
0:04:36.680,0:04:38.249
with the car at idle,
0:04:38.249,0:04:42.419
with the A/C on max and high blower,
and headlights on bright. The stock
0:04:42.419,0:04:45.709
alternator was able to hold about 12.8 volts.
0:04:45.709,0:04:49.389
with the SVE 130 amp
alternator and four gauge power wire
0:04:49.389,0:04:54.149
upgrade installed, under the same
conditions, we're now producing more than
0:04:54.149,0:04:57.129
14.5 volts and that is a
0:04:57.129,0:04:58.849
massive improvement!
0:04:58.849,0:05:02.640
So put one of these SVE alternator
kits on your fox mustang
0:05:02.640,0:05:04.660
and bring your charging system up to par.