Fox Body Mustang Mass Air Conversion Installation Instructions (86-88)
Rid your Mustang of that speed density air intake setup with our mass air conversion wiring harness to allow the use of a mass air meter!
How To Install Fox Body Mustang Mass Air Conversion
Parts & Tools Required
- Conversion harness
- Cold air intake
- Mass air assembly
- Mass air compatible PCM (Manual transmission cars use a A9L or A3M processor) (Automatic transmission cars use A9P or C3W processor)
Installation Instructions
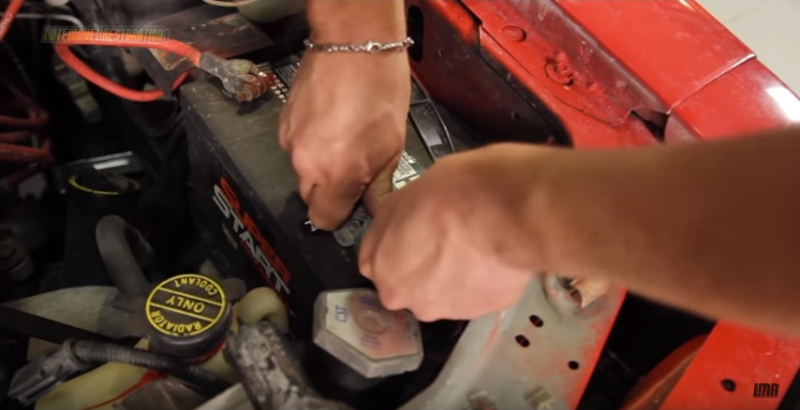
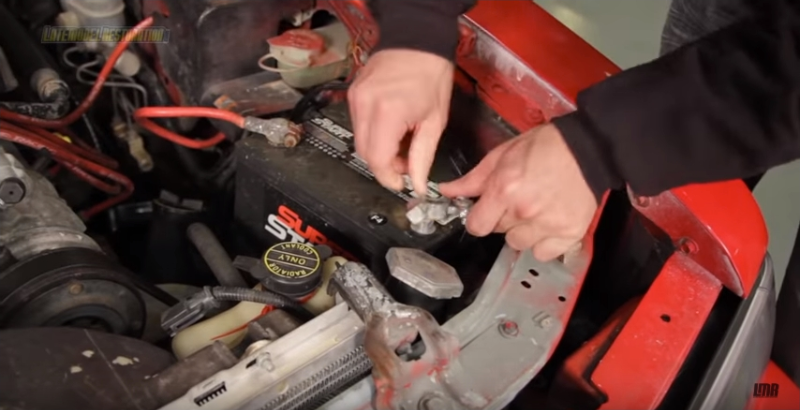
- Remove your negative battery cable
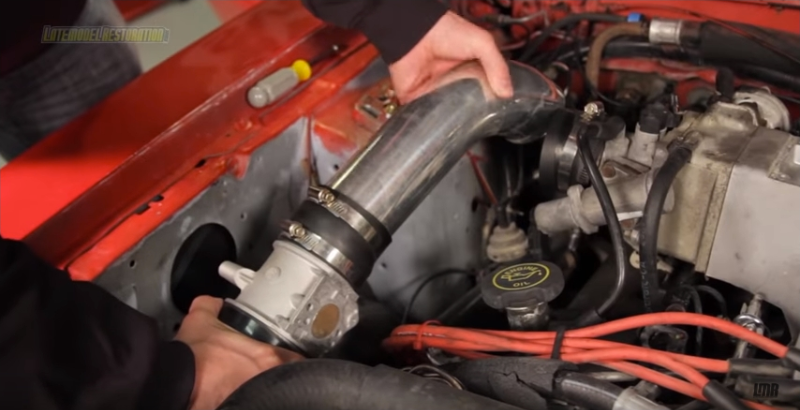
- Remove your existing air inlet system, and install a mass air tight induction
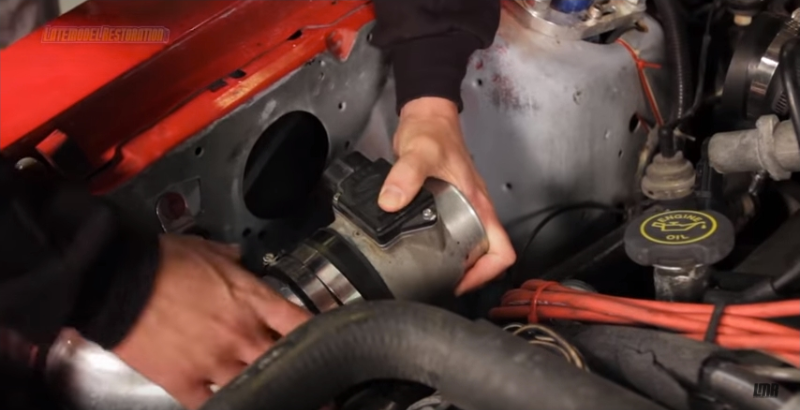
- Take your mass air meter, and slide it into the coupler, making sure the meter electronics are parallel to the ground
- Finish installing your inlet system, and tighten all clamps
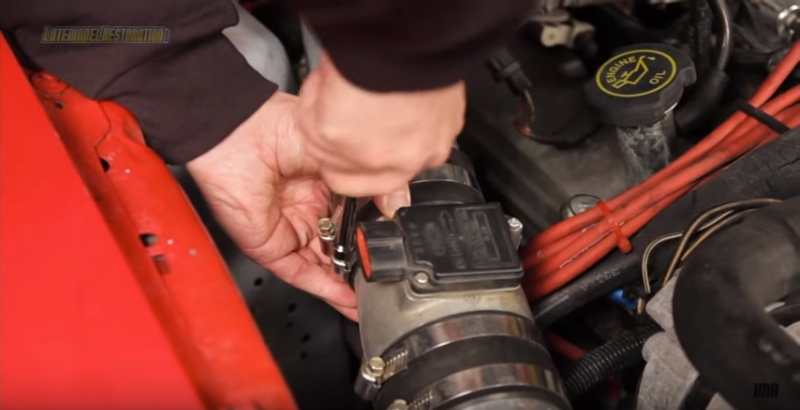
- Locate the rubber firewall grommet for the PCM harness
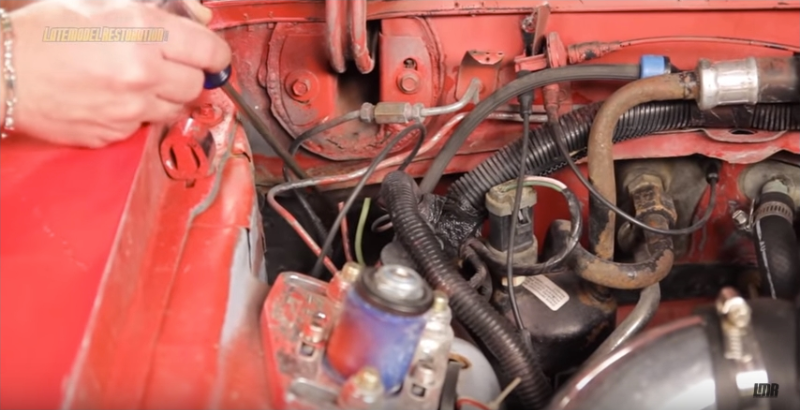
- Using a long screwdriver, carefully puncture the boot, and remove the screwdriver
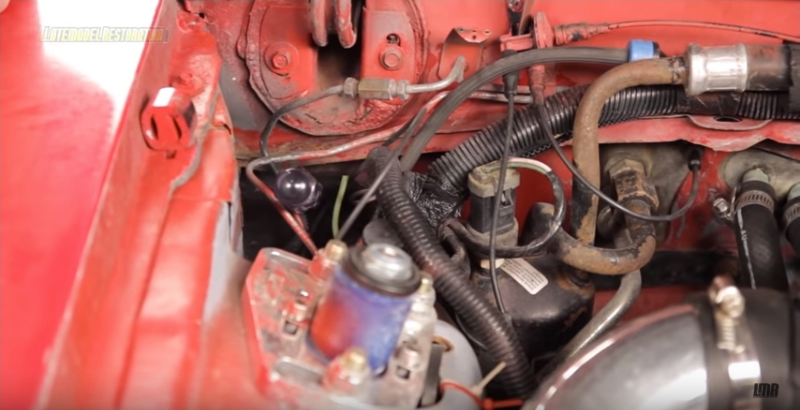
- From inside the car, find the puncture hole you created in the grommet, and feed the screwdriver through it
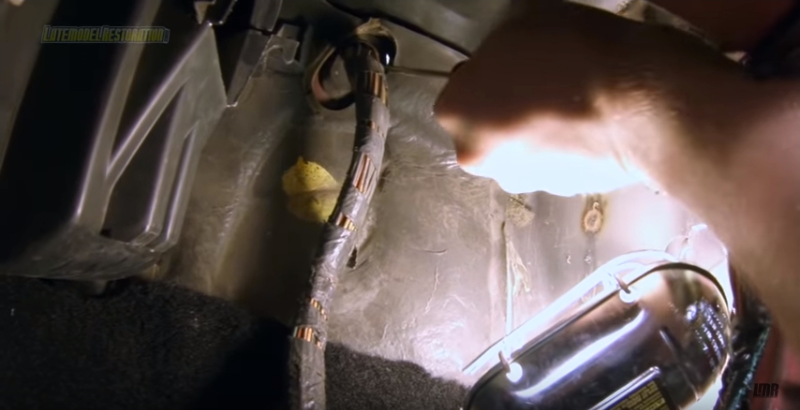
- Using quality electrical tape, attach the mass air conversion harness to the tip of the screwdriver, making the tape wrap as smooth as possible
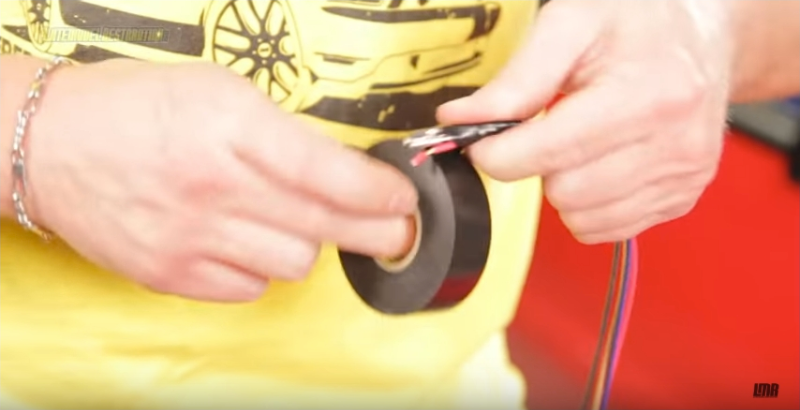
- From inside the car, carefully pull the screwdriver back through the grommet pulling the wires through
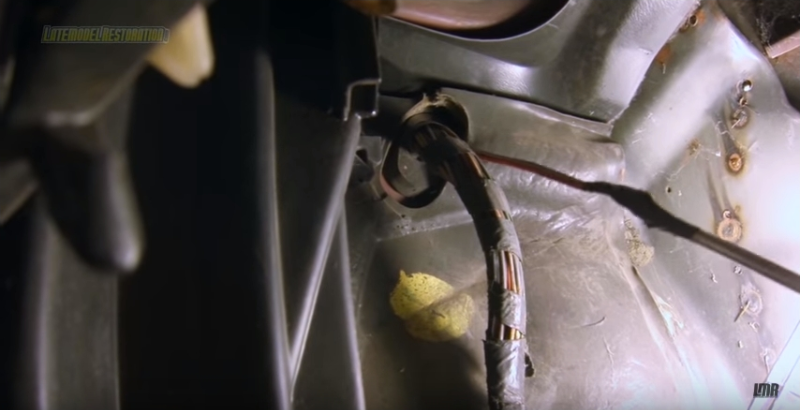
- Remove the tape from the harness
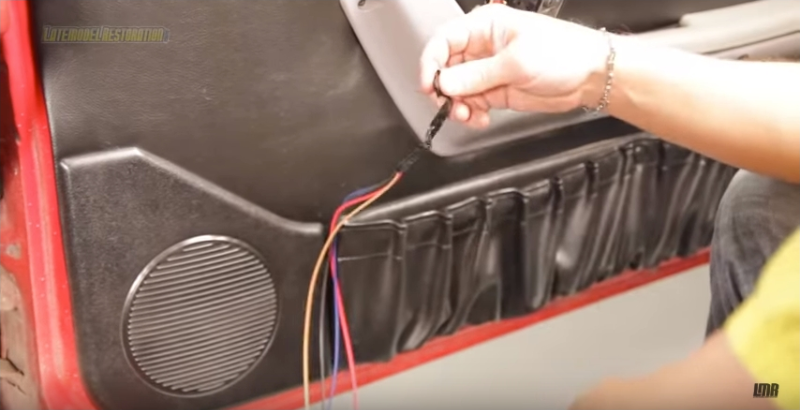
- Remove your kick panel along with the PCM, and remove the electrical connector from it
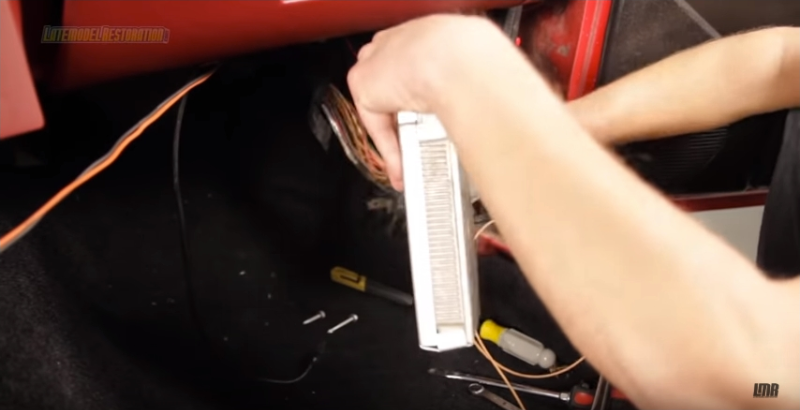
- Release the 4 retaining tabs, and remove the black plastic harness guard
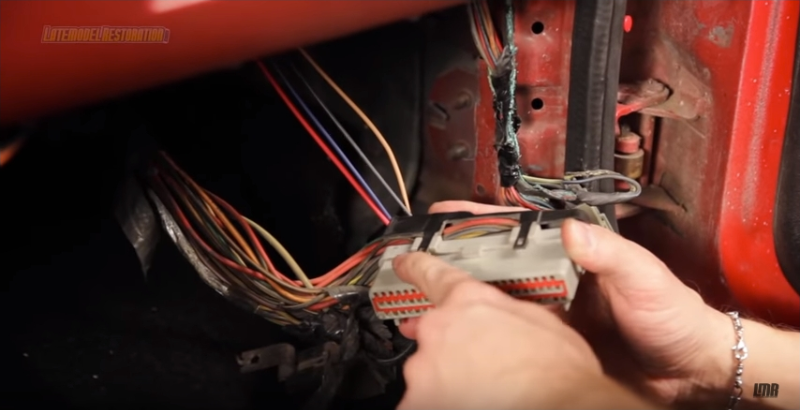
- Using a small pick, or similar tool remove the red plastic pin retainer from the PCM harness plug
c
- Locate the wire running to either pin #37, or #57 of the PCM connector, we used #57
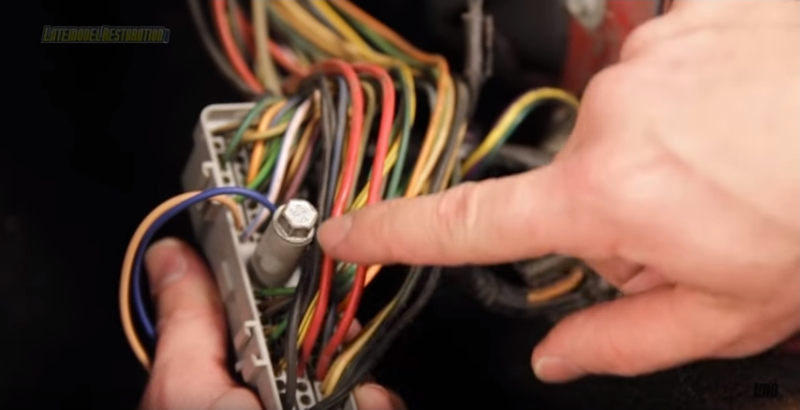
- Cut the PCM harness wire and splice in the red wire from the mass air conversion harness into the PCM harness, using a butt connector, or by soldering
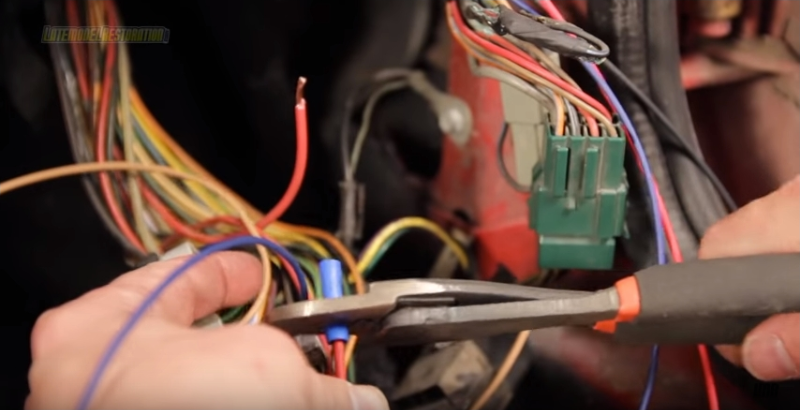
- Locate the black wire running to either pin #40, or #60 of the PCM connector. We used pin #40
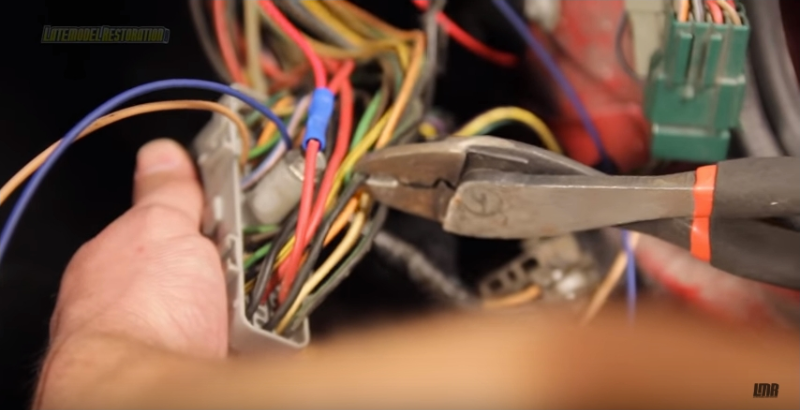
- Cut the PCM harness wire, and splice in the black wire from the mass air conversion harness into the PCM harness using a butt connector, or by soldering
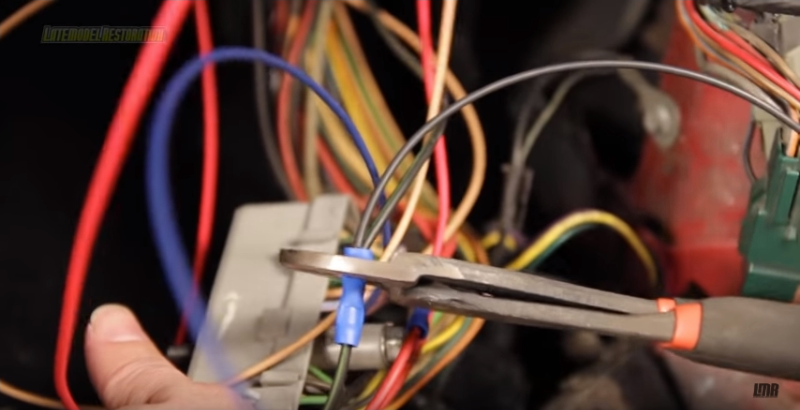
- Click the pre-terminated tan wire from the mass air conversion harness into the empty terminal location #9
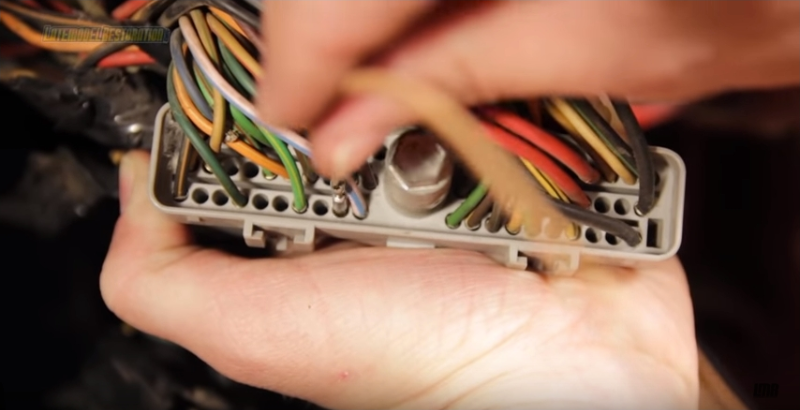
- Click the pre-terminated blue wire from the mass air conversion harness into the empty terminal location #50
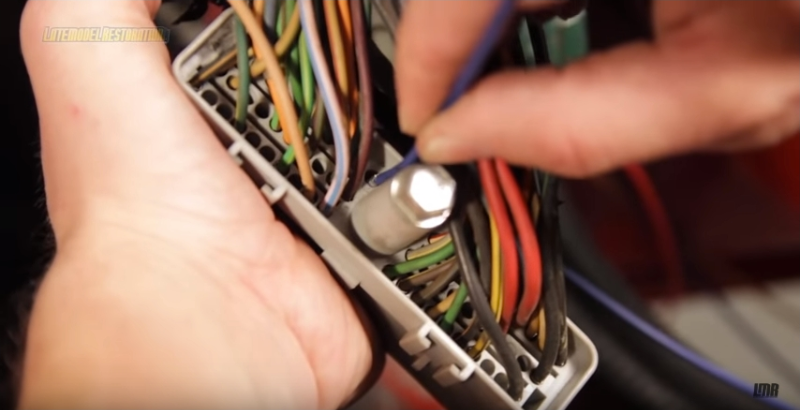
- Locate the white wire, with the red tracer located in the #51 position, and use a tiny pick to release the terminal lock, and remove the wire from the connector
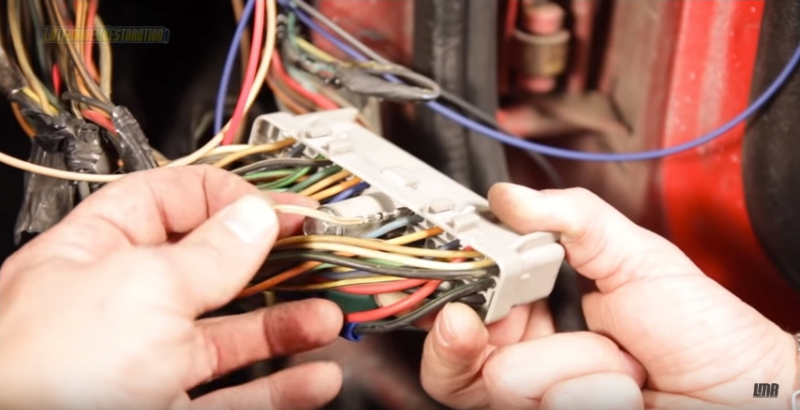
- This wire will be snapped into place at empty terminal location #38
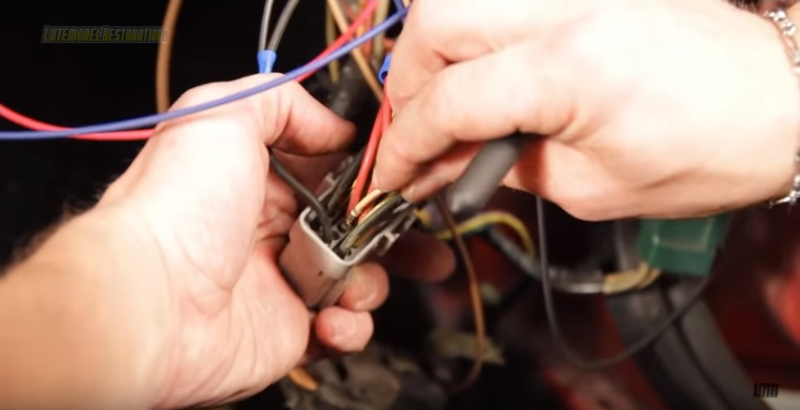
- Locate the green wire with the black tracer located in the #11 position. Using a tiny pick release the terminal lock, and remove the wire from the connector
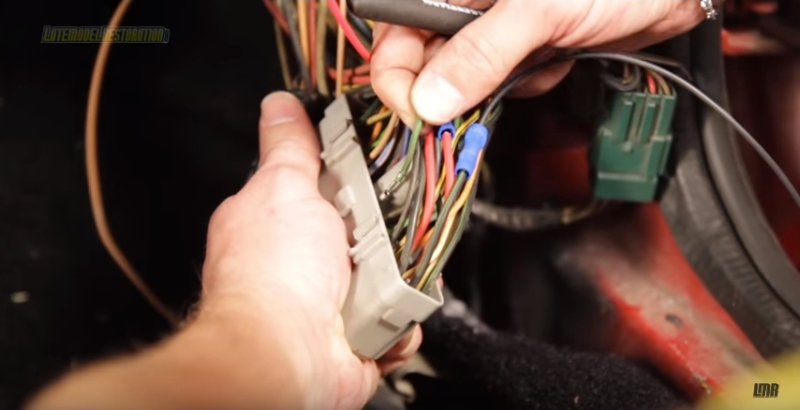
- This wire will be snapped into place at terminal location #32
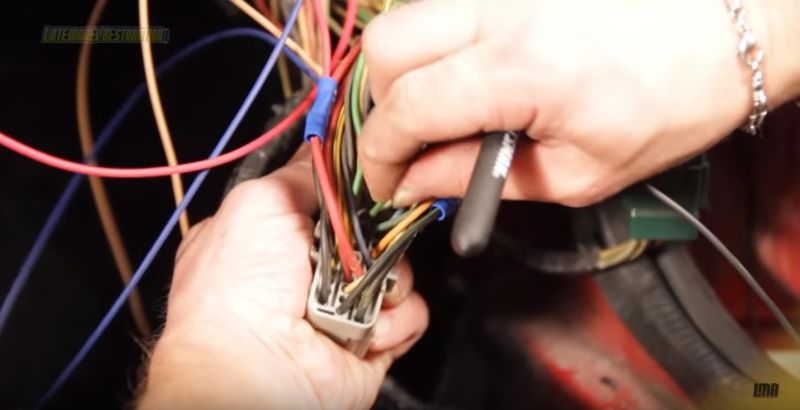
- Re-install the red pin retainer by simply pushing it back into place
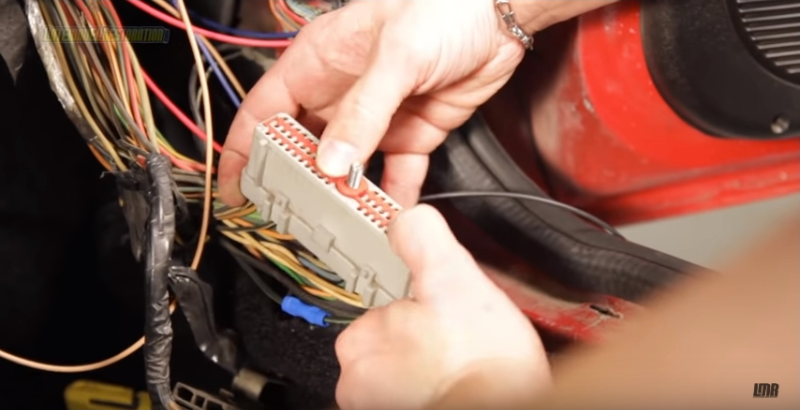
- Group the harness together, and re-install the black plastic PCM harness guard
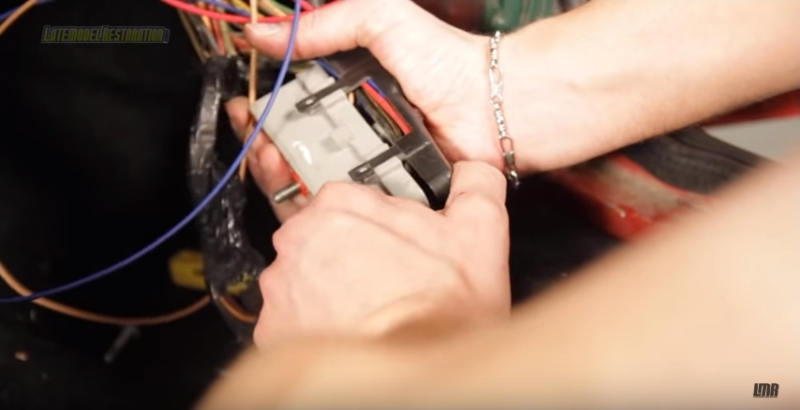
- Back under the hood, make a few tape wraps around the mass air conversion harness, to keep the wires together
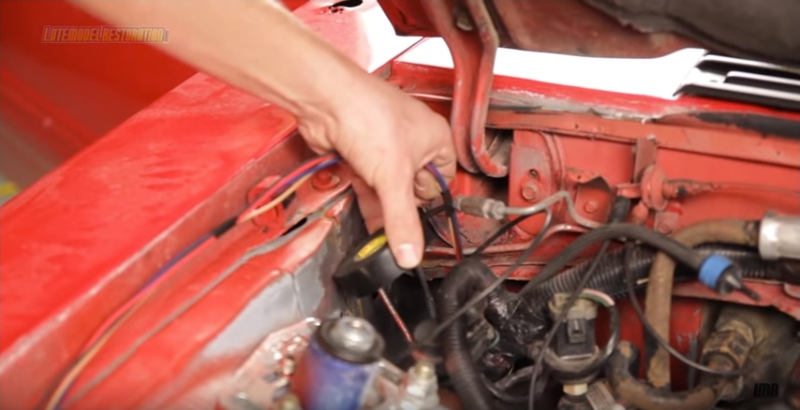
- Route your harness where you'd like it. Pull any slack you need from inside the car
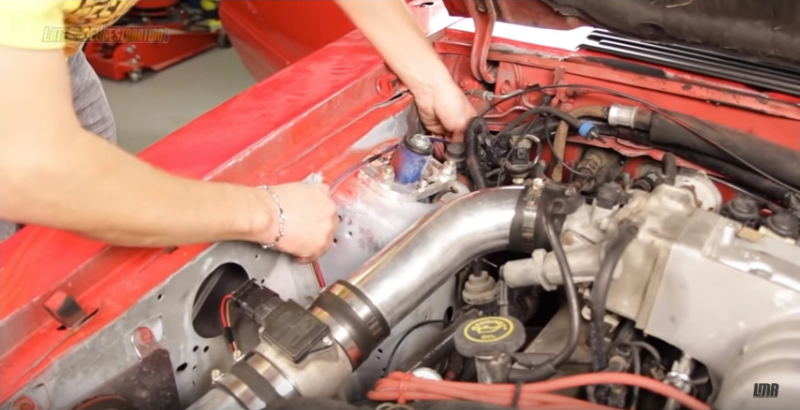
- Install the supplied split loom tubing onto the harness
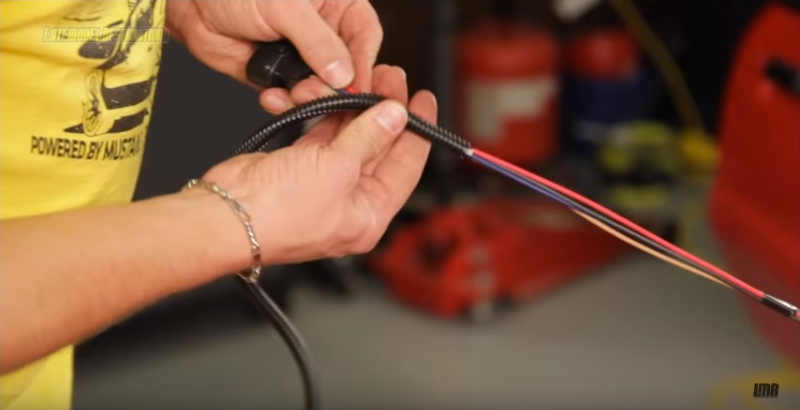
- Cut it to length and retain the end with electrical tape
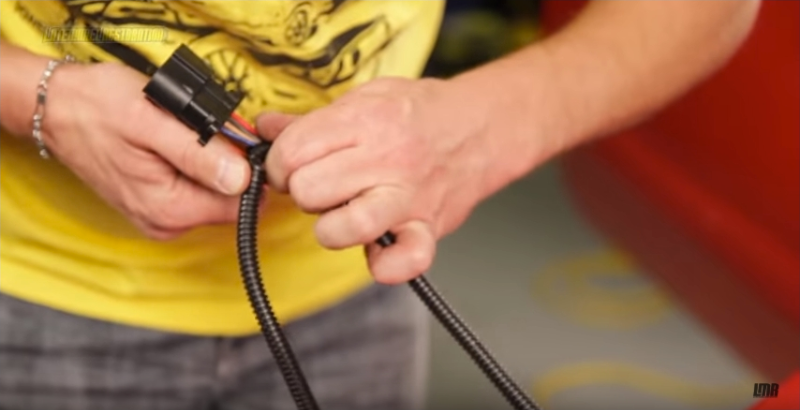
- Make a wrap around the harness, route the tape through the split in the loom, and then tape the loom
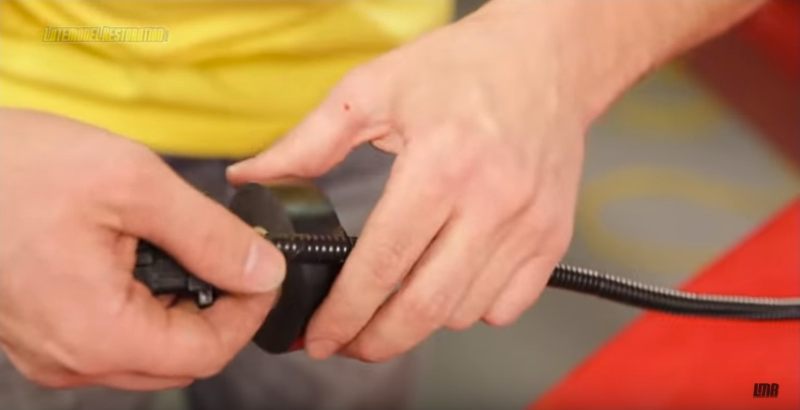
- Plug in the conversion harness to the mass air
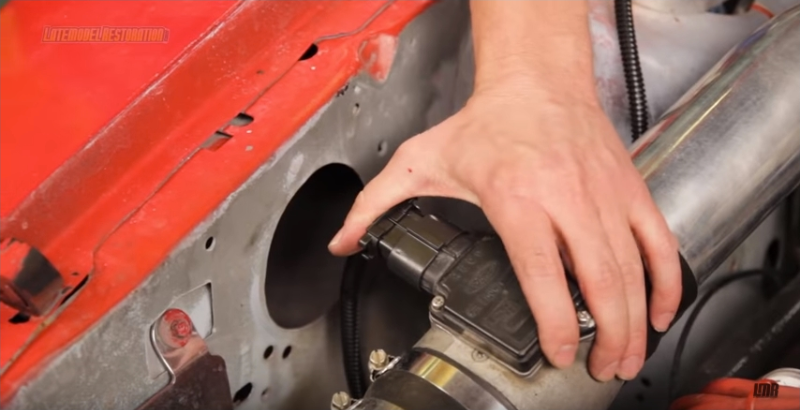
- Pull any extra harness slack back into the car
- To keep everything nice and neat, use a few zip ties to keep everything together
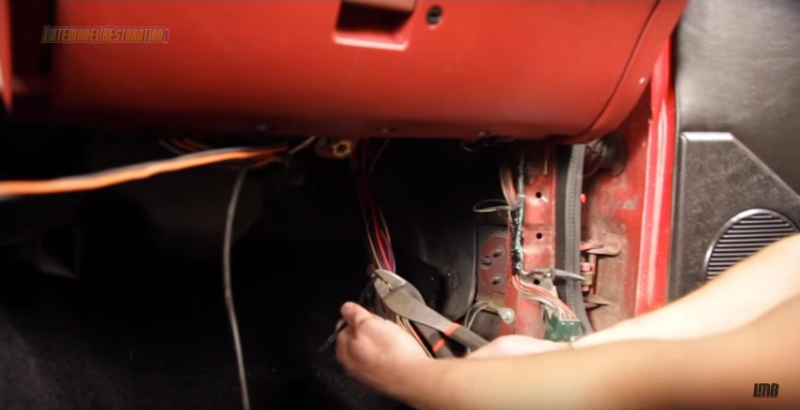
- Reconnect the PCM to the harness, and slide your PCM back into place, and re-install the kick panel
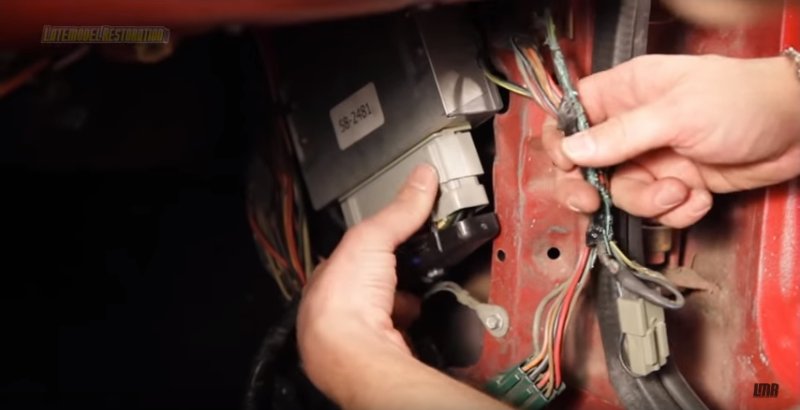
- Remove the vacuum hose running from the intake manifold to the MAP sensor
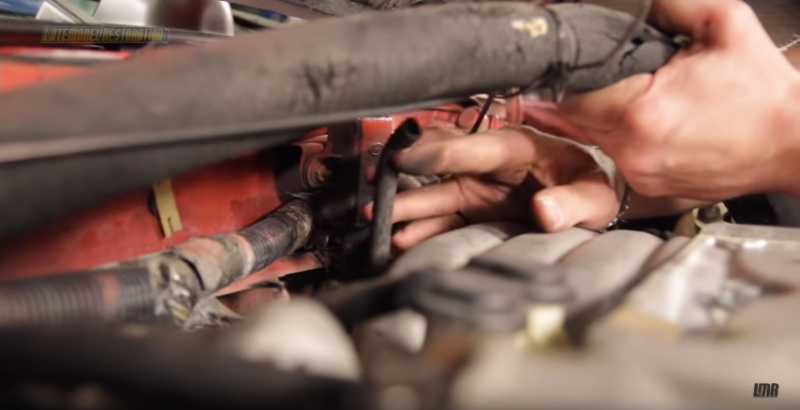
NOTE:
This will now function as a barometric air sensor
- Plug or cap off the open vacuum hose or port
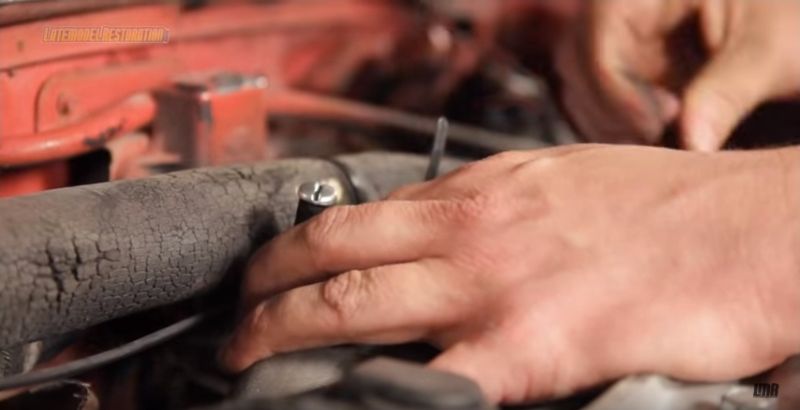
- Reconnect the negative battery cable, and double check your work, and you're all done