SHOP

1979-93 Mustang Parts
Free Shipping on qualifying orders over $99* Details
LMR showroom & will call pickup service will be closed beginning Monday 9/21/26 for renovations until further notice. Need help? Contact Us.

How To Install 1979-1995 Mustang Motor Mounts

Created by Andrew Perry / 10 min read
Date Created: 1/13/2026
Last Updated: 1/16/2026

Learn how to install motor mounts on your 1979-1995 Mustang with our step-by-step guide! Check out our guide to see how you can upgrade the motor mounts in your Mustang.
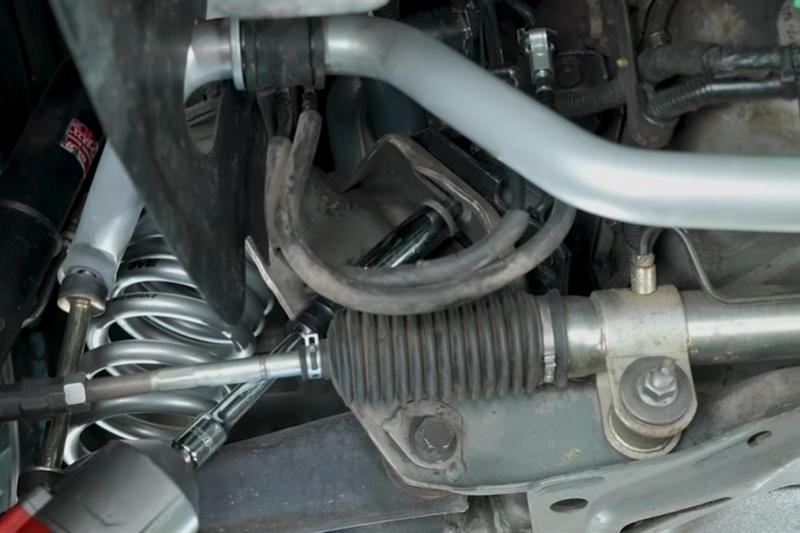
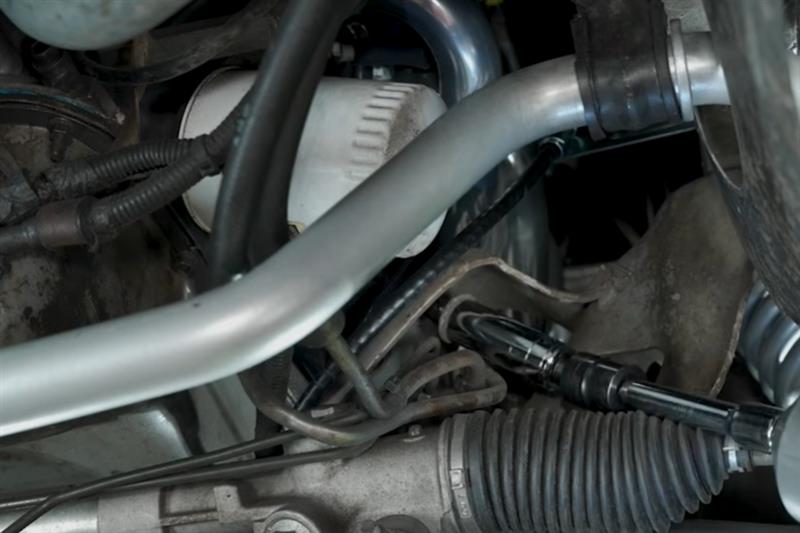
Viewing this install and using the information shared is subject to the terms set forth here - View the LMR Install Instructions Disclaimer.
In this video, we show how to install the newly redesigned SVE 1984-1995 motor mounts in our 1990 Fox Body Mustang GT. The installation process will be the same for all 1979-1995 Mustangs. The SVE mounts are specifically designed for 1984-1995 models, providing a true bolt-in, drop-in fit. They can also be used on 1979-1983 Mustangs if you slot the K-member opening to accommodate the larger stud on the SVE polyurethane motor mount. 

Installation Note:
If you’re still using a clutch fan and shroud, ensure you remove them first. Without removing it, you may not be able to get the engine to lift as far as needed. Make sure those are out of the way, and the mounts will come out with no problem at all.

Product Links:
Watch

Removal & Installation Instructions

Step 1: Remove The Old Driver Side Motor Mount

  • Start by disconnecting the negative battery cable.
  • Lift the vehicle with a lift or jack and jack stands.
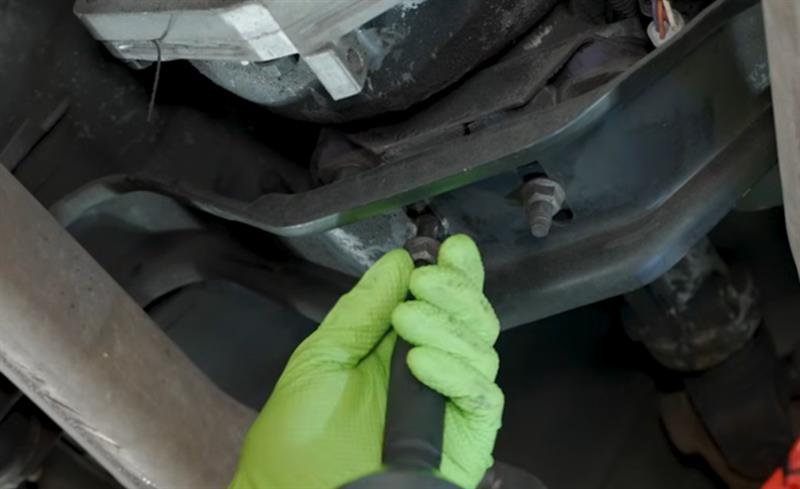
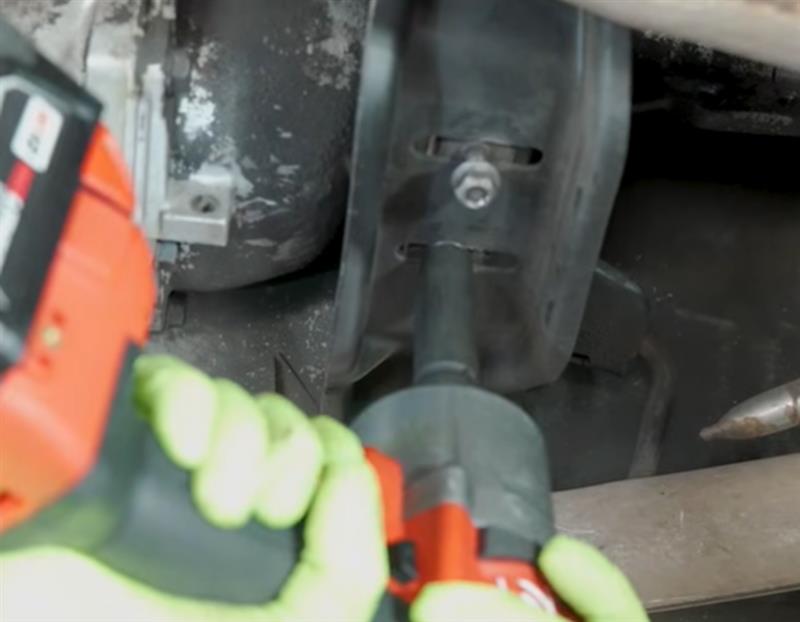
  • Loosen and remove the (2) 21mm nuts securing the motor mounts to the K-member.
  • Once the motor mount nuts are loose, you can loosen the (2) nuts securing the transmission mount to the transmission crossmember.
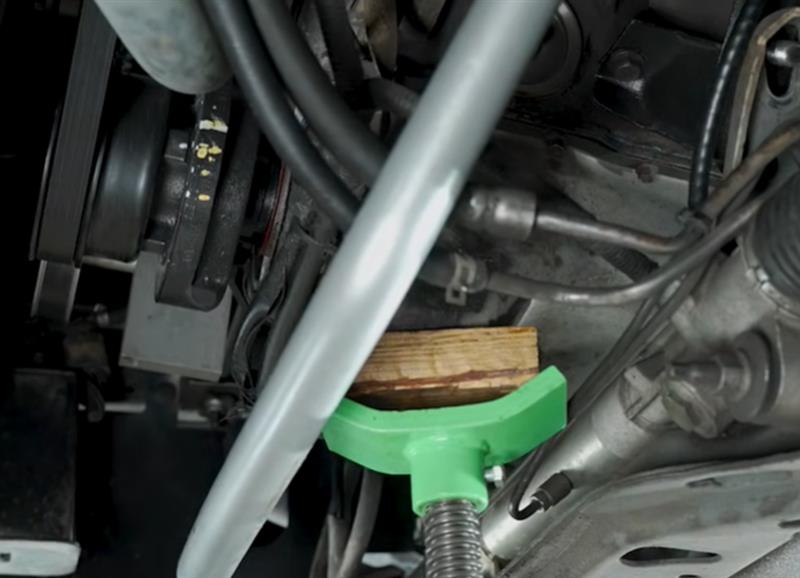
  • Lift the engine using either the harmonic balancer or the front sump over the oil pan. If lifting from the oil pan, position it carefully to avoid damage.
  • Raise the engine just enough to allow clearance for motor mount removal.
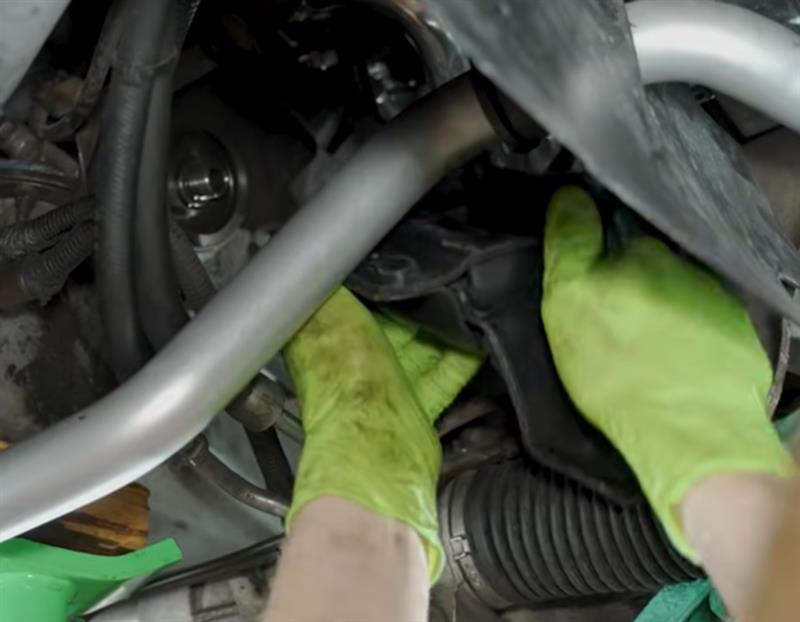
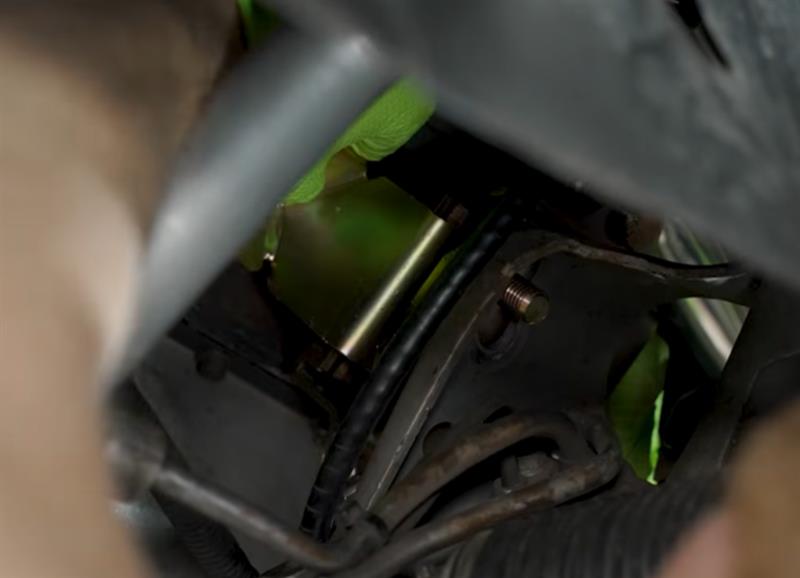
  • Loosen the (2) bolts securing the driver-side motor mount to the engine block.
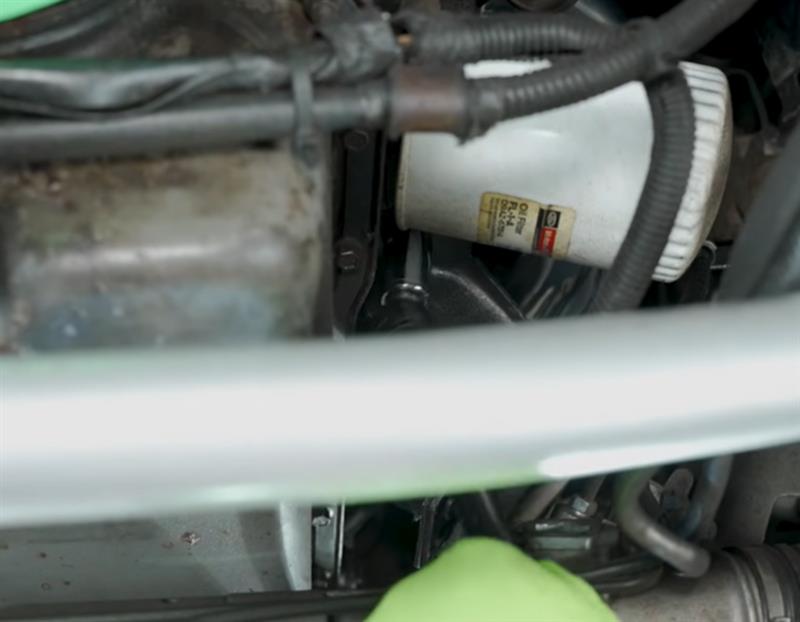
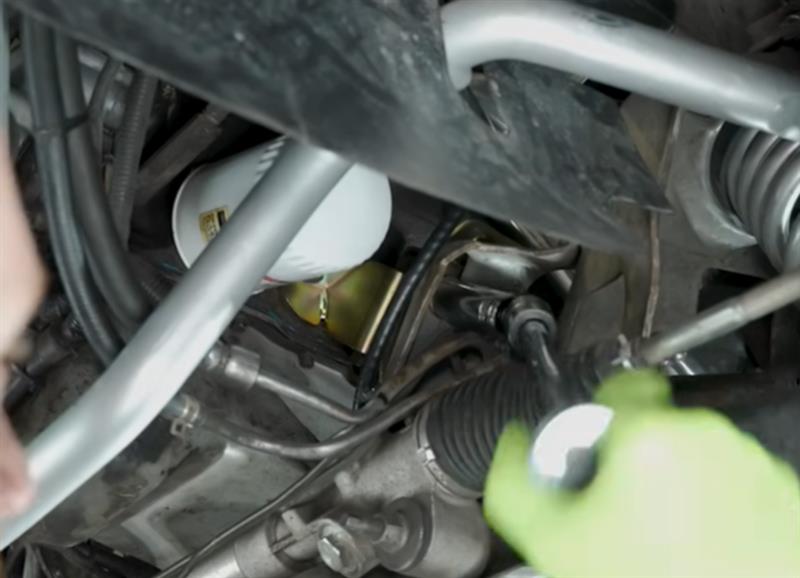
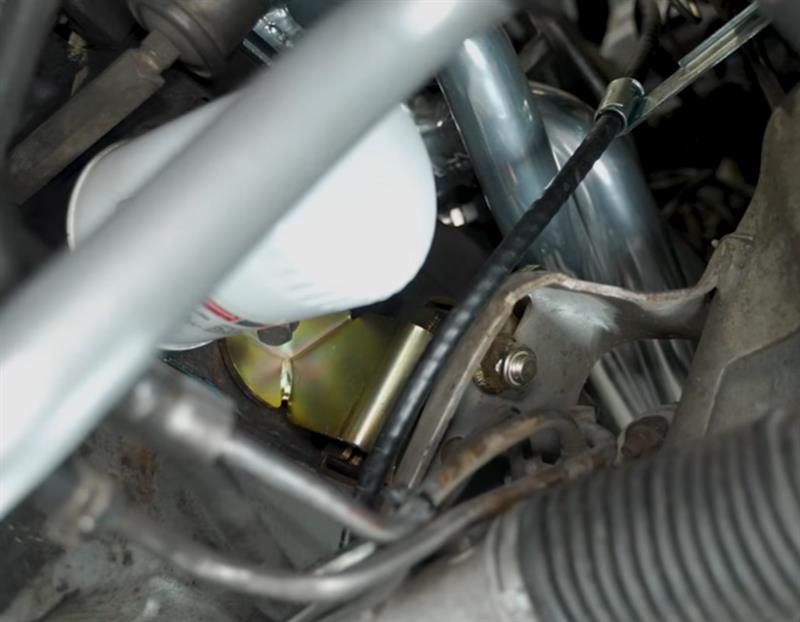
  • Remove the oil filter to gain clearance.
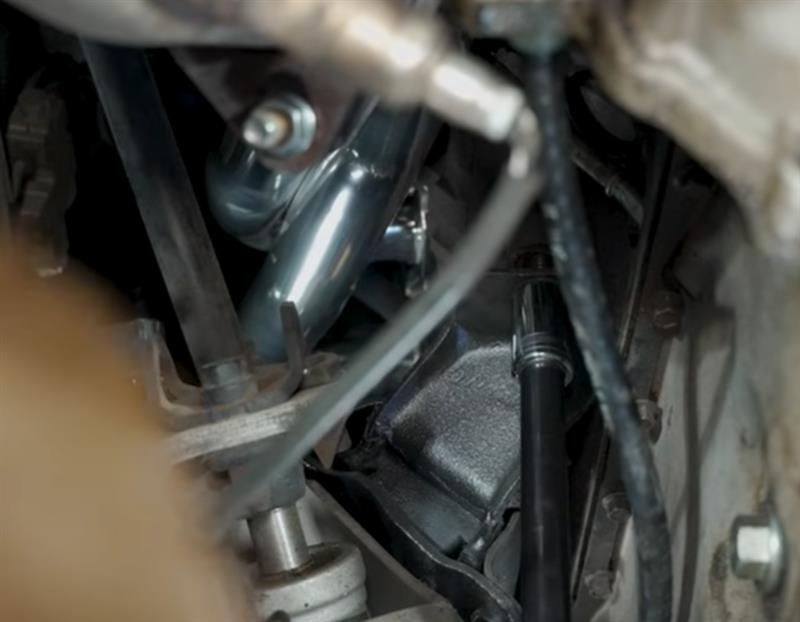
  • Carefully remove the driver-side motor mount.
how-to-install-1979-1995-mustang-motor-mounts_cfb649fd.jpg (800×533)
how-to-install-1979-1995-mustang-motor-mounts_6e9340d2.jpg (800×533)
how-to-install-1979-1995-mustang-motor-mounts_62c316e3.jpg (800×489)
how-to-install-1979-1995-mustang-motor-mounts_0b9d5e6d.jpg (800×578)
how-to-install-1979-1995-mustang-motor-mounts_76aad8fc.jpg (800×622)
how-to-install-1979-1995-mustang-motor-mounts_91cc9b81.jpg (800×622)
how-to-install-1979-1995-mustang-motor-mounts_e0b7d708.jpg (800×622)

Step 2: Install The New Driver Side Motor Mount

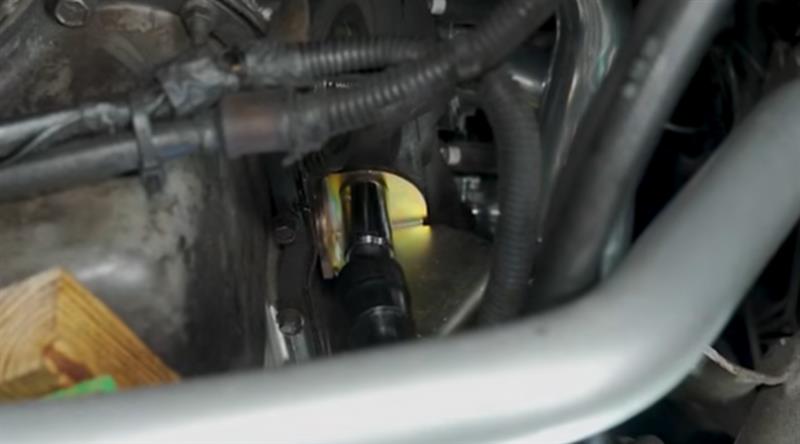
  • Place the new motor mount into position.
  • Loosely install the (2) retaining bolts.
  • Fully tighten and torque the bolts to 55 lb-ft.
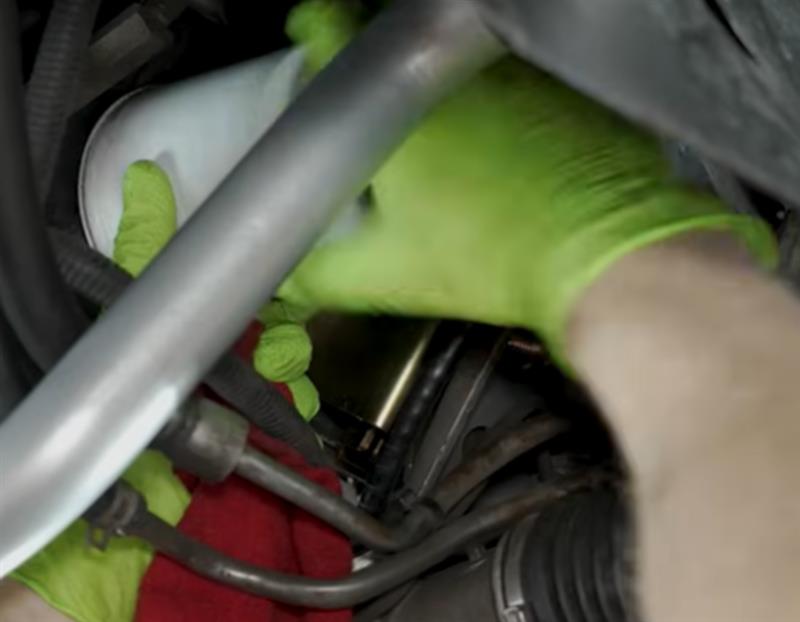
  • Clean any oil from the engine block and inspect mating surfaces.
  • Reinstall the oil filter.
how-to-install-1979-1995-mustang-motor-mounts_b667c80f.jpg (800×578)
how-to-install-1979-1995-mustang-motor-mounts_58279403.jpg (800×444)
how-to-install-1979-1995-mustang-motor-mounts_dd349bc9.jpg (800×622)

Step 3: Remove The Old Passenger Side Motor Mount

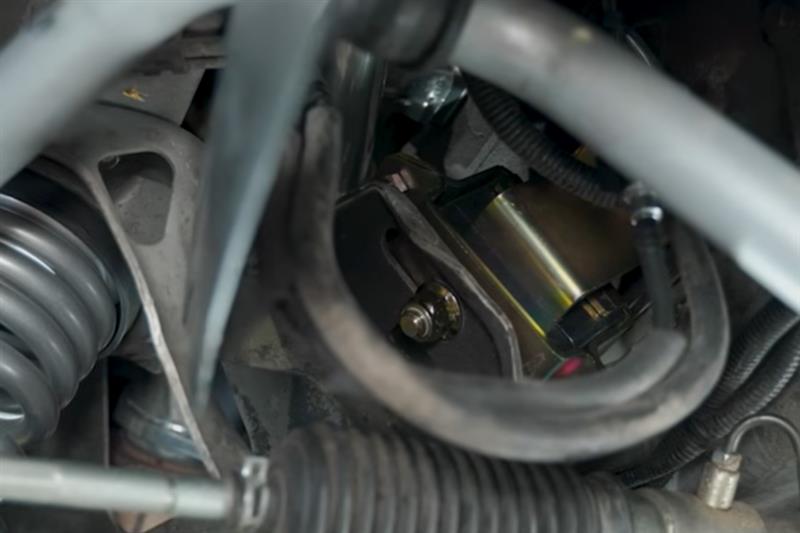
  • Loosen the (2) bolts securing the passenger-side motor mount to the engine block.
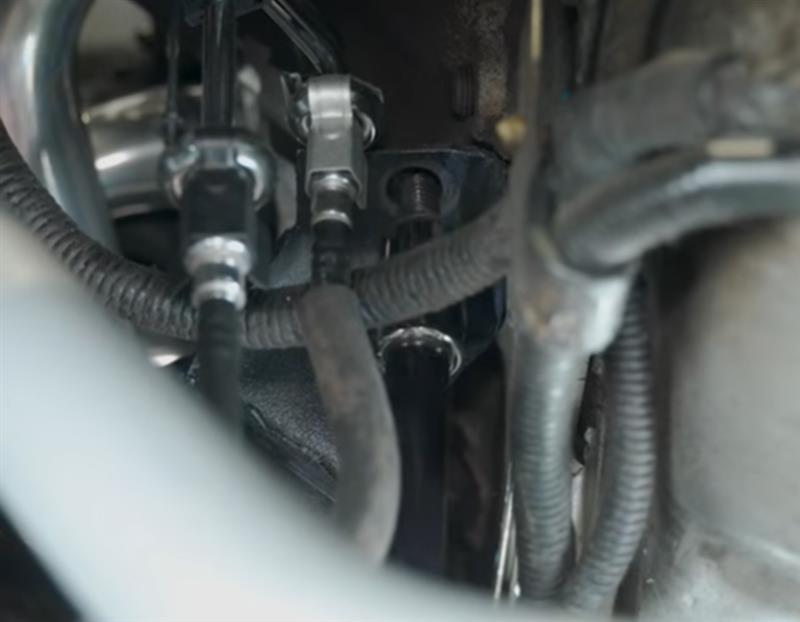
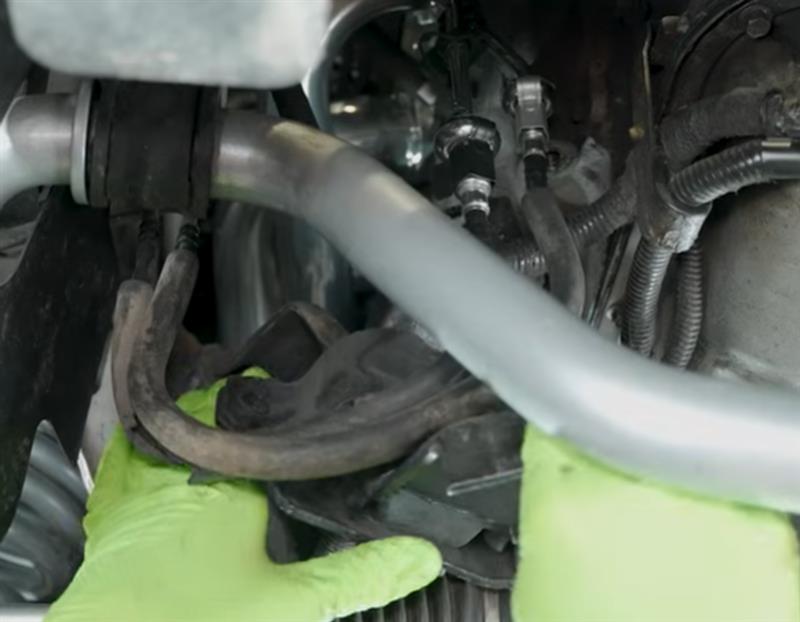
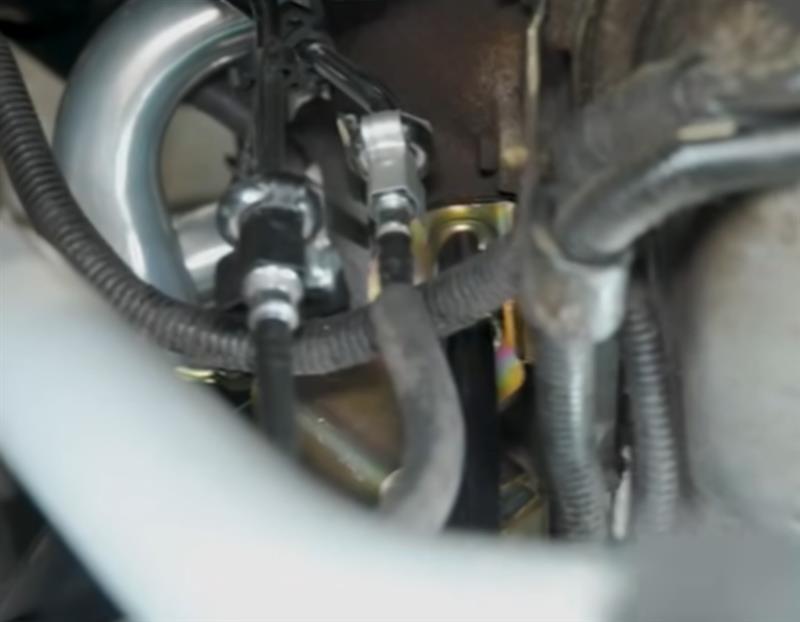
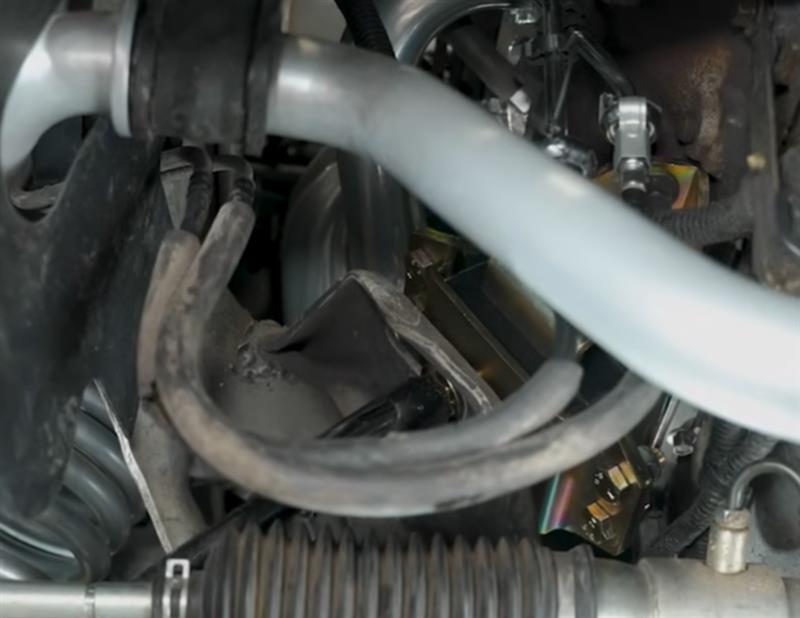
  • Carefully remove the mount, maneuvering around the fuel lines that run from the hard lines underneath the car to the fuel rail.

how-to-install-1979-1995-mustang-motor-mounts_6ba04b1a.jpg (800×622)
how-to-install-1979-1995-mustang-motor-mounts_01539135.jpg (800×622)
Step 4: Install The New Passenger Side Motor Mount

  • Position the new motor mount in place.
  • Start the (2) retaining bolts by hand to align the mount properly.
  • Fully tighten and torque the mount to engine bolts to 55 lb-ft.
  • Lower the engine fully into place.
  • Fully tighten and torque the mount to k-member nuts on both mounts to 94 lb-ft.
how-to-install-1979-1995-mustang-motor-mounts_a15bb89e.jpg (800×622)
how-to-install-1979-1995-mustang-motor-mounts_5efb5d72.jpg (800×618)
how-to-install-1979-1995-mustang-motor-mounts_7cfb9fa3.jpg (800×578)

Step 5: Reinstall The Transmission Crossmember & Complete The Install

  • Reinstall the (2) nuts securing the transmission crossmember to the transmission mount.
  • Inspect all fasteners and components to ensure proper installation.
  • Lower the vehicle to the ground.
  • Reinstall clutch fan and shroud.
  • Reconnect the negative battery cable.
  • After that, you are good to go!
how-to-install-1979-1995-mustang-motor-mounts_29392b26.jpg (800×622)
how-to-install-1979-1995-mustang-motor-mounts_1162399e.jpg (800×622)
how-to-install-1979-1995-mustang-motor-mounts_5b48875d.jpg (800×533)


About the Video

Fox Body & SN95 SVE Urethane Motor Mounts - Overview & How To Install

Check out our YouTube channel for even more tech tips, installation videos, how-tos, and more. The best place to go for anything Mustang related!

Published on 2026-01-09
Upgrade the motor mounts on your 5.0 or 5.8 engine-equipped 1984-1995 Mustang with these updated premium polyurethane motor mounts from industry leader Special Vehicle Equipment®! Supplied in this kit are two heavy-duty urethane motor mounts, along with 5.0 Resto's motor mount hardware kit, to keep everything securely in place.

SVE spent a lot of time perfecting this motor mount kit with improved insulation from noise, reduced vibration, and less harshness compared to the previous version. You'll experience a mount that's stronger than rubber mounts, and won't rattle your teeth like solid mounts. This was achieved with an updated 80 Shore A durometer, polyurethane compound bushing that offers higher resistance to oil soak, and can withstand extreme underhood temperatures associated with performance-oriented setups. Each of these bushings is wrapped in a thicker 1/8" reinforced steel finished in a yellow Zinc coating that protects from rust and corrosion for extended service life. This results in a heavy-duty mount that withstands harsh conditions while reducing deflection and engine flex.
Thumbnail image of the author of this article, Andrew Perry.

About the Author

Andrew has been writing content for Late Model Restoration for over 2 years, producing over 50 articles. Over the years, Andrew has owned numerous Mustangs, including a 2007 V6, 2003 GT, 1967 GT, 1994 GT, 1995 GT, 2014 GT (2), 2000 V6 (V8 swapped), 2016 GT/PP, 1988 LX 5.0, and a 2009 GT/CS. Read more...