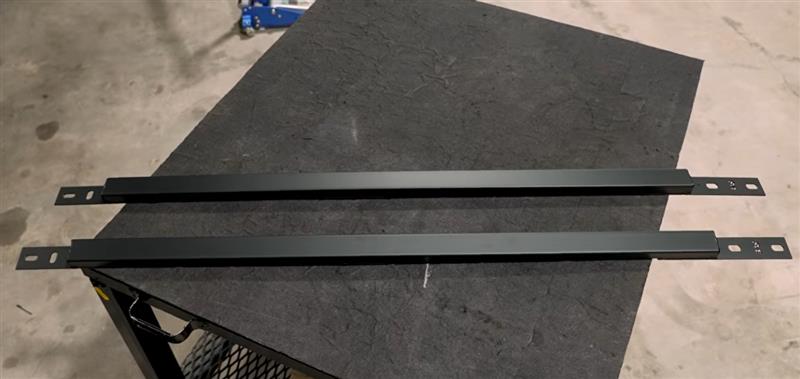
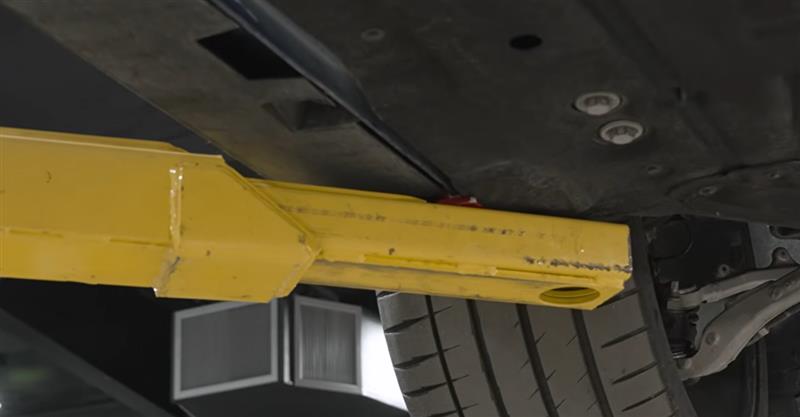
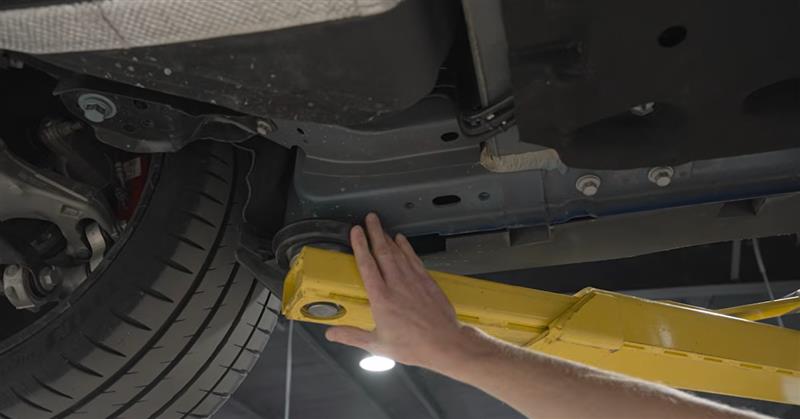
Built specifically for the S550 and S650 Mustang, SVE jacking rails provide a strong, convenient solution for safely lifting and supporting your car. These bolt-in rails are constructed from durable 14-gauge steel and finished in a protective black powder coat for long-lasting durability. The rails are side-specific, with dedicated driver- and passenger-side designs for proper fitment and installation. Using the factory mounting locations, the SVE jacking rails offer a clean, straightforward upgrade that adds dependable jacking points without requiring permanent modifications to the chassis.
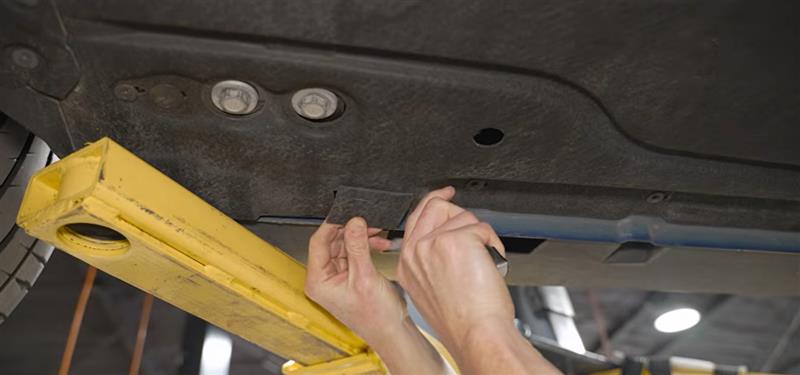
3. Prepare the S650 underbody paneling - S650 only
The S550 does not require this underbody-panel modification.
- Locate the areas of the S650 closeout/underbody paneling that interfere with the SVE rail.
- Remove the applicable 7 mm screws around the panel.
- Removing these screws allows the panel to be pulled down slightly and gives you room to make clean cuts.
- Use a sharp razor blade to trim the paneling back so that it sits flush against the underside of the vehicle.
- Follow the existing contours/lines in the panel as a guide.
- Create the required rectangular openings for the SVE rail mounting areas.
- Perform the same cuts on the opposite side of the vehicle.
- Reinstall the 7 mm screws after completing the cuts.
4. Remove the factory mounting bolts
The SVE rails use the Mustang's existing mounting locations.
S650:
- Front bolts: 13 mm
- Rear bolts: 15 mm
S550:
- Front bolts: 15 mm
- Rear bolts: 15 mm
Remove the existing bolts from the mounting locations that will be used by the SVE rail.
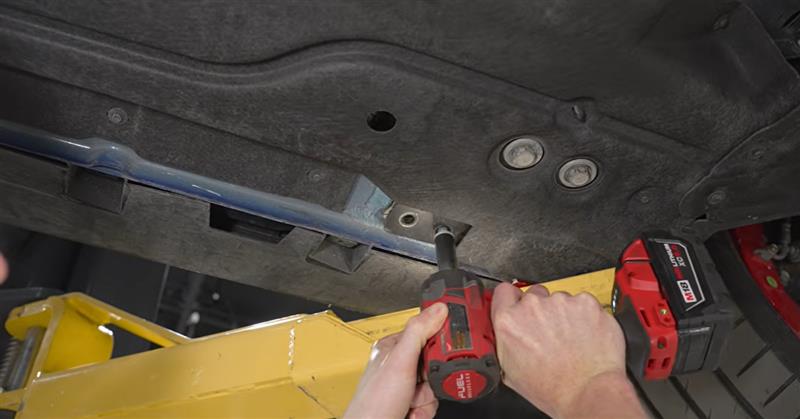
5. Clean the threaded mounting holes
Properly preparing the factory threaded holes is important before installing the SVE rails.
- Blow compressed air into the mounting holes to remove dirt and debris.
- Pay particular attention to the holes containing residual Loctite, as these can be dirtier.
- Use an M10 x 1.5 tap/thread chaser to clean the threads.
- Lubricate the tap before running it through the holes.
- Start the tap by hand to ensure it engages the threads correctly.
- Run it through the mounting hole to remove old threadlocker and debris.
- Clean the tap and flush/clean the hole afterward.
- Repeat the process for the remaining mounting holes.
- The rear mounting holes also use the M10 x 1.5 thread size.
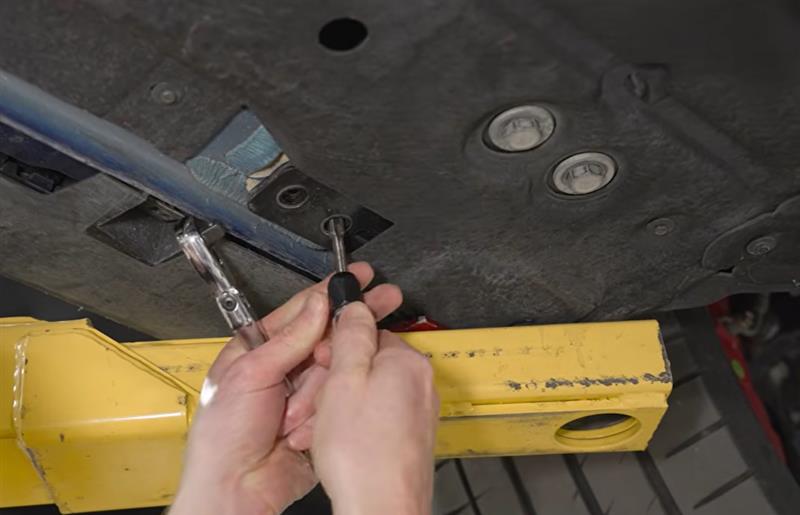
6. Prepare the factory bolts
- The installation reuses the original factory bolts.
- Inspect the bolts before installation.
- Remove the old blue Loctite from the bolts.
- A wire brush or wire wheel can be used to clean the bolts.
- Once cleaned, the bolts are ready to receive fresh threadlocker.
7. Clear any interfering seam sealer
Before positioning the SVE rail:
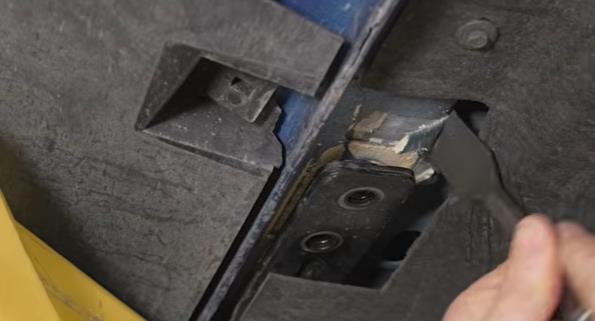
- On the S650, inspect the area between the vehicle body and the small fender-liner bracket.
- Remove any seam sealer that interferes with the SVE rail's installation.
- Make sure the mounting area is clean and clear.
- Check the same area on an S550 and remove any seam sealer that prevents the rail from sitting correctly.
- Removing seam sealer may expose the joint where two pieces of sheet metal overlap.
- If desired, apply replacement seam sealer or another suitable product to cover the exposed joint.
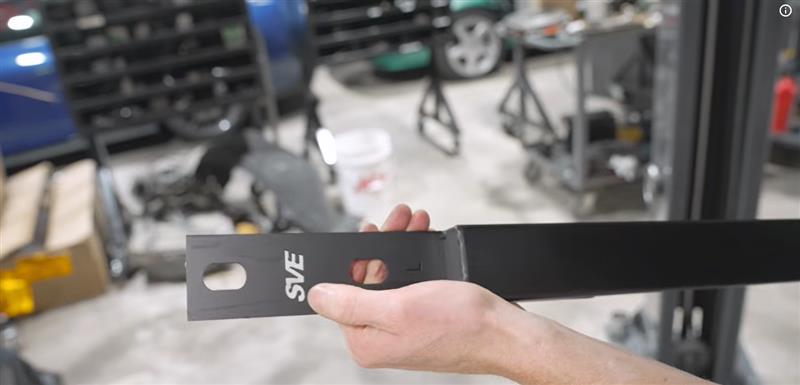
8. Identify the correct SVE rail for each side
The SVE rails are side-specific, so make sure you have the correct rail before installation.
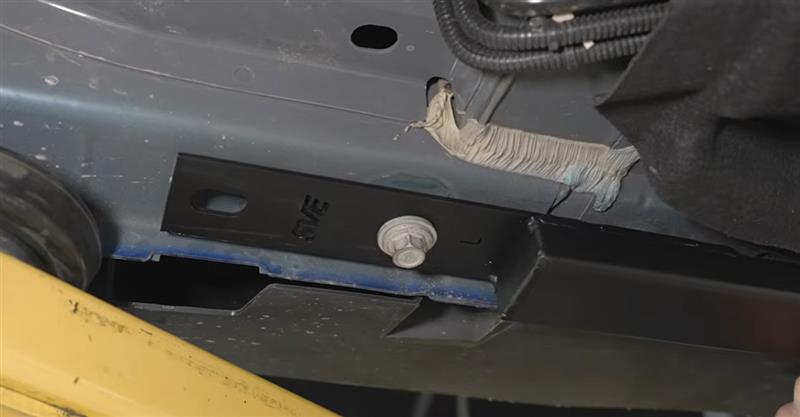
- The driver's-side rail is identified with an “L.”
- Position the rail so the SVE logo faces toward the rear of the Mustang.
- Confirm the rail's orientation before starting the bolts.
9. Position the SVE jacking rail
- On the S650, have a rear bolt ready before positioning the rail.
- Slide the front of the SVE jacking rail into position underneath the small bracket.
- Start a rear bolt to temporarily hold the rail in position.
- On the S550, you may need to support one end of the rail while starting the first bolt.
- Verify that the rail is sitting correctly against the vehicle before tightening anything.
10. Apply threadlocker and install the bolts
- Apply Loctite/threadlocker to the factory bolts.
- Start the bolts by hand to prevent cross-threading.
- Run the bolts down evenly.
- Do not fully tighten them yet.
- Leave the bolts slightly loose until all four mounting bolts are installed.
- Once the remaining bolts are positioned, apply Loctite to the remaining bolts and install them.
11. Torque the SVE jacking rail
- Once all four bolts are installed and started evenly, tighten them.
- Torque all four SVE jacking-rail mounting bolts to 45–50 ft-lb.
- Verify that the rail remains properly positioned as the bolts are tightened.
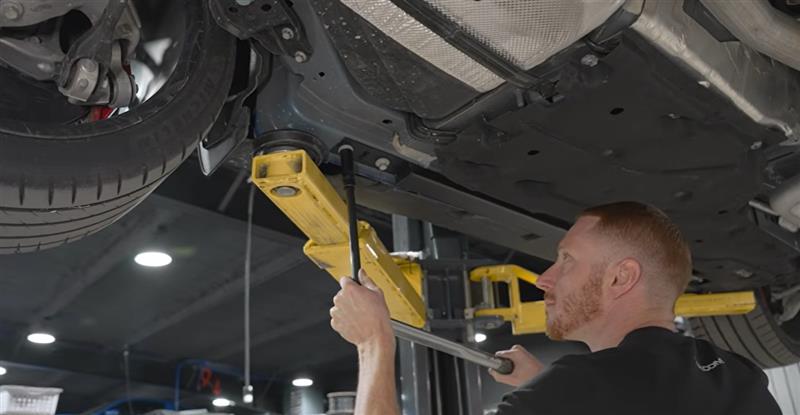
12. Repeat the installation on the opposite side
- After completing the driver's side, move the jack-stand/support setup to the passenger side.
- Repeat the same installation procedure
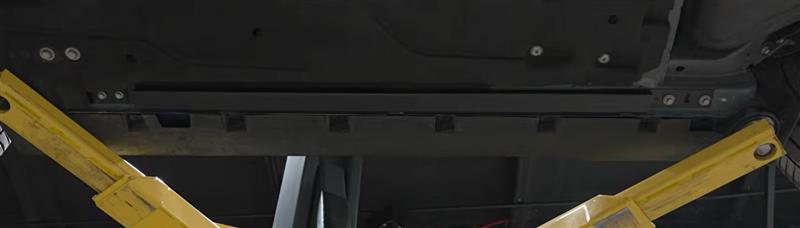
With its durable 14-gauge steel construction, powder-coated finish, and vehicle-specific design, the SVE jacking rails are a practical upgrade for any S550 or S650 Mustang. Their bolt-in installation and dedicated jacking points make lifting and supporting the vehicle easier and more convenient. For Mustang owners looking for a strong, purpose-built jacking solution, the SVE rails are a solid addition to the chassis.