![]()
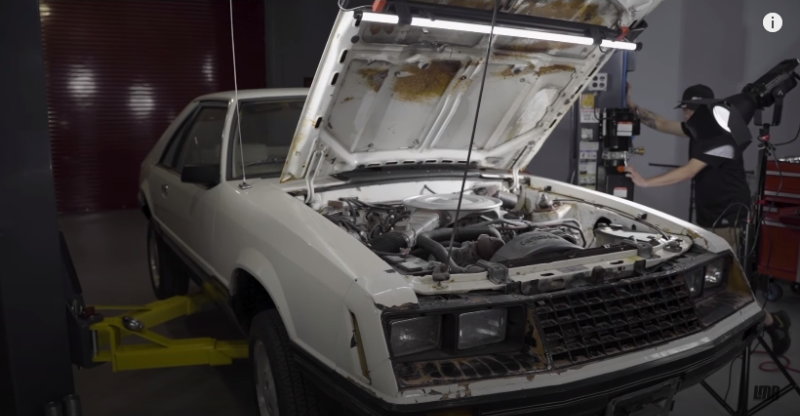
Before getting started with the install, we wanted to point out that Ford did a lot of changing during this time. Early cars had an adapter to adapt the smaller heater return hose to a larger hose on the factory water pump. If you have installed an aftermarket water pump, you will not see this larger hose. Also, cars that are equipped with CFI (central fuel injection) utilize a 90-degree fitting that has a temp sensor located at the top. This fitting can either be removed, cleaned, and then reinstalled, or simply left as is.
Required Tools
- Jack/Jack Stands Or Lift
- Socket Set
- Drain Pan
- Teflon Tape
- Flat Head Screwdriver
- Hose Cutter Or Knife
Parts Used
Installation Instructions
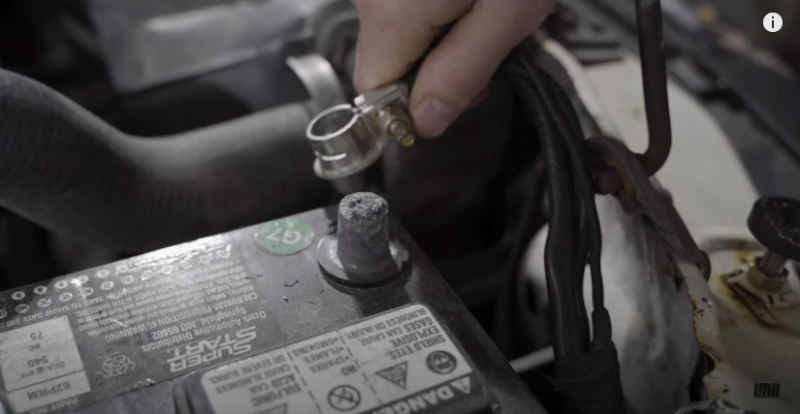
1. Disconnect the negative battery cable.
![]()
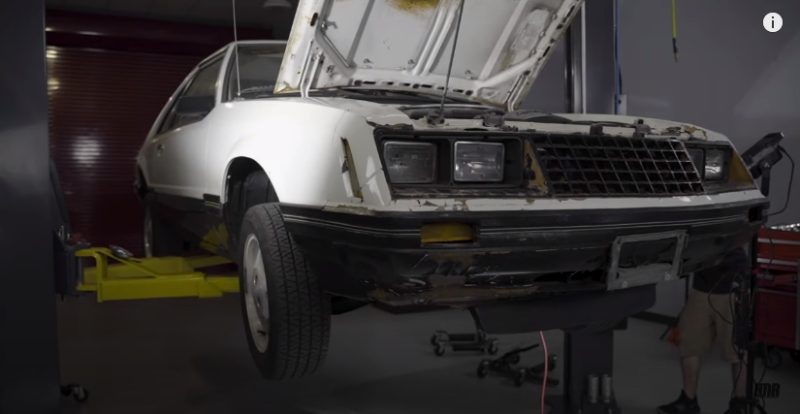
2. Support the vehicle on a lift or jack stands.
![]()
3. Place a drain pan or bucket underneath the fitting on the radiator.
![]()
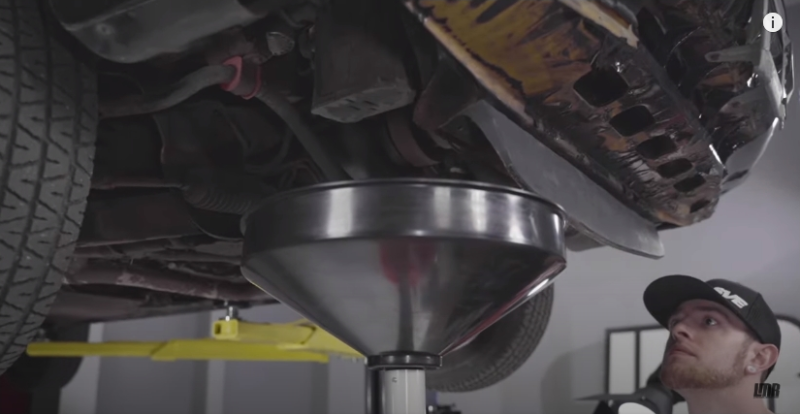
4. Open the fitting and drain some of the coolant from the system. (Since we are only replacing heater hoses, you don’t have to drain all of the coolant)
![]()
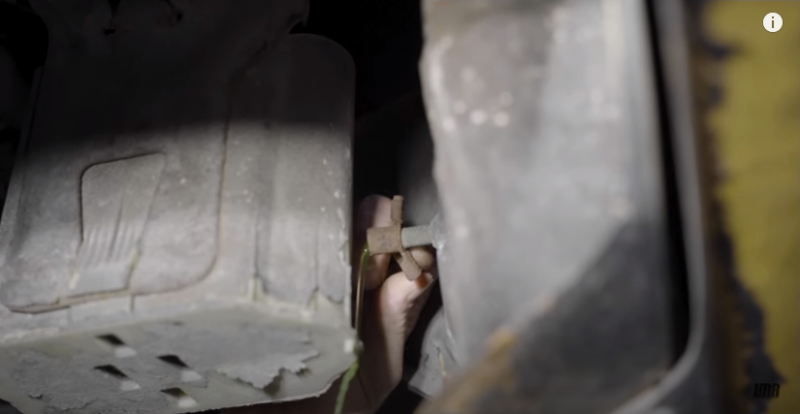
5. Remove the air cleaner, vacuum lines, and any other related part to these particular components.
![]()
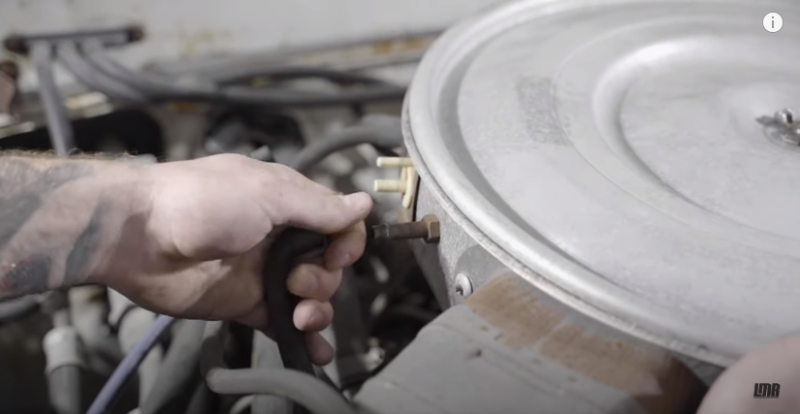
6. Remove the distributor cap and unplug the coil. Position the cap out of the way.
![]()
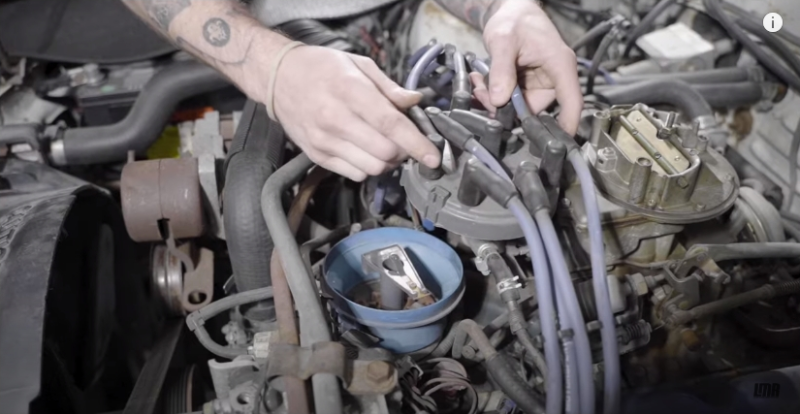
7. Remove the vacuum hose that connects to the distributor if applicable.
![]()
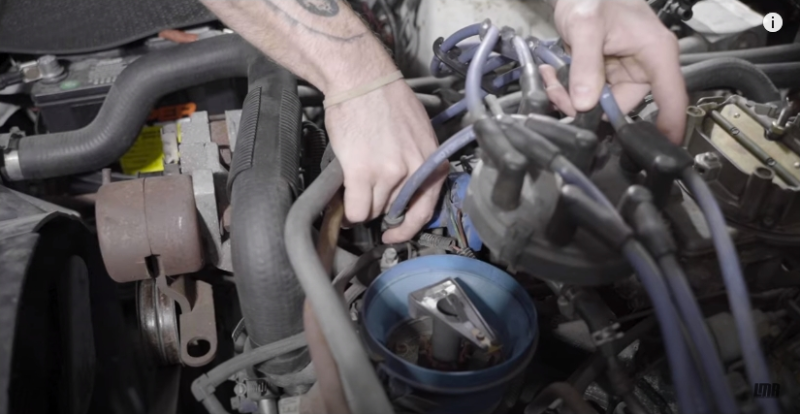
8. Unscrew the hose clamp at the 90-degree fitting at the lower intake and then remove the hose from the fitting.
![]()
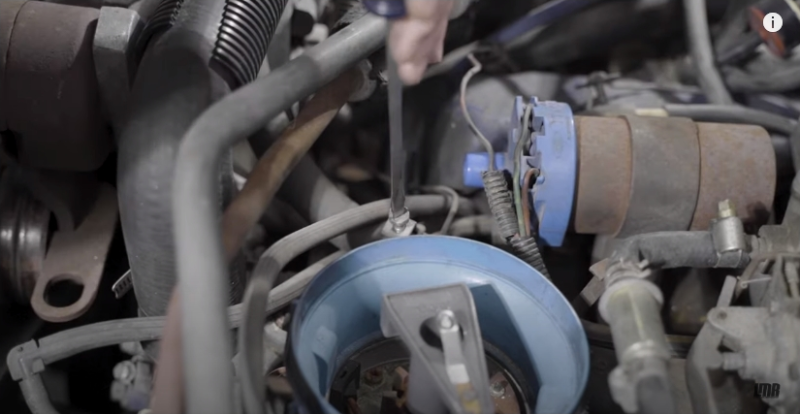
9. Position the upper radiator hose out of the way and remove the 90-degree fitting using a 7/8 open end wrench.
![]()

10. Depending on your vehicle you may need to remove or reposition your ignition coil to install the new 90-degree fitting.
![]()
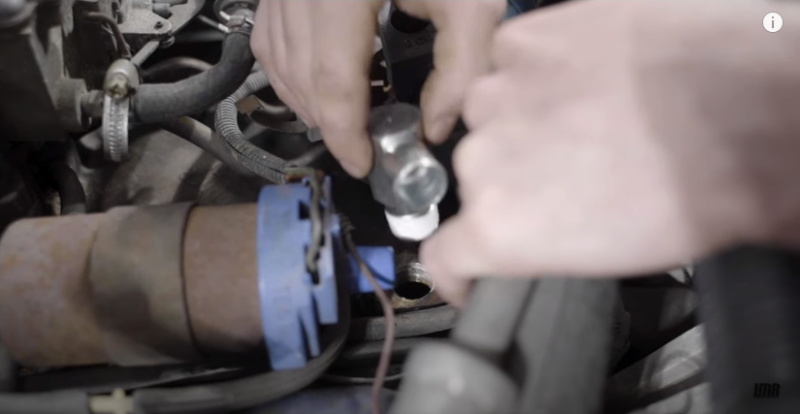
11. You can do this by disconnecting the electrical connections to the coil and then a 9/16 socket to remove the hold down bolt.
![]()
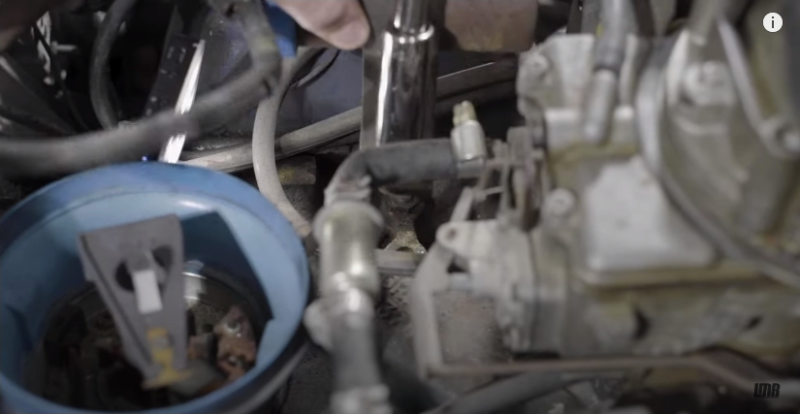
- Apply some teflon tape or high temp thread sealer with PTFE to the threads on the new fitting.
![]()
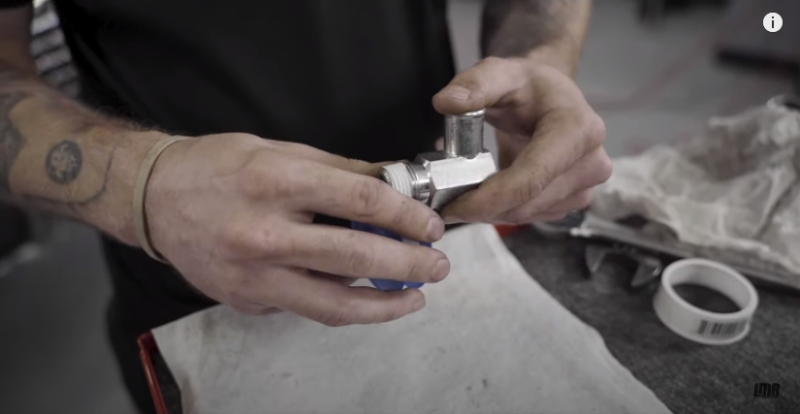
12. Inspect and clean the threads on the lower intake.
![]()
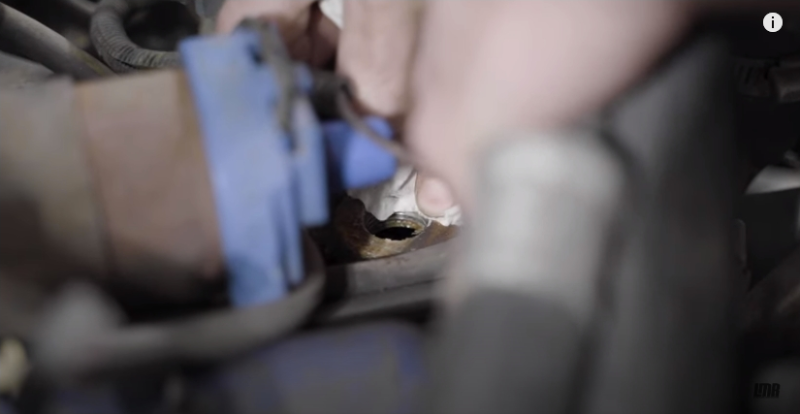
13. Then you can reinstall the fitting into the lower intake using a 5/16 open end wrench.
![]()
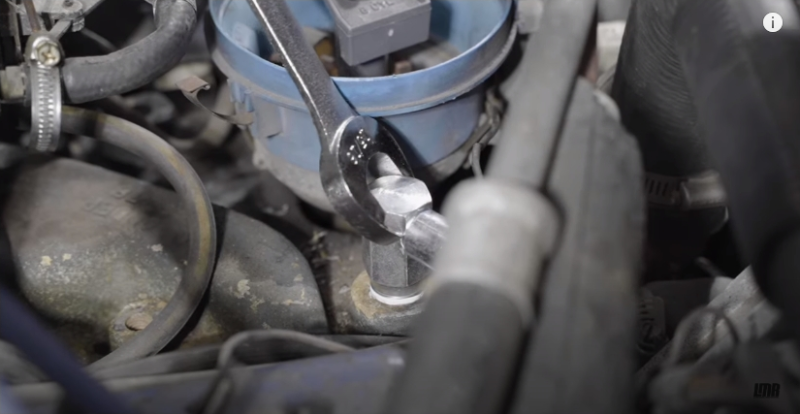
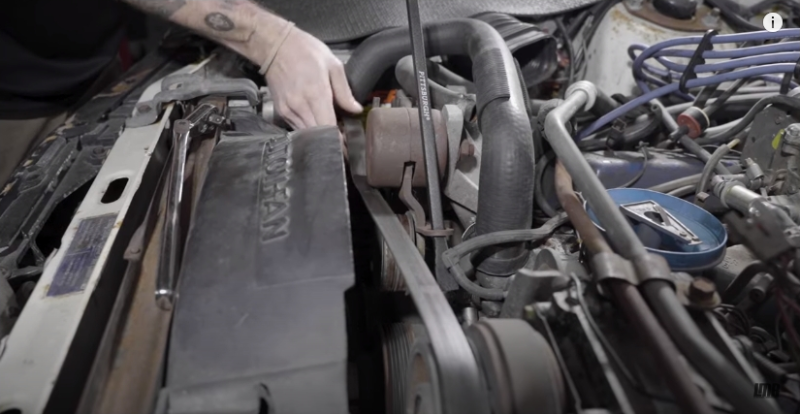
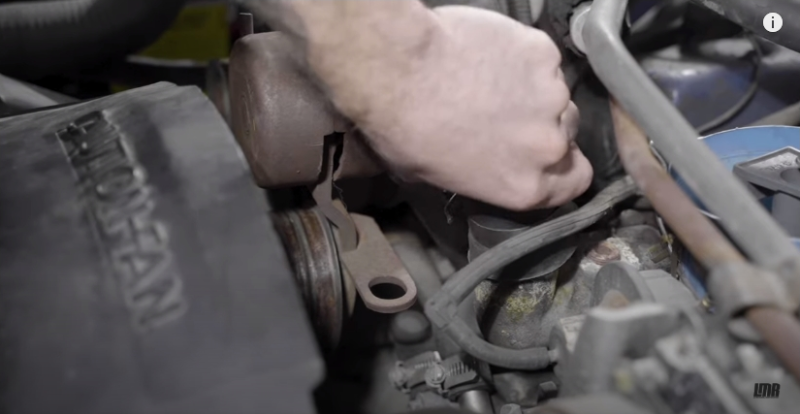
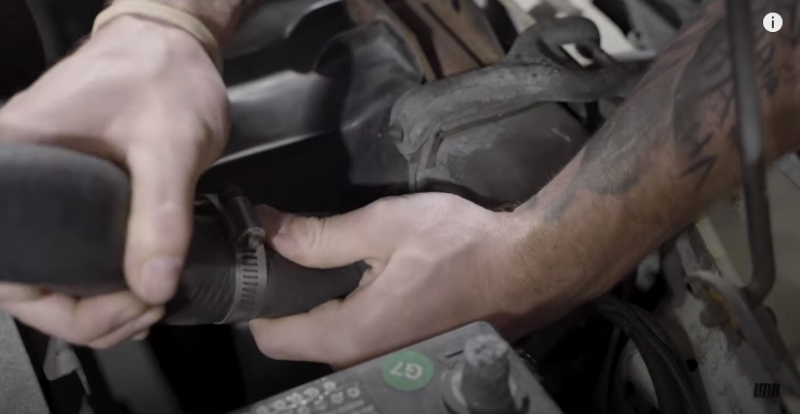
14. For better access to the return hose remove the serpentine belt and the upper radiator hose.
![]()
![]()
![]()
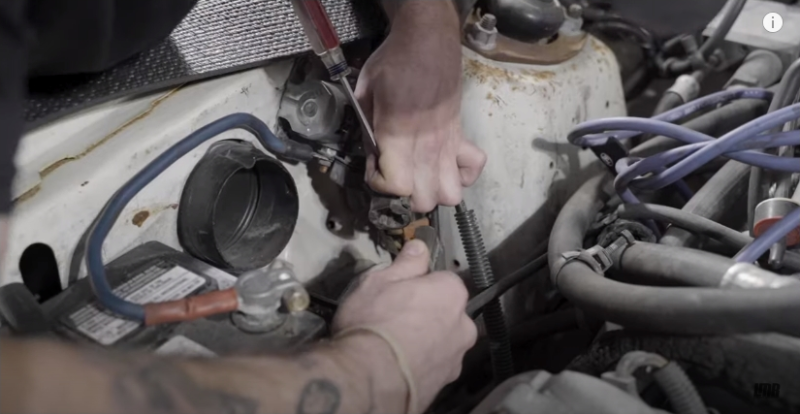
15. Disconnect the electrical connections to the alternator. The connections could differ depending on the year of the vehicle.
![]()
![]()
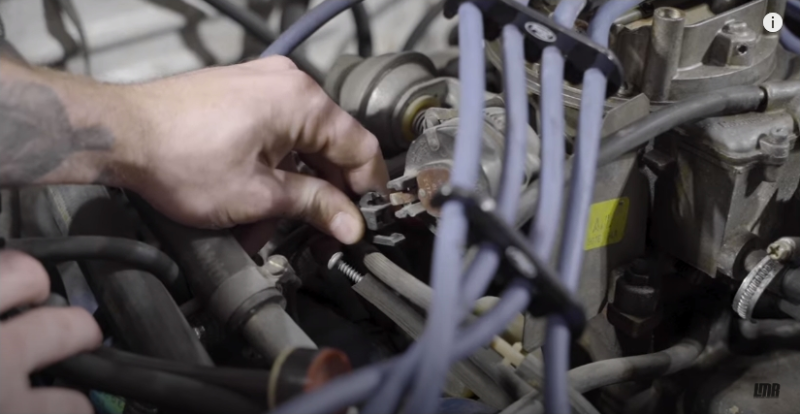
16. Loosen and remove the (2) bolts that secure the alternator to the bracket. The upper bolt is 9/16 and lower is 5/8.
![]()
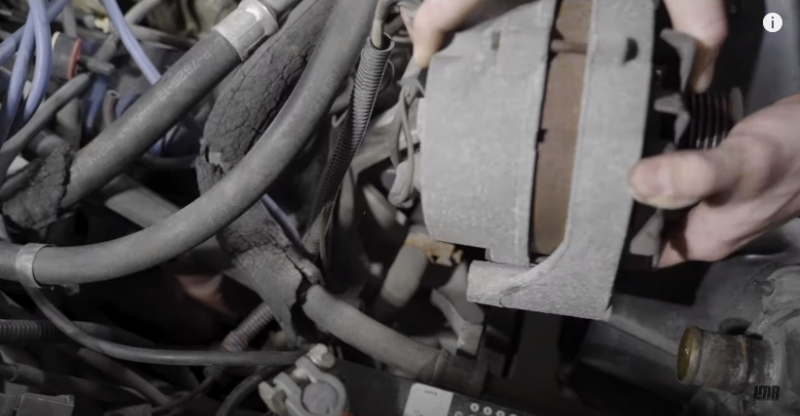
17. Loosen the hose clamp and remove the heater hose going to the water pump return.
![]()
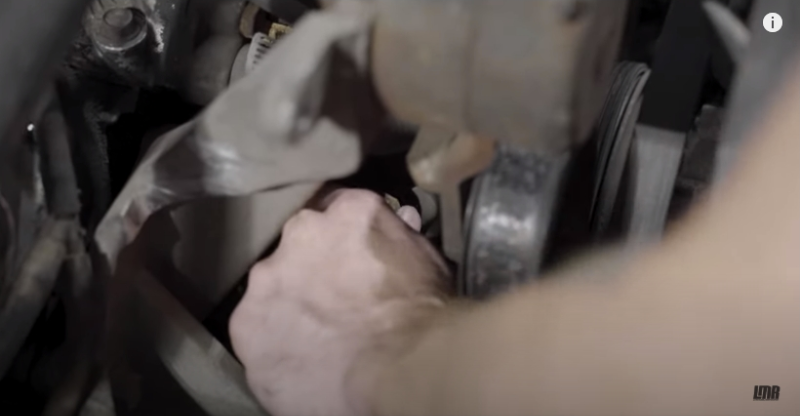
18. Loosen the hose clamps with the heater core and remove the (2) hoses from the heater core. As remove these hoses be careful not to spill any fluid that could still be inside any of the hoses.
![]()
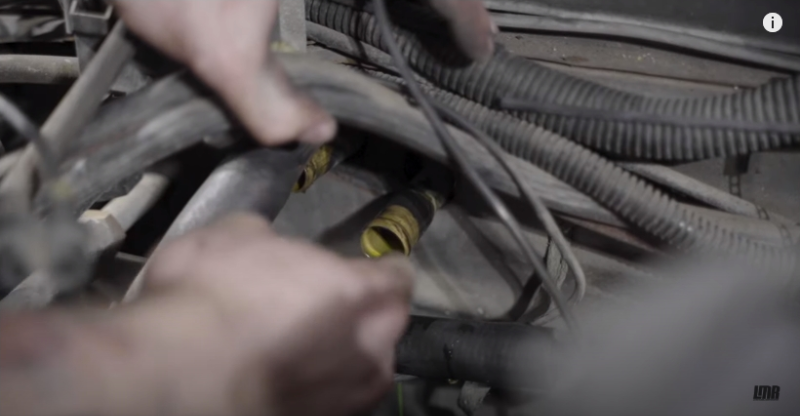
19. Preinstall one of the hose clamps onto the ¾ supply hose to make installation a little easier.
![]()
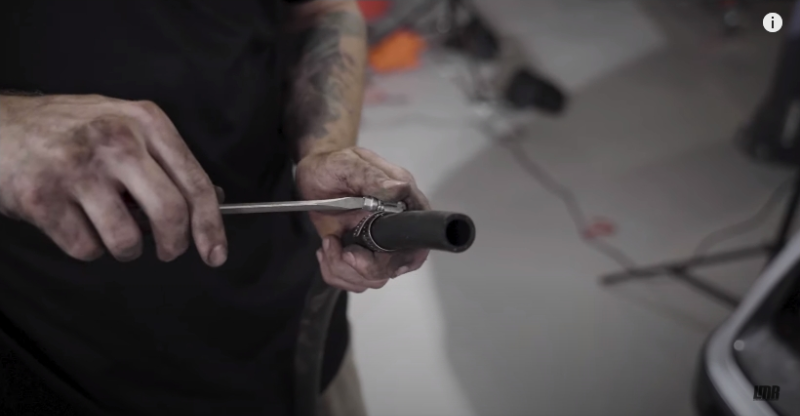
20. Install the flow restrictor into this hose with the tapered end facing toward the front of the car.
![]()
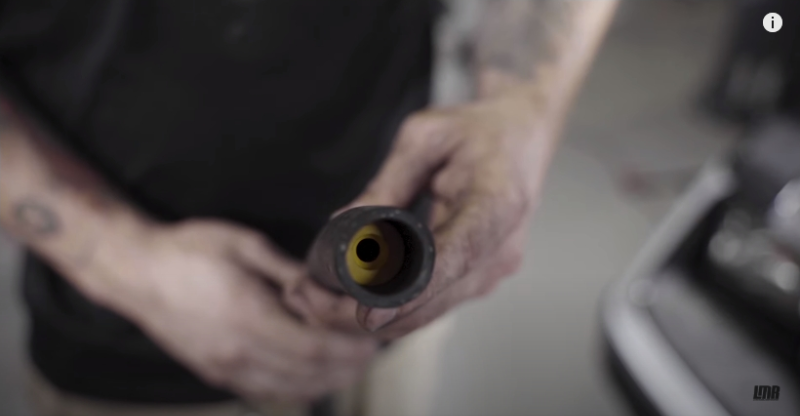
21. When you install this hose onto the heater core it will push the flow restrictor the rest of the way in. Go ahead and snug down the clamp.
![]()
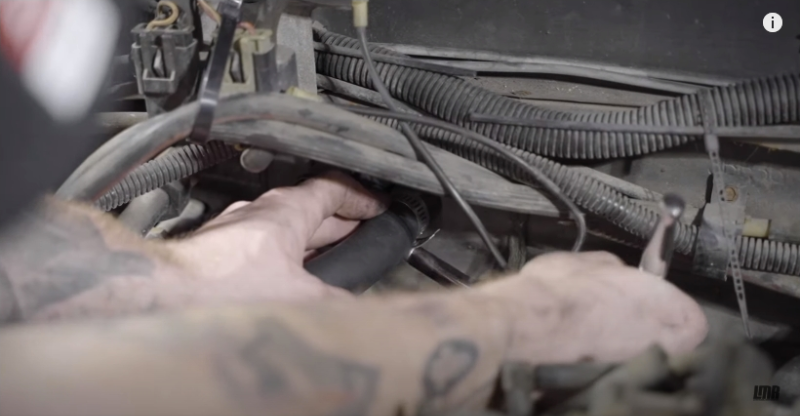
22. Depending on your application you can determine how you would route the hose to the 90 degree fitting in the lower intake. For our application, we routed the hose the same way as the one we removed. Whenever this is determined you can cut the hose to length.
![]()
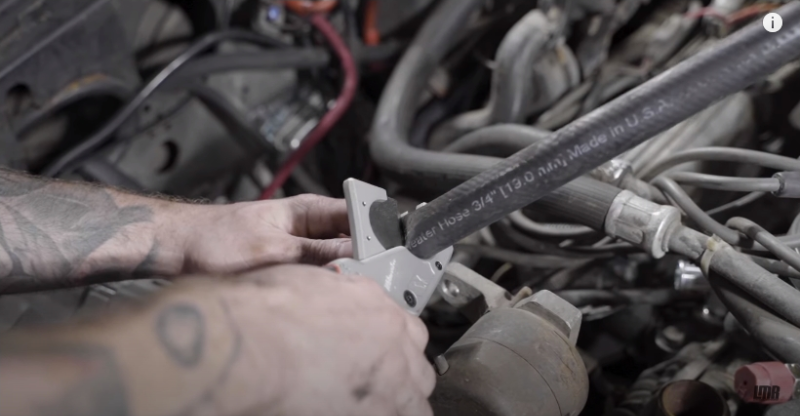
23. Install a hose clamp and slide the hose onto the 90 degree fitting and tighten down the clamp. Depending on the orientation of the fitting it may need to be clocked to make it face in the right direction.
![]()
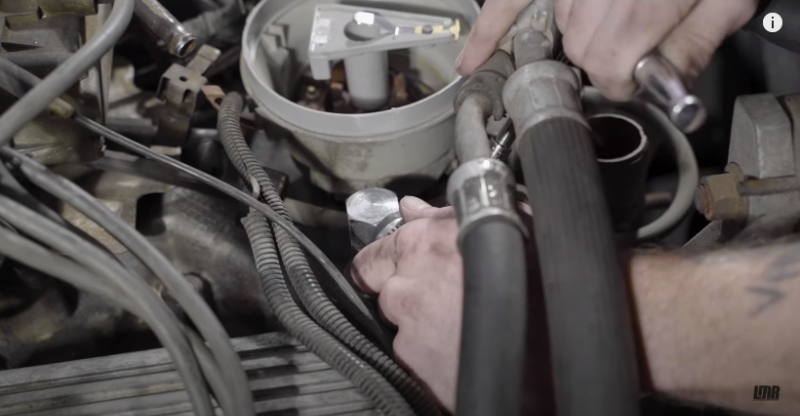
24. For the 5/8 return hose, we decided to run it alongside our supply hose. This hose runs underneath our alternator to the water pump return.
![]()
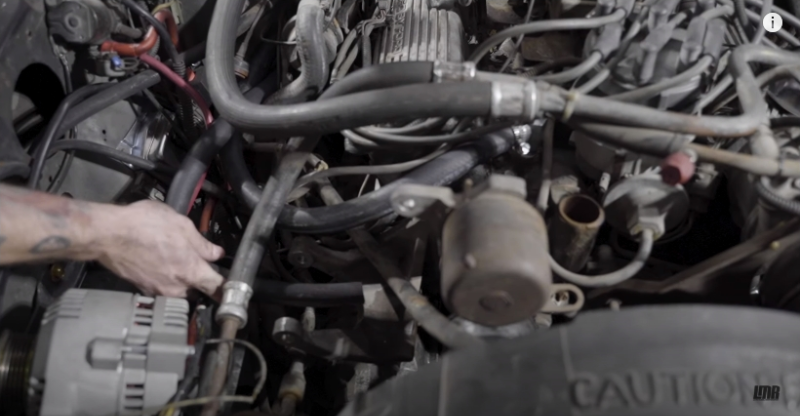
25. Connect one end of the hose to the heater core with the hose clamp preinstalled.
![]()
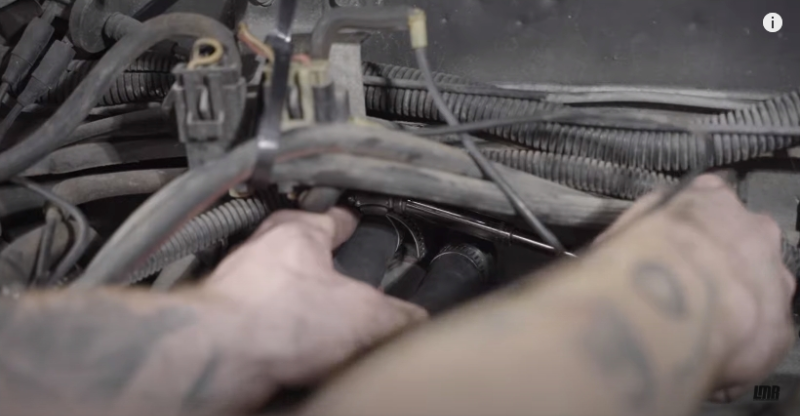
26. At the water pump, determine the desired length making sure there are no kinks in the hose and cut.
![]()
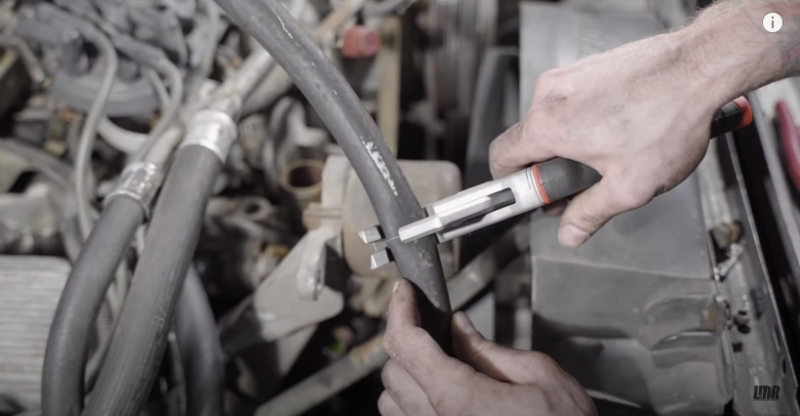
27. Install a hose clamp and slide the hose onto the water pump and snug down the clamp.
![]()

28. Double check all of your work.
![]()
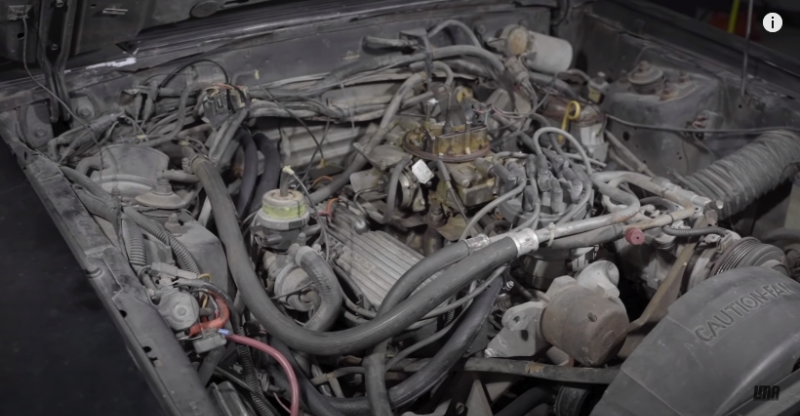
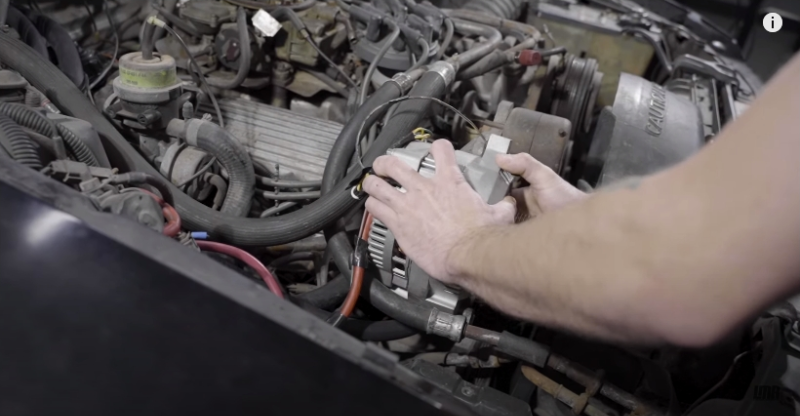
29. Reinstall the alternator and reconnect the electrical connections.
![]()
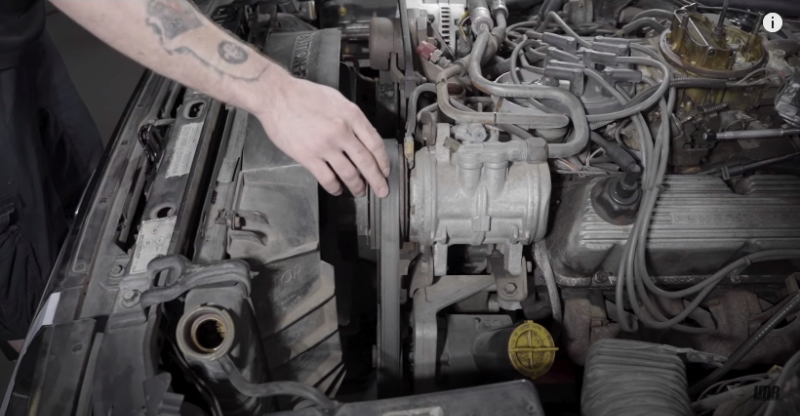
30. Reinstall the serpentine belt.
![]()
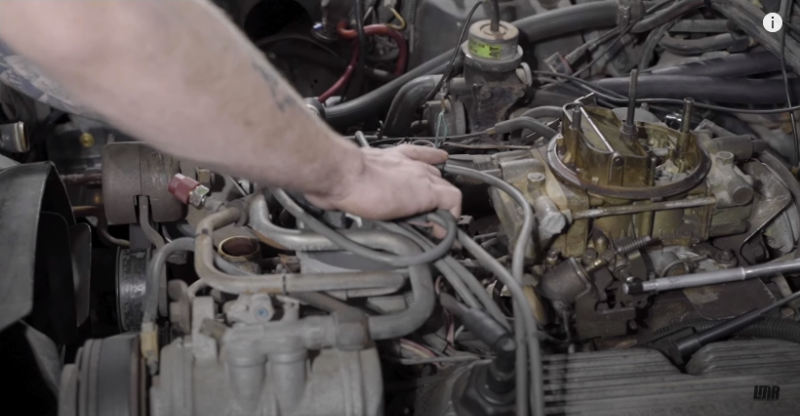
31. Reinstall the coil and distributor cap along with the coil wire.
![]()
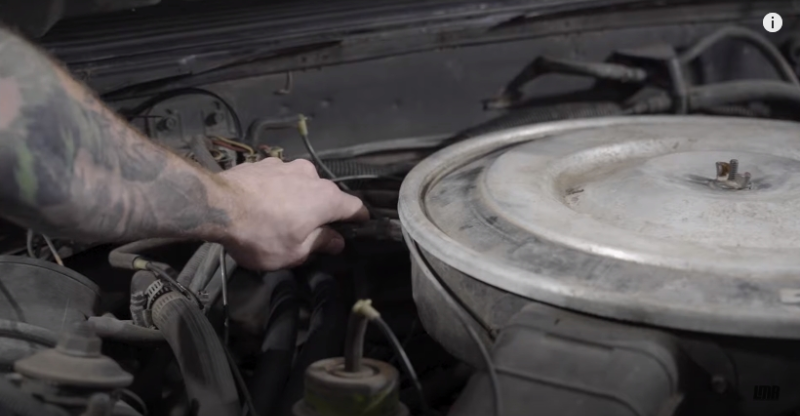
32. Reinstall your air cleaner and its associated components.
![]()
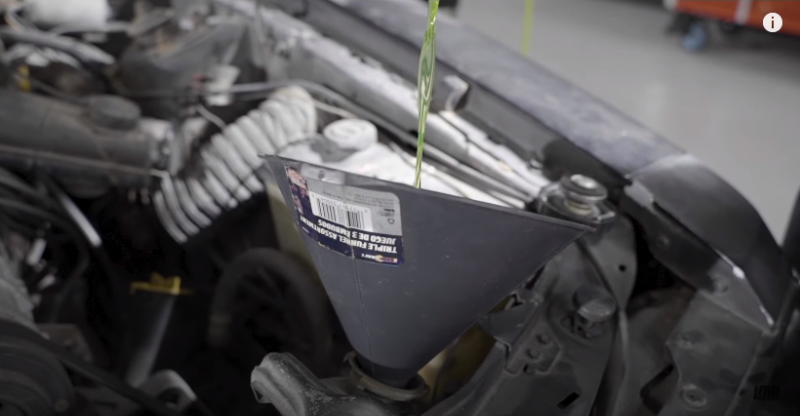
33. Top off the coolant.
![]()
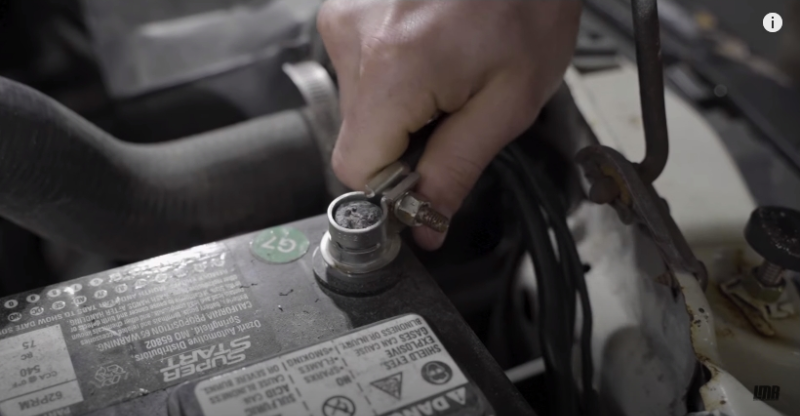
34. Reconnect the negative battery cable.
![]()
35. Get the car on the ground and you’re good to go!
![]()