SHOP

2015-23 Mustang Parts
Free Shipping on qualifying orders over $99* Details
LMR showroom & will call pickup service will be closed beginning Monday 9/21/26 for renovations until further notice. Need help? Contact Us.

How To Install Gen 2 Coyote Oil Pump Gears & Crank Sprocket

Created by Andrew Perry / 10 min read
Date Created: 9/9/2025
Last Updated: 9/9/2025

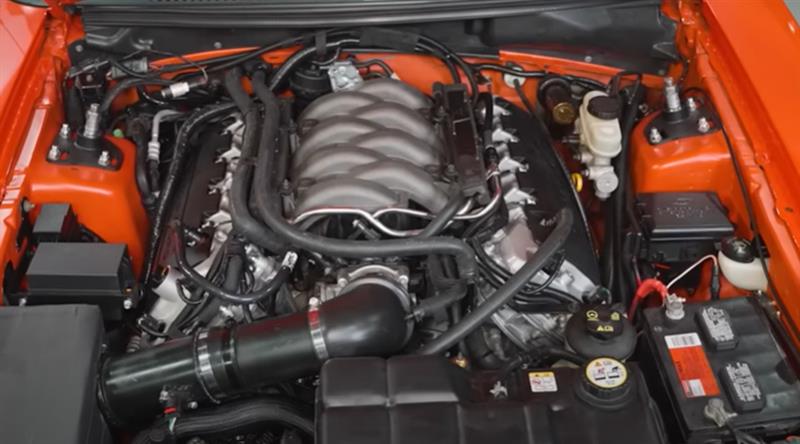
Follow us as we install new oil pump gears and a crank sprocket into a 2015-2017 Mustang Gen 2 Coyote engine!
Viewing this install and using the information shared is subject to the terms set forth here - View the LMR Install Instructions Disclaimer.
By now, it seems like there are a million videos about how to install oil pump gears and a crank sprocket in a Coyote engine. Well, let's make that a million and one. In this video, we walk you through the process of installing oil pump gears and a crank sprocket into a 2015-2017 Mustang GT with the Gen 2 Coyote engine. We're performing the work on an engine stand, but all of the steps related to the oil pump gears and crank sprocket are the same as if the engine were in the car. You'll find that we're doing this in an unconditional fashion by not doing the crankshaft rotations. None of that is necessary. Just hold the cams, do the work, and put it all back together. It's that simple! Torque specs are provided in the video.

Product Links:
Watch:
Vehicle Fitment:
  • Chassis: S550 Mustang
  • Year Range: 2015, 2016, 2017

Installation Instructions

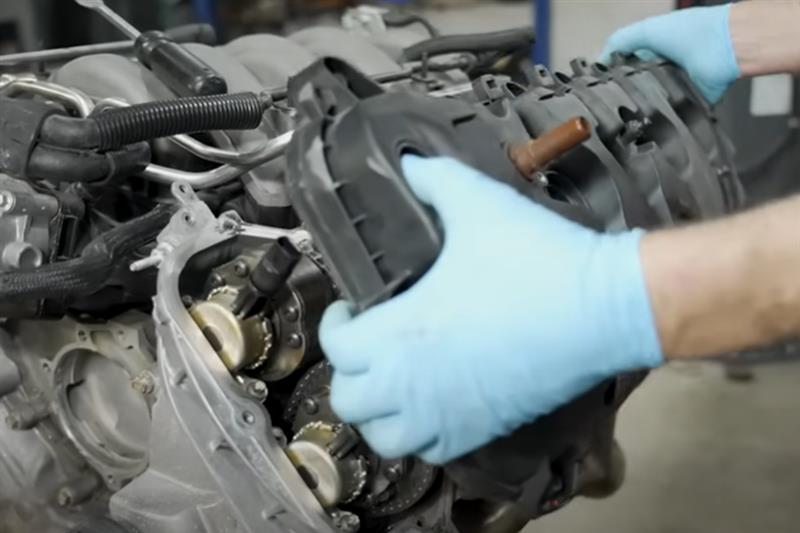
Step 1: Remove Valve Covers

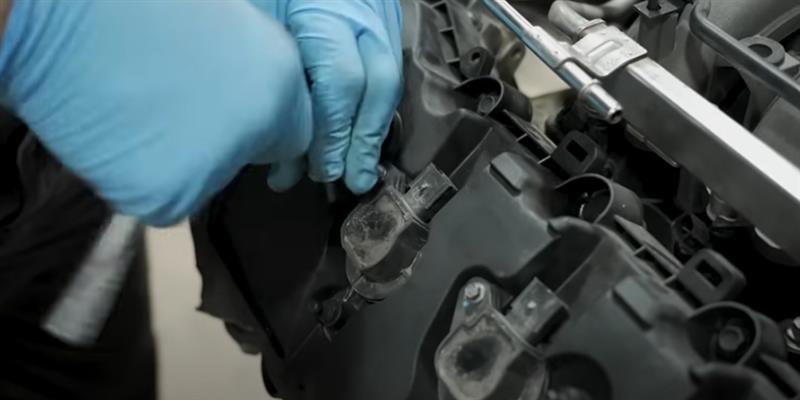
  • Lift up and remove the coil covers from the valve covers.
  • Loosen and remove the 8mm coil pack bolts. Lift the coil packs out of position and remove them from the cylinder head.
  • On the driver's side, fully loosen all of the valve cover retaining bolts with a 10mm socket.
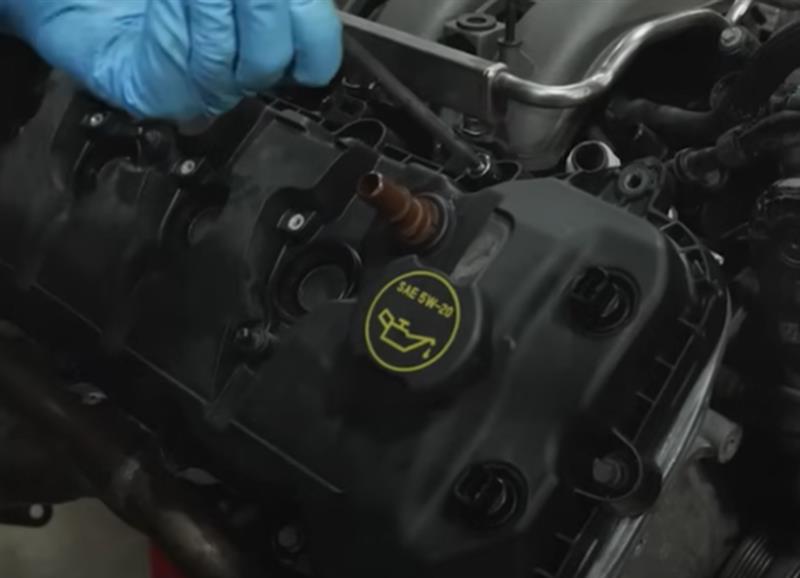
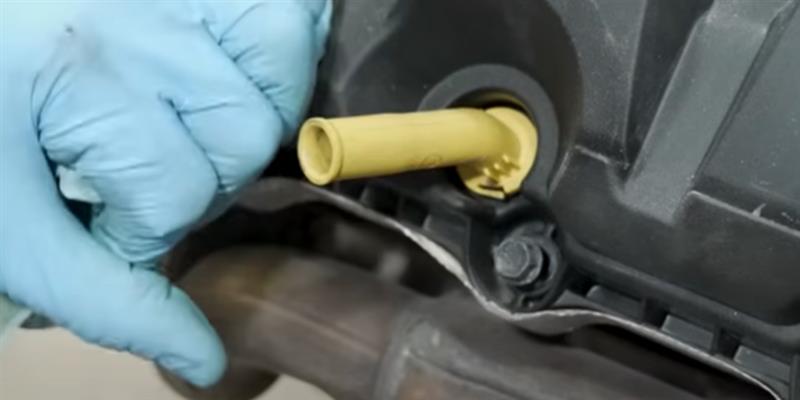
  • Remove the dipstick and carefully rotate the tube counterclockwise to remove it from the valve cover.
  • Use a pry tool to separate the valve cover from the cylinder head.
  • Once loose, remove it from the engine. Do the same for the other side. 
how-to-install-gen-2-coyote-oil-pump-gears-crank-sprocket_d946bd88.jpg (800×400)
how-to-install-gen-2-coyote-oil-pump-gears-crank-sprocket_f214db58.jpg (800×400)
how-to-install-gen-2-coyote-oil-pump-gears-crank-sprocket_5226287a.jpg (800×533)

Step 2: Remove Timing Cover

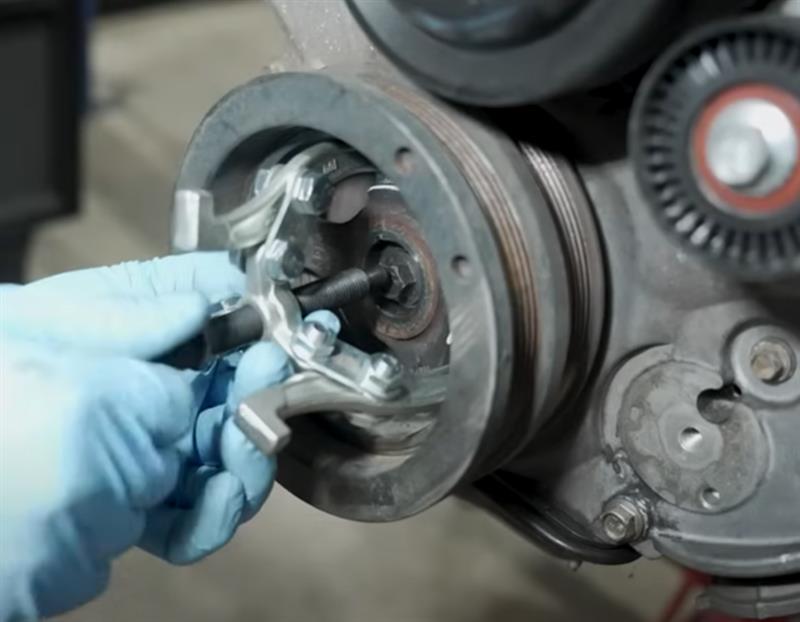
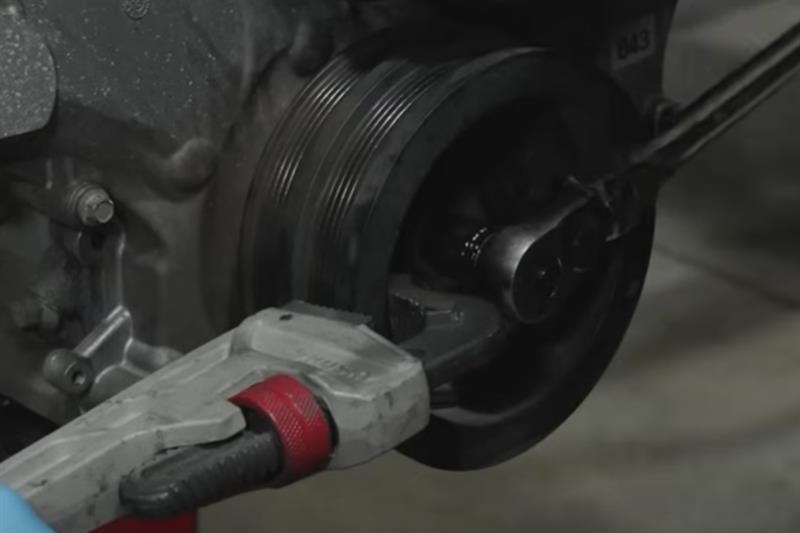
  • Loosen and remove the harmonic balancer bolt with an 18mm socket and impact.
  • Place an old bolt inside of the crankshaft to press against.
  • Assemble the 3-jay puller and use the correct socket and turn the press screw to remove the balancer. Remove the bolt.
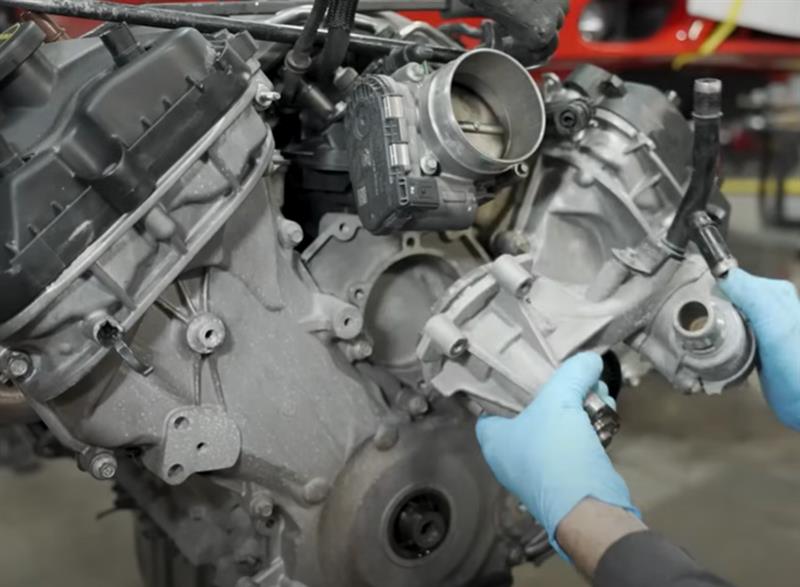
  • Loosen and remove the water pump pulley bolts with a 10mm socket and then remove the pulley.
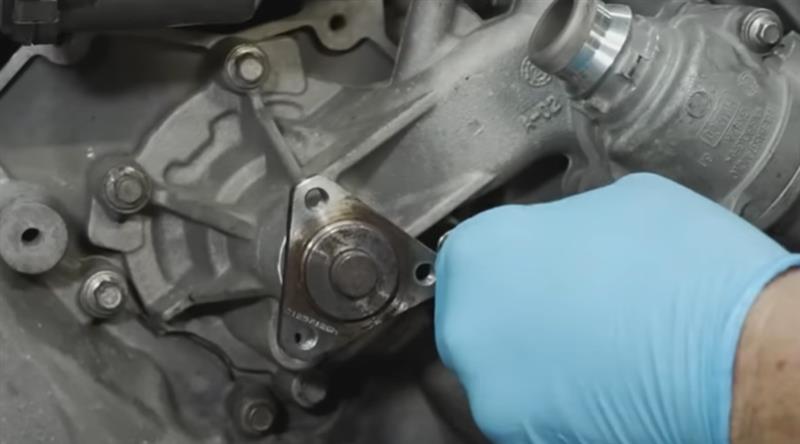
  • Remove the water pump bolts and use a pry tool to separate the pump from the block.
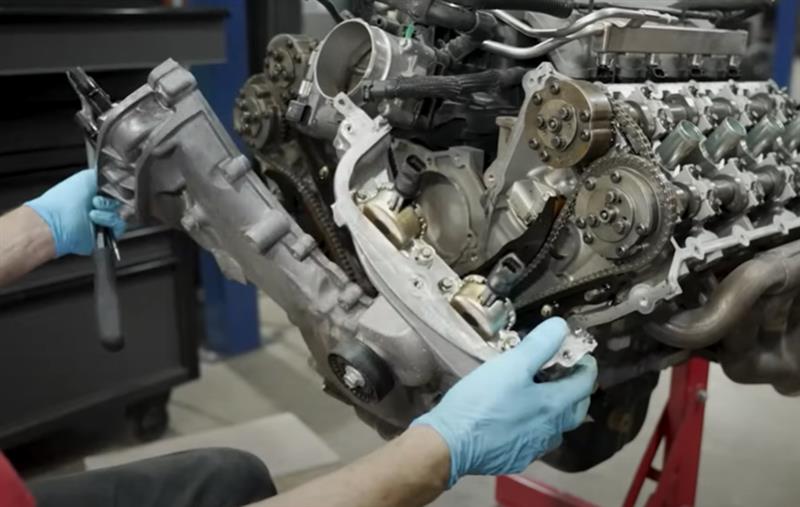
  • Dislodge any harness clips that are attached to the timing cover.
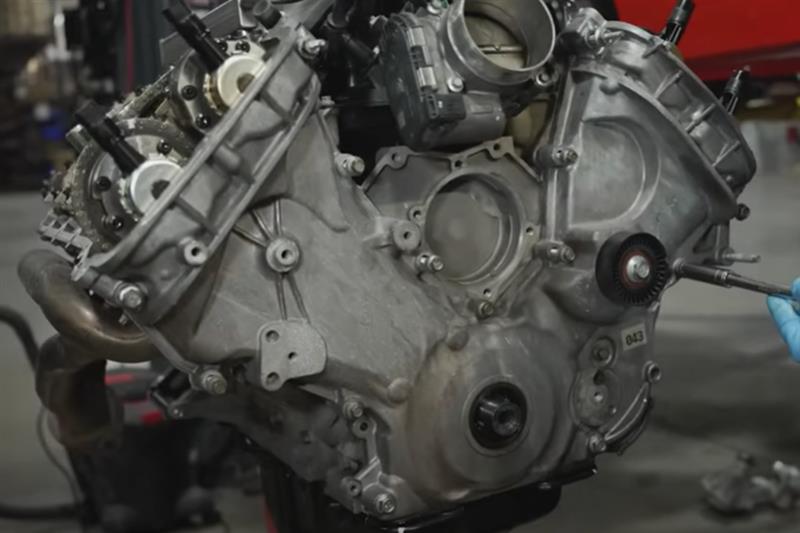
  • Remove all of the 13mm fasteners first from the timing cover.
  • Then remove the 10mm hardware. 
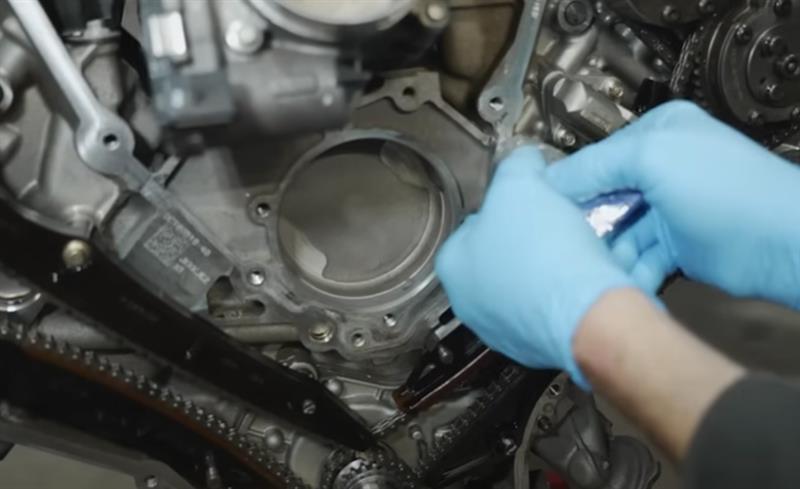
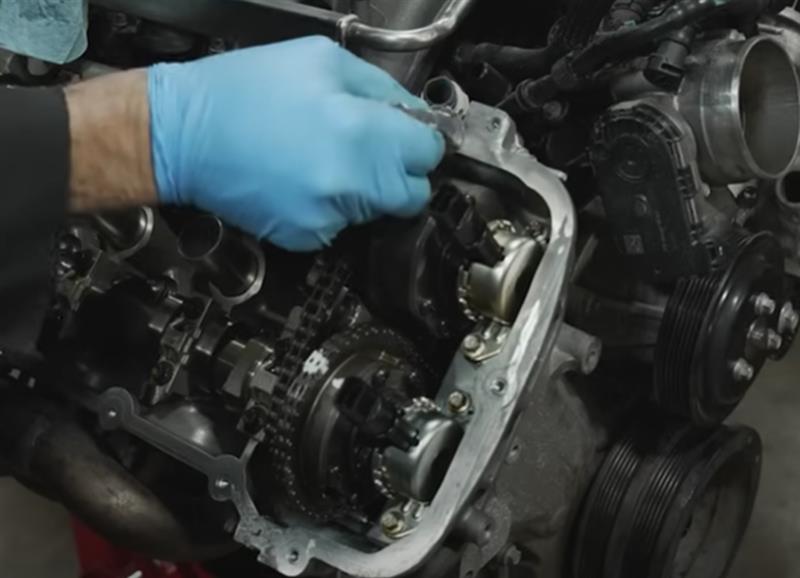
  • Carefully pry the cover away from the engine block and cylinder heads.
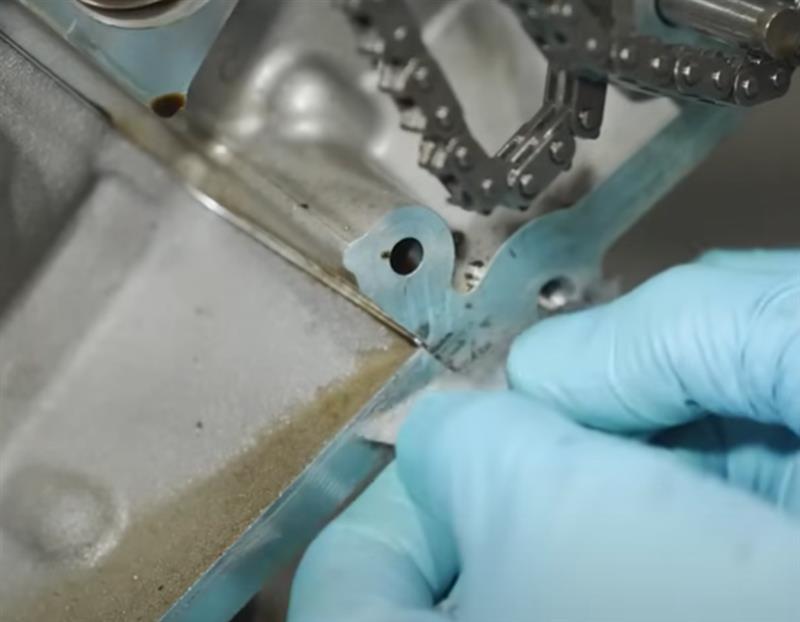
  • Fully remove any of the gaskets.
how-to-install-gen-2-coyote-oil-pump-gears-crank-sprocket_4cf4b4b1.jpg (800×622)
how-to-install-gen-2-coyote-oil-pump-gears-crank-sprocket_7b6d04c5.jpg (800×587)
how-to-install-gen-2-coyote-oil-pump-gears-crank-sprocket_1437b255.jpg (800×507)

Step 3: Remove Timing Chains

  • Stack some washers underneath the balancer bolt and reinstall it. 
  • Place some towels under the oil pump and fully cover any void in the oil pan.
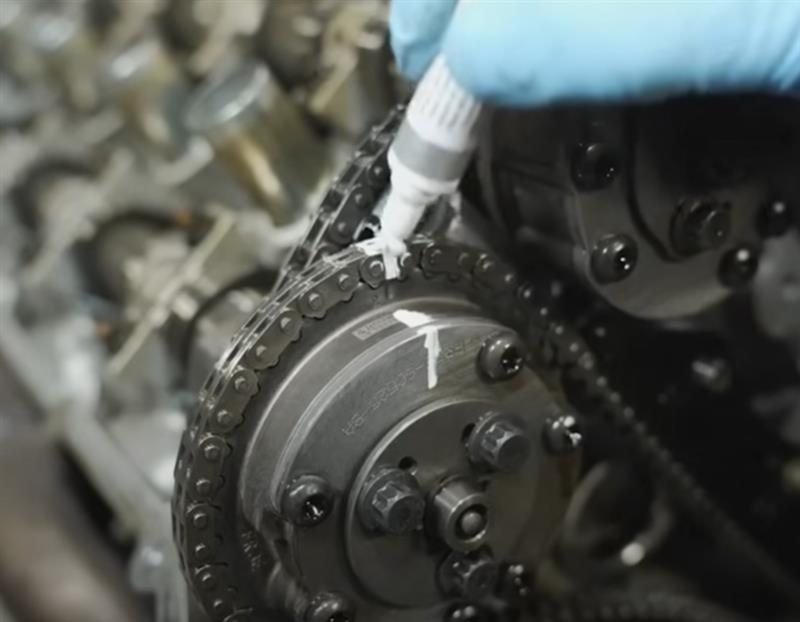
  • Mark both phasers and the links with a paint pen at the R and L indicators.
  • Mark the links on the chains that align with the timing mark on the factory crank sprocket.
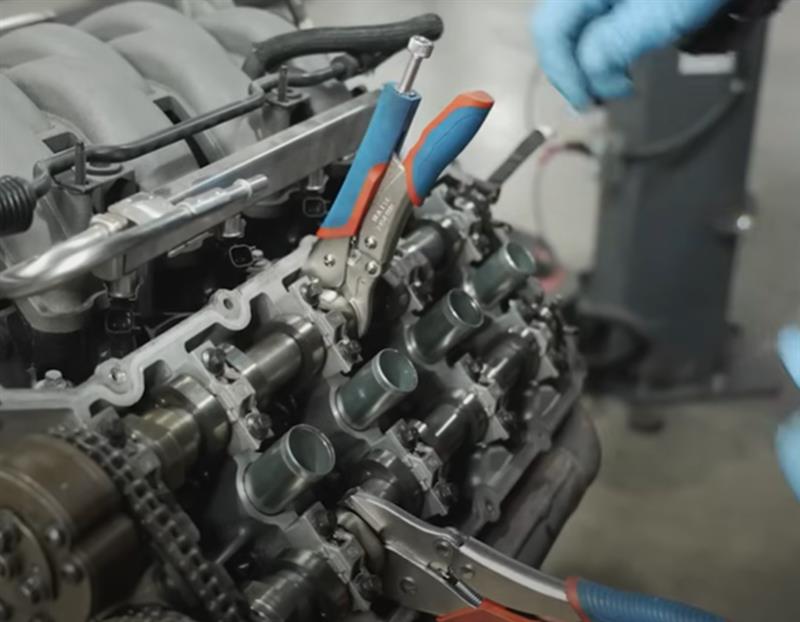
  • Situate some vice grips on the body of both the intake and exhaust cams in each head.
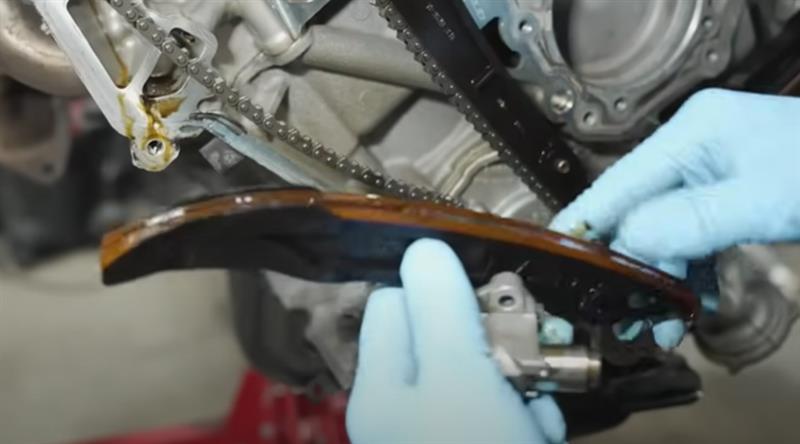
  • Loosen and remove the bottom bolt securing the passenger side tensioner with an 8mm socket.
  • Remove the upper bolt and prepare for the tensioner to rotate outward. Set it aside.
  • Remove the tensioner arm from the bottom pivot stud and set it aside. 
  • Loosen the bolts securing the chain guide and remove both from the engine.
  • Keep these parts together making a mental note that they are for the passenger side.
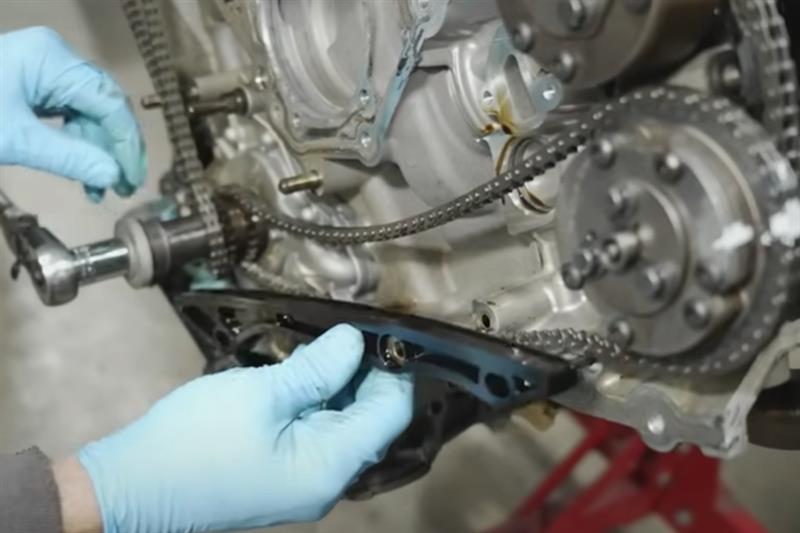
  • Go to the driver's side of the engine and remove the bolt from the tensioner.
  • Loosen and remove the bolt on the chain guide. 
  • Remove the tensioner arm.
  • Rotate the crankshaft just enough to free up some slack in the chain to remove the guide.
  • Place the driver's side components in their own pile.
how-to-install-gen-2-coyote-oil-pump-gears-crank-sprocket_d7774118.jpg (800×622)
how-to-install-gen-2-coyote-oil-pump-gears-crank-sprocket_a57a1617.jpg (800×622)
how-to-install-gen-2-coyote-oil-pump-gears-crank-sprocket_fe1efc52.jpg (800×444)
how-to-install-gen-2-coyote-oil-pump-gears-crank-sprocket_0584e55d.jpg (800×533)

Step 4: Remove Oil Pump & Install New Gears

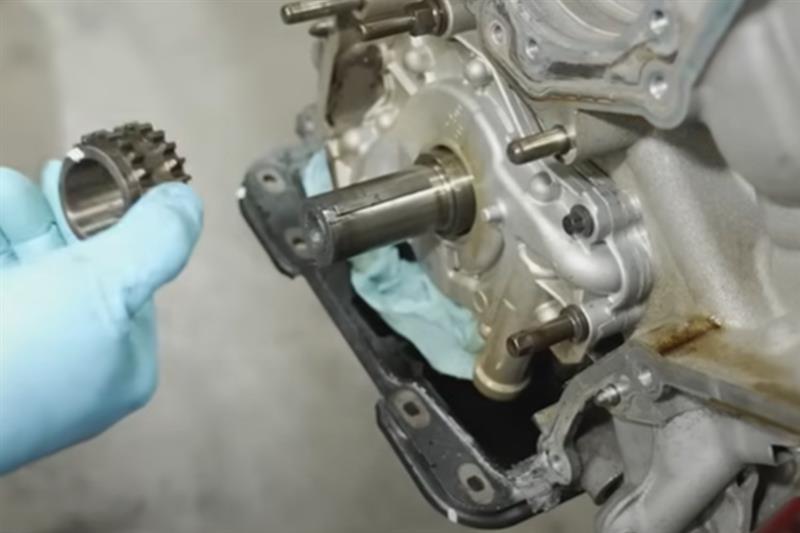
  • Loosen and remove the balancer bolt and slide off the factory crank sprocket.
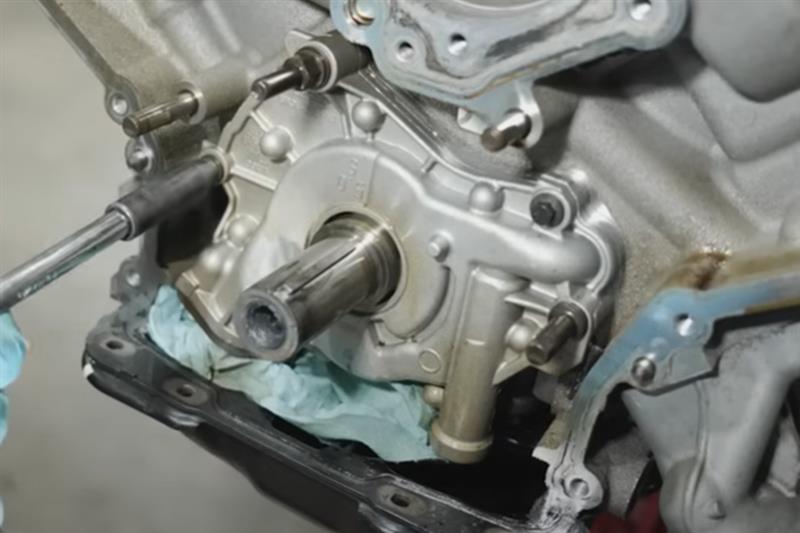
  • Remove the oil pickup tube bolts with an assortment of 10mm wrenches. 
  • Remove the oil pump hardware, taking a photo or note of thier locations.
  • Remove the oil pump from the engine and set it on a workbench.
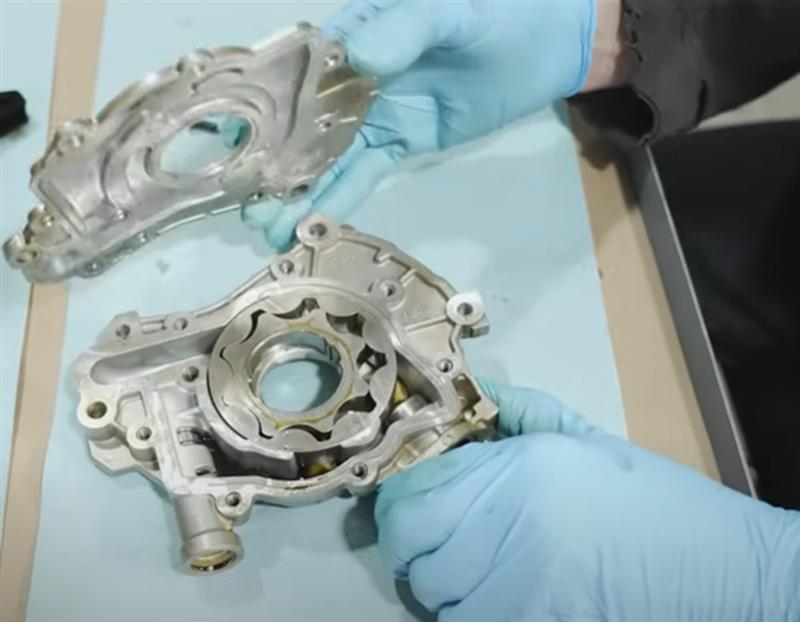
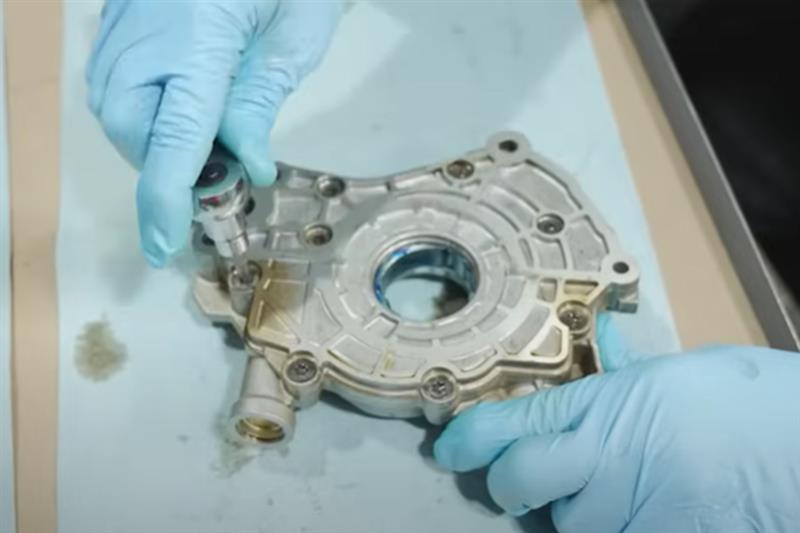
  • Use a tool to help hold the pump still while you remove the backing plate Torx screws.
  • Separate the backing plate from the housing.
  • Remove the factory gears from the housing.
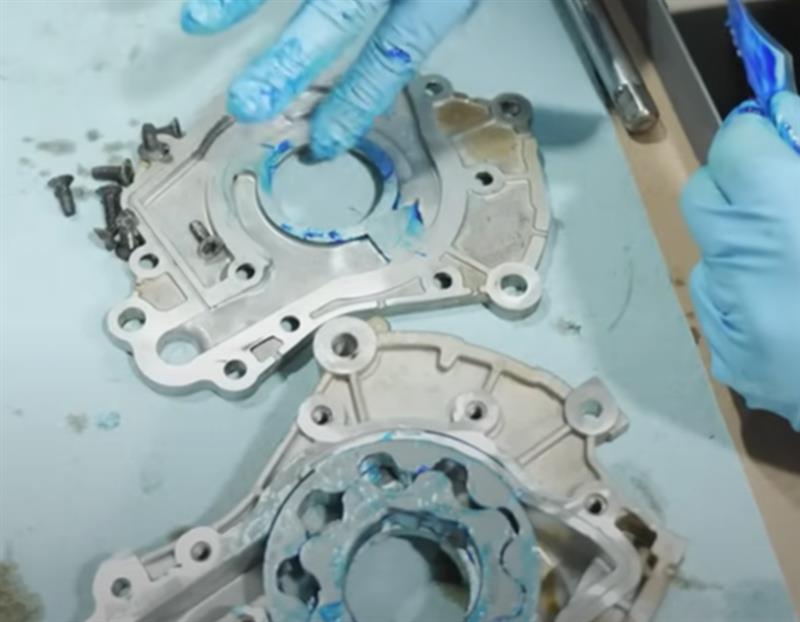
  • Clean the housing and make note of the orientation of the new gears and thoroughly lubricate them and the housing.
  • Situate the gears into place.
  • Lubricate the backing plate where it makes contact with the gears.
  • Clean the backing plate bolts and reinstall them in a circular pattern.
  • Torque each bolt in a criss-cross pattern to 89in/lbs.
how-to-install-gen-2-coyote-oil-pump-gears-crank-sprocket_b0ae1edb.jpg (800×533)
how-to-install-gen-2-coyote-oil-pump-gears-crank-sprocket_16c96a40.jpg (800×533)
how-to-install-gen-2-coyote-oil-pump-gears-crank-sprocket_5d9880b1.jpg (800×622)
how-to-install-gen-2-coyote-oil-pump-gears-crank-sprocket_76e7c474.jpg (800×622)
how-to-install-gen-2-coyote-oil-pump-gears-crank-sprocket_c961583d.jpg (800×533)

Step 5: Install Oil Pump

  • Remove the existing o-ring from the pickup tube.
  • Lubricate the new one and install it.
  • Rotate the inside gear so that the flats line up with the crankshaft.
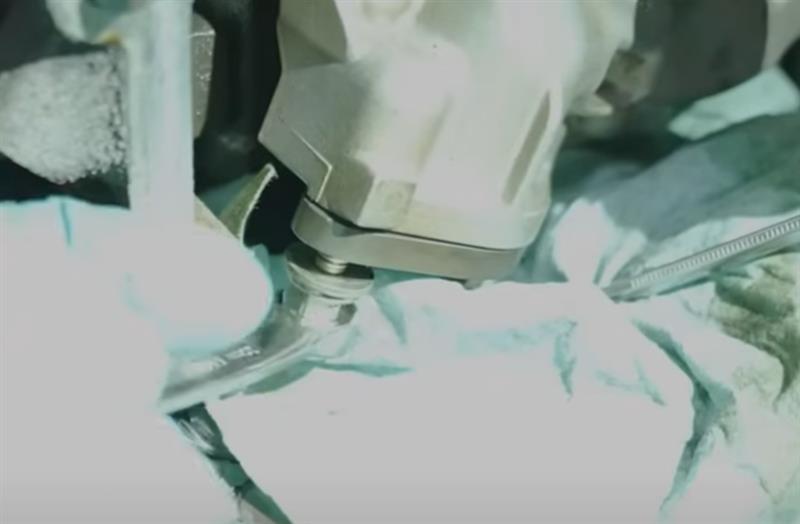
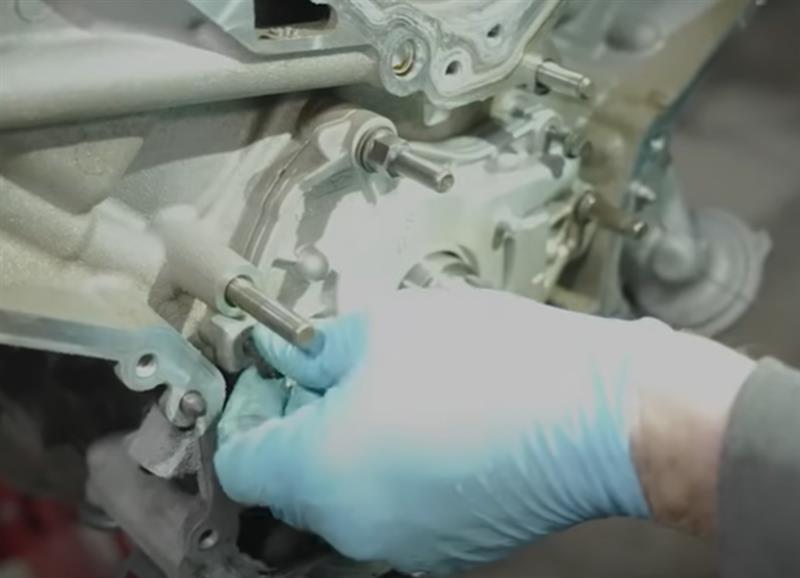
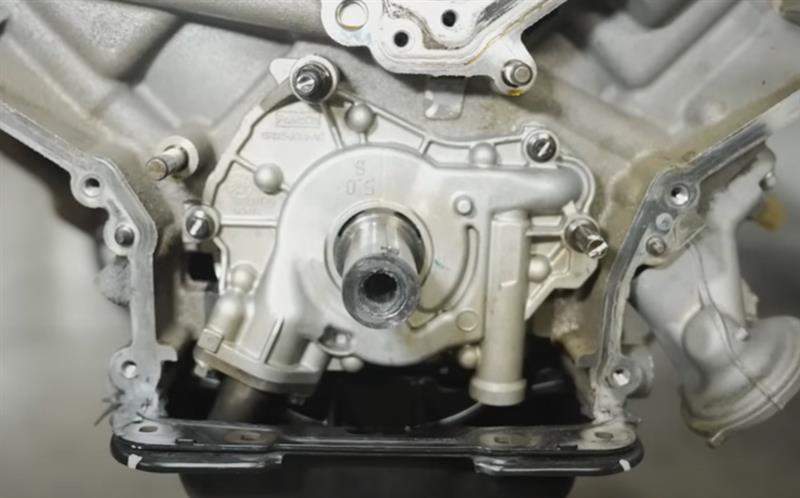
  • Slide the oil pump into place and install the pickup tube bolts to the pump.
  • Reinstall the oil pump bolts. Each bolt will be torqued in two stages. Stage 1 is 89in/lbs for the bolts and 18ft/lbs for the 13mm stud and 177in/lbs for the 9mm stud. For Stage 2 you will position the wrench at 12:00 and then rotate the specified amount. Stage 2 for the botls is 45 degrees, 75 degrees for the 13mm stud, and 60 degrees for the 9mm stud.
  • Torque the pickup tube bolts to 89in/lbs and then rotate 45 degrees.
how-to-install-gen-2-coyote-oil-pump-gears-crank-sprocket_be07bbce.jpg (800×524)
how-to-install-gen-2-coyote-oil-pump-gears-crank-sprocket_34b00fdd.jpg (800×578)
how-to-install-gen-2-coyote-oil-pump-gears-crank-sprocket_b4a4f206.jpg (800×498)

Step 6: Install Crank Sprocket & Timing Chains

  • Verify that the engine block, cylinder heads, and oil pan mating surfaces are nice and clean.
  • Clean the gasket grooves of the timing cover and install new gaskets.
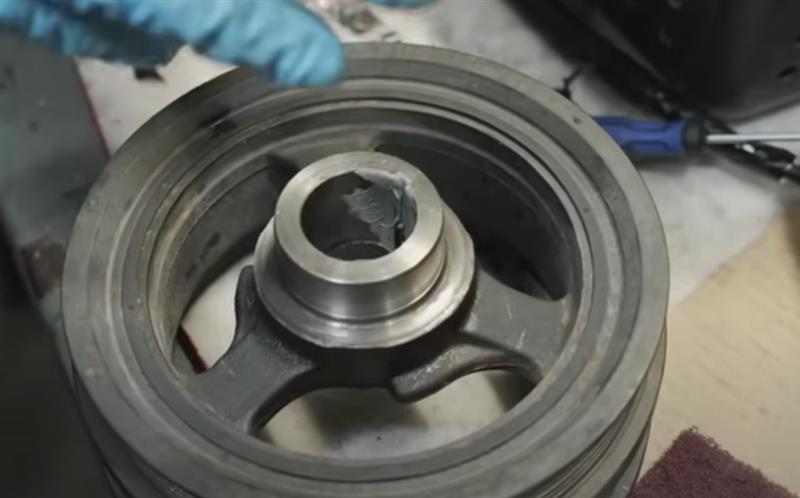
  • Scuff the snout of the balancer and ensure the old RTV is out of the keyway.
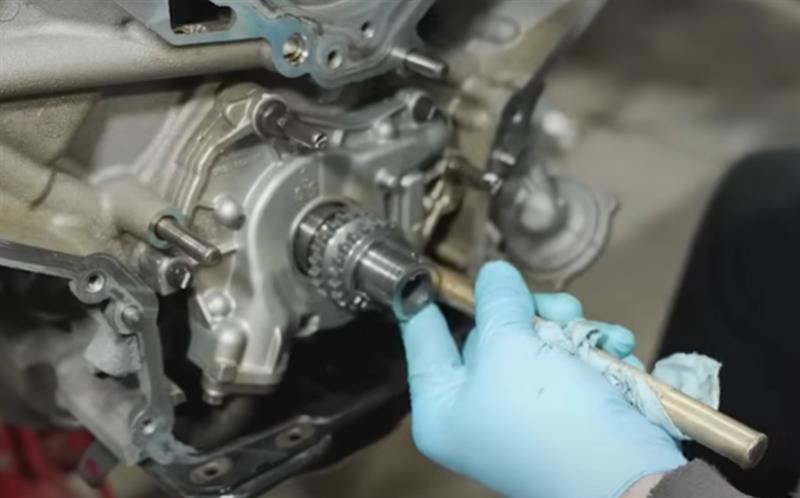
  • Situate the new crank sprocket on the crankshaft and lightly tap it into place with a brass drift and hammer.
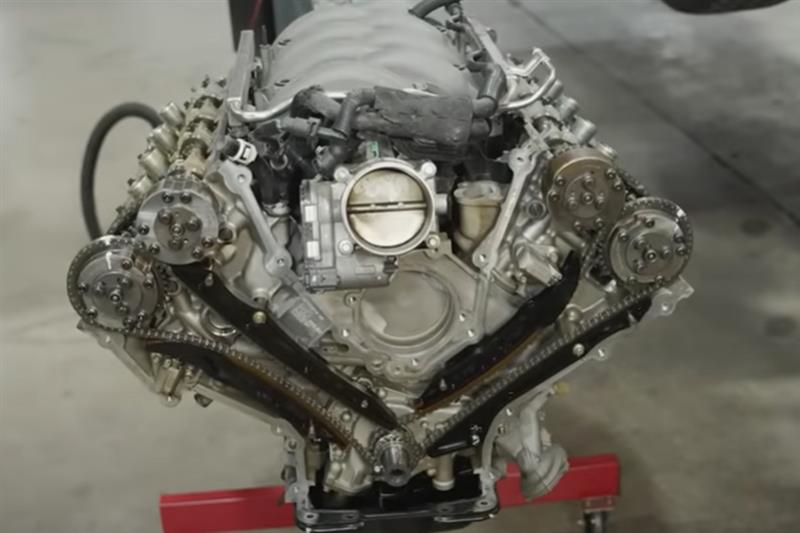
  • Install the driver side timing chain. 
  • Reinstall the driver side chain guide and bolt. Torque to 89in/lbs.
  • Install driver side tensioner arm. 
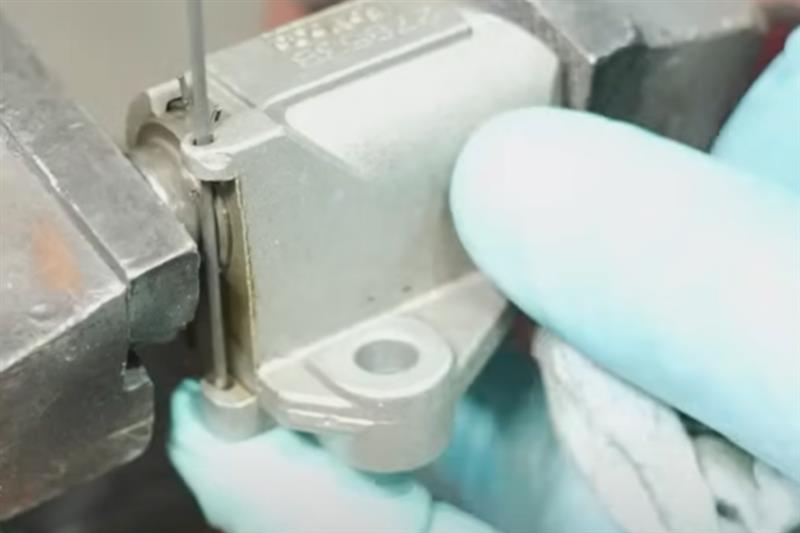
  • Use a vise to compress the tensioner and place a pin into the housing to hold the plunger in place for installation.
  • Install the tensioner and torque the bolts to 89in/lbs.
  • Remove the pin from the tensioner.
  • Remove the vice grips from the driver's side.
  • Install the passenger side timing chain as you did with the driver side. Remove the vice grips from the passenger side.
how-to-install-gen-2-coyote-oil-pump-gears-crank-sprocket_984f412a.jpg (800×622)
how-to-install-gen-2-coyote-oil-pump-gears-crank-sprocket_818c38cc.jpg (800×498)
how-to-install-gen-2-coyote-oil-pump-gears-crank-sprocket_86381a68.jpg (800×533)
how-to-install-gen-2-coyote-oil-pump-gears-crank-sprocket_eb5b0eb5.jpg (800×533)

Step 7: Reinstall Timing Cover

  • Double and triple check that all of your markings line up. And the tensioner pins are removed.
  • Apply a 15mm bead of RTV to the joints at the oil pan and where the engine block meets the cylinder heads.
  • Carefully position the timing cover into place and make sure it's fully seated.
  • Reinstall all of the bolts back into the correct locations.
  • Similar to the oil pump, the timing cover hardware will get torqued into two stages.
  • Torque all of the forward facing timing cover hardware to 18ft/lbs in a criss-cross pattern.
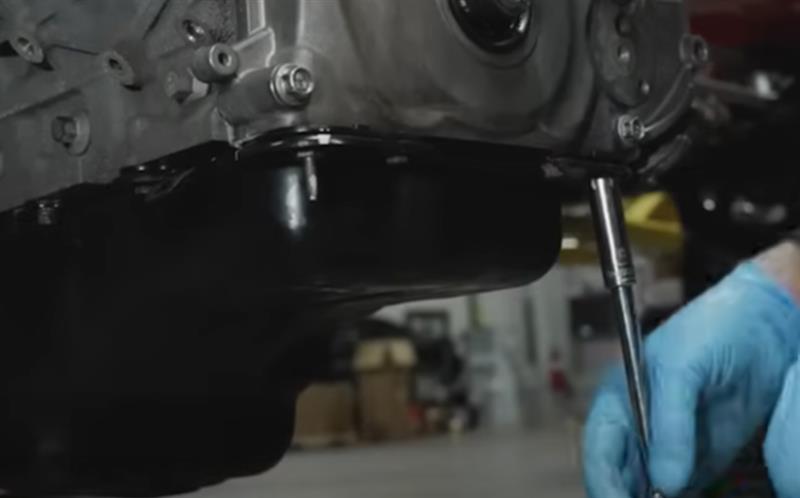
  • Torque the oil pan hardware to 89in/lbs.
  • Then rotate the timing cover hardware 60 degrees in an even fashion.
  • Rotate the oil pan hardware 45 degrees.
how-to-install-gen-2-coyote-oil-pump-gears-crank-sprocket_9a6cb7ce.jpg (800×489)
how-to-install-gen-2-coyote-oil-pump-gears-crank-sprocket_affdc8bc.jpg (800×533)
how-to-install-gen-2-coyote-oil-pump-gears-crank-sprocket_309f1fde.jpg (800×498)

Step 8: Reinstall Water Pump & Pulleys

  • Install a new water pump o-ring and then the water pump.
  • Run the hardware down and then torque it in two stages. First to 177in/lbs then rotate 60 degrees for the second stage in a criss-cross pattern.
  • Install the pulley and torque the bolts to 18ft/lbs.
  • Place a small bead of RTV on the harmonic balancer keyway.
  • Lubricate the inside and outside of the blanacer and lip of the front main seal.
  • Situate the harmonic balancer to the crankshaft and use a long bolt with some washers or install tool to press on the balancer.
  • Do NOT reuse the factory bolt. 
  • Install the new crank bolt to the manufacturer's specs.

how-to-install-gen-2-coyote-oil-pump-gears-crank-sprocket_f7279c47.jpg (800×444)
how-to-install-gen-2-coyote-oil-pump-gears-crank-sprocket_286c9747.jpg (800×498)
how-to-install-gen-2-coyote-oil-pump-gears-crank-sprocket_33a8e08a.jpg (800×533)
Step 9: Reinstall Valve Covers

  • Place an 8mm bead of RTV to the timing cover joints and just a dab on the gasket itself if you choose.
  • Install the cover and push down to fully seat it.
  • Working from inside out, torque the valve cover bolts to 89in/lbs. Do the same for the other side.
  • Reinstall any other components you removed. 
  • Give everything a good once over and after that, you are good to go!
how-to-install-gen-2-coyote-oil-pump-gears-crank-sprocket_7fb38a96.jpg (800×578)
how-to-install-gen-2-coyote-oil-pump-gears-crank-sprocket_1d24ec37.jpg (800×578)
how-to-install-gen-2-coyote-oil-pump-gears-crank-sprocket_e3a7eb3b.jpg (800×444)


About the Video

How To Install Gen 2 Coyote Oil Pump Gears & Crank Sprocket

Check out our YouTube channel for even more tech tips, installation videos, how-tos, and more. The best place to go for anything Mustang related!

Published on 2025-05-29
By now, it seems like there are a million videos about how to install oil pump gears and a crank sprocket in a Coyote engine. Well, let's make that a million and one. In this video, we walk you through the process of installing oil pump gears and a crank sprocket into a 2015-2017 gen 2 Coyote Mustang GT engine. We're performing the work on an engine stand, but all of the steps related to the oil pump gears and crank sprocket are the same as if the engine was in the car. You'll find that we're doing this in an unconditional fashion by not doing the crankshaft rotations. None of that is necessary. Just hold the cams, do the work, and put it all back together. It's that simple! Torque specs are provided in the video.
Thumbnail image of the author of this article, Andrew Perry.

About the Author

Andrew has been writing content for Late Model Restoration for over 2 years, producing over 50 articles. Over the years, Andrew has owned numerous Mustangs, including a 2007 V6, 2003 GT, 1967 GT, 1994 GT, 1995 GT, 2014 GT (2), 2000 V6 (V8 swapped), 2016 GT/PP, 1988 LX 5.0, and a 2009 GT/CS. Read more...