SHOP

All Mustang Parts
Free Shipping on qualifying orders over $99* Details
LMR showroom & will call pickup service will be closed beginning Monday 9/21/26 for renovations until further notice. Need help? Contact Us.

How To Install GT500 "Predator" Aluminum Cam Covers On Gen 1 & 2 Coyote Engine

Created by Andrew Perry / 10 min read
Date Created: 9/11/2025
Last Updated: 9/11/2025

Follow along as we go through the installation steps for putting GT500 aluminum cam covers on your Gen 1 or Gen 2 Coyote engine!
Viewing this install and using the information shared is subject to the terms set forth here - View the LMR Install Instructions Disclaimer.
If you have an oil leak from your Gen 1 or Gen 2 Coyote engine valve covers, this video is for you. Landan explains the TSB, removes the OEM valve covers, and installs a new set of GT500 valve covers. TSB 19-2309 Info Some 2015-2017 Mustang vehicles equipped with a 5.0L engine may exhibit an oil leak from either valve cover gasket. This may be due to the valve covers warping due to excessive heat. To correct the condition, follow the Service Procedure steps to add fasteners to both valve covers.

Product Links:
Watch:

Vehicle Fitment:
  • Chassis: S550 Mustang
  • Trim: GT, GT500
  • Year Ranges: 
  • GT: 2011, 2012, 2013, 2014, 2015, 2016, 2017
  • GT500: 2020, 2021, 2022
Tool List:
  • Microfiber or Shop Towels
  • All-purpose Cleaner
  • Brake Clean
  • O-ring/Seal Lube
  • Fresh Razor Blades
  • Brush
  • Vacuum
  • Pick Set
  • 3/8" Socket Set
  • 1/4" Socket Set
  • 1/4" Extension Assortment
  • 1/4" Swivel
  • Ratcheting Wrench Set
Torque Specs:
  • Valve Cover Bolts - 89 lb-in
  • Coil Pack Bolts - Hand Tight
  • Strut Tower Brace Nuts - 41 lb-ft
  • K-Brace Bolts - 26 lb-ft
  • Battery Shield Hardware - 80 lb-in

Installation Instructions

Step 1: Remove Stock Valve Covers

  • Start by removing the engine parts that are in the way of the valve covers.
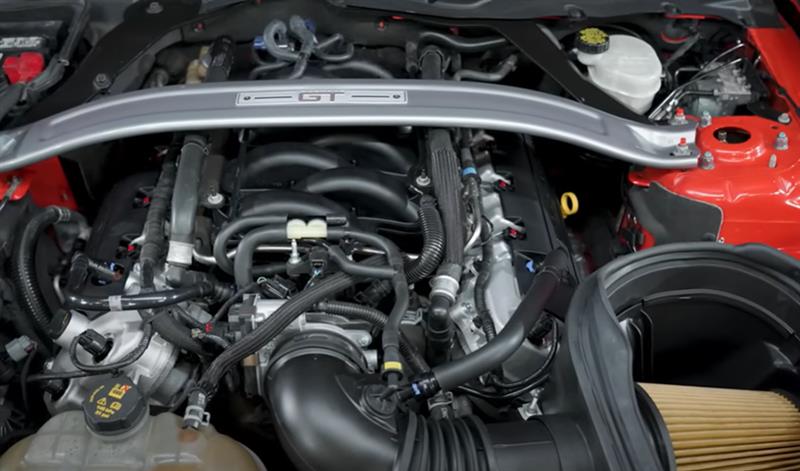
  • We removed the strut tower brace, k-brace, battery box, and cold air intake.
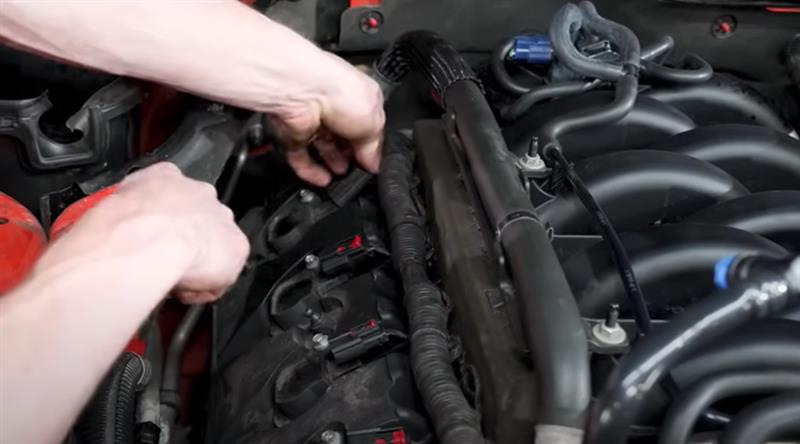
  •  Once you have better access to the valve covers, remove the hoses and electrical harness running to the coil packs.
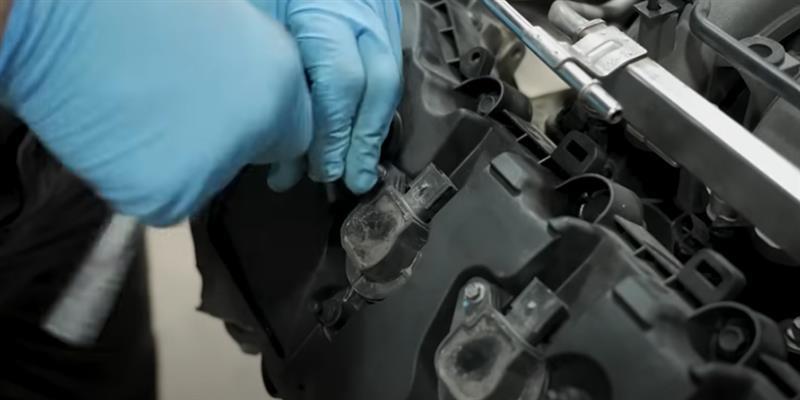
  • Lift up and remove the coil covers from the valve covers.
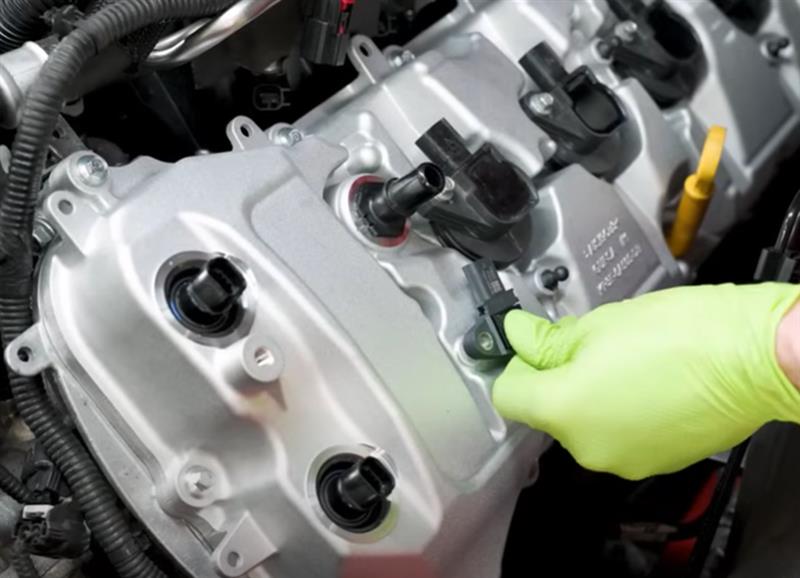
  • Loosen and remove the 8mm coil pack bolts. Lift the coil packs out of position and remove them from the cylinder head.
  • On the driver's side, fully loosen all of the valve cover retaining bolts with a 10mm socket.
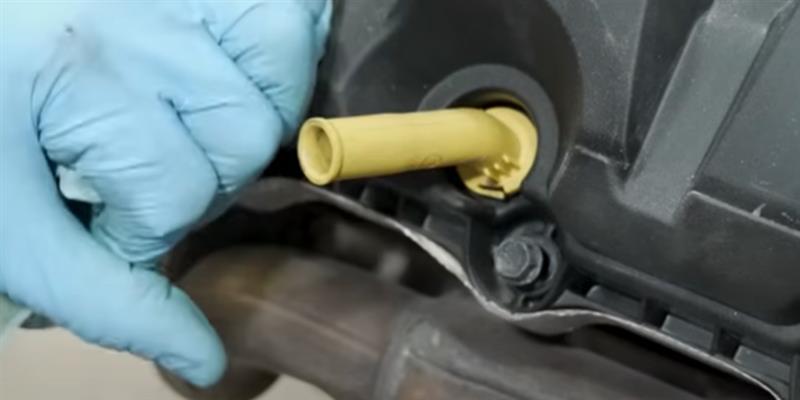
  • Remove the dipstick and carefully rotate the tube counterclockwise to remove it from the valve cover.
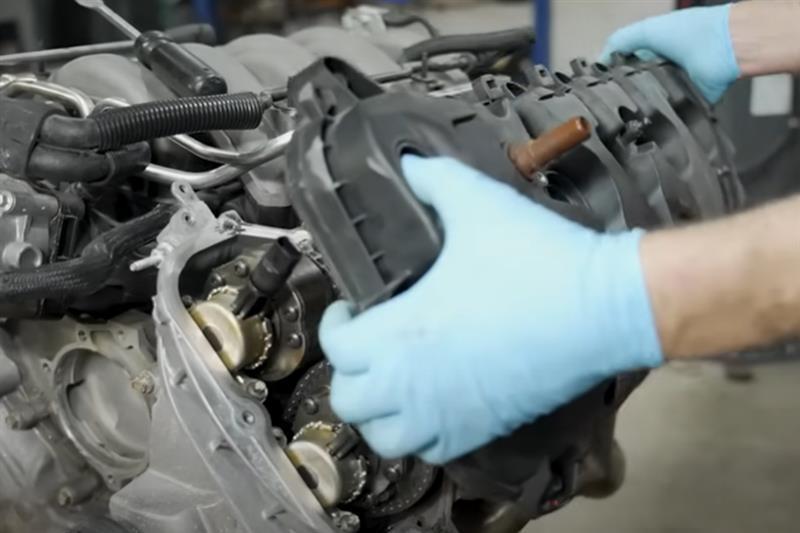
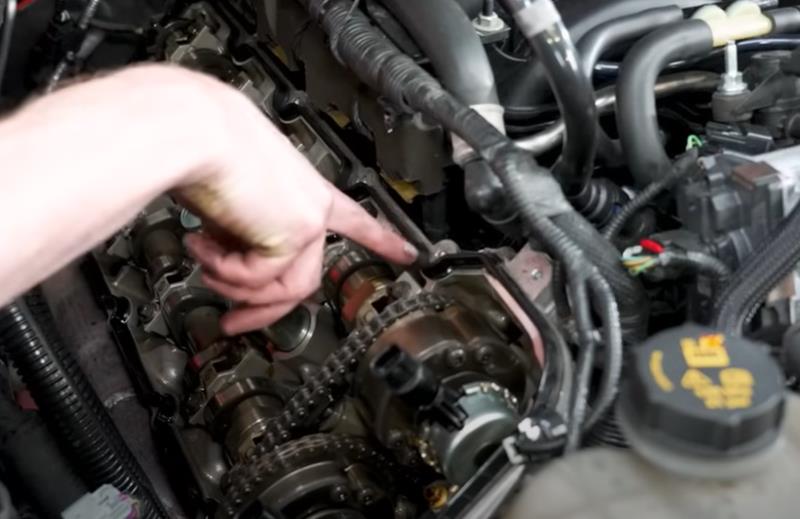
  • Use a pry tool to separate the valve cover from the cylinder head.
  • Once loose, remove it from the engine. Do the same for the other side. 

how-to-install-gt500-predator-aluminum-cam-covers-gen-1-2-coyote-engine_3b24c72c.jpg (800×444)
how-to-install-gt500-predator-aluminum-cam-covers-gen-1-2-coyote-engine_37eb4a3d.jpg (800×400)
how-to-install-gt500-predator-aluminum-cam-covers-gen-1-2-coyote-engine_1cdcf15e.jpg (800×400)
how-to-install-gt500-predator-aluminum-cam-covers-gen-1-2-coyote-engine_fbd65868.jpg (800×533)
Step 2: Prep New Valve Covers

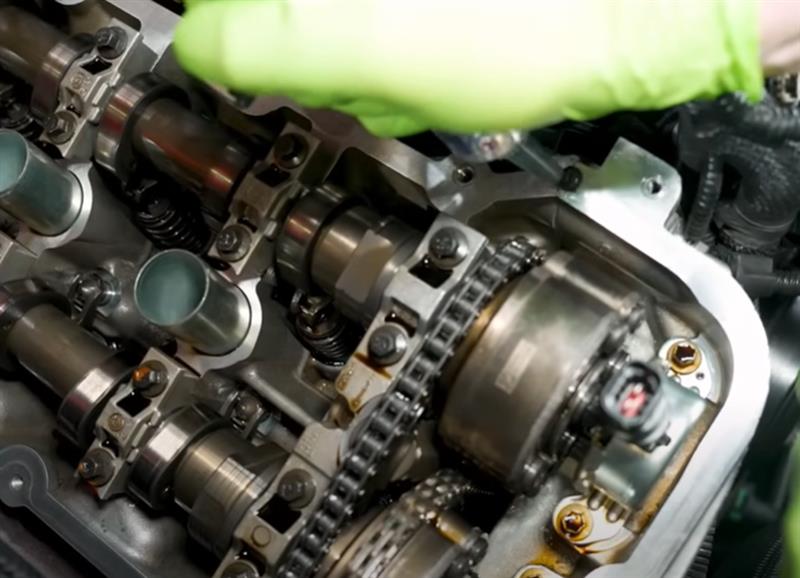
  • Once the stock valve covers are removed, the gasket may stay behind. If so, use a vacuum to suck up the dirt along the gasket to prevent it from falling into the cylinder head.
  • Clean the cylinder head gasket surfaces.
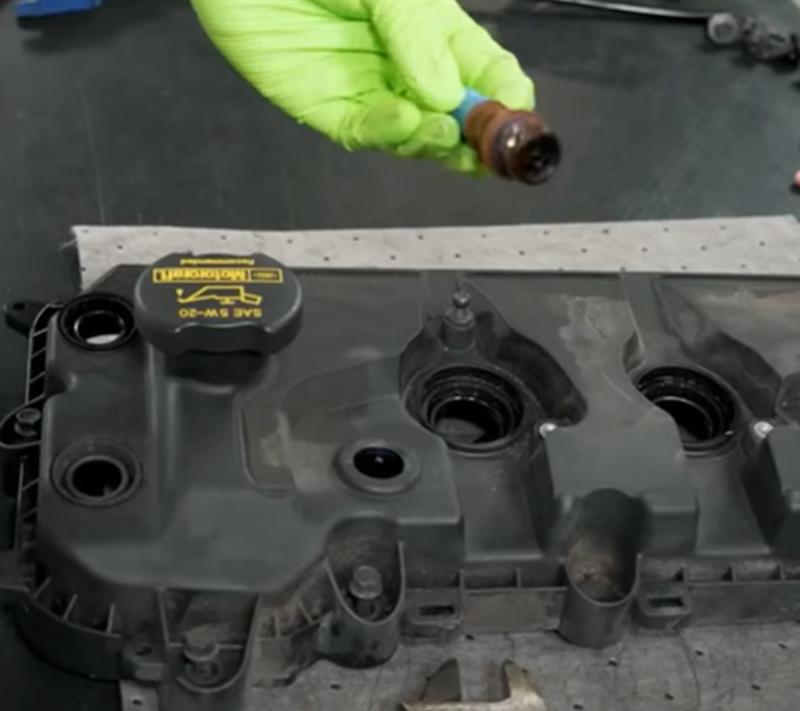
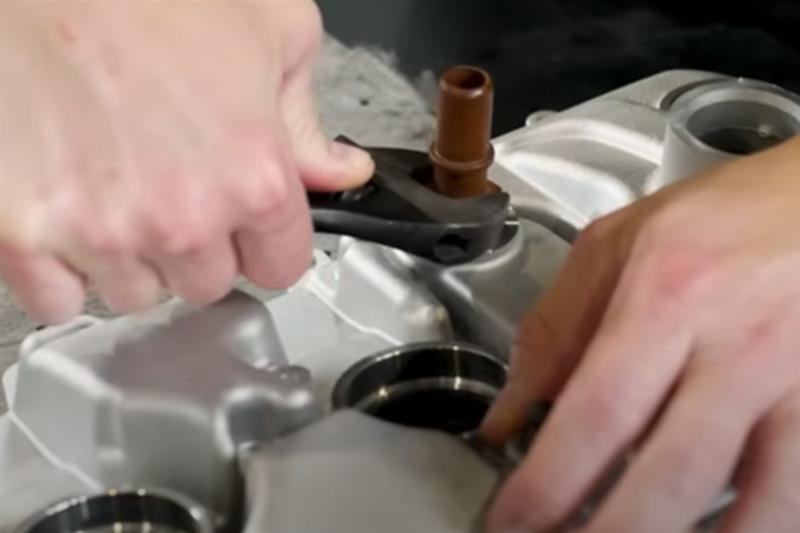
  • Remove the PCV fitting from the old valve covers and transfer them to the new covers.
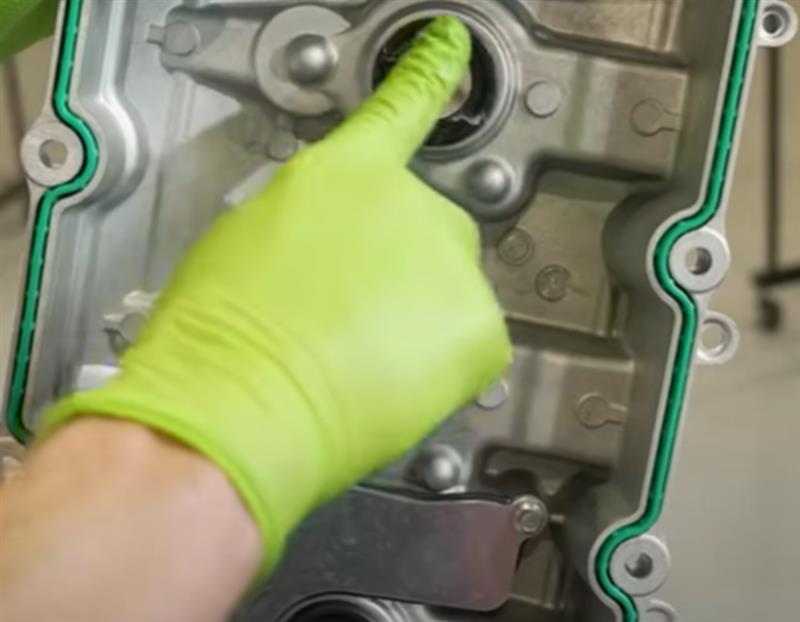
  • Check and clean the areas around the spark plug tubes and VCT solenoids.
  • Take a small amount of lubricant and lube the bottom of the seals of the new valve cover.
how-to-install-gt500-predator-aluminum-cam-covers-gen-1-2-coyote-engine_0179d1f7.jpg (800×519)
how-to-install-gt500-predator-aluminum-cam-covers-gen-1-2-coyote-engine_4fbc6ea1.jpg (800×711)
how-to-install-gt500-predator-aluminum-cam-covers-gen-1-2-coyote-engine_a5817de4.jpg (800×533)
how-to-install-gt500-predator-aluminum-cam-covers-gen-1-2-coyote-engine_5ae49926.jpg (800×622)

Step 3: Install New Valve Covers

  • Place an 8mm bead of RTV where the timing cover and cylinder head meet.
  • Install the cover and push down to fully seat it.
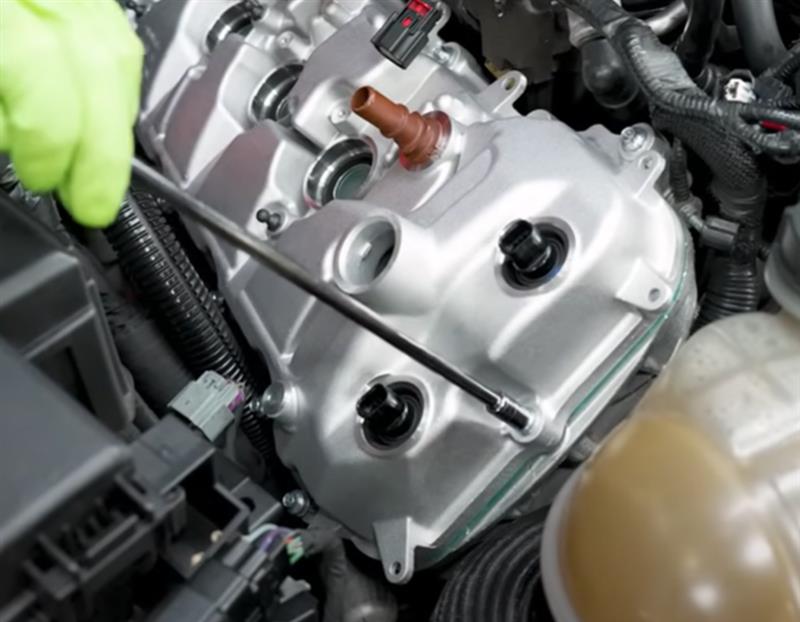
  • Working from inside out, run down all of the cover bolts.
  • Then torque the valve cover bolts to 89in/lbs. Do the same for the other side.
  • Install the provided sensor, however this will just be to fill the hole in the cover and will NOT get plugged in. 
  • Reinstall any other components you removed. 
  • Give everything a good once over and after that, you are good to go!
how-to-install-gt500-predator-aluminum-cam-covers-gen-1-2-coyote-engine_ef010384.jpg (800×578)
how-to-install-gt500-predator-aluminum-cam-covers-gen-1-2-coyote-engine_c126d5bf.jpg (800×622)
how-to-install-gt500-predator-aluminum-cam-covers-gen-1-2-coyote-engine_125f995d.jpg (800×578)
how-to-install-gt500-predator-aluminum-cam-covers-gen-1-2-coyote-engine_c5846ab3.jpg (800×471)


About the Video

Coyote Valve Cover Leak Fix | GT500 "Predator" M-6067-M52S Aluminum Cam Covers - How To Install

Check out our YouTube channel for even more tech tips, installation videos, how-tos, and more. The best place to go for anything Mustang related!

Published on 2025-04-16
If you have an oil leak from your gen 1 or gen 2 Coyote engine valve covers, this video is for you. Landan explains the TSB, removes the OEM valve covers, and installs a new set of GT500 valve covers.
Thumbnail image of the author of this article, Andrew Perry.

About the Author

Andrew has been writing content for Late Model Restoration for over 2 years, producing over 50 articles. Over the years, Andrew has owned numerous Mustangs, including a 2007 V6, 2003 GT, 1967 GT, 1994 GT, 1995 GT, 2014 GT (2), 2000 V6 (V8 swapped), 2016 GT/PP, 1988 LX 5.0, and a 2009 GT/CS. Read more...