SHOP

2010-14 Mustang Parts
Free Shipping on qualifying orders over $99* Details
LMR showroom & will call pickup service will be closed beginning Monday 9/21/26 for renovations until further notice. Need help? Contact Us.

How To Install 2013-2014 Mustang HID Projector Headlights

Created by Andrew Perry / 5 min read
Date Created: 8/19/2025
Last Updated: 8/19/2025

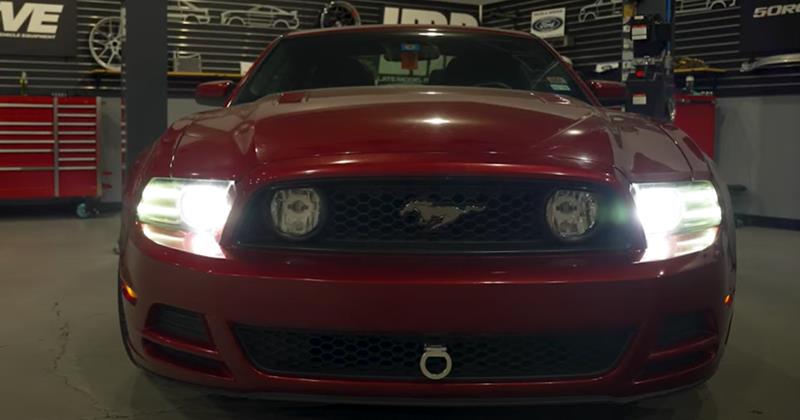
Check out how we install a set of HID projector headlights into a 2013-2014 Mustang!
Viewing this install and using the information shared is subject to the terms set forth here - View the LMR Install Instructions Disclaimer.
Here we will cover the installation process of a set of factory-syle headlights in an HID-equipped 2013-2014 S197 Mustang.

Product Links:
Watch:
Tool List:
  • Microfiber Towels
  • All Purpose Cleaner
  • 1/4" Socket Set
  • 1/4" Extensions
  • T10 Torx Driver

Installation Instructions

Step 1: Remove Old Headlights

  • Start by disconnecting the negative battery cable.
  • Next, remove the front bumper. Check out our dedicated removal video link above.
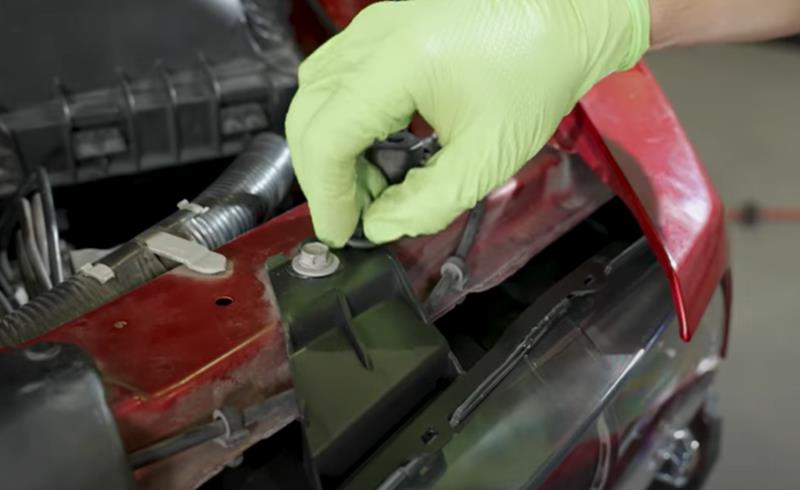
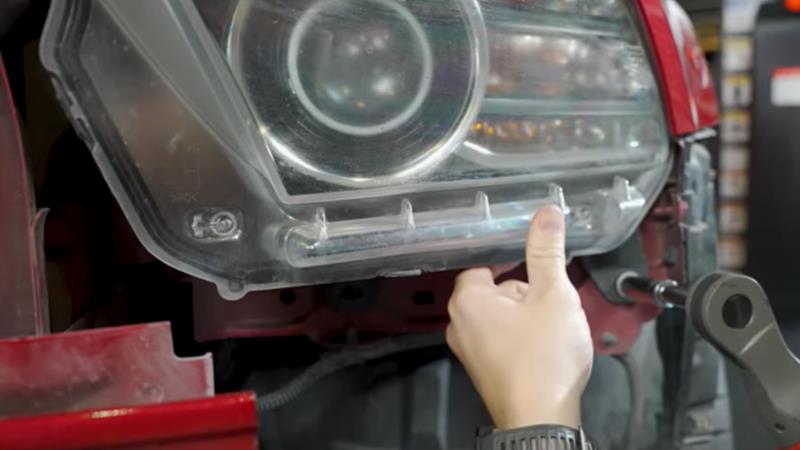
  • Once the front bumper has been removed, you can remove each headlight. There will be (3) 10mm bolts and a push pin to remove.
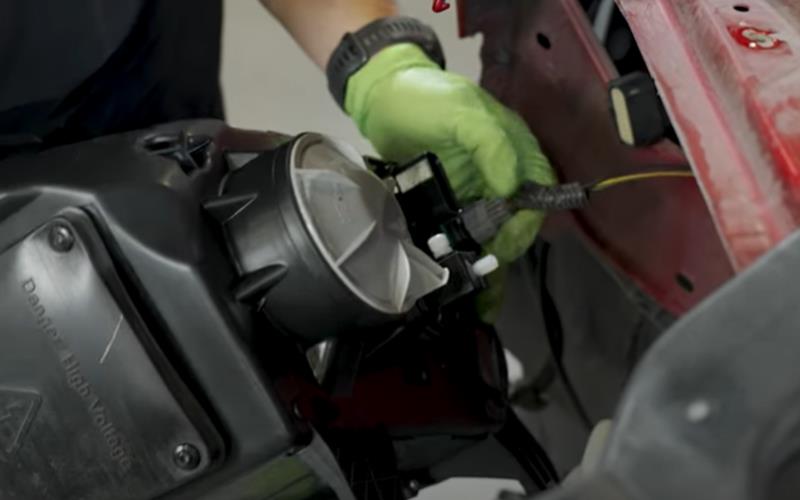
  • Disconnect the headlight after unbolting it, to fully remove it from the car.
  • Do the same for the other side.
how-to-install-hid-projector-headlights-2013-2014-mustang-s197_bc9090ae.jpg (800×450)

Step 2: Transfer Ballasts & Bulbs

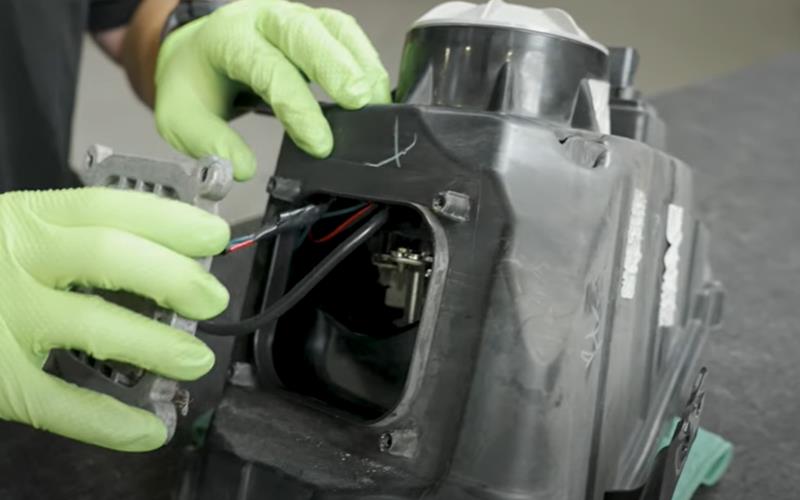
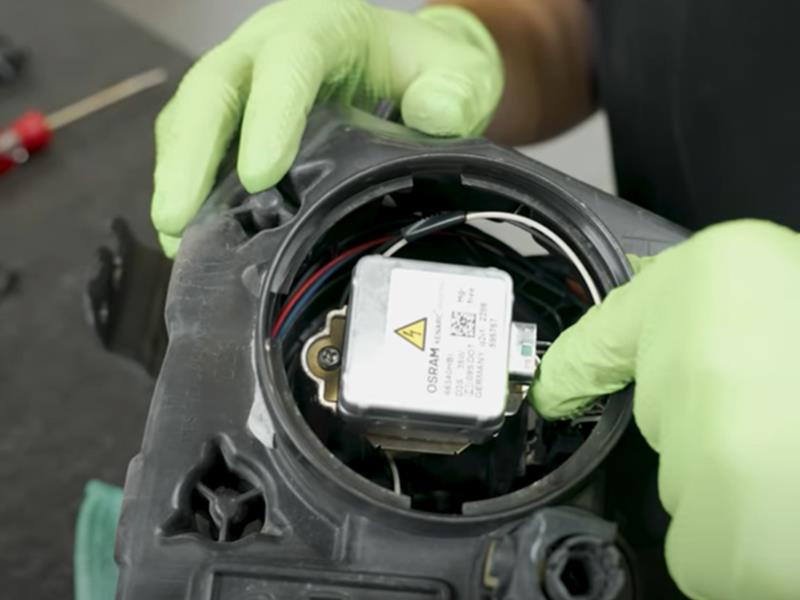
  • Remove the (4) T10 Torx screws from the factory ballast and disconnect them from the old headlights.
  • Remove both HID bulbs.
  • After the ballasts and bulbs are removed, transfer the wiring harnesses to the new headlights. Make sure no wires interfere with the headlight projector on the front side of the headlight.
  • Then transfer the ballasts and HID bulbs to the new headlights. 

how-to-install-hid-projector-headlights-2013-2014-mustang-s197_6ec532f1.jpg (800×500)
how-to-install-hid-projector-headlights-2013-2014-mustang-s197_481501f7.jpg (800×600)
Step 3: Install New Headlights

  • Once the headlights are assembled, connect the new headlights and loosely install them to test for operation.
  • Reconnect the battery cable to verify all functions of the headlights.
  • After the lights have been tested, reverse the removal steps and reinstall the headlights and front bumper.
  • Adjust and aim the new headlights using our link guide above to ensure proper light beam orientation.
  • After this, you are good to go!
how-to-install-hid-projector-headlights-2013-2014-mustang-s197_6ec6182a.jpg (800×500)
how-to-install-hid-projector-headlights-2013-2014-mustang-s197_0876bc46.jpg (800×490)
how-to-install-hid-projector-headlights-2013-2014-mustang-s197_64f84b43.jpg (800×420)


About the Video

2013-2014 S197 Mustang HID Projector Headlights (Factory-style Replacements) - How To Install

Check out our YouTube channel for even more tech tips, installation videos, how-tos, and more. The best place to go for anything Mustang related!

Published on 2025-05-28
In this video, Jude explains the process of installing new factory-style headlights in an HID-equipped 2013-2014 S197 Mustang.
Thumbnail image of the author of this article, Andrew Perry.

About the Author

Andrew has been writing content for Late Model Restoration for over 2 years, producing over 50 articles. Over the years, Andrew has owned numerous Mustangs, including a 2007 V6, 2003 GT, 1967 GT, 1994 GT, 1995 GT, 2014 GT (2), 2000 V6 (V8 swapped), 2016 GT/PP, 1988 LX 5.0, and a 2009 GT/CS. Read more...