How To Install Aluminum Electric Fan & Shroud Kit
If you're looking to free up some extra horsepower, and drastically improve the cooling functions in your 1979-1993 Fox Body Mustang, then this Aluminum Electric Fan & Shroud Kit is just what you need!
This kit is intended for use with applications running an aftermarket radiator, and you guys that might still be rocking the factory radiator, and just looking to rid your Mustang of your factory clutch fan. By getting rid of the belt driven fan, you will free up horsepower since you're reducing parasitic drag from the drive belt!
Tools Required:
- Socket Wrench Set
- Drill or Screwdrivers
- Wire Cutters
- Wire Strippers
- Wire Crimping Tool
- Thread Sealer
- Silicon
Installation Instructions
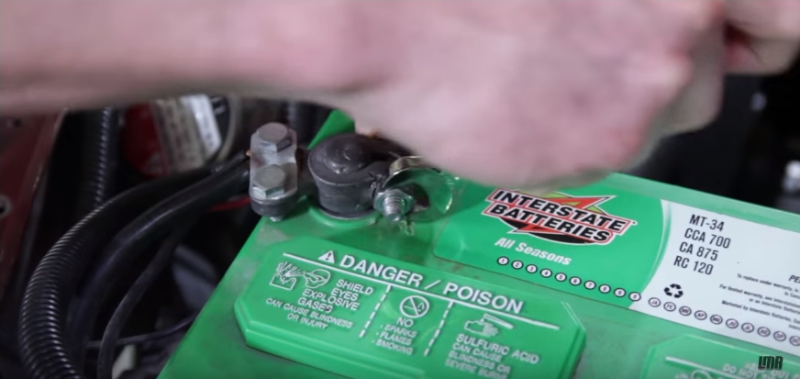
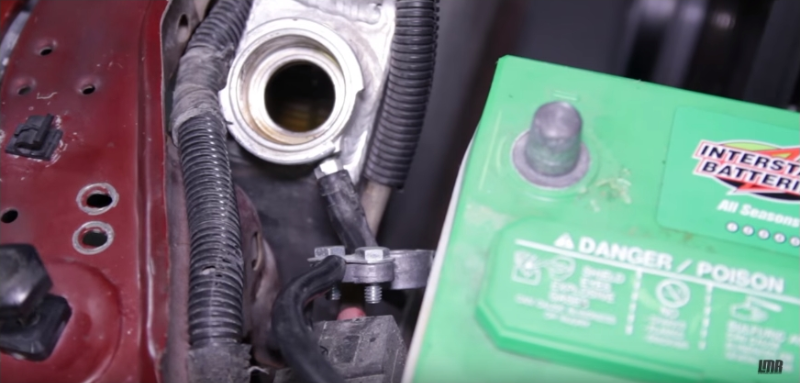
- Remove the negative battery cable
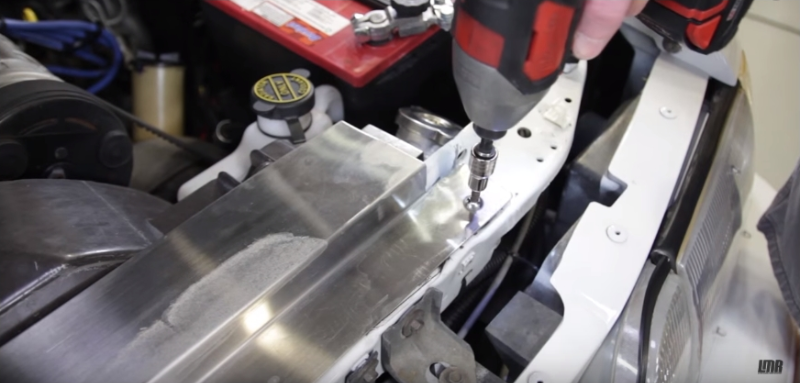
- Remove the radiator cover
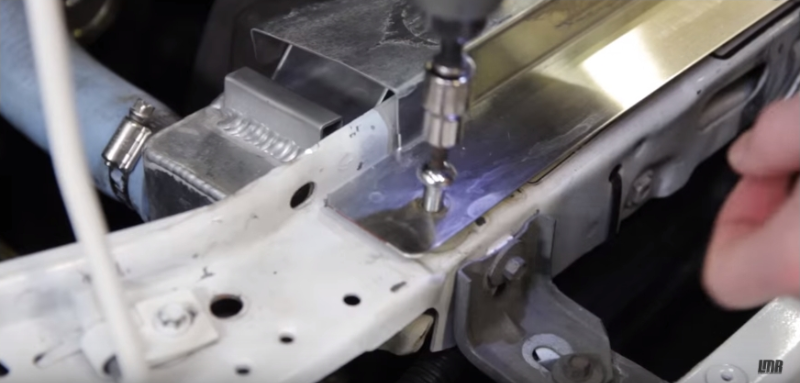
- Remove the 2 bolts securing the fan shroud to the radiator
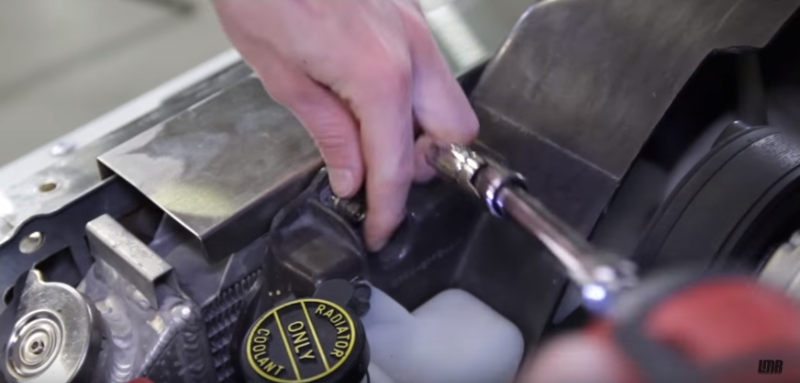
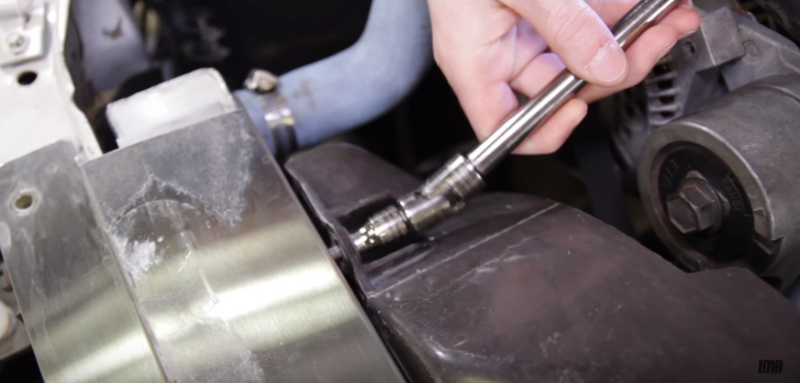
- Loosen the 4 bolts on the water pump securing the clutch fan
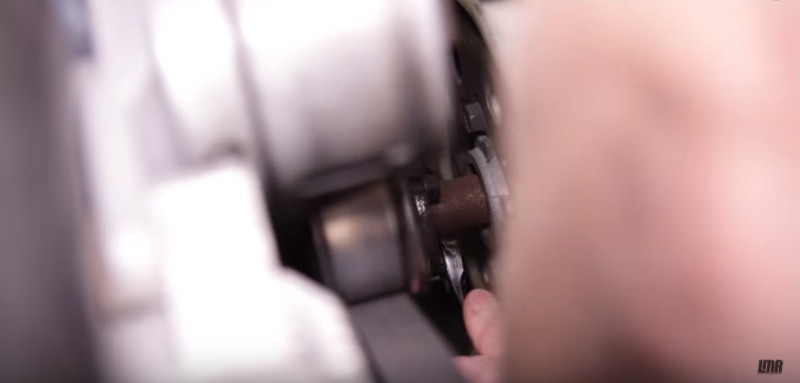
- Release the tension on the belt
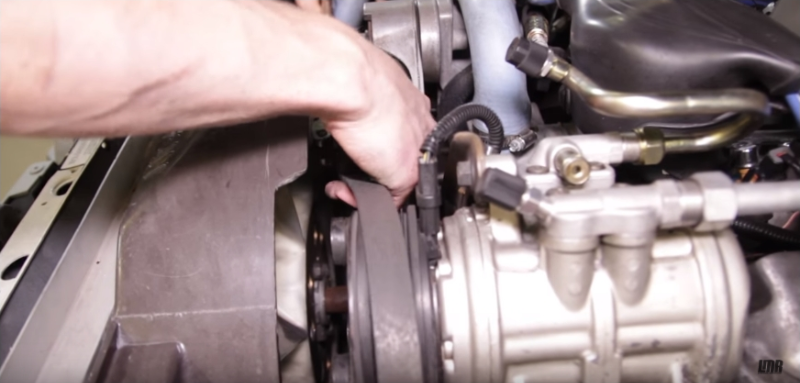
- Push the fan towards the radiator carefully to free it from the water pump shaft
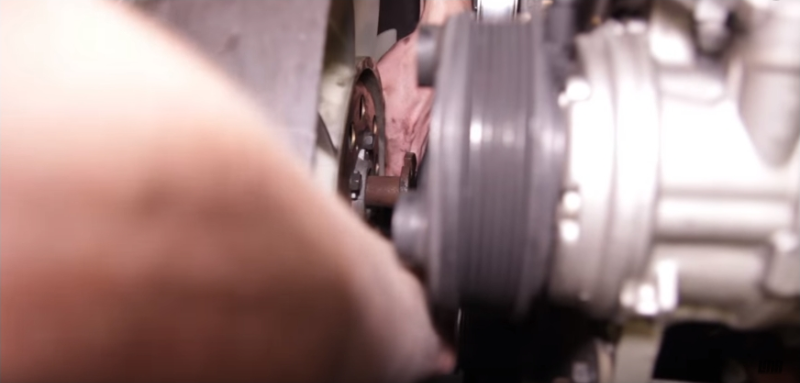
- Pull the fan shroud up, position it out of the way, and remove the clutch fan from the car.
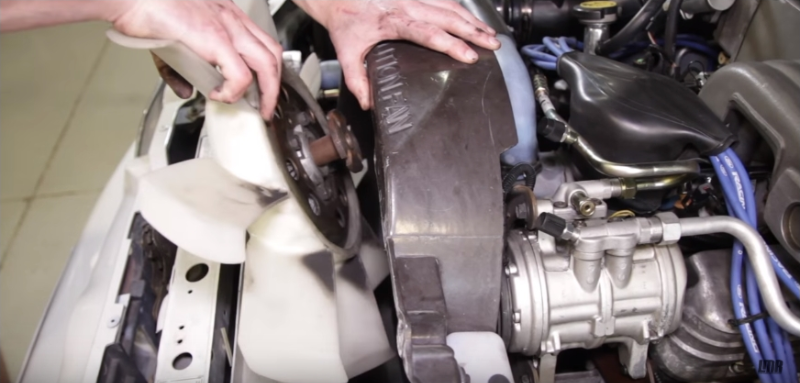
- Disconnect the overflow tank line from the top of the radiator, and remove the fan shroud from the car
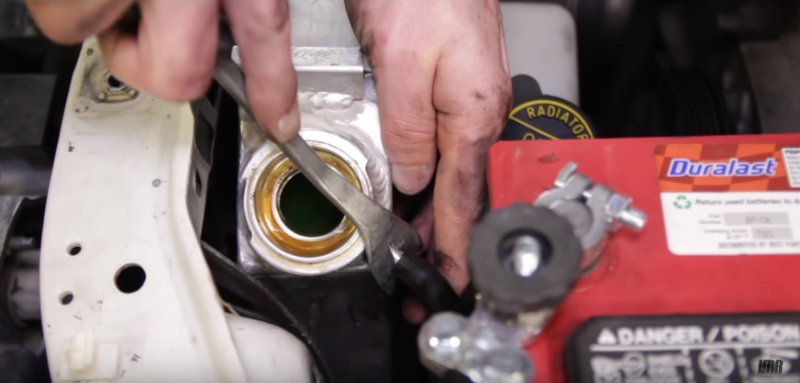
- Drain about a gallon of coolant from the radiator
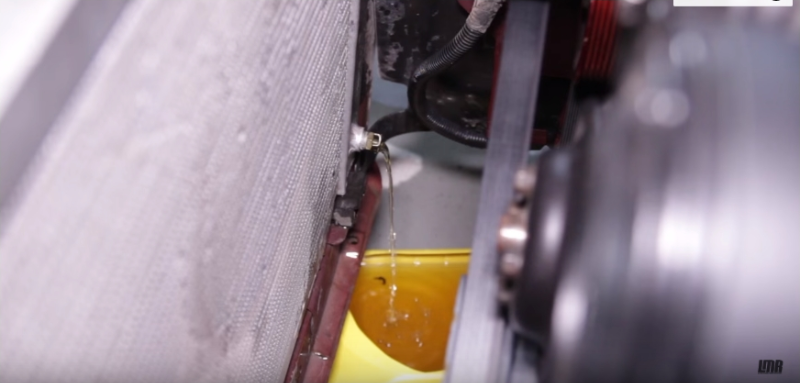
- Loosen the hose clamp on the upper radiator hose, and remove the hose from the thermostat housing
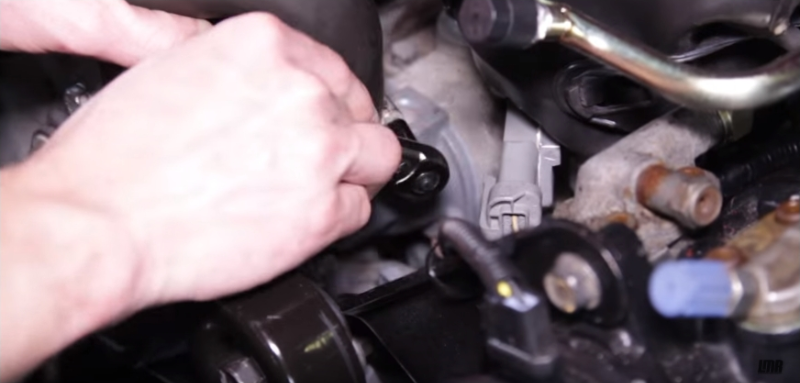
- Remove the hose clamp securing the bypass hose to the water pump, and thermostat housing
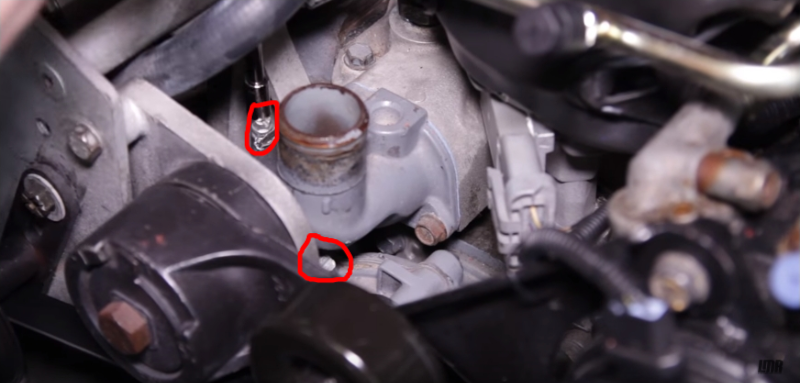
- Remove the 2 thermostat housing to intake manifold bolts
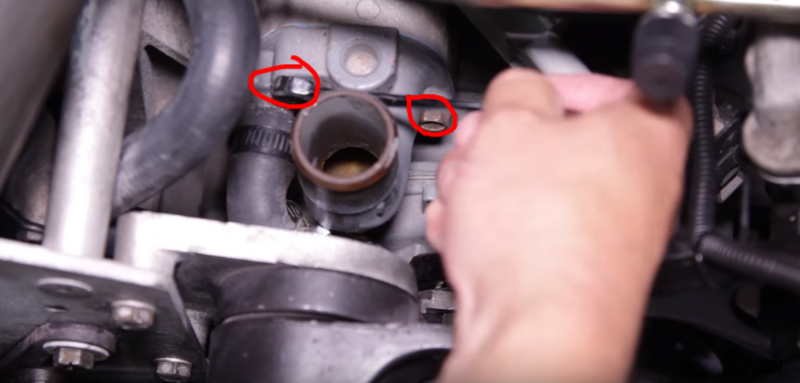
- Remove the thermostat hose, and housing
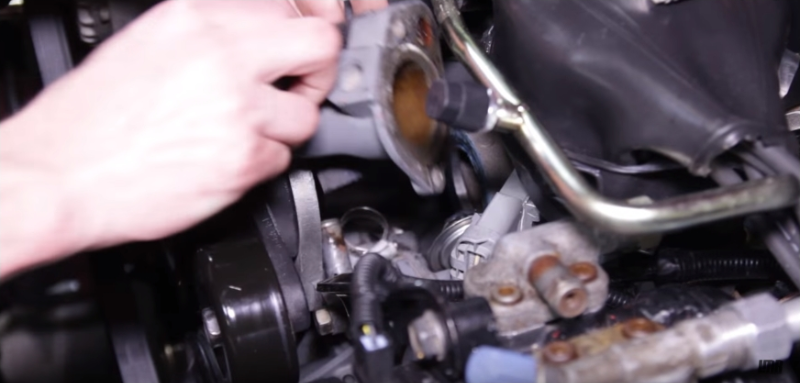
- Take this time to clean the intake manifold
- Apply thread sealer to the included temperature probe, and thread it into the 5.0 Resto thermostat housing, and carefully tighten the probe with a 3/4" wrench
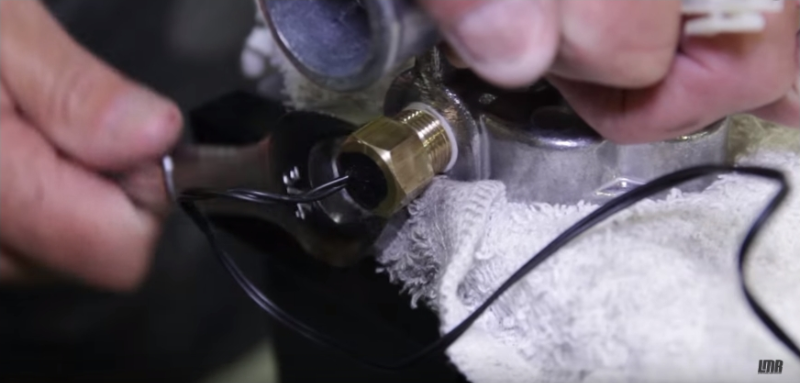
- Use a new thermostat, and lightly dab 3 small dots of the silicone onto the housing
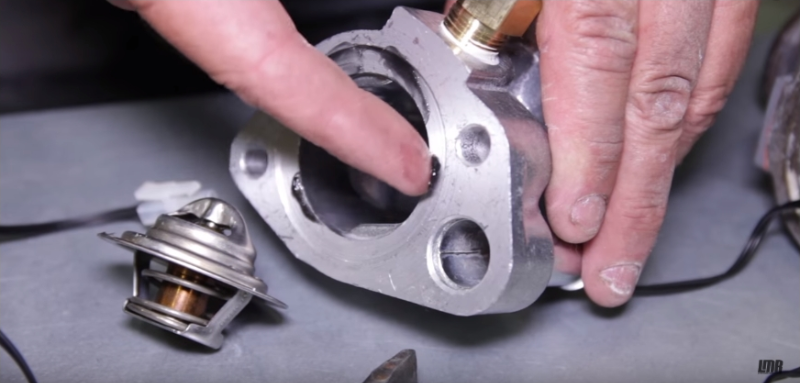
- Make sure the bleed hole is towards the top, and at the 12 O'Clock position
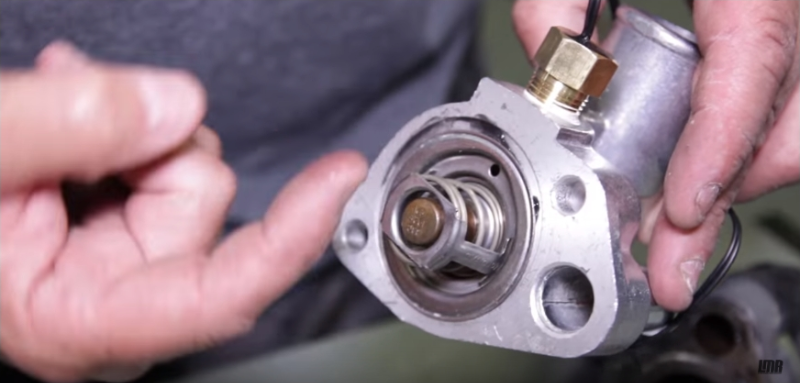
- Apply a few small dabs of silicone to the gasket, and center the gasket on the housing
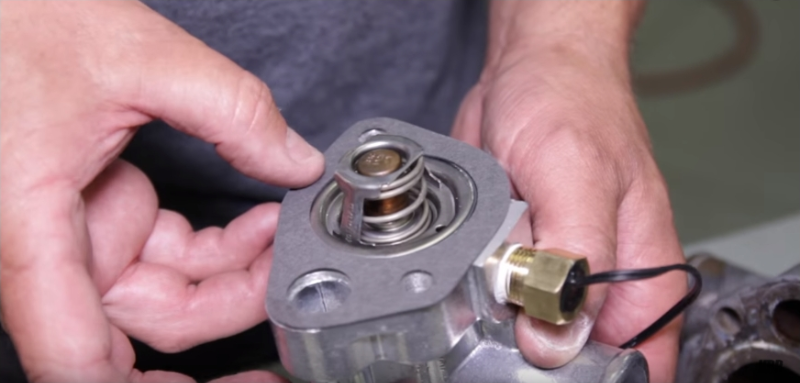
- Position the thermostat housing back into place, and use the included exclusive 5.0 Resto hardware to secure it to the manifold
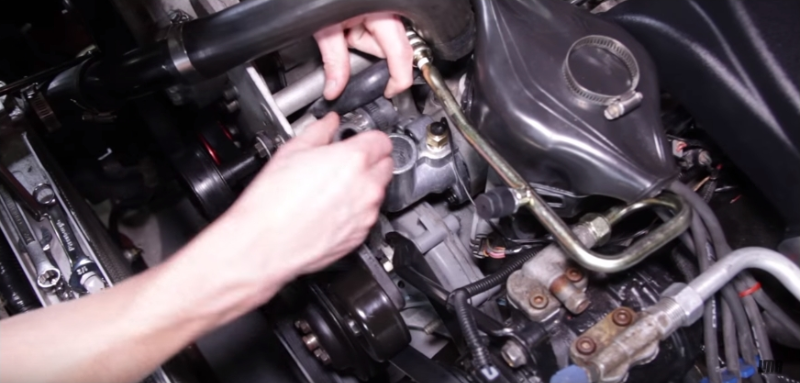
- Torque the bolts to 13-1/2 lb ft.
- Reposition the bypass hose, and tighten the clamps
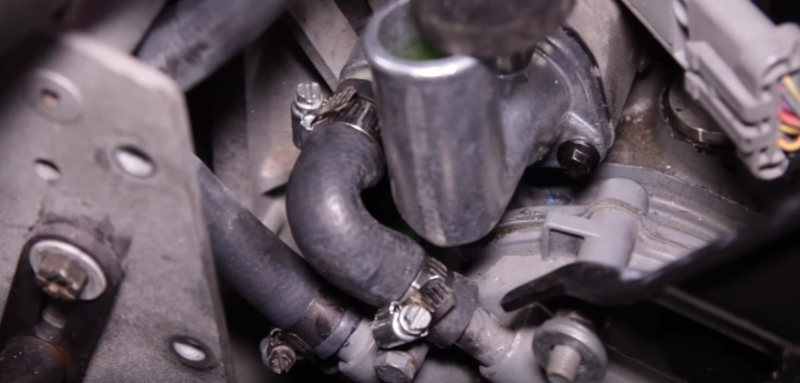
- Run the temperature probe wire, along the plugwire, and out of the way for now
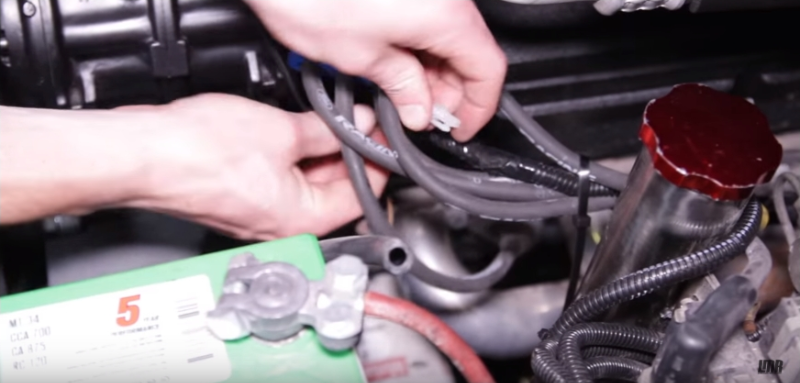
- Position the new fan shroud into place
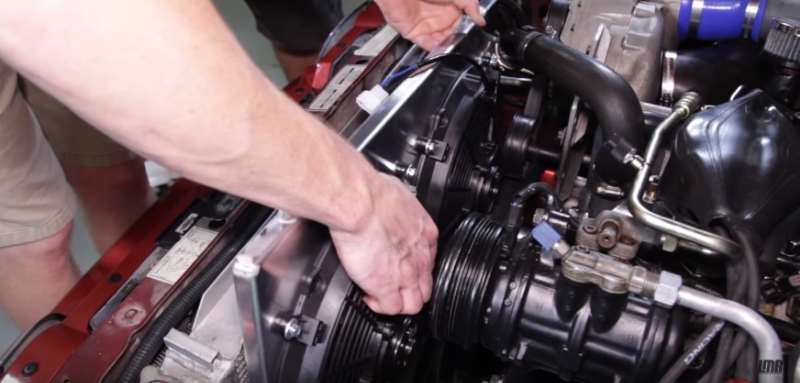
- Tighten down the hardware securing the fan shroud to the radiator
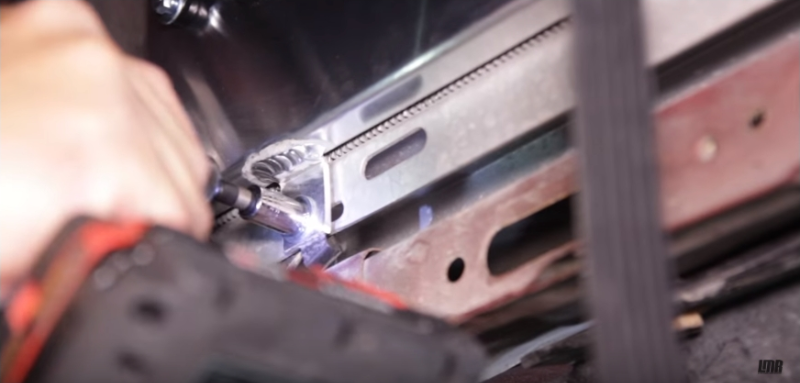
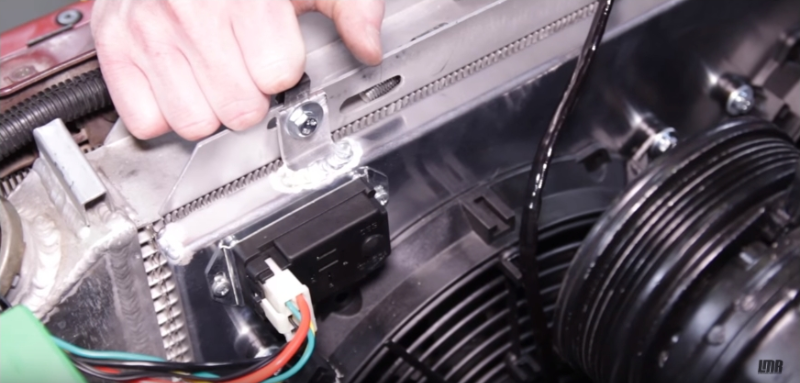
- Plug the main harness for the electric fan into the controller
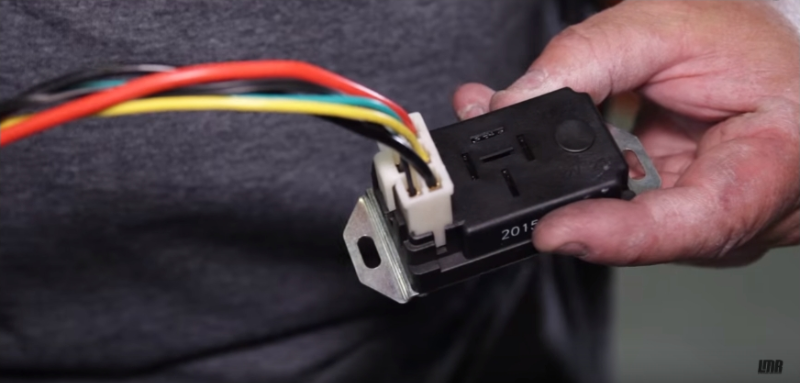
- Plug in the relay, and use the included screws to secure it to the shroud
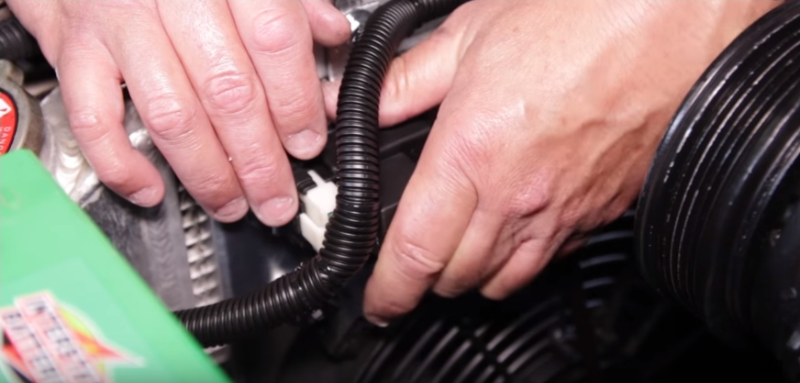
- For added safety, we added a 30 amp, in-line fuse to the 3 ft. free floating red power wire included in the kit
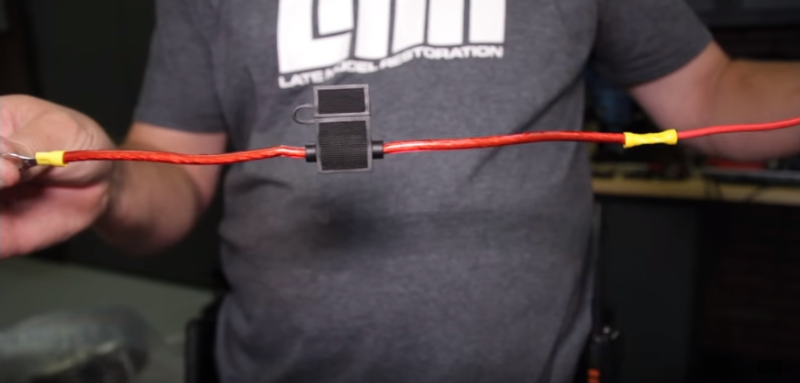
- If you go this route, use a butt connector to join the single 3 foot wire and a ring terminal on the other side of the fuse wire, which will go to the starter solenoid
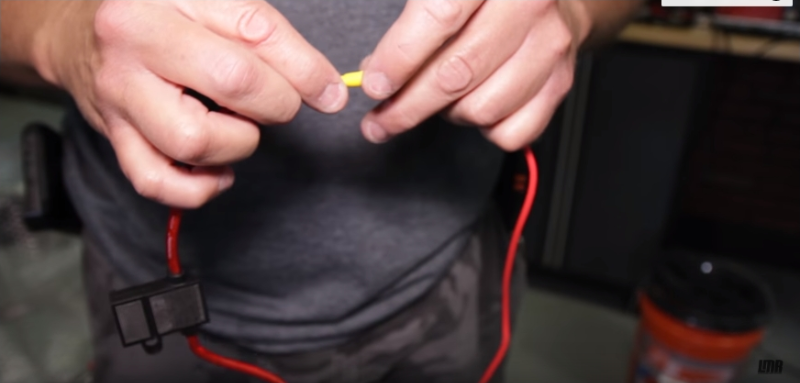
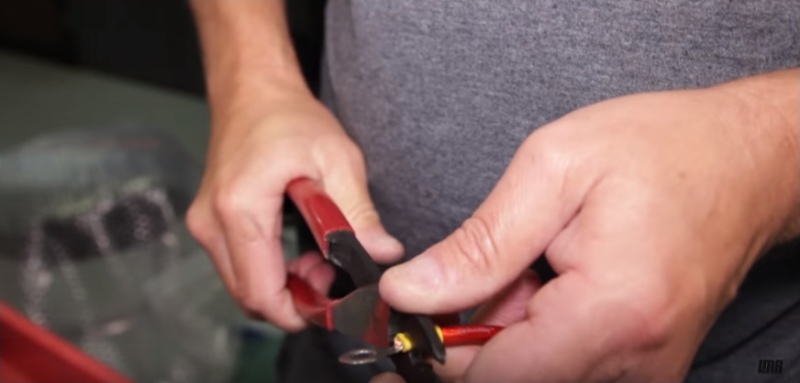
- If you don't go this route, simply splice the ring terminal on the end of the 3 ft. single red wire included in the kit
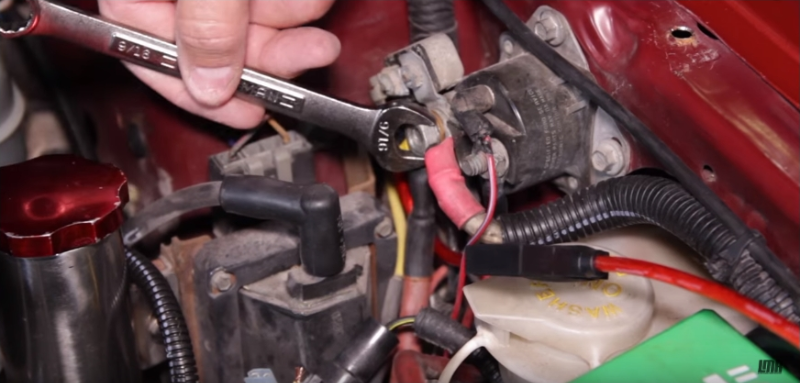
- Loosen the nut on the battery side of the solenoid, and slide the ring terminal over the stud, and re-tighten the nut. Your alternate connection will be that you can connect this directly to the battery.
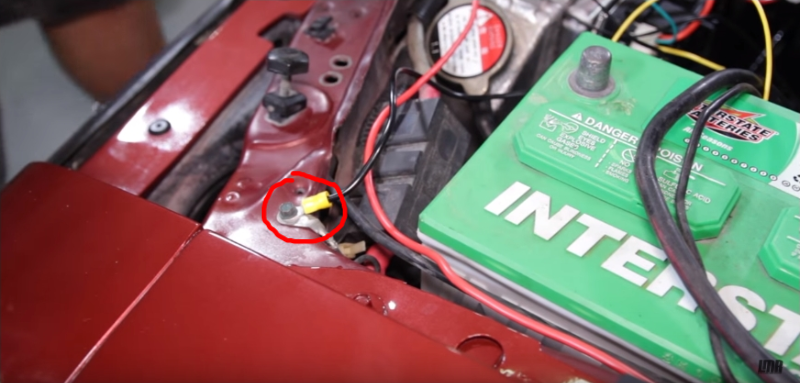
- Use another included ring terminal for the black wire, on the harness and ground it to the headlight ground by the battery
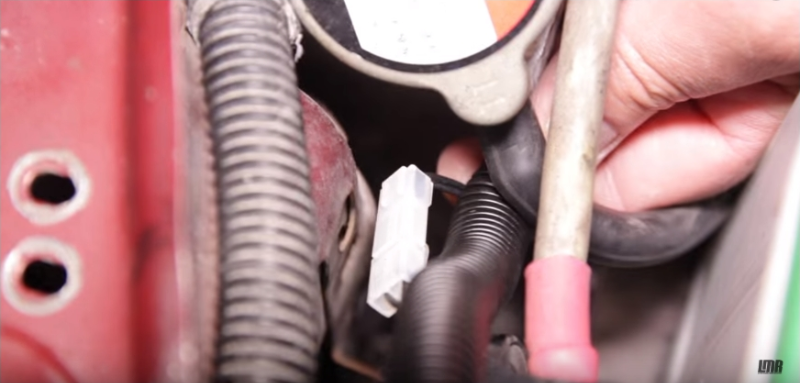
- Plug in the temperature probe
- Secure the fan harness to the blade covers, and cut the preinstalled connectors
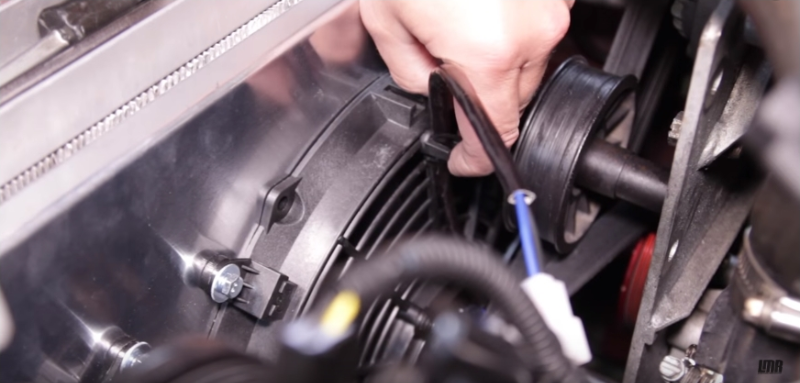
- Splice the wires, and twist them together
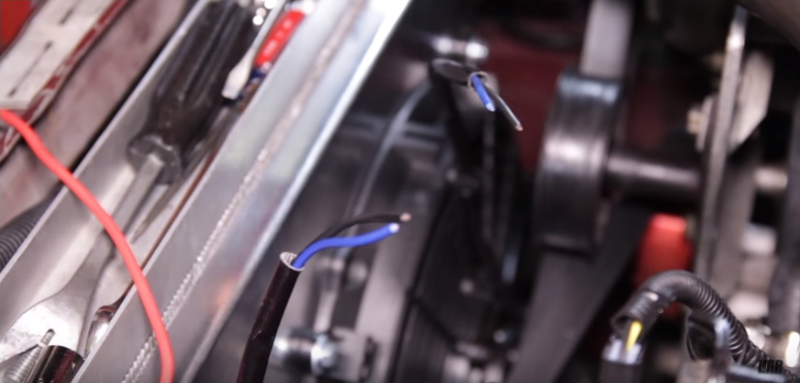
- Make sure blue is with blue, and black is with black
- Use a butt connector to splice the color coded wires
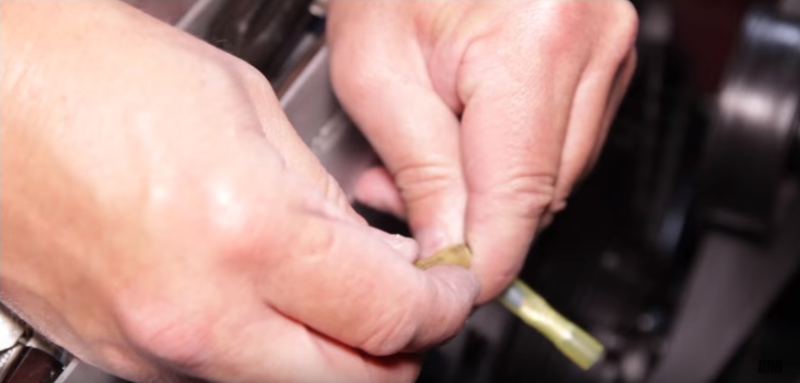
- The red wire from the controller will go with the black wire from the fans
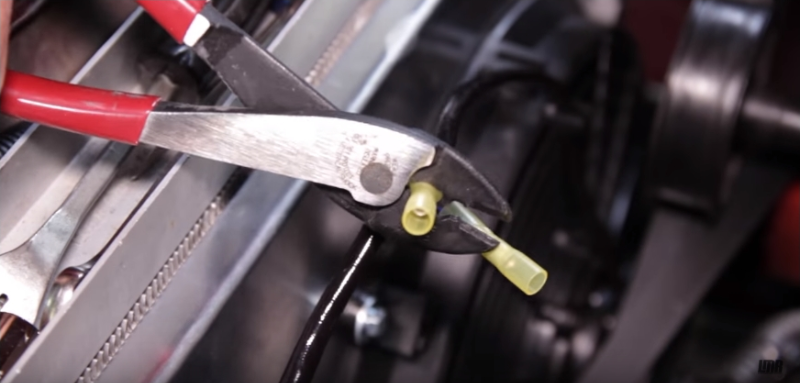
- The red 3 foot wire will go with the blue wires from the fans
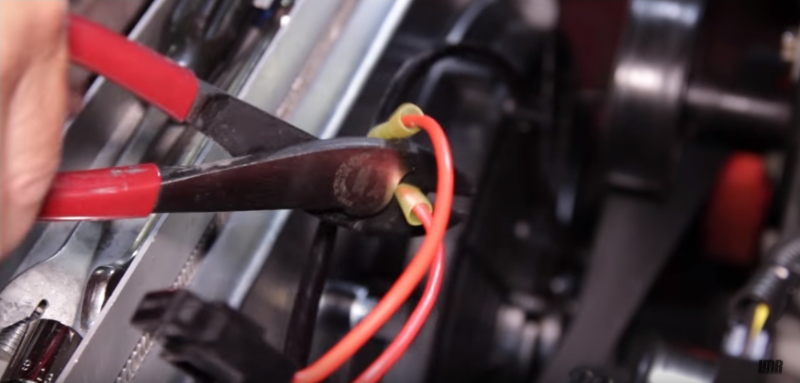
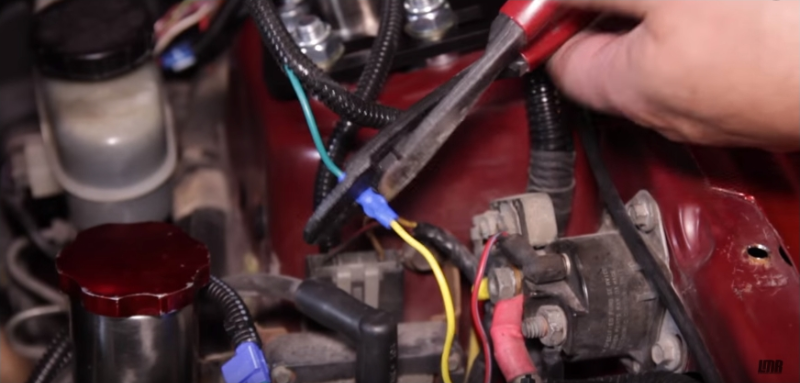
- Use the included quick-crimp to splice the green wire from the controller, to the yellow A/C Wire
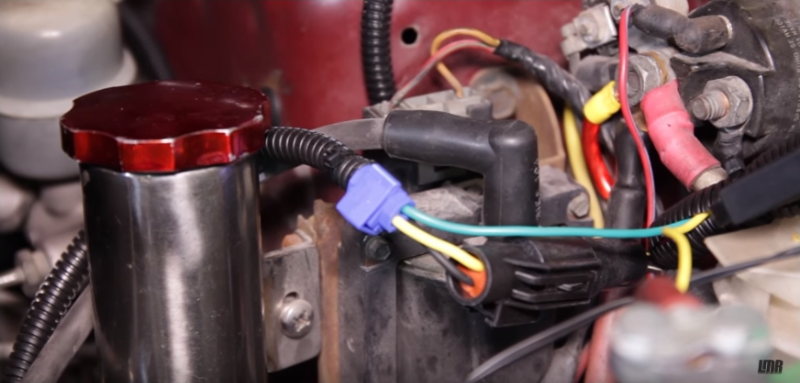
- Quick-crimp the yellow wire from the controller, to the a 12 volt ignition source. This can be found on various locations on the car.
- Tidy up the wiring, and then mount the included overflow tank wherever you would like
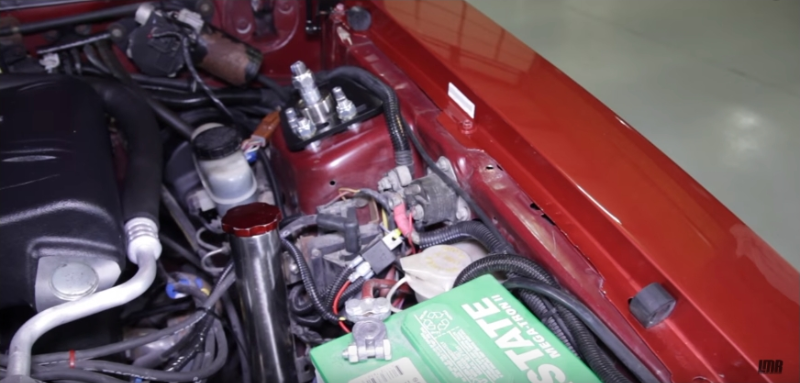
- Then run your overflow hose to your overflow tank, from the radiator
- Before starting up, and testing for operation be sure to replace the coolant that you drained out in the beginning of the install
- Drive the car around the block a few times to get it to operating temperature, and get out and check the fans
- At this point if you want to change the temperature turn-on setting, simply remove the rubber plug on the controller, and use a flat head screwdriver to make your adjustments
- Double check your work, and you're all done!



