Product Links
Tools & Supplies Needed
- Socket wrench set
- Phillips screwdriver
- Flathead screwdriver or trim tool
- Panel clip remover (optional)
- Needle nose pliers (optional)
- Silicone spray / soapy water / lubricant (for rubber grommets) (optional)
PART 1: Rear Running Light Installation
Disconnect the negative battery cable before working on the vehicle.
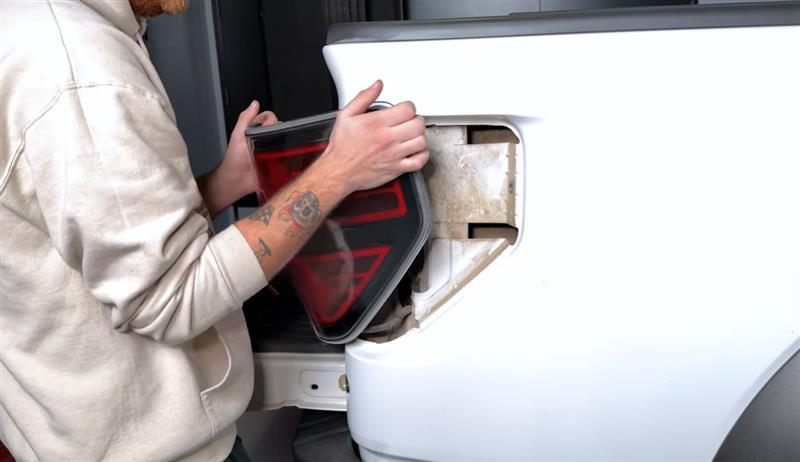
Step 1: Remove Tail Lights
Each tail light must come out first to access the rear running light harness.
How:
- Open tailgate.
- Locate the bolts holding each tail light.
- Remove bolts with socket or screwdriver.
- Pull tail light straight backward carefully.
Do not yank sideways.
Step 2: Disconnect Tail Light Harness
Once tail light is loose:
- Press connector tab.
- Unplug wiring harness.
- Set tail light aside somewhere safe.
Repeat on both sides.
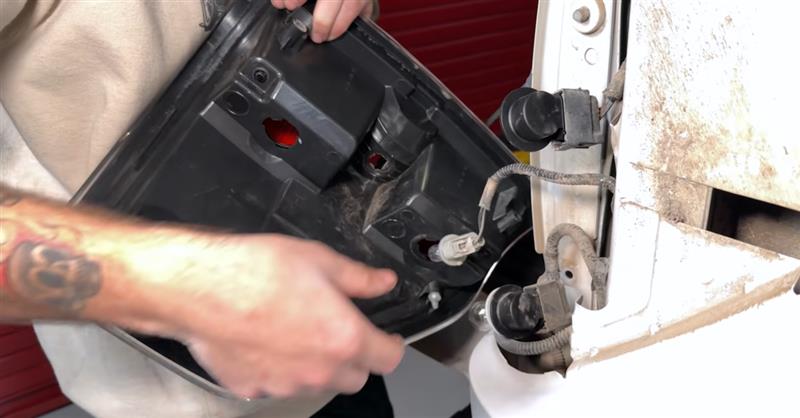
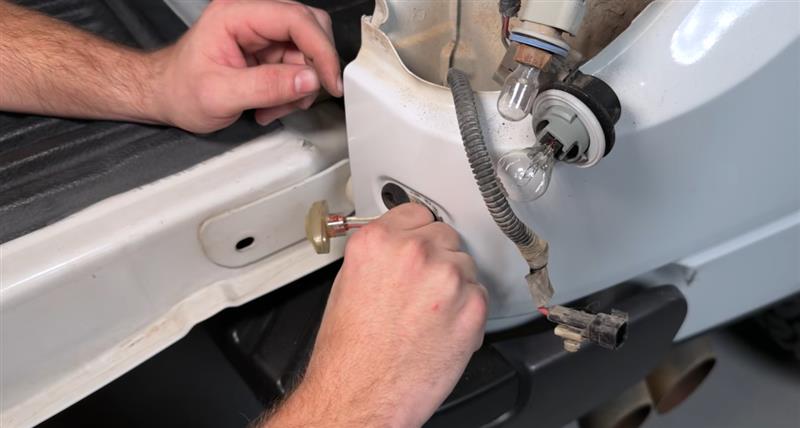
Step 3: Remove Old Rear Running Lights
From inside the opening:
- Reach behind rear running light.
- Disconnect light connector.
- Push or pull old light housing out.
Step 4: Transfer OEM Rubber Grommet
Most kits require reuse of factory sealing grommet.
How:
- Locate rubber grommet on old harness.
- Spray lubricant if tight.
- Twist and slide grommet off old harness.
- Slide onto new harness.
This can take effort. Be patient.
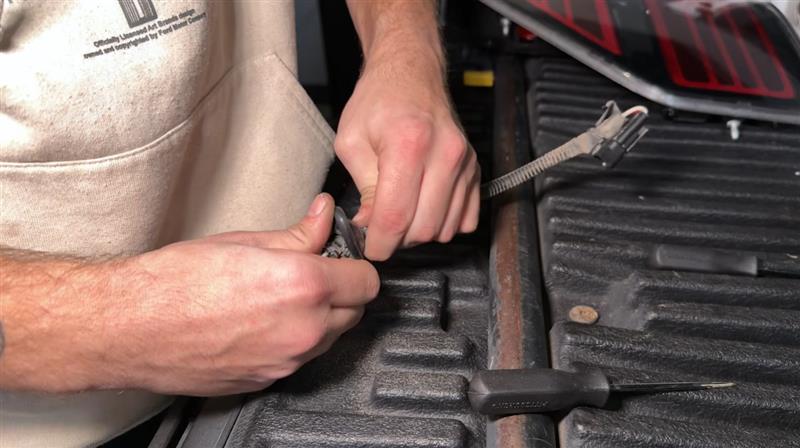
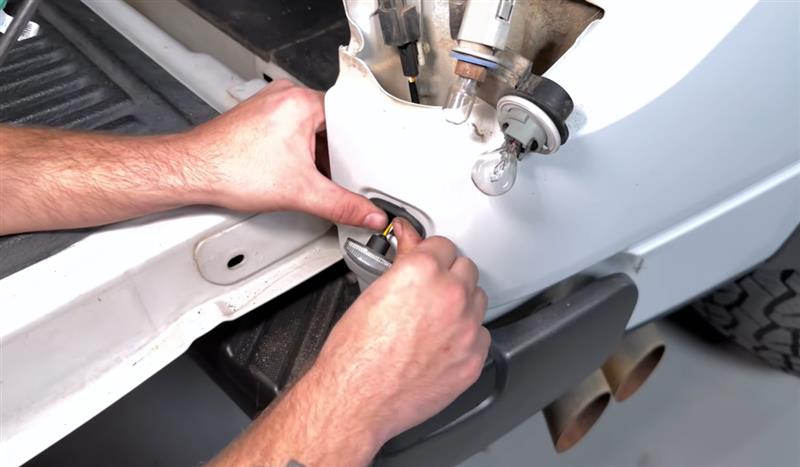
Step 5: Install New Rear Running Lights
- Feed new harness through body opening.
- Seat rubber grommet fully into hole.
- Connect plug.
- Snap new light into place.
Step 6: Reinstall Tail Lights
- Reconnect tail light harness.
- Align tail light tabs.
- Push into place.
- Reinstall bolts.
Repeat on both sides.
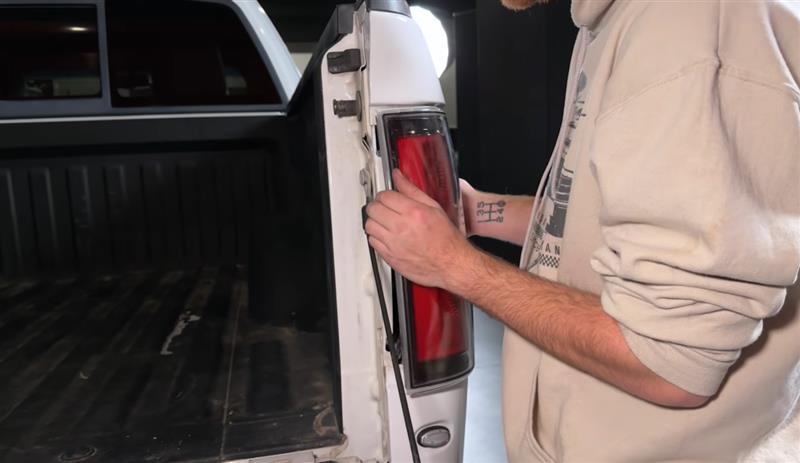
PART 2: Front Running Light Installation
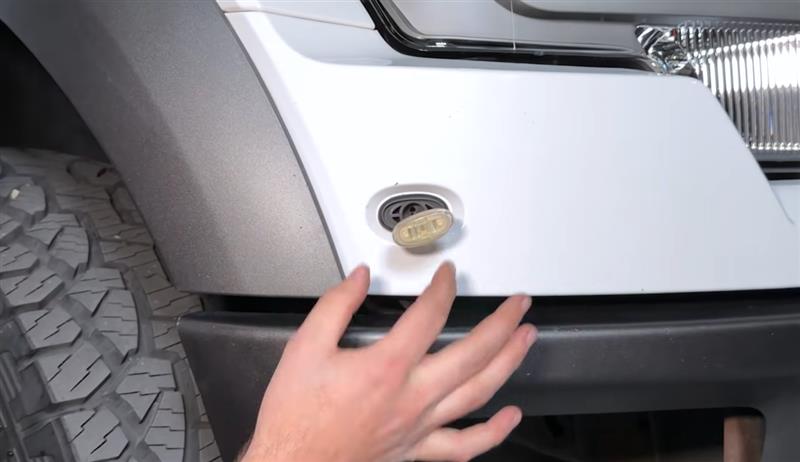
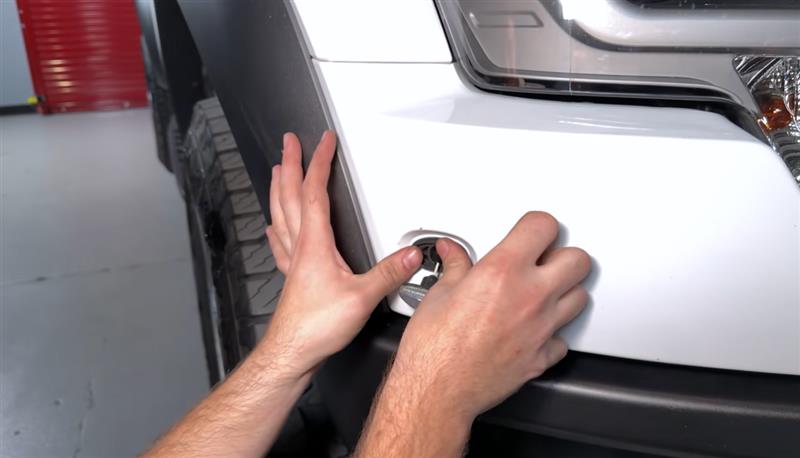
These are the front bedside/fender running lights.
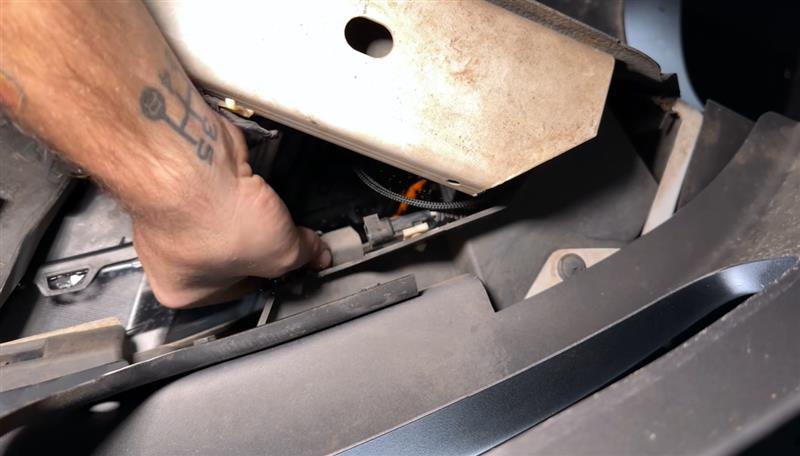
Step 7: Access Front Lights
Usually easiest from underneath wheel well or lower edge.
- Turn steering wheel for access (optional).
- Reach behind front marker light.
Step 8: Disconnect Old Front Light
- Press tab on connector.
- Unplug harness.
- Remove old light housing.
Step 9: Transfer OEM Grommet
Same process as rear:
- Remove grommet from old light harness.
- Lubricate if needed.
- Install onto new harness.
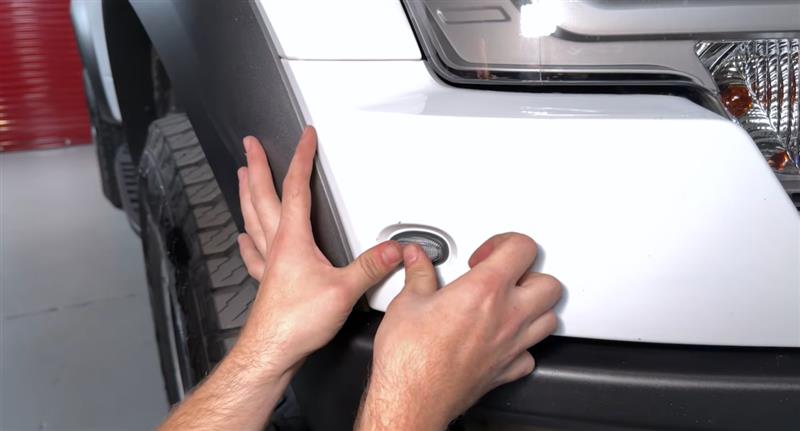
Step 10: Install New Front Running Lights
- Feed harness through opening.
- Seat grommet snugly.
- Connect harness.
- Snap light into body opening.
Repeat for opposite side.
PART 3: Grille Light Installation
The grille marker lights are mounted at the top grille section.
Step 11: Open Hood
Raise hood and secure prop or hood struts.
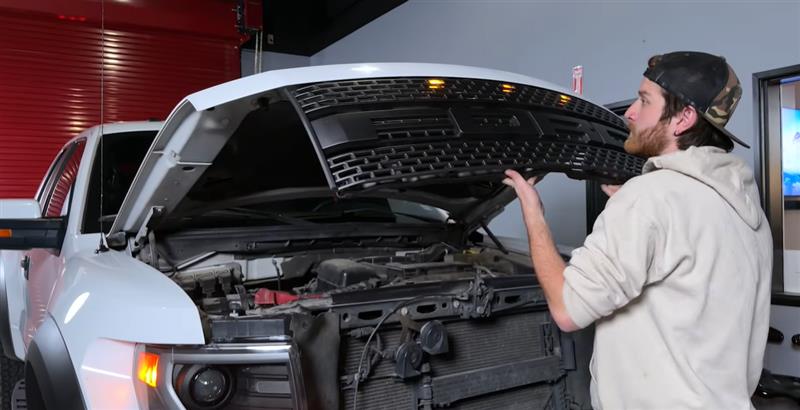
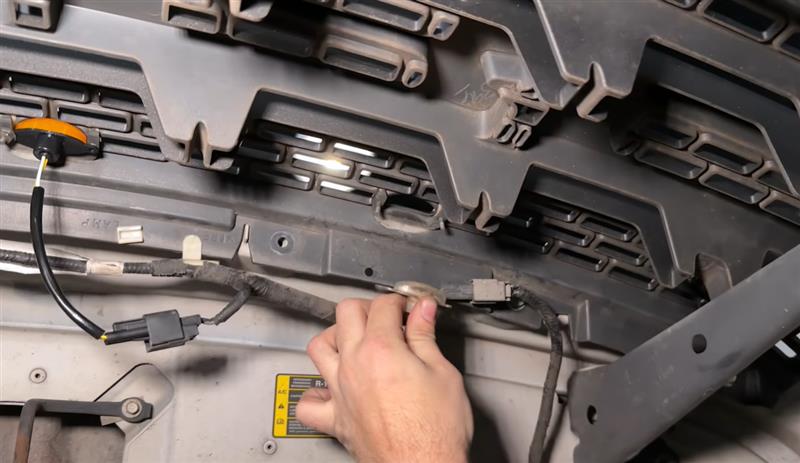
Step 12: Remove Factory Grille Lights
Locate the screws securing the grille lights.
How:
- Remove six screws total (varies by kit/model).
- Disconnect each grille light harness.
- Remove old lights.
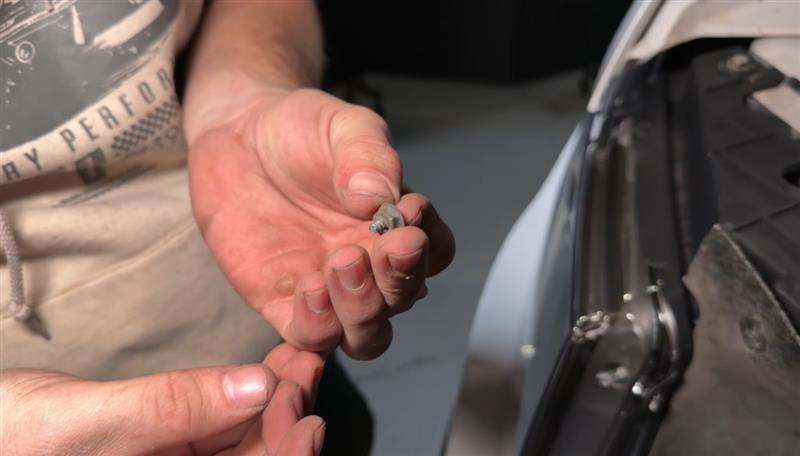
Be careful-older trucks may have brittle studs or broken clips.
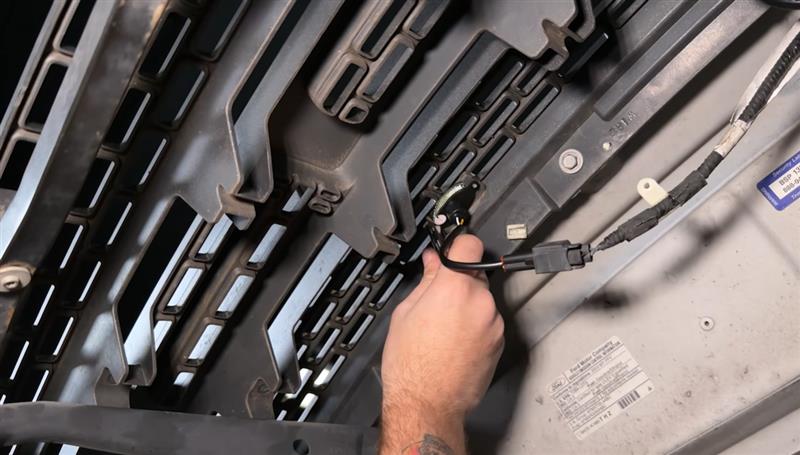
Step 13: Inspect Mounting Hardware
Before installing new lights:
- Check studs
- Check screw holes
- Remove debris
- Replace broken clips if needed
Step 14: Install New Grille Lights
- Position new grille lights.
- Plug in harnesses.
- Align mounting holes.
- Reinstall screws gently.
Do not overtighten plastic studs.
PART 4: Final Testing
Step 15: Reconnect Battery
Reconnect negative battery terminal.
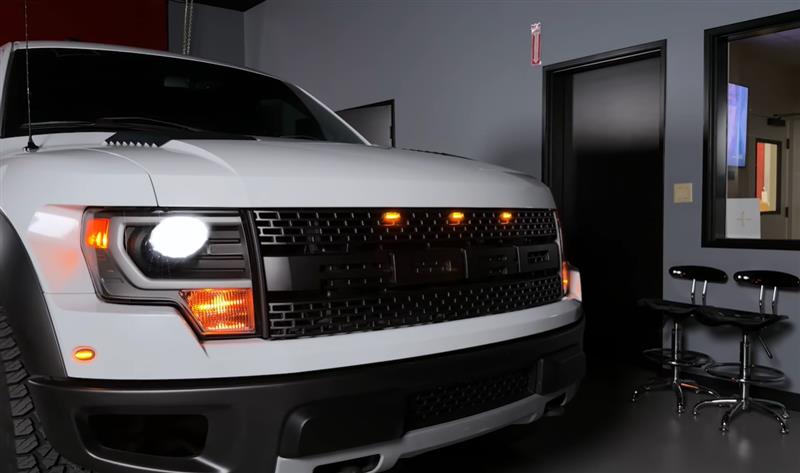
Step 16: Test All Lights
Turn parking lights/headlights on and verify:
Front:
- Amber front running lights
- Amber grille lights
Rear:
Check both sides.
Troubleshooting
Light Doesn't Turn On
- Connector not fully seated
- Pin bent in plug
- Blown fuse
- Ground issue
Light Flickers
- Loose connection
- Poor grommet seating causing wire strain
Moisture Inside Lens
- Grommet not sealed
- Housing not snapped fully in