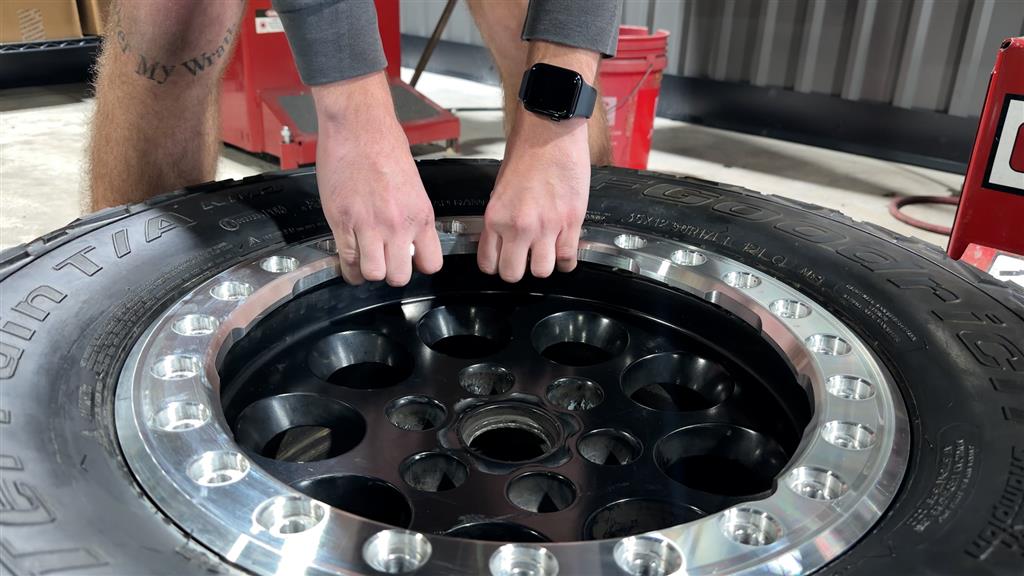
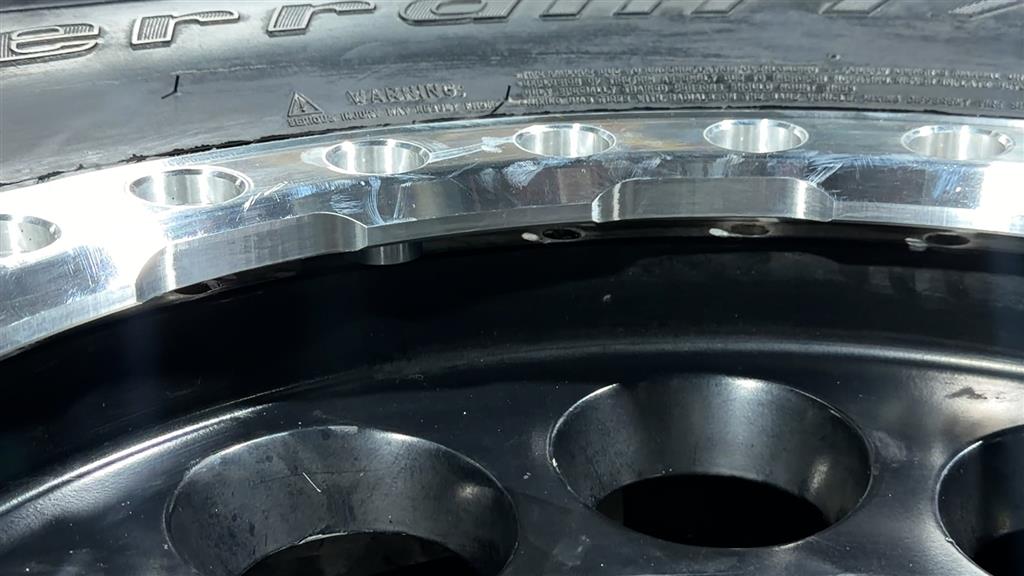
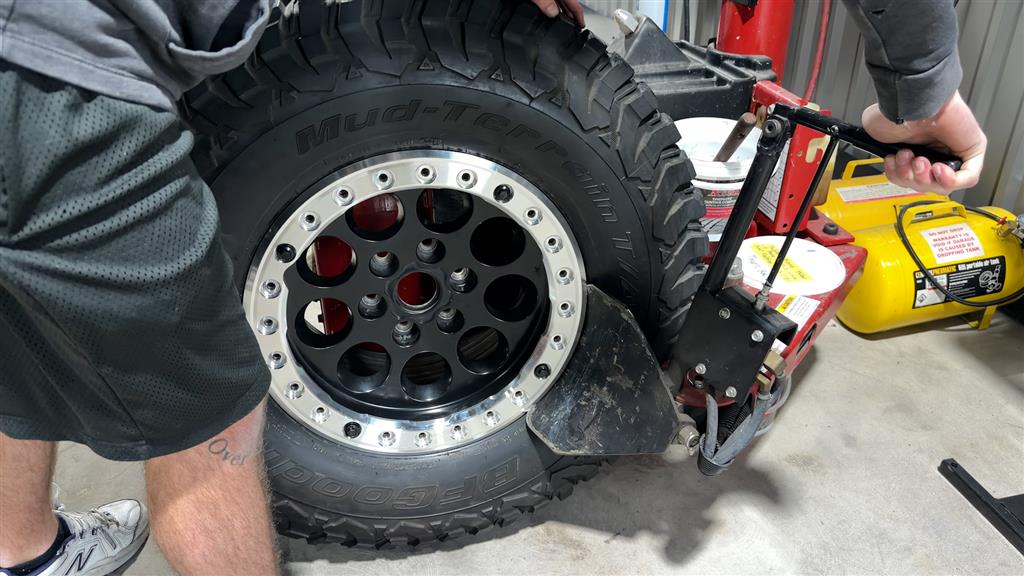
If you have purchased or are looking at purchasing a set of SVE Raptor Beadlock Rings, this guide will show you the step-by-step instructions on getting them installed properly.
Purchase SVE Raptor Beadlock Rings
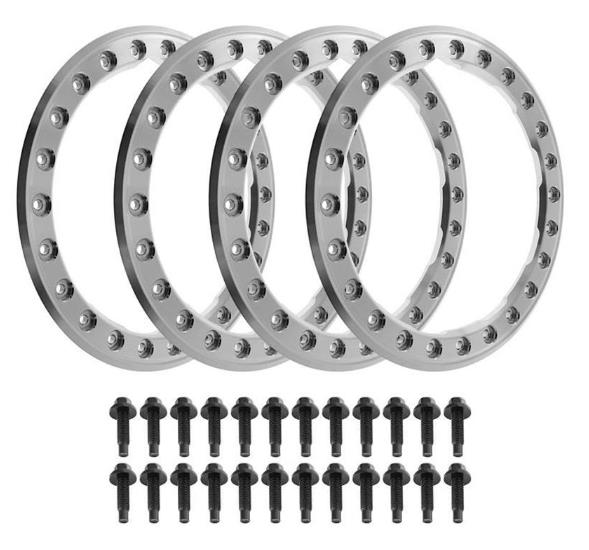
*Failure to read and fully understand these detailed installation instructions before beginning may result in improper installation and/or personal injury.
Beadlock Wheel Installation and Use — Indemnification Clause Customer acknowledges that beadlocks and/or beadlock wheels are expressly designed and intended for off-road use only and may not be approved, certified, or lawful for operation on public highways under applicable federal, state, or local laws and regulations. Customer further acknowledges that installation and use of beadlocks and/or beadlock wheels may affect vehicle safety characteristics, compliance with vehicle equipment laws, insurance coverage, and vehicle warranties. Customer fully acknowledges and accepts the risks and legal implications of using beadlocks and/or beadlock wheels outside of their explicit off-road only use. To the fullest extent permitted by law, Customer agrees to indemnify, defend, and hold harmless Latemodel Restoration Supply, Inc., its owners, members, managers, officers, employees, contractors, affiliates, successors, and assigns (collectively, the “Indemnified Parties”) from and against any and all claims, demands, causes of action, damages, losses, liabilities, costs, expenses, fines, penalties, judgments, and attorney’s fees arising from use of this product. Customer expressly assumes all risks associated with beadlock wheel installation and use, including, but not limited to, risks of equipment failure, loss of vehicle control, regulatory non-compliance, and third-party claims.
- The original DOT compliance, certification, labeling, testing validation, or manufacturer representations associated with the wheel shall be deemed void, inapplicable, and no longer relied upon following beadlock ring installation;
- Latemodel Restoration Supply, Inc. makes no representation, warranty, or certification that a wheel modified with a beadlock ring meets any DOT, SAE, FMVSS, state inspection, or other roadway equipment compliance standard;
- Any reliance upon prior DOT markings or representations after modification would be unreasonable and contrary to the nature of the modification performed; and 4. Customer assumes sole responsibility for any regulatory, inspection, insurance, safety, resale disclosure, or legal implications arising from modification of a previously DOT-compliant wheel.
Removal Of Existing Beauty Ring - If Removing Existing Beadlock Ring, Skip To Removal Steps Below
1.
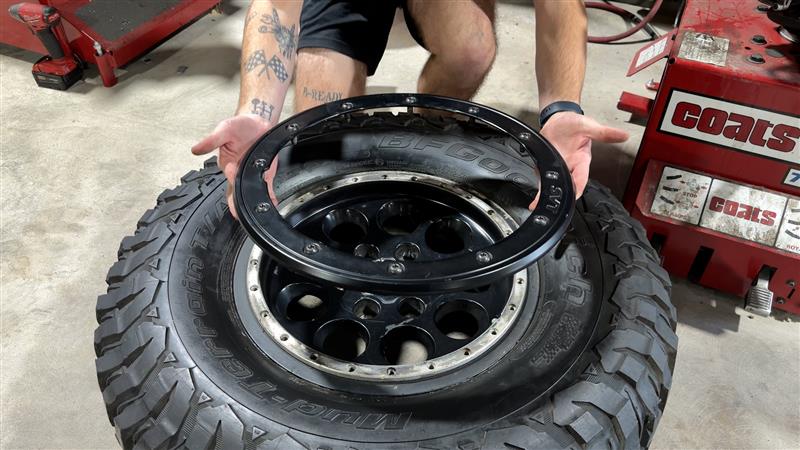
Remove the Beauty Ring: With the wheel and tire removed from the vehicle, place the assembly on a flat, level surface. Using a T-45 Torx wrench, remove the existing beauty ring from the wheel and tire assembly.
2.
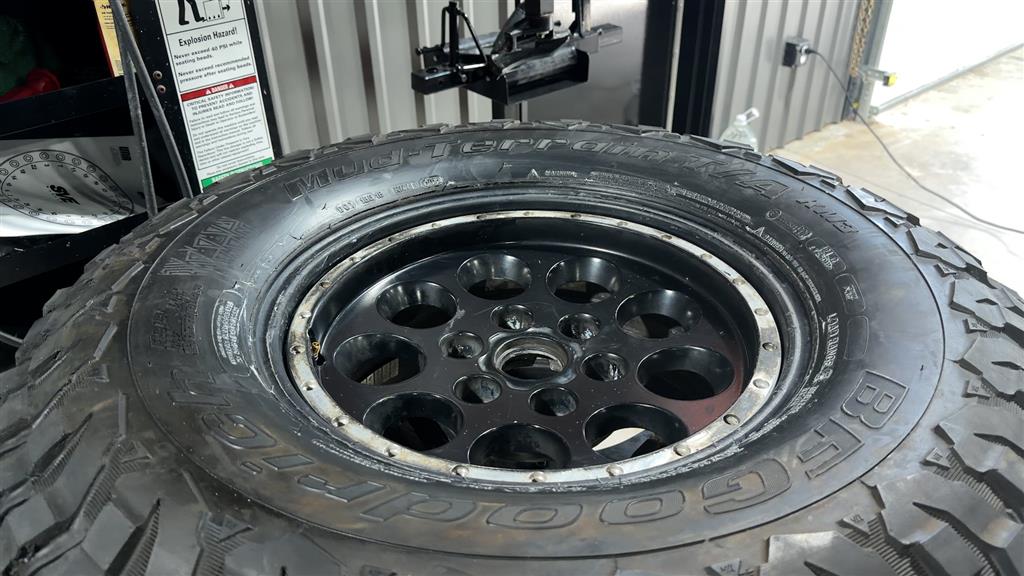
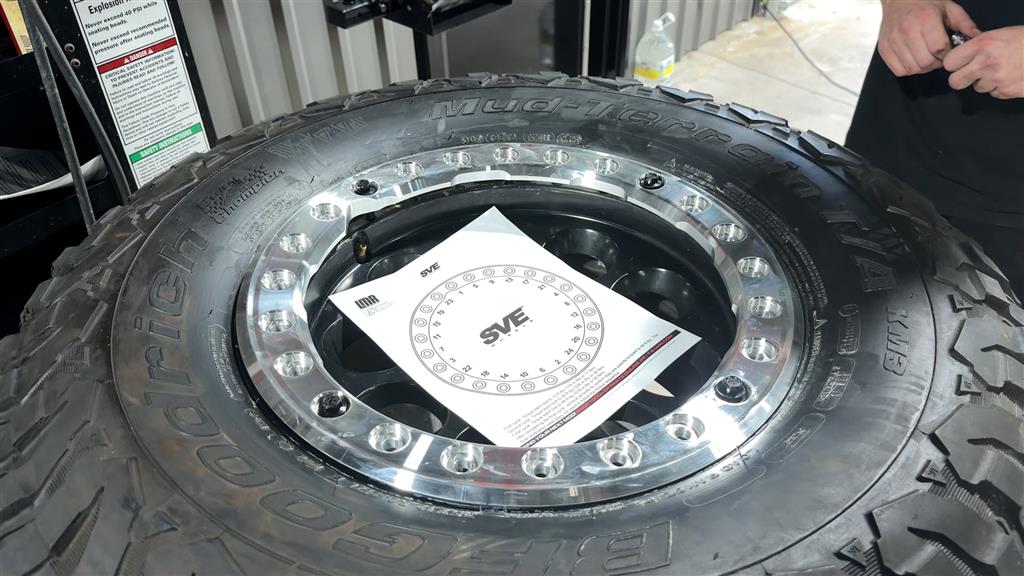
Deflate and Seat the Tire: With the beauty ring removed, fully deflate the tire by removing the valve stem core. Once all air has been released, break the outer bead. Position the outer bead of the tire against the outer wheel flange, ensuring the tire sits properly within the flange as designed. (See Figure 1.2) *Note: If threads require cleaning due to corrosion, dirt, debris, or residual threadlocker, use a M10x1.5 tap and compressed air to properly clean and restore the threads.
Installation Of SVE Beadlock Rings
1.
Apply Tire Lubricant: Using a tire mounting lubricant, apply it to the tire bead as well as the bottom flange of the beadlock ring. This is necessary to ensure the beadlock ring seats evenly and properly.
2.
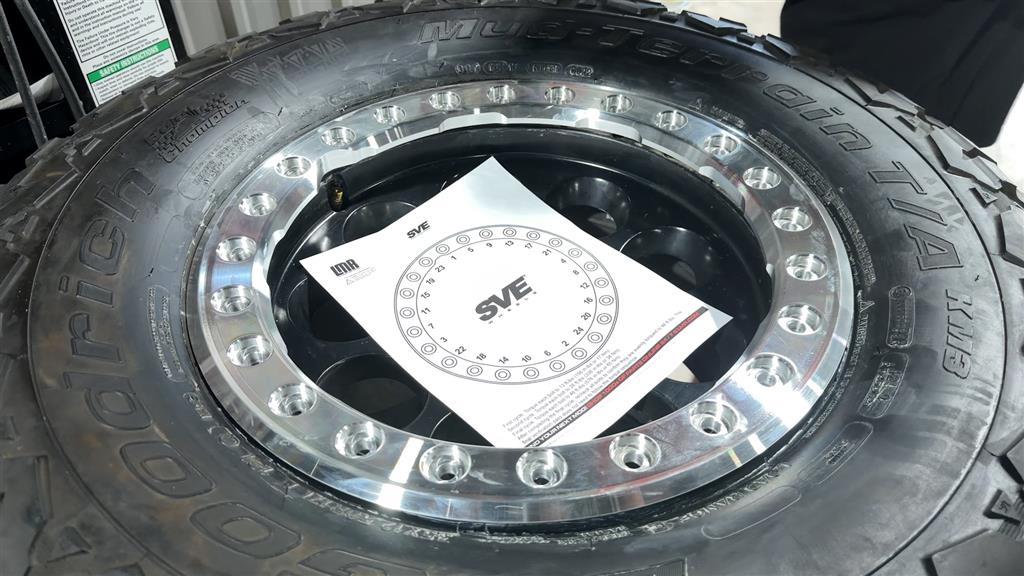
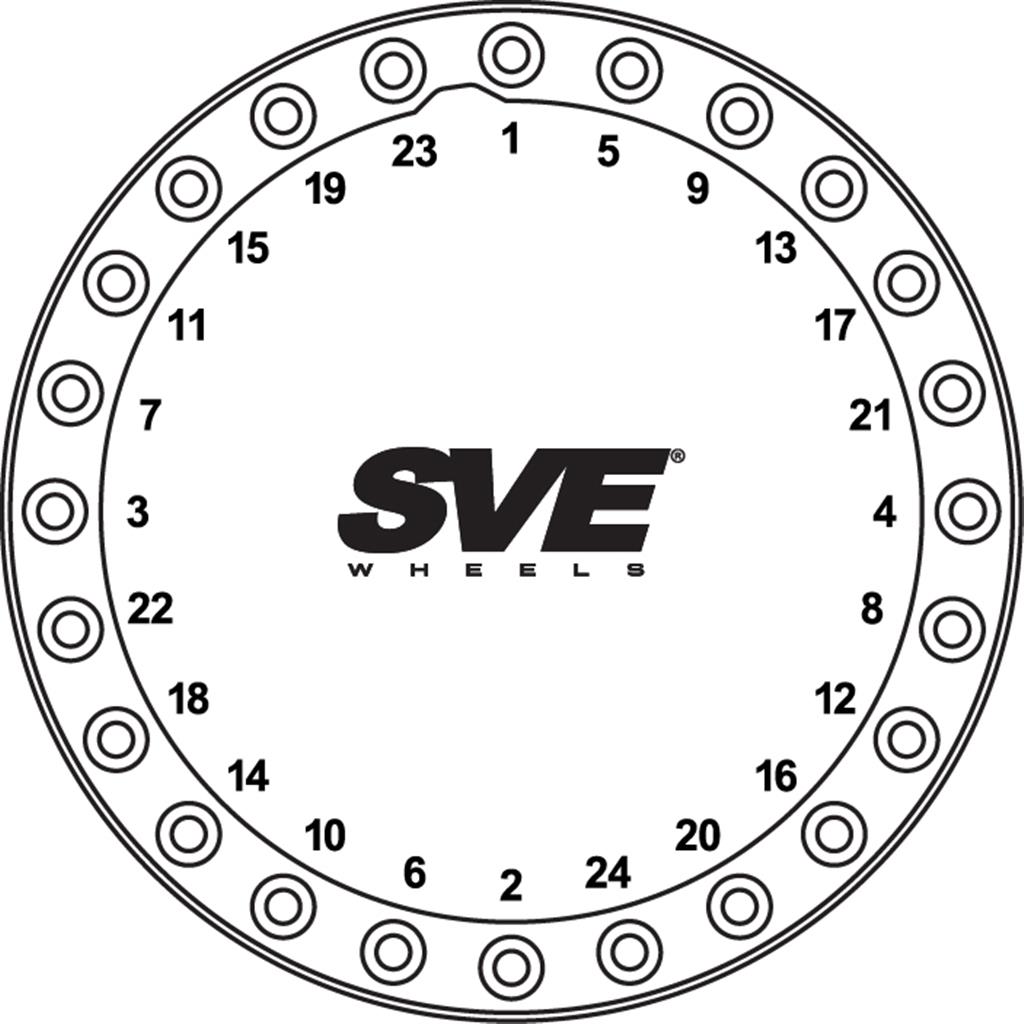
Position The Beadlock Ring: Refer to beadlock torque sequence diagram and place valve stem between numbers 23 and 1 as shown on diagram. Align the SVE beadlock ring with the valve stem cutout, also in between numbers 23 and 1 position. Apply even downward pressure to seat the beadlock ring evenly against the tire.
3.
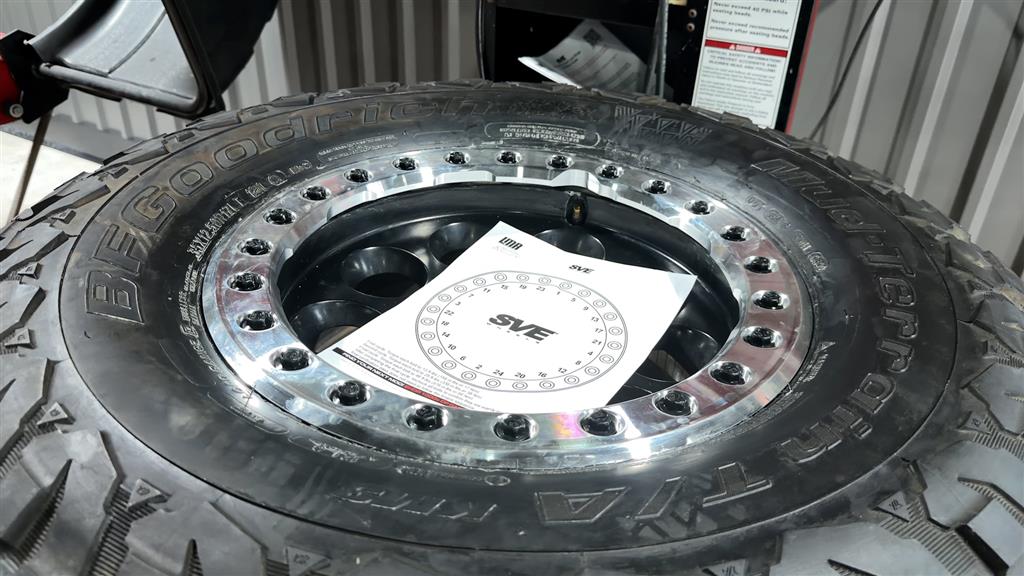
Install Initial Bolts: Using the supplied hardware, install four bolts in a cross (square) pattern, spacing them evenly around the ring. Hand-tighten each bolt until properly threaded. Once all four bolts are started, use a 13 mm socket and ratcheting wrench to tighten them evenly in sequence, turning each bolt four quarter turns.
4.
Install Remaining Bolts: Using the remaining supplied hardware, install and hand-tighten the rest of the bolts. Following the same sequence, tighten each bolt in increments of four quarter-turns, working evenly around the ring. Ensure there is a consistent, even gap between the beadlock ring and the tire mating surface throughout the installation.
5.
Torque Hardware: Using the SVE Torque Sequence Guide, align the template so the valve stem cutout is centered between numbers 23 and 1 positions as shown on the diagram. Beginning at the top position (Bolt #1), follow the specified torque sequence. There are three torque cycles in this sequence:
- First cycle: Torque each bolt to 13 ft-lbs (156 in-lbs or 17 Nm).
- Second cycle: Torque each bolt to 28 ft-lbs (336 in-lbs or 38 Nm).
- Final cycle: Torque each bolt to 48 ft-lbs (576 in-lbs or 65 Nm).
After completing the final cycle, recheck all bolts to confirm they are evenly torqued to 48 ft-lbs. The final verification pass does not need to follow the torque sequence.
6.
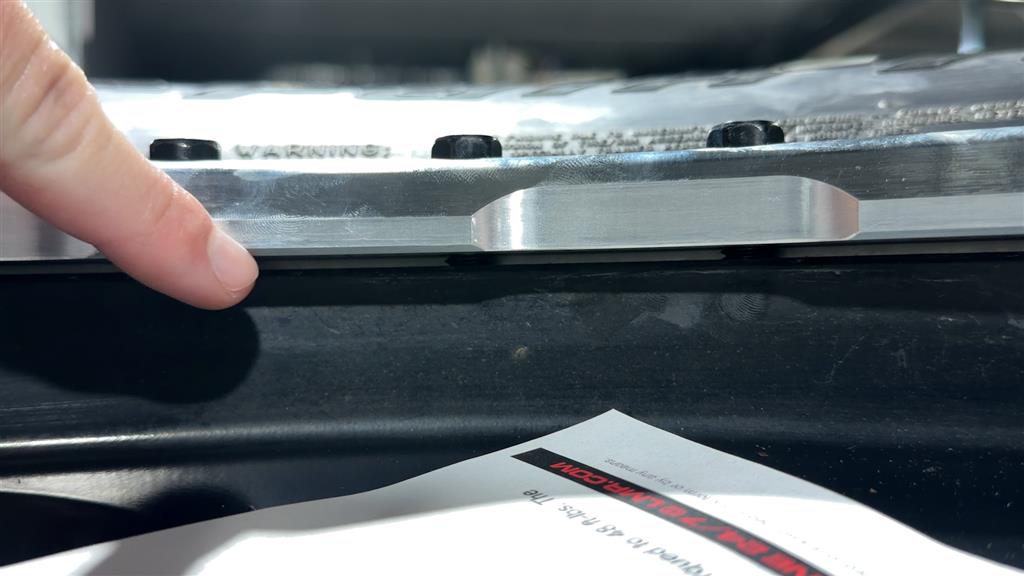
Verification: Verify that all hardware fully secures the beadlock ring to the wheel. There should be no gap between the wheel and beadlock mating surfaces. If a gap is present, remove all hardware and repeat Step 5.
7.
Inflation: Once it has been verified that there is no gap, inflate the tire to seat the bead over the flange of the beadlock, ensuring it reaches its final position.
Do not exceed 45 PSI during the inflation process.Notice: After the first 500 miles of driving with SVE beadlocks, inspect and retorque all hardware to 48 ft-lbs, if necessary. Continue to recheck and retorque at 1,500-mile intervals. Removal Method Of Existing Beadlock Rings
Notice: The procedures outlined below are provided as a suggested method for removing existing beadlock rings and are intended for informational purposes only. They are not intended as step-by-step removal instructions or a substitute for professional judgment.
1.
Prepare the Assembly: With the wheel and tire removed from the vehicle, place the assembly on a flat, level surface. Fully deflate the tire by removing the valve stem core.
2.
Remove Beadlock Hardware: Once the tire is fully deflated, remove all hardware securing the beadlock to the wheel. The beadlock should be removable from the wheel, while the tire remains sealed to the beadlock.
3.
Install Spacers: Using scrap spacers from your workspace or washers from a hardware store, place spacers between the beadlock and wheel mating surfaces. Insert a bolt through the beadlock and spacer, allowing it to thread into the wheel. Repeat this process in a cross (square) pattern at four evenly spaced hole locations.