SHOP

1979-93 Mustang Parts
Free Shipping on qualifying orders over $99* Details
LMR showroom & will call pickup service will be closed beginning Monday 9/21/26 for renovations until further notice. Need help? Contact Us.

1979-1986 Fox Body Mustang A-Pillar Trim Install

Created by Andrew Perry / 3 min read
Date Created: 8/21/2025
Last Updated: 8/21/2025

Watch as we install the 5.0 Resto reproduction a-pillar trim kit for a 1979-86 Fox Body Mustang!
Viewing this install and using the information shared is subject to the terms set forth here - View the LMR Install Instructions Disclaimer.
Replace your warped or cracked 1979-1986 Mustang A-pillars with these new gray units from 5.0 Resto. Perfect for missing or damaged originals, they're made from durable injection-molded plastic to factory specs with a matching grain and texture. The neutral gray finish can be painted to match your interior. Features include correct countersunk screw holes, full-length reinforcement gussets, and top mounting tabs to prevent rattles. Installation is quick with the included eight factory-style screws.

Product Links:
Watch:

Installation Instructions

Step 1: Remove Old Pillars

  • Start by removing the (4) screws running the top section securing the dash pad to the dash, then the remaining (5) scews on the front section and the (2) more fasteners behind the dash applique to fully remove the dash pad.
  • Remove the driver, passenger, and front headliner trim.
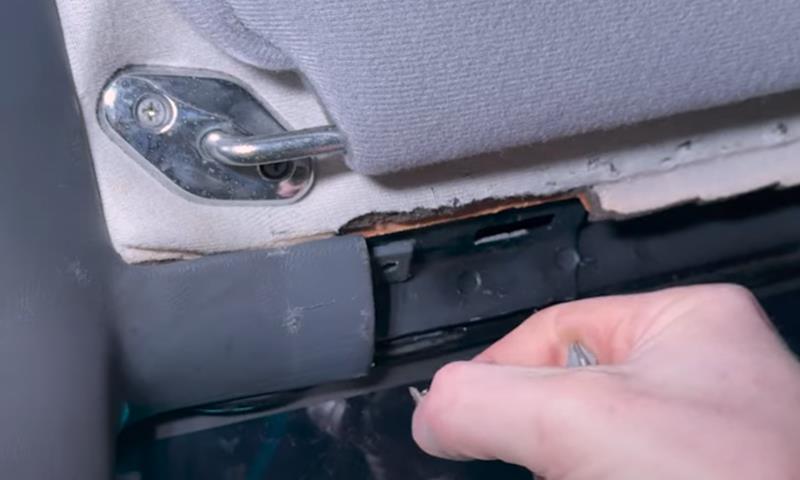
  • Once those are out of the way, you will have access to the fasteners securing the a-pillar trims.
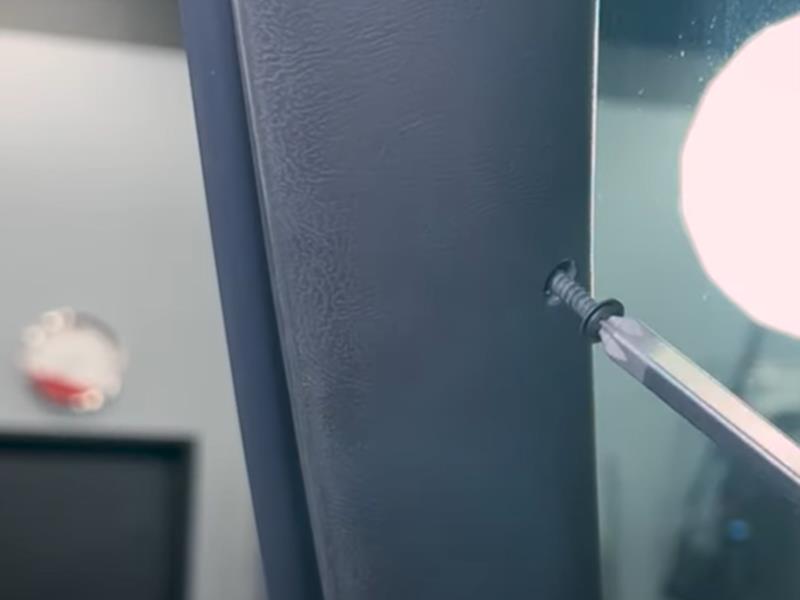
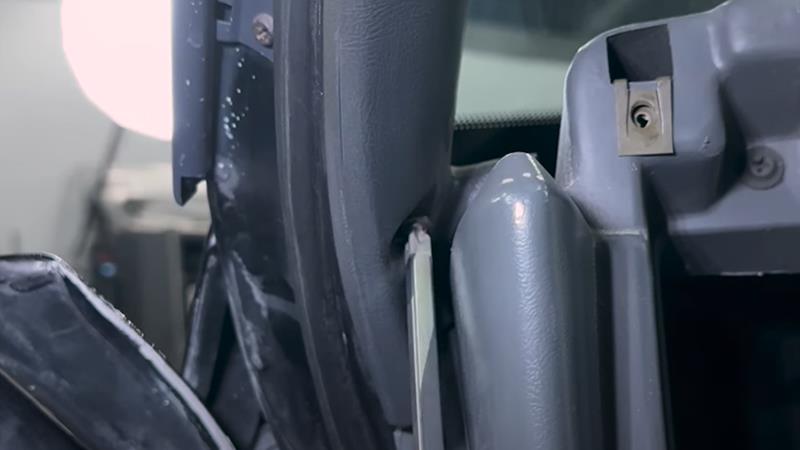
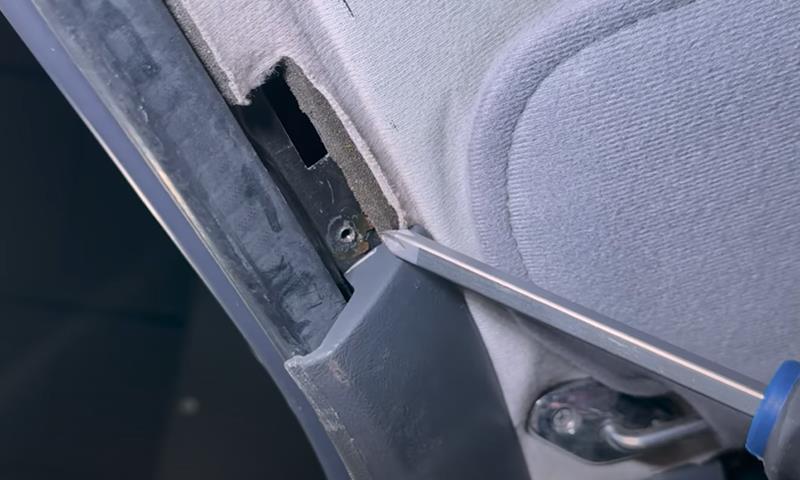
  • Remove the (2) top, (1) middle, and (1) lower screw to fully remove the old a-pillars.
1979-1986-fox-body-mustang-a-pillar-trim-kit-install_0ee68f31.jpg (800×480)
1979-1986-fox-body-mustang-a-pillar-trim-kit-install_8beba4f3.jpg (800×480)
1979-1986-fox-body-mustang-a-pillar-trim-kit-install_0612c142.jpg (800×600)
1979-1986-fox-body-mustang-a-pillar-trim-kit-install_5d3725c3.jpg (800×450)

Step 2: Install New Pillar Trim

  • To install the new a-pillar trim, simply reverse the removal steps.
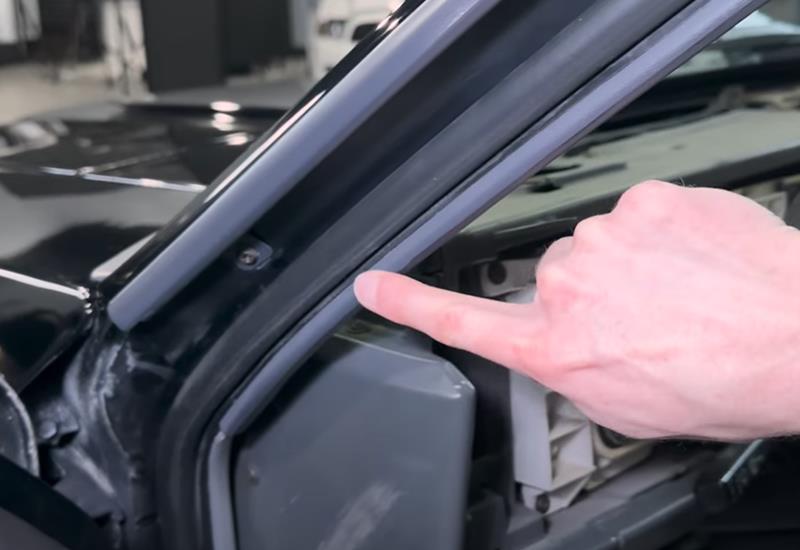
  • Once you get the a-pillar situated, make sure the outer edge is situated over the weatherstrip.
  • The middle screws will be the shorter screw with the floating washer, the longer ones will be for the bottom down by the dash, and lastly, the (2) self self-tapping screws will be for securing the tabs of the top of the pillar to the roof of the car. Be sure NOT to overtighten.
  • Reinstall the headliner trim and dash pad.
  • After this, you are good to go!
1979-1986-fox-body-mustang-a-pillar-trim-kit-install_901336b2.jpg (800×550)
1979-1986-fox-body-mustang-a-pillar-trim-kit-install_5971b1f2.jpg (800×500)


About the Video

1979-1986 Fox Body Mustang: 5.0 Resto Reproduction A-pillar Trim Kit - Review & Install

Check out our YouTube channel for even more tech tips, installation videos, how-tos, and more. The best place to go for anything Mustang related!

Published on 2025-04-22
Replace your warped, cracked, or broken 1979-1986 Mustang A-pillars with these brand-new gray units from 5.0 Resto! Whether you're taking on a project with missing A-pillars or need to replace your originals that are cracked in several places, these 5.0 Resto A-pillars are the perfect interior restoration item. Each trim is built to the factory dimensions with durable plastic material using an injection molding process. Factory-style grain and texture are applied to closely match the rest of your interior. 5.0 Resto's A-pillar trims arrive in a neutral gray finish but can be prepped and painted to match other interior colors. Each A-pillar trim features the correct counter-sunk mounting screw locations along with the back reinforcement gussets that run the length of the pillar. Lastly, at the top is the correct mounting tabs for the attaching point by the roof to prevent rattles. These A-pillars go on using the included hardware for a quick and easy installation. 5.0 also includes eight brand-new screws in the correct lengths to replace the rusty or damaged factory hardware.
Thumbnail image of the author of this article, Andrew Perry.

About the Author

Andrew has been writing content for Late Model Restoration for over 2 years, producing over 50 articles. Over the years, Andrew has owned numerous Mustangs, including a 2007 V6, 2003 GT, 1967 GT, 1994 GT, 1995 GT, 2014 GT (2), 2000 V6 (V8 swapped), 2016 GT/PP, 1988 LX 5.0, and a 2009 GT/CS. Read more...