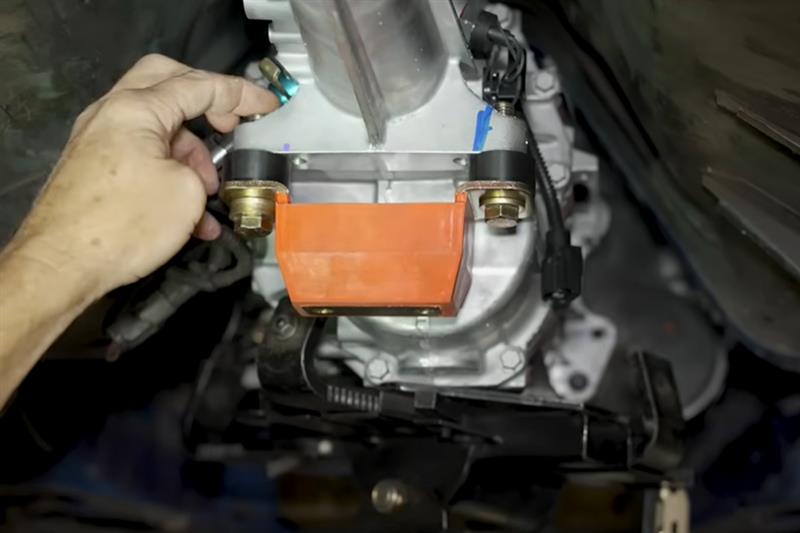
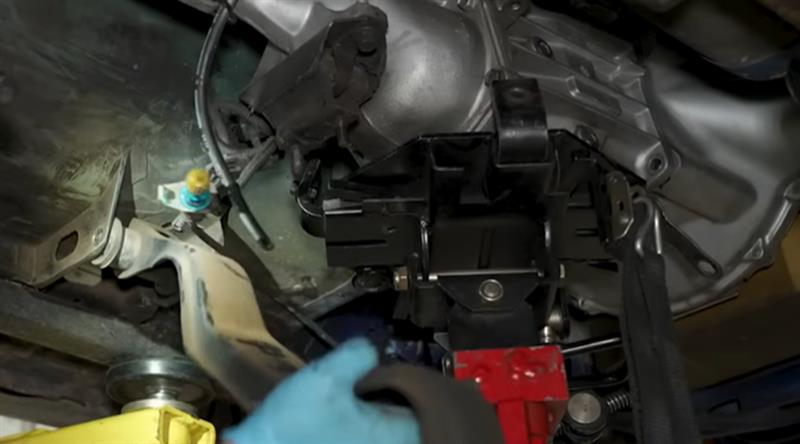
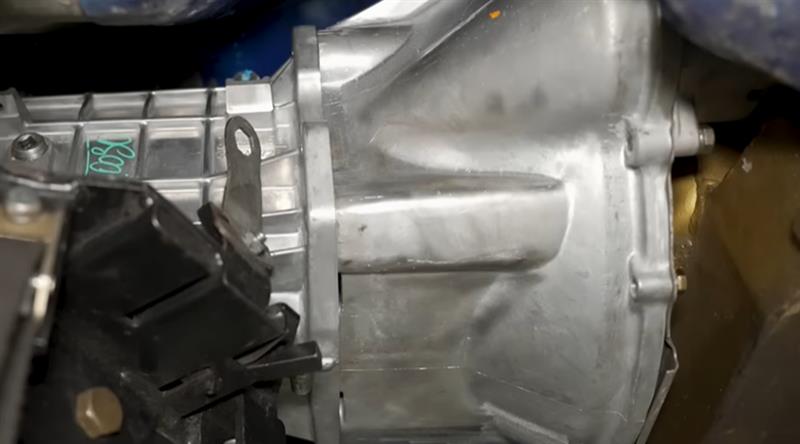
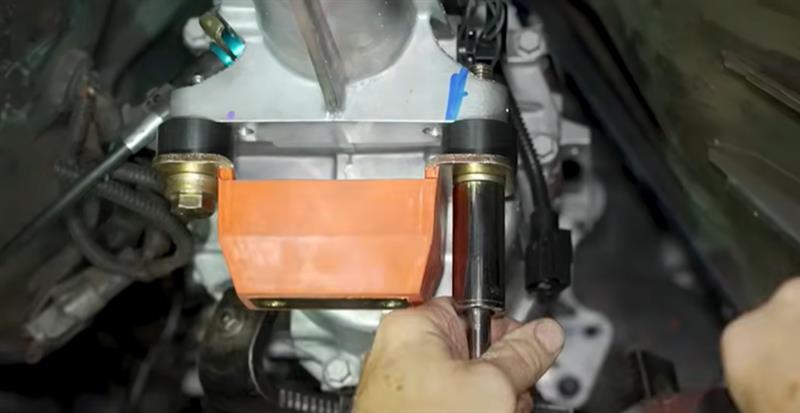
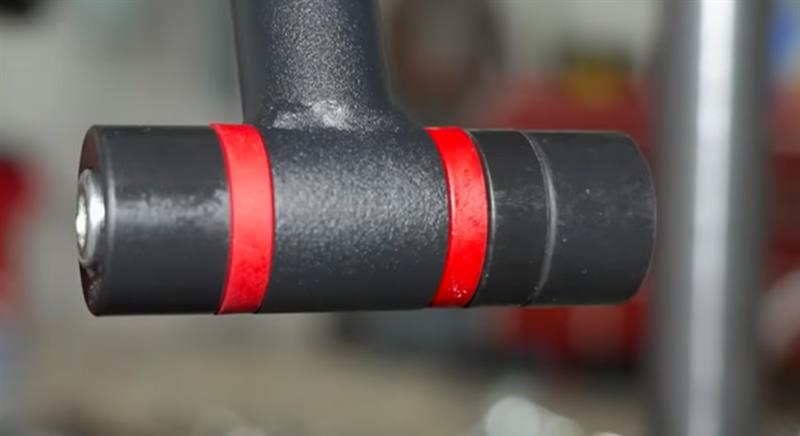
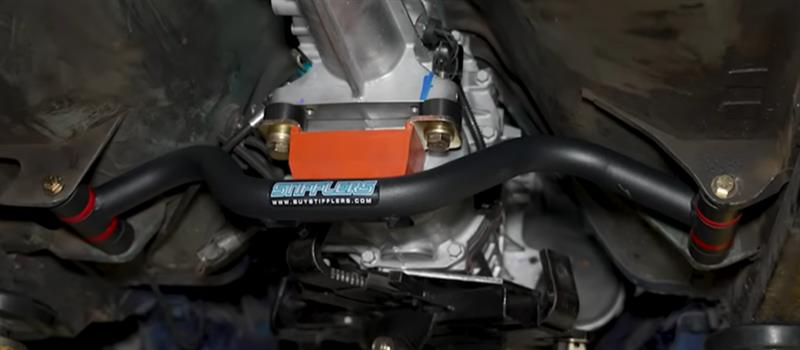
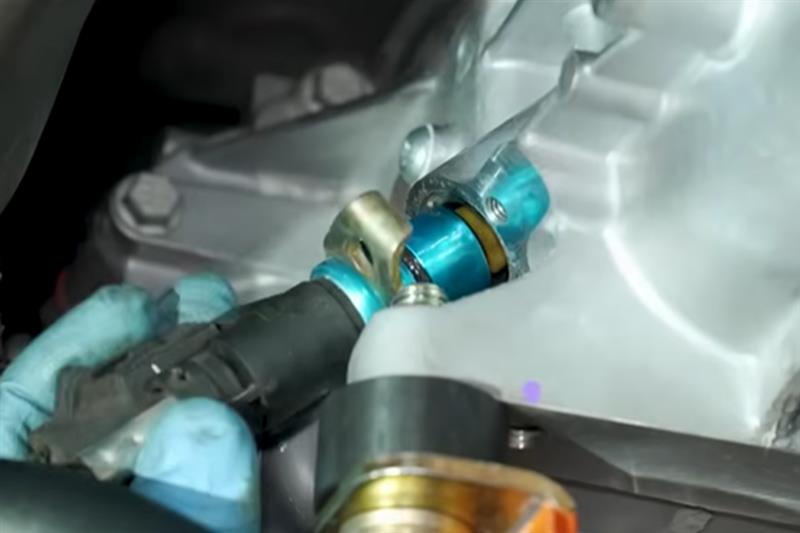
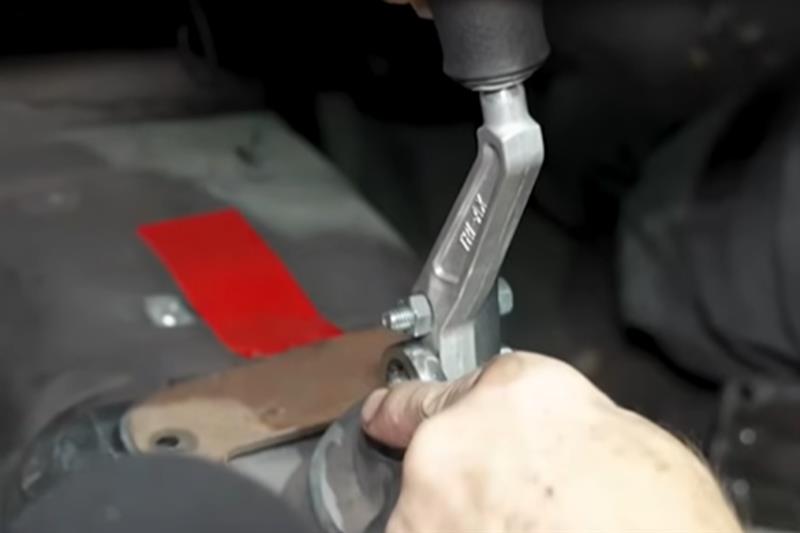
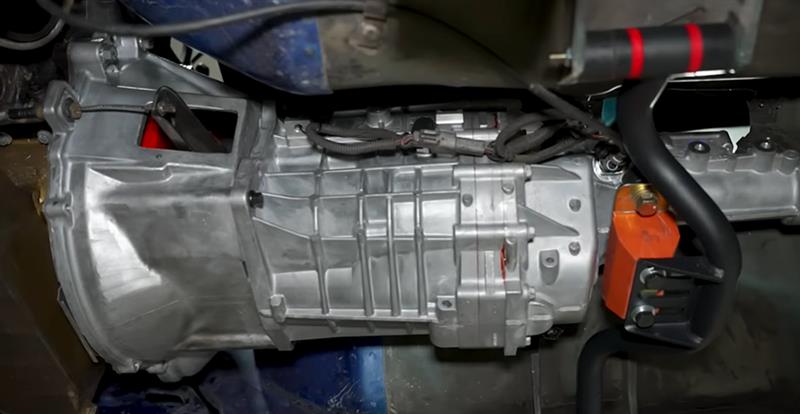
Installation Notes: Due to the mixing and matching of parts, there is just some things that have to be done to make stuff work. What we found when putting the TKX into our 1993 Fox Body Mustang was that the hardware for the transmission mount, due to the length of the bolt, was coming into contact with the mechanical speed sensor. We simply used some washers to space out the underhead of the bolt to allow for clearance. The other fitment note is going to involve the corssmember and transmission mount. Once the crossmember was in place, we found that the bolt holes were not 100% aligned with the body. All we had to do was elongate the bolt holes on the body bracket about a 1/4" to the inboard side for enough adjustment. Also to note are the shifter handles. The OEM T5 or OEM style is NOT going to work with the TKX shifter assembly due to the style. You will have to go to an aftermarket shifter handle.
Removal & Installation Instructions
Step 1: Remove Components To Get To Transmission
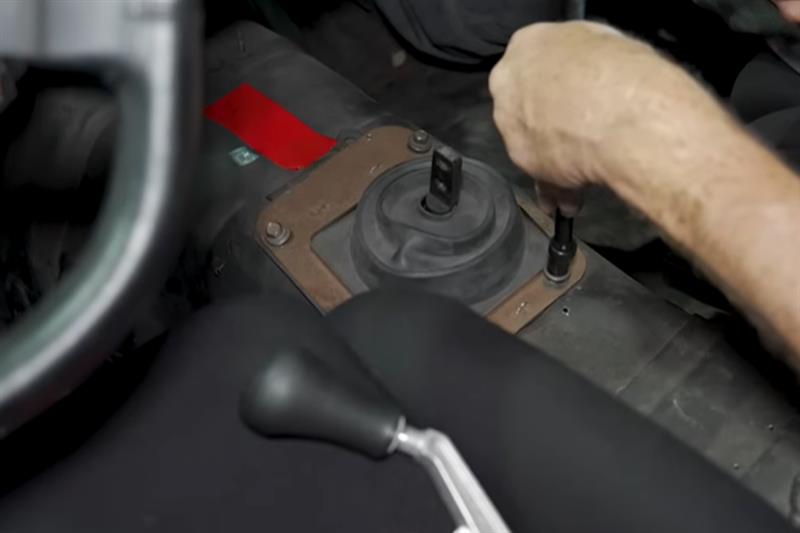
Start by removing the upper shifter bezel and boot.
Remove the shifter handle and lower shift boot.
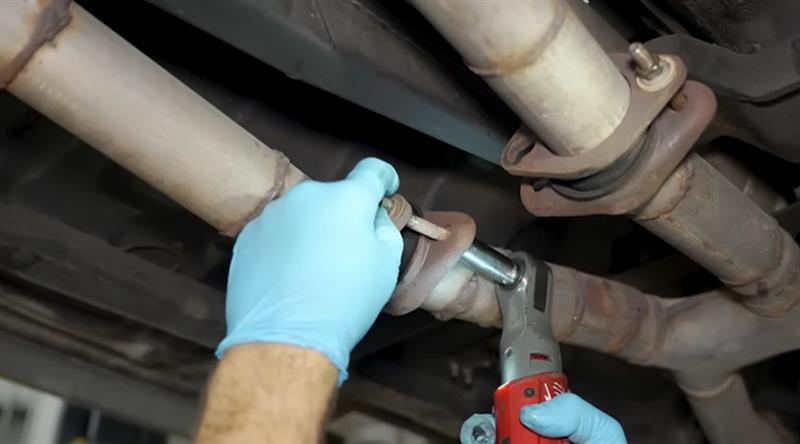
Move underneath the car and get the exhaust piping out of the way. Start by removing the mid pipe to catback hardware.
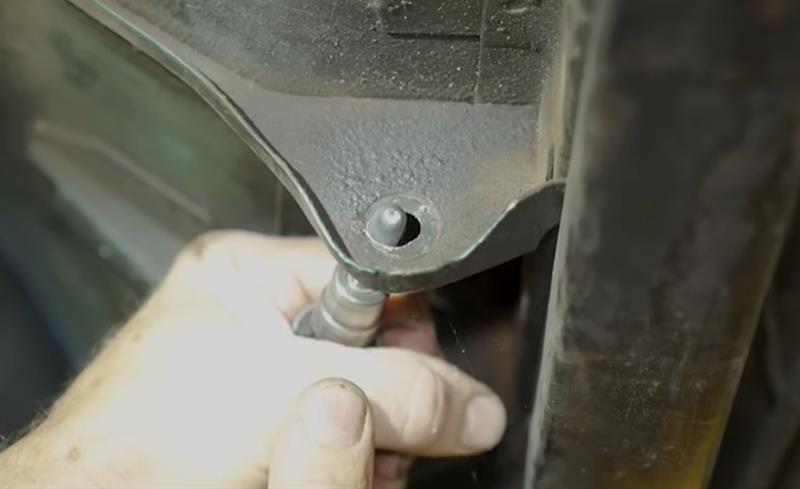
Disconnect the oxygen sensors and then remove them from the mid pipe.
Support the mid pipe and remove the header to mid pipe hardware.
Then you can fully remove the mid pipe.
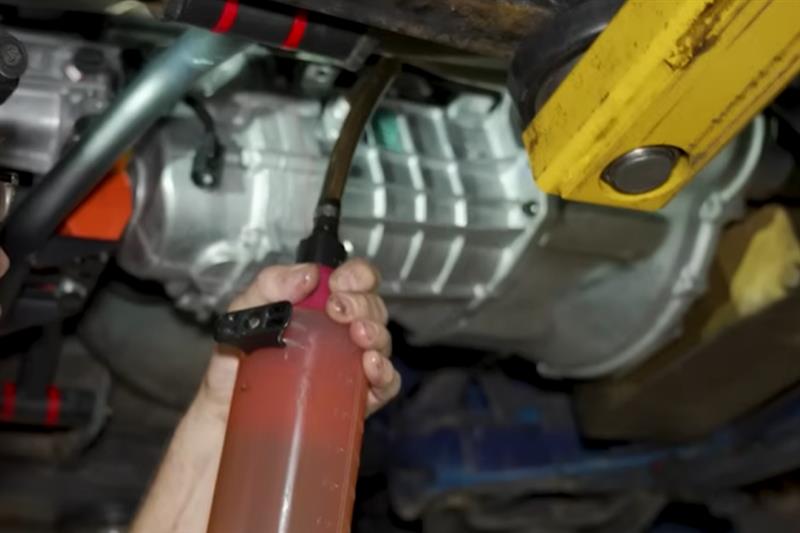
We went ahead and drained the transmission fluid from the T5.
Step 2: Remove Old Transmission
Remove the transmission crossmember hardware by removing the nuts securing the crossmember to the mount followed by the nuts securing the crossmember to the body brackets.
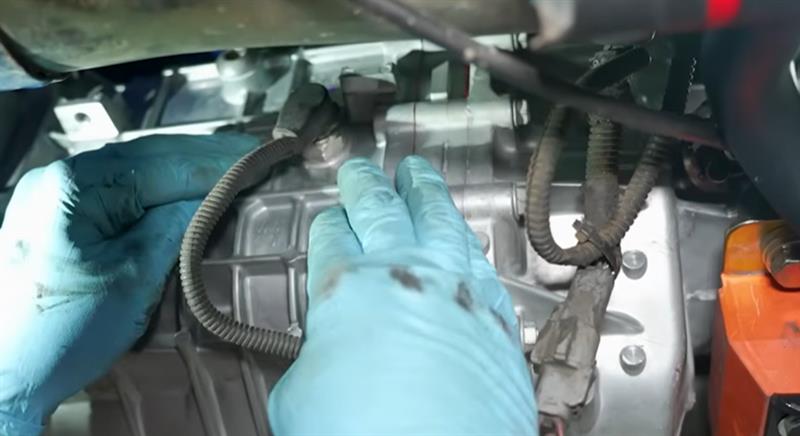
Remove the speedo gear from the transmission along with any electrical connections.
If you are reusing the existing driveshaft and just transferring the yolk, place a reference mark on the rear flanges.
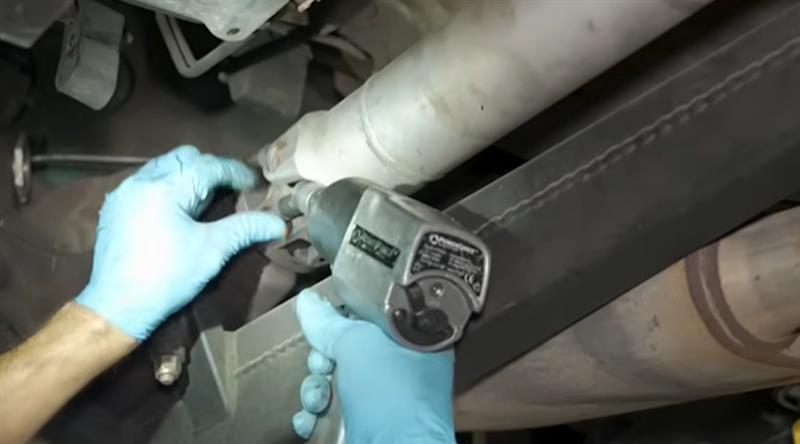
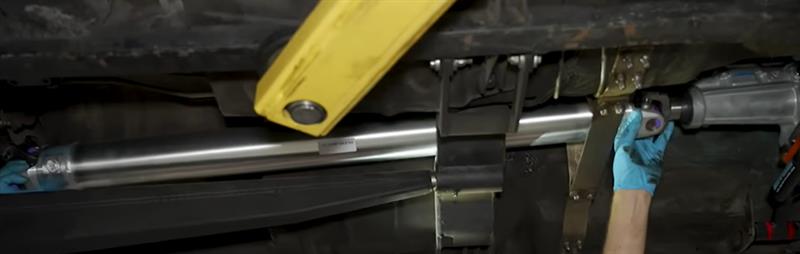
Remove the (4) driveshaft bolts with a 12MM 12-point wobble socket.
Remove the driveshaft.
Remove the (4) bolts securing the transmission to the bellhousing.
Support the transmission and remove the crossmember bolts and crossmember.
Slide the trans rearward so that the input shaft clears the bellhousing, and then get the transmission out of your way.
Remove the (2) starter bolts and set the starter to the side.
Remove the clutch cable clip and slide the cable out of the fork and bellhousing.
Now we can remove the (6) bellhousing to block bolts, so that the bellhousing can be fully removed.
At this point, you can reuse a good clutch assembly and flywheel or switch it out for new stuff. Since the TKX we are using has a 26-spline input shaft, we had to upgrade the clutch. This is also a good time to inspect the flywheel and replace the pilot bearing and rear main seal.
Step 3: Install TKX Transmission
Clean the surface of the new pressure plate. Verify that the clutch disc fits smoothly onto the input shaft and apply a PTFE lubricant to the splines, working it in with the clutch disc.
Position the clutch disc into place using the alignment tool.
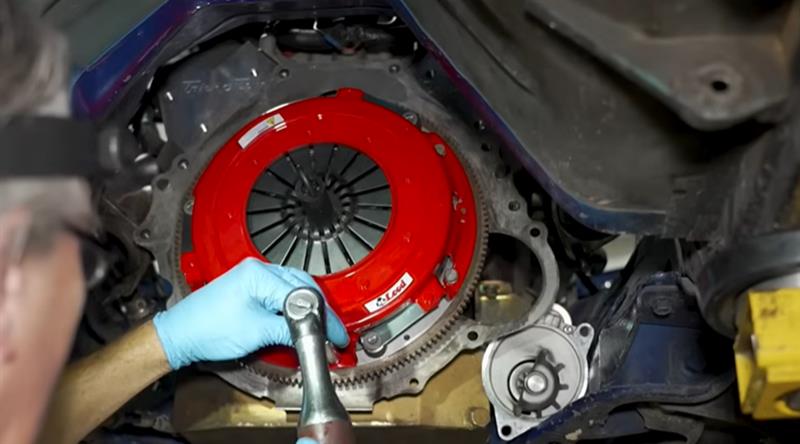
Install the pressure plate over the dowels in the flywheel and run down the bolts. Torque those to 24 lb-ft in a criss-cross pattern.
Remove the clutch alignment tool.
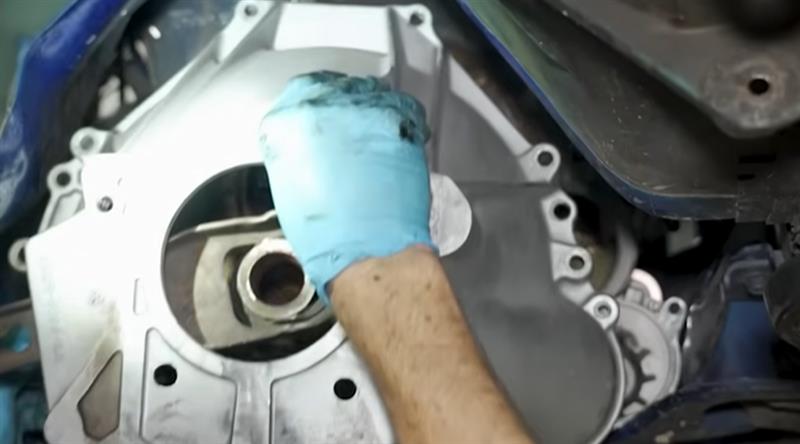
Apply some blue threadlocker to the pivot stud and install it into the bellhousing.
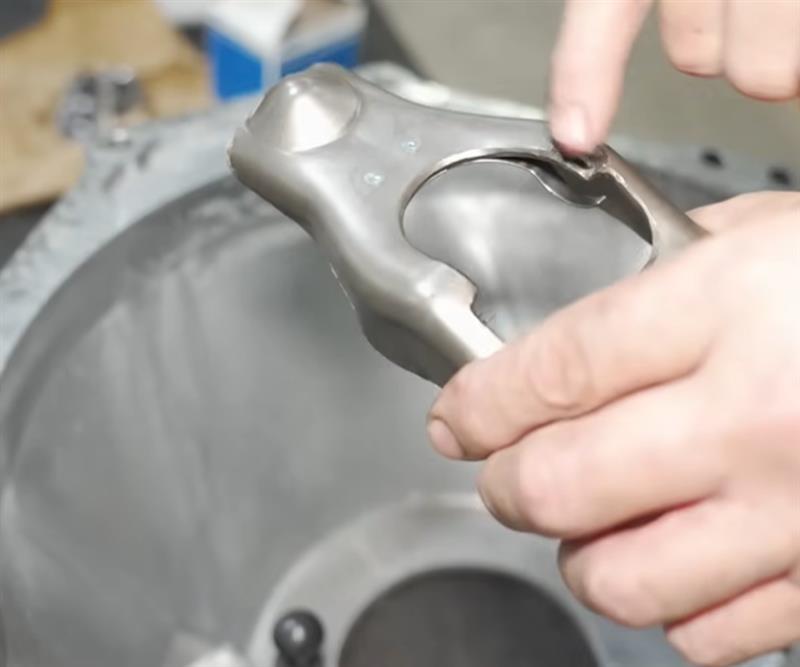
Apply grease to the pocket and the contact areas of the clutch fork and then install it onto the pivot stud.
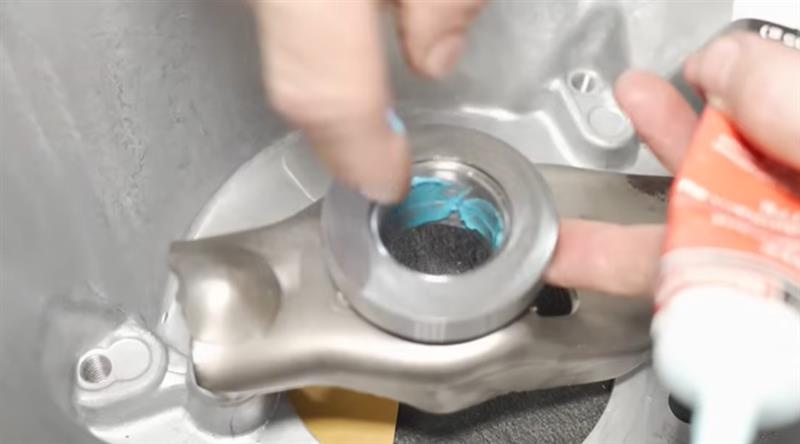
Situate the throwout bearing onto the clutch fork and then lubricate the inside race with a PTFE lubricant.
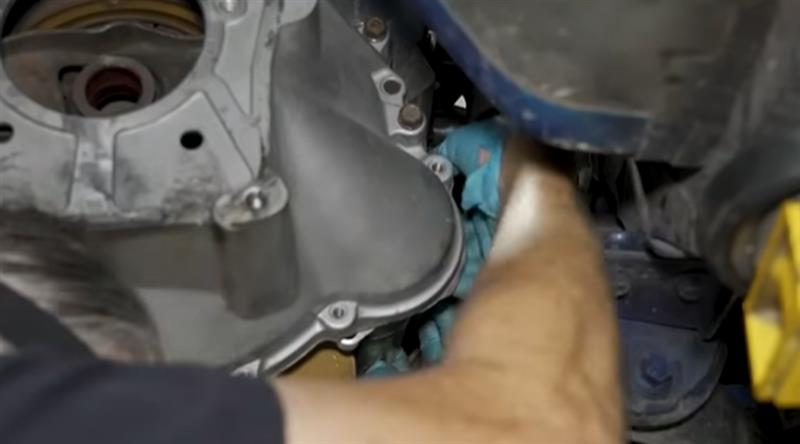
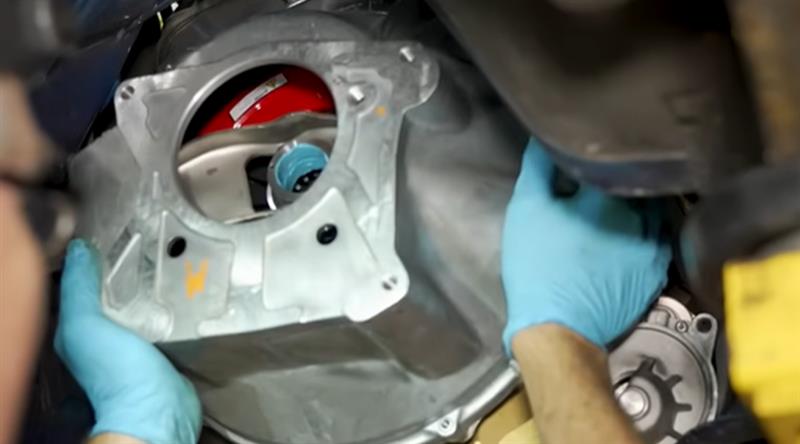
Situate the TKX bellhousing into place and install the bellhousing to engine block hardware. Torque to 65 lb-ft.
Reinstall the starter and tighten the retaining hardware.
Install the hardware that secures the spacer plate to the bellhousing.
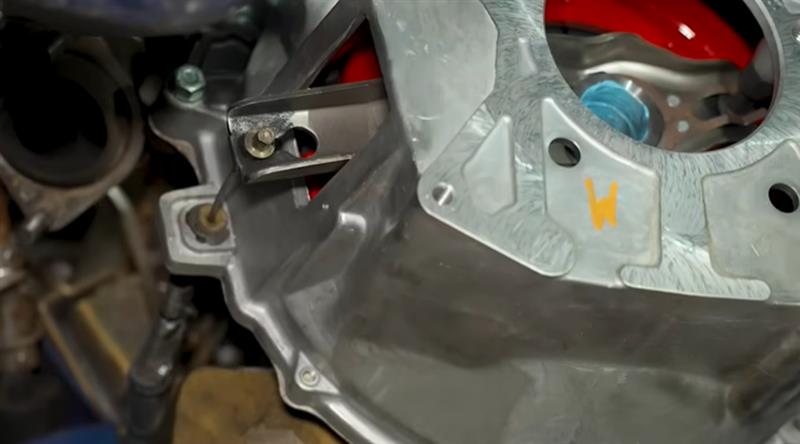
Feed the clutch cable through the bellhousing and reinstall the clip.
Add grease to the pocket on the clutch fork where the cable eyelet will make contact and then position the eyelet.
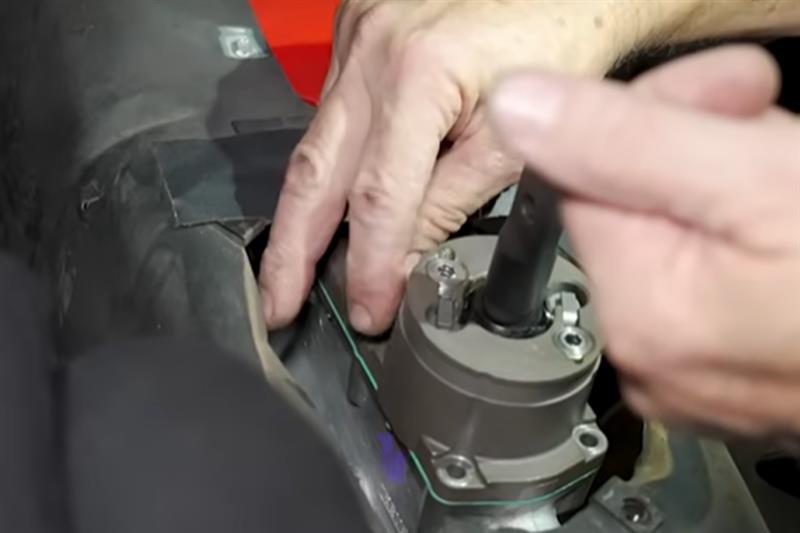
Make sure the transmission is in neutral and then remove the shifter assembly from the TKX and set it aside. This will help when installing this to the bellhousing.
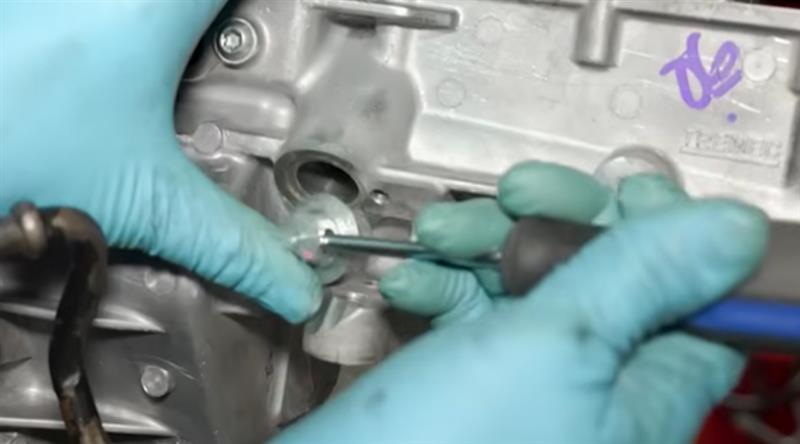
Remove the speedometer gear provision cover and 11MM bolt. Work the plug out of place with a screwdriver.
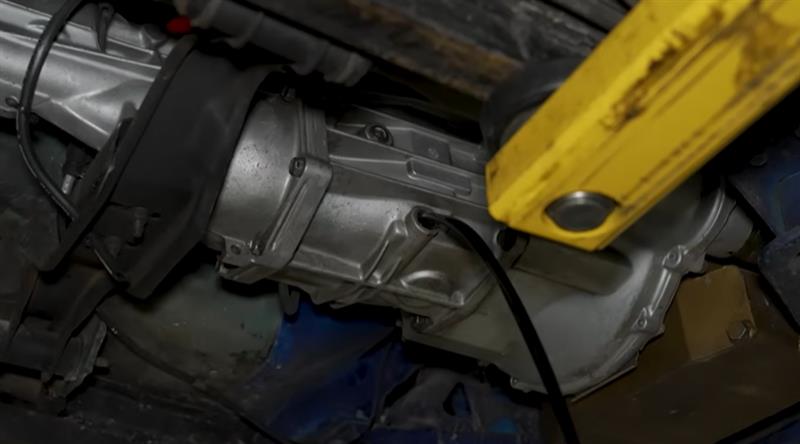
Get the TKX into position and slide the input shaft into place. We used a spare yolk to help rotate the input shaft to coax it in place.
Install the (4) transmission to bellhousing bolts. Torque to 45-64 lb-ft.
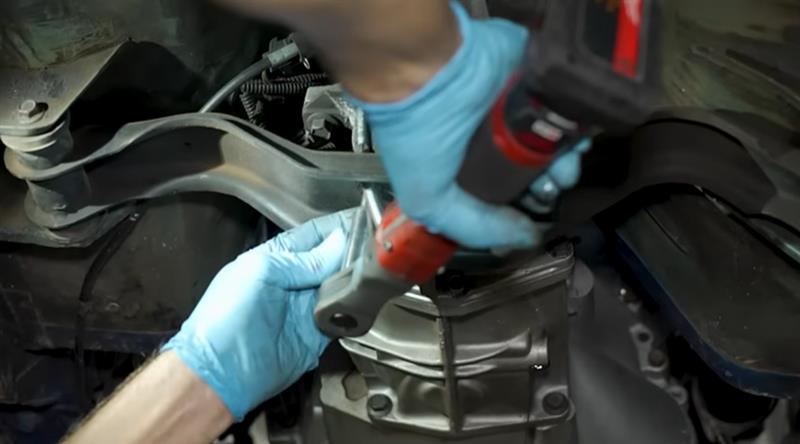
Next, we installed the SVE heavy-duty transmission mount. Make sure the spacers are installed between the mount and the transmission. Pay attention to the driver's side bolt.
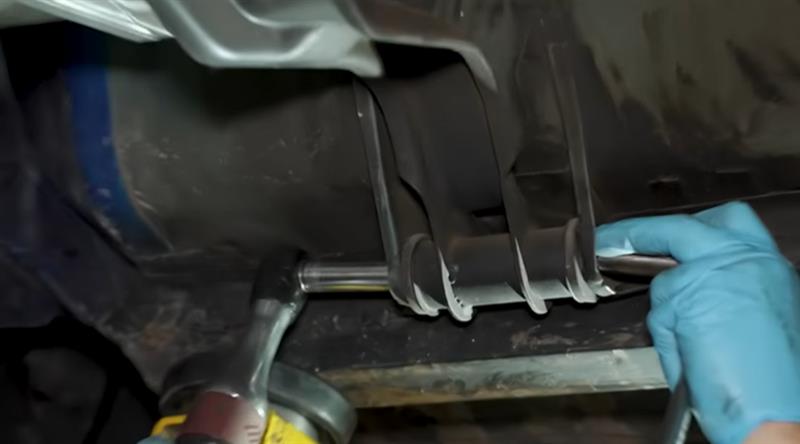
Assemble the trans crossmember and bolt it to the car. Verify the alignment between the trans mount bolt holes and the slots in the crossmember before fully tightening the hardware.
Once the hardware is tightened, remove the transmission jack.
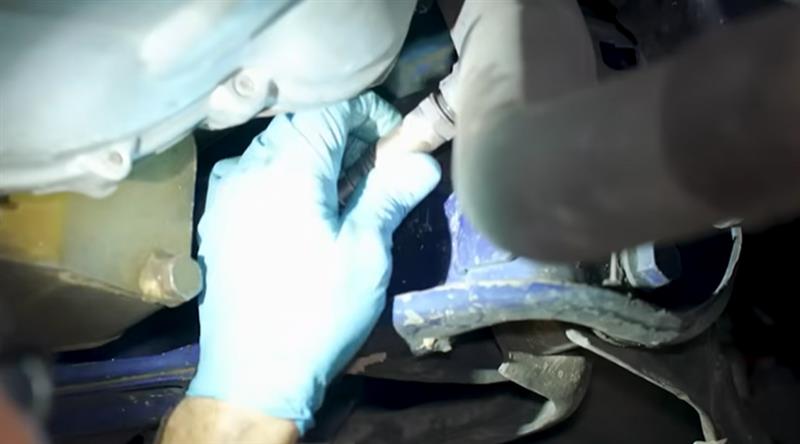
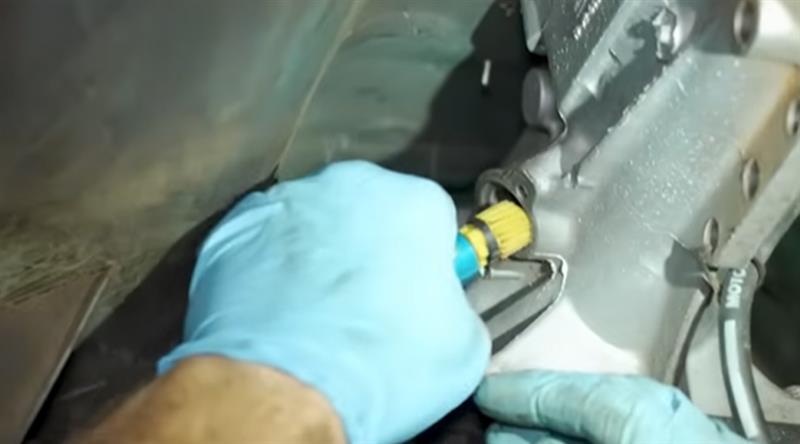
Lubricate the o-ring on the speed sensor and install it into the transmission.
Install the driveshaft and tighten the rear flange bolts.
Connect the reverse light and neutral sensing connections.
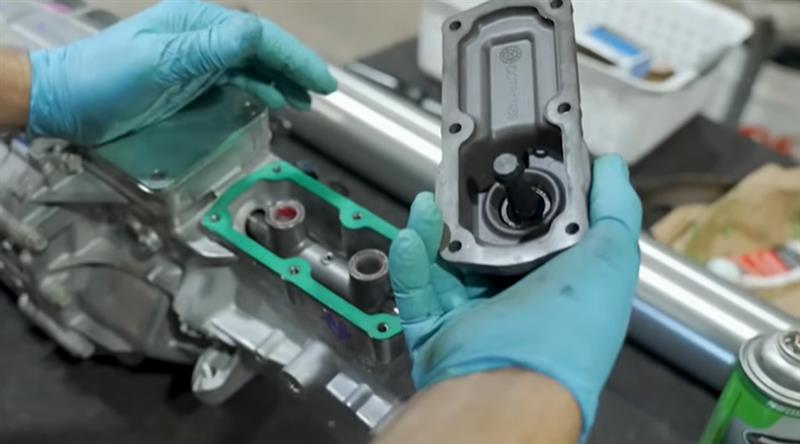
Install the shifter assembly gasket into the shifter assembly. Spray adhesive can help keep the gasket in position.
Install the shifter assembly to the transmission. Loosely thread the shifter assembly bolts. From under the car, tighten the bolts that you can't access from the interior. The other bolts can be tightened from inside of the car.
Remove the fill plug with a 3/8" ratchet and small extension. Fill the trans with 2.7 quarts of Tremec trans fluid. Once filled, apply some thread sealer with PTFE to the fill plug and reinstall it.
Reinstall all of the components you removed previously, including the lower shift boot and shifter handle.
Double-check your work and take the car for a drive.
After that, you are good to go!
About the Video
Fox Body Mustang TKX Transmission Install | Complete Swap How To Guide
Check out our YouTube channel for even more tech tips, installation videos, how-tos, and more. The best place to go for anything Mustang related!

Published on 2025-09-30 In this video, Landan explains how to swap a Tremec TKX transmission into a 1979-1993 Fox Body Mustang.
About the Author
Andrew has been writing content for Late Model Restoration for over 2 years, producing over 50 articles. Over the years, Andrew has owned numerous Mustangs, including a 2007 V6, 2003 GT, 1967 GT, 1994 GT, 1995 GT, 2014 GT (2), 2000 V6 (V8 swapped), 2016 GT/PP, 1988 LX 5.0, and a 2009 GT/CS. Read more...