1992-96 Bronco Parts
Follow along as we walk you through how to replace the moisture barrier in your OBS 1992-1996 Ford Bronco.
The moisture barrier in your Bronco is used to protect your door's vital electrical components from moisture. Over time, these can become torn, ripped, and start to fall apart. Get yours restored quickly and easily with this install guide!
Purchase: 1992-1996 Ford Bronco Door Moisture Barrier
Step-by-Step Guide:
To begin, you will need to remove your door panel. You can review our OBS Bronco Door Panel Removal Guide for these steps.
Step 1: Prepare the Door Skin
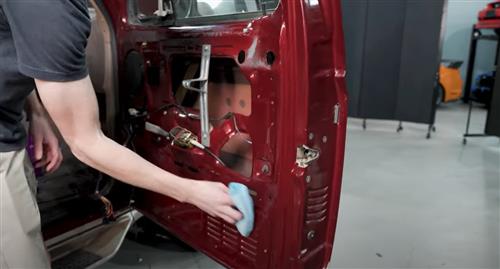
Using isopropyl alcohol, wipe down the areas of the door skin where the moisture barrier will make contact. Pay particular attention to the raised areas.
Ensure the door skin is clean and debris-free, as the moisture barrier adhesive needs a clean surface to adhere properly.
Step 2: Prepare the Moisture Barrier
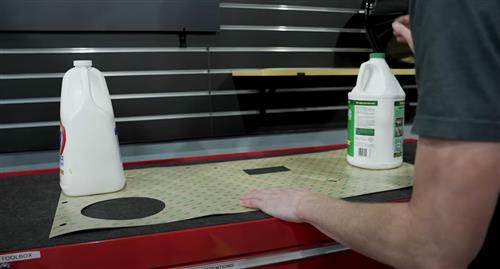
Unroll the moisture barrier, which may arrive rolled up. Allow it to lay flat for about an hour or more to flatten out.
Step 3: Identify the Passenger and Driver's Sides
Determine which side of the moisture barrier has the adhesive backing. This will help you identify the driver's side and passenger's side moisture barriers.
Step 4: Mock-Up the Moisture Barrier
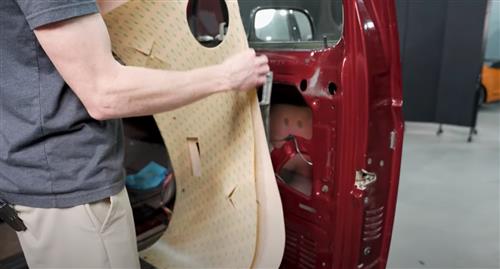
Lay the moisture barrier onto the door skin for a general mock-up.
Feed the barrier underneath the door handle and ensure it fits around the speaker area.
Thread any necessary harnesses through their corresponding openings in the moisture barrier.
Step 5: Align Holes and Cut as Needed
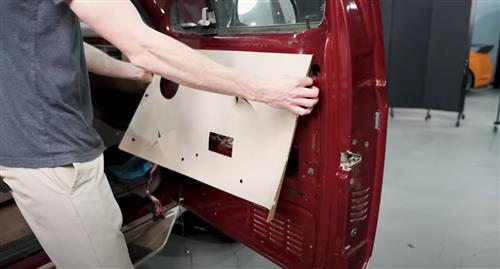
Check for holes in the moisture barrier that need to align with holes in the door skin for push pins or other attachments.
If necessary, use a sharp razor blade to elongate or adjust the holes to ensure a proper fit.
Optionally, mark areas for run channel bracket attachment.
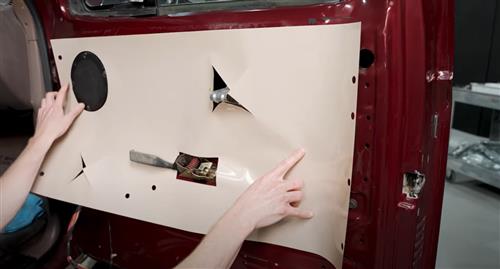
Step 6: Seat Harnesses and Switches
Thread the courtesy light or puddle light harness through the designated opening in the moisture barrier.
Thread the window and door lock switch harness through the barrier as well.
Ensure that all harnesses and switches are properly situated.
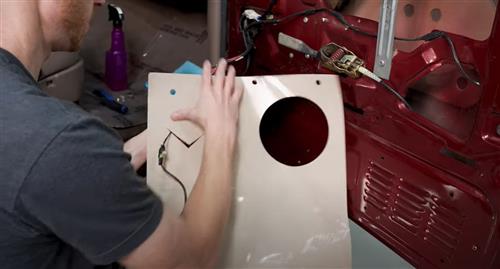
Step 7: Remove the Backing Paper
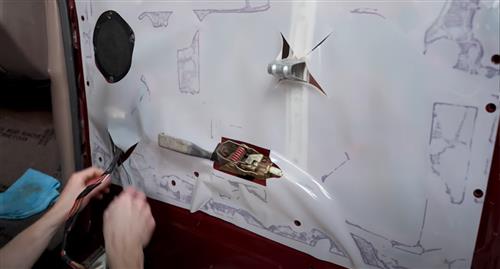
If you feel confident in the alignment and positioning, begin to peel off the backing paper from the moisture barrier adhesive.
Work slowly and carefully, especially around any relief cuts or complex areas.
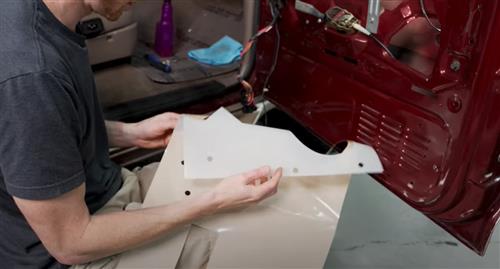
Step 8: Apply the Moisture Barrier
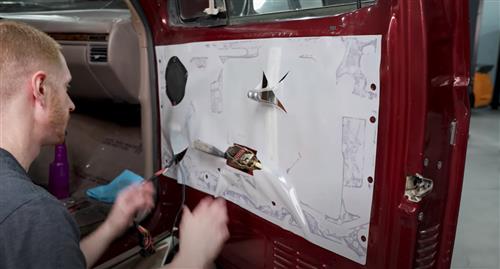
Carefully apply the exposed adhesive side of the moisture barrier to the door skin.
Start at any location and work your way around the door skin, ensuring proper alignment with holes and openings.
If needed, reposition and re-stick the moisture barrier as you go to achieve the best fit.
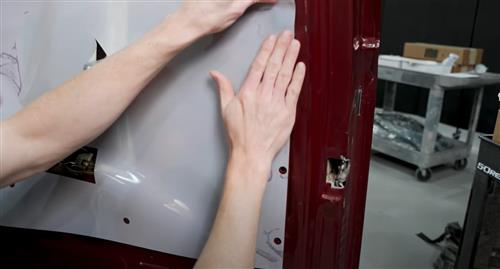
Step 9: Finishing Touches
Check for any areas where the moisture barrier may need to be clearanced or adjusted to accommodate door handle brackets or other obstructions.
You can use a razor blade to make necessary adjustments without damaging the barrier.
Once all holes are aligned, and the moisture barrier is in place, you're done.
Step 10: Repeat for the Other Side
Repeat the same steps for the driver's side moisture barrier installation.
Remember that each installation may have unique challenges, so pay attention to the specifics of your vehicle.
Check out our YouTube channel for even more tech tips, installation videos, how-tos, and more. The best place to go for anything Mustang related!