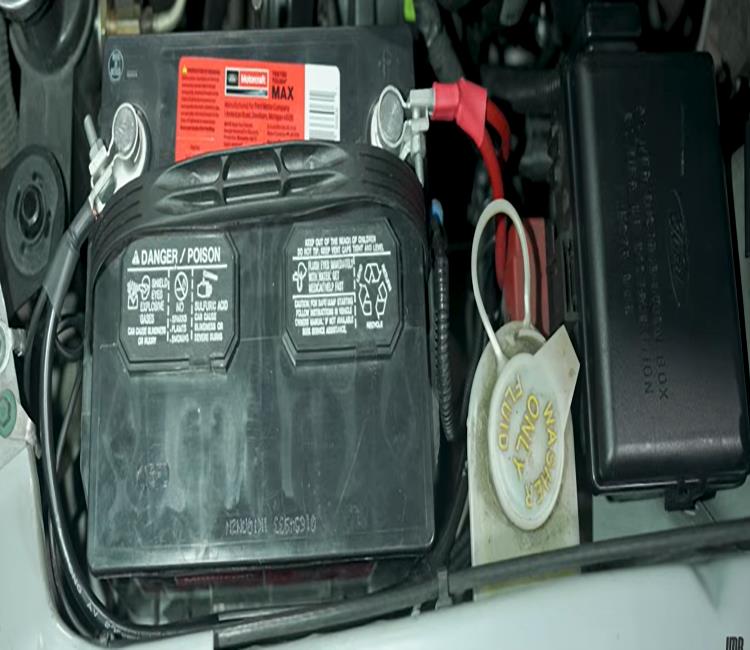
We all know that one of the biggest issues with this generation of cars is that the battery cables are integrated into the main harness with no replacements. Your only choice is finding a good second-hand harness, a NOS harness, or cutting up your factory wiring. LMR went about creating a solution-based cable kit that mimics the OE wiring. Excessive corrosion, engine bay heat, and general wear will deteriorate your battery cables. This can cause numerous issues, such as voltage drop, battery drain issues, improper charging, and unsafe operation of your Mustang. LMR's new main battery cable assembly includes positive battery cable, negative battery cable, that utilizes OE-style terminals and correct PCM ground.
LMR is dedicated to providing superior, solution-based products made from the highest quality materials! Each cable features OEM style construction to maintain the factory look. Heavy-duty vinyl rubber sheathing over the wires with a protective convoluted tubing loom protects the cables from engine bay heat and abrasion. Durable factory-style battery terminals are used alongside corrosion-resistant hardware! LMR designed this cable kit to completely replace your original cables by maintaining the factory routing, placement and connection points. LMR has you covered down to the small details, even including extra wire loom, cable clips, and electrical tape to refresh the existing sub-harnesses. A pack of zip ties is also included to aid in harness management.
Product Links
Watch
Vehicle Fitment
Make/Model: Ford SN95 & New Edge Mustang
Year Range: 1994, 1995, 1996, 1997, 1998, 1999, 2000, 2001, 2002, 2003, 2004
Installation Instructions
Step 1: Disconnect & Remove Battery
- Before beginning, make sure the engine is off and the ignition is switched off.
- Take pictures of the existing battery cable routing, brackets, and harness locations before disassembly.
- Disconnect the negative battery cable first, followed by the positive cable.
- Remove the battery hold-down hardware. An 8mm socket is commonly used on this application.
- Carefully remove the battery from the engine compartment to provide additional working room.
- Set the battery aside in a safe location.
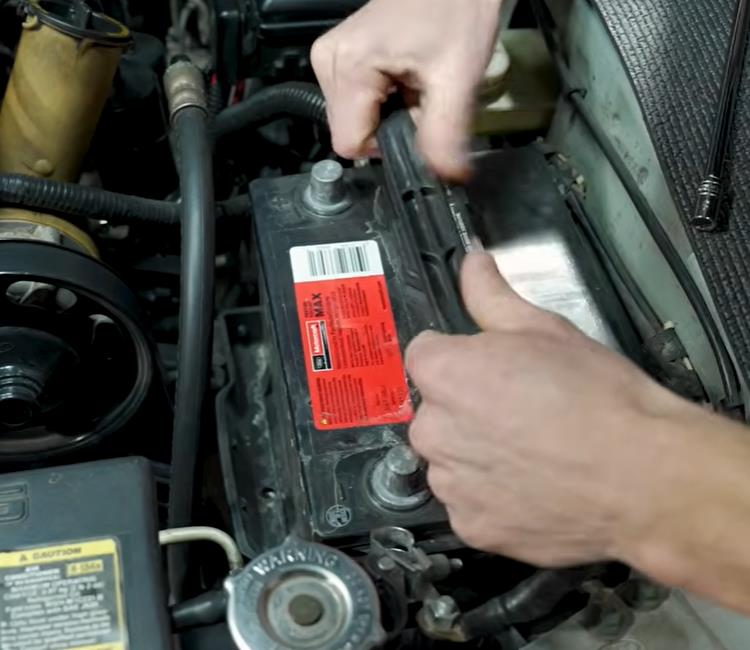
Step 2: Disconnect the Ground Connections
- Locate the battery cable ground connection on top of the core support.
- Remove the harness clip from the engine bay using a plastic pry or push-pin removal tool. If using a metal tool, protect the surrounding paint with a microfiber towel.
- Disconnect the additional ground connections attached to the battery harness.
- Take care when releasing the retaining tabs, as the plastic clips can become brittle with age.
- Verify that all ground connections are free before continuing.
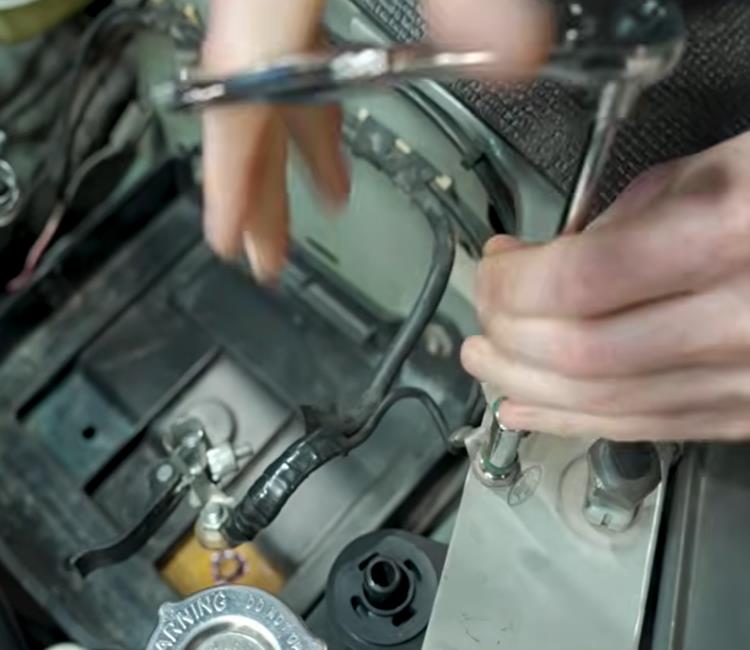
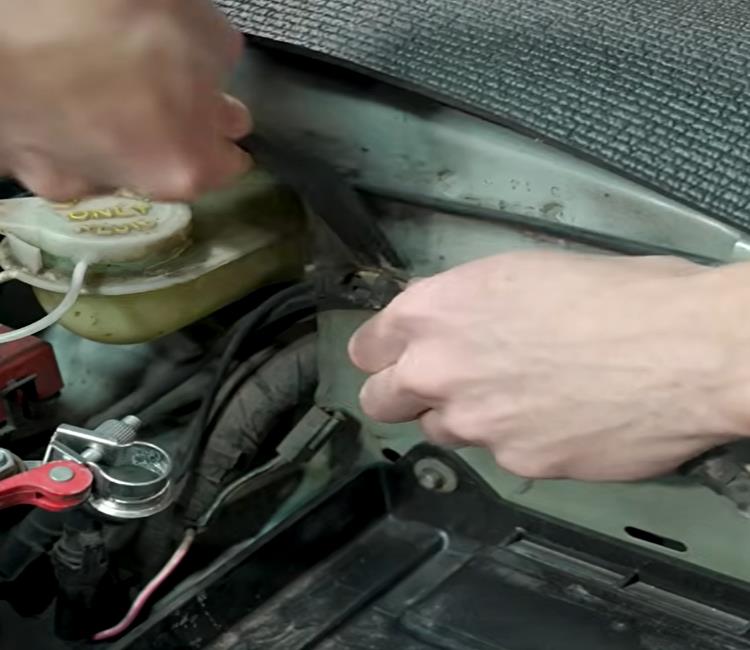
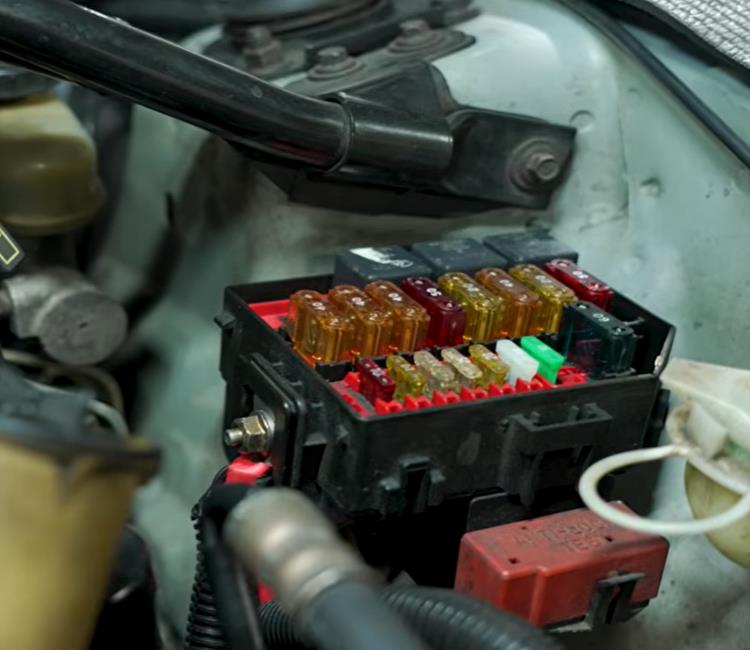
Step 3: Disconnect Battery Cable at the Fuse Box
- Locate the fuse box power connection in the engine bay.
- Slide the fuse box cover upward and carefully remove it.
- Gently spread the cover as needed to release it from the fuse box.
- Remove the power lug nut using a 13mm socket.
- Temporarily reinstall the nut on the fuse box lug so it does not get lost.
- Verify that the battery cable is now free from the upper portion of the engine bay.
Step 4: Remove Battery Cable Brackets
- Raise and safely support the vehicle as necessary to access the underside of the engine.
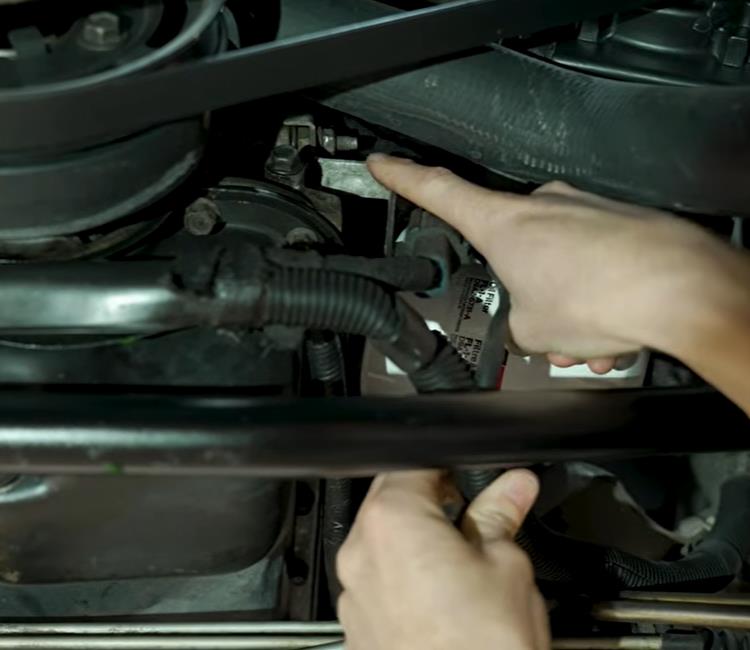
- Locate the battery cable running underneath the engine toward the starter.
- Identify the brackets securing the cable to the engine and surrounding components.
- Remove the first cable bracket using a 13mm socket.
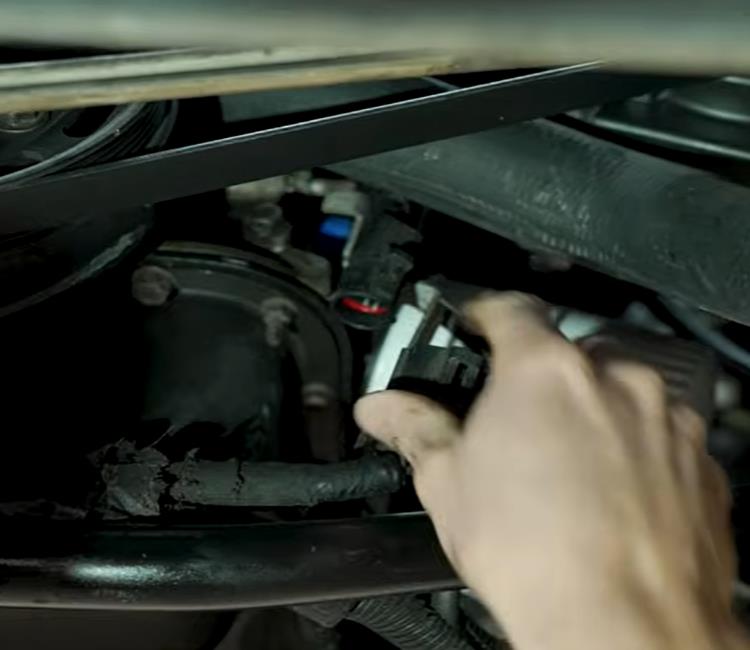
- Remove any harness clips attached to the bracket using a pry tool.
- Disconnect any wiring that is integrated into or attached to the battery cable assembly.
- Continue working toward the starter, removing each bracket and retaining clip.
- Pay particular attention to the bracket near the timing pointer and the brackets around the engine mounts.
- Remove any harness clips securing the oxygen sensor and oil-level sensor wiring to the battery cable.
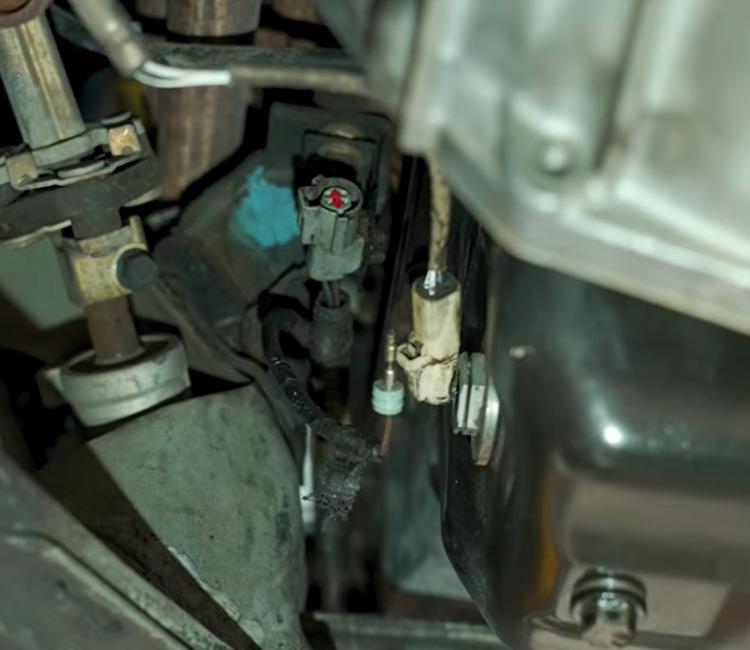
Step 5: Disconnect Starter
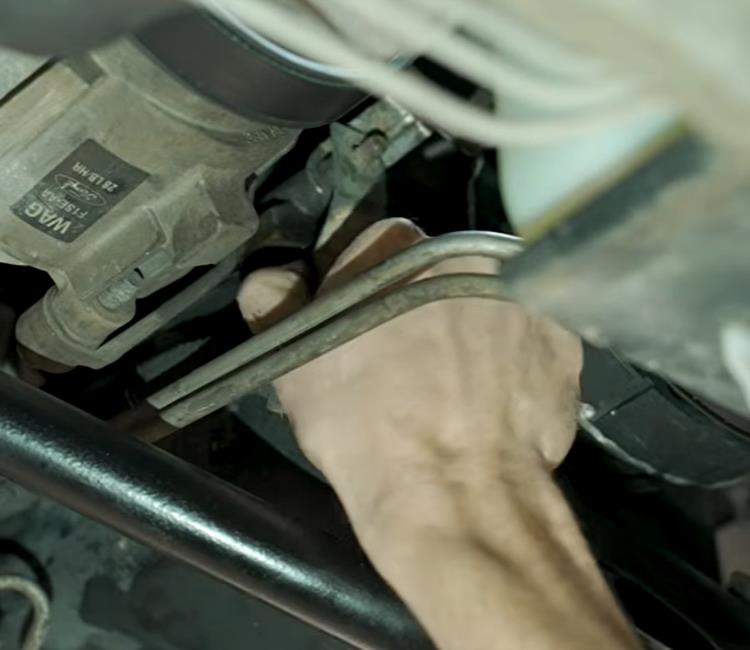
- Before removing the starter, support it with one hand so it does not fall when the final bolt is removed.
- Remove the starter mounting bolts.
- Work the starter around any transmission cooler lines or other components that restrict access.
- If necessary, remove the nut securing the cable bracket to the engine mount to provide additional slack.
- Once the starter is accessible, disconnect the starter trigger wire.
- Remove the power cable from the starter's power lug using the appropriate socket.
- Set the starter aside or remove it completely if it is being replaced.
- With the starter connections disconnected, remove the remaining battery cable from the vehicle.
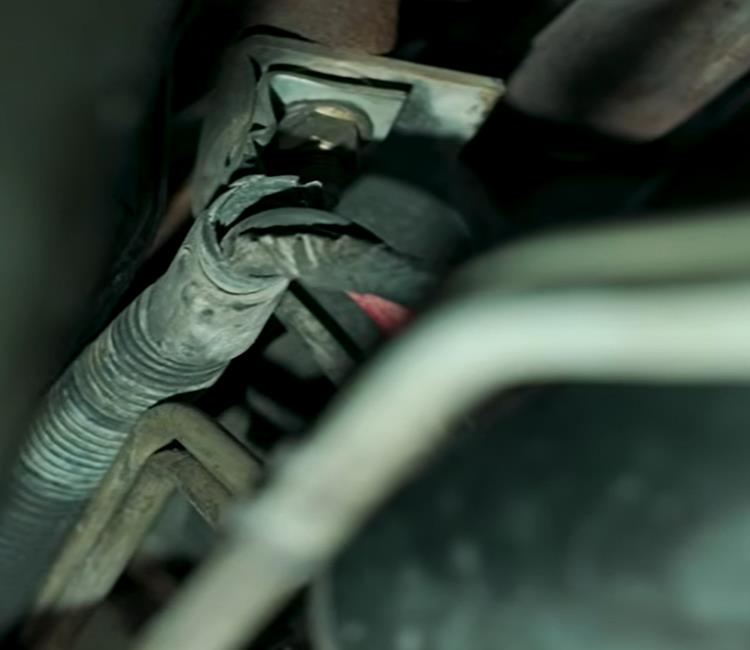
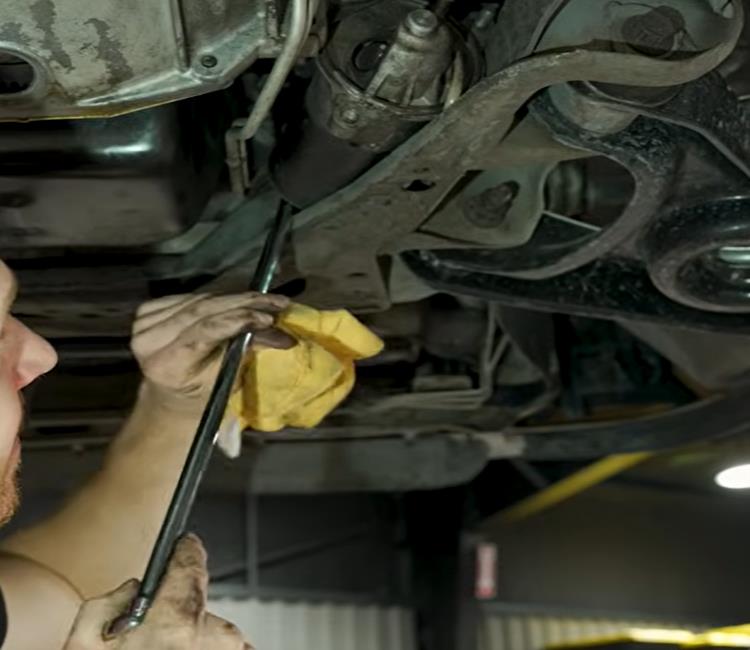
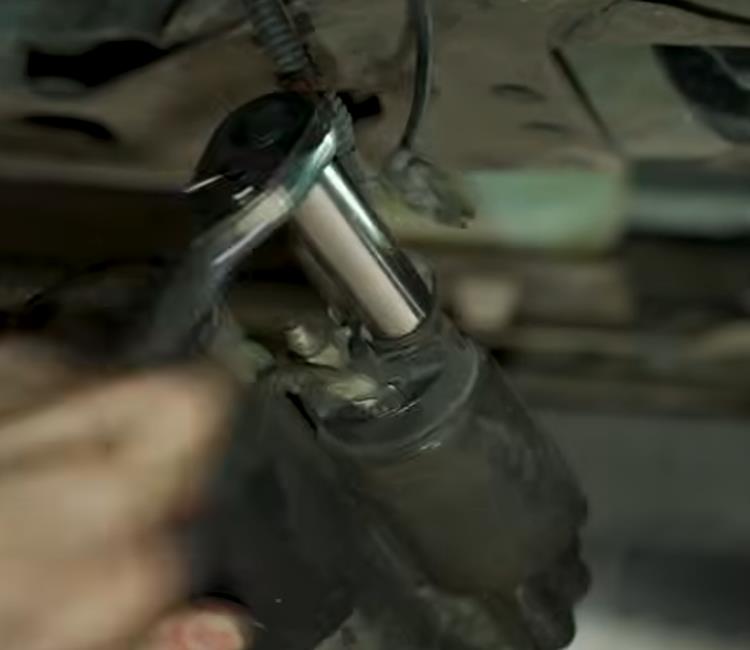
Step 6: Transfer Starter Trigger Wire & Sub-Harness
- Place the removed battery cable assembly on a workbench.
- Identify the wiring that needs to be retained, including the starter trigger wire and the oxygen/oil-sensor sub-harness.
- Take additional pictures or measurements if you are unsure of the original routing.
- Carefully remove the wiring and brackets from the old cable.
- Avoid damaging the molded rubber ends of the factory cable.
- Clean and inspect the starter trigger wire before transferring it to the new cable.
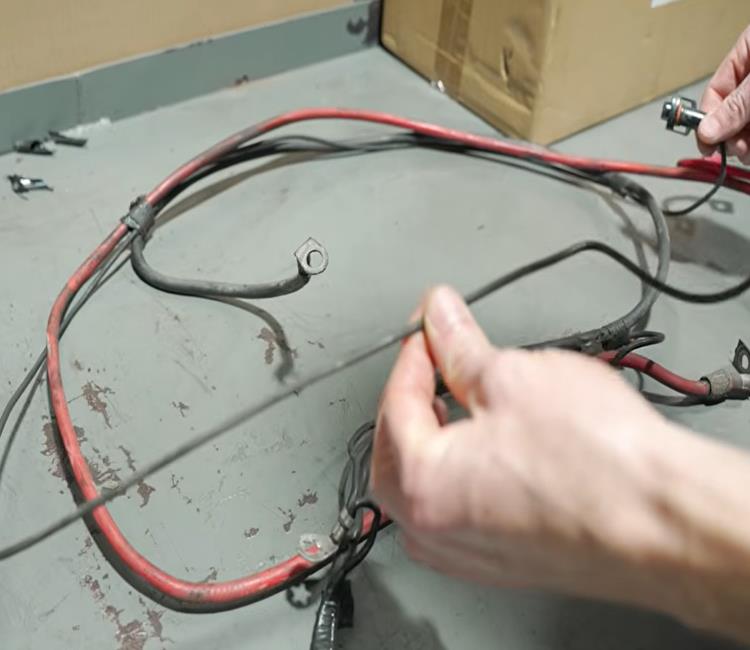
Step 7: Prepare Starter Trigger Wire
- If retaining an OE-style starter with the original spade-terminal connection, the factory trigger wire can generally be reused if it is in good condition.
- If installing a replacement starter with a ring-terminal connection, there are two common options:
- Use the new trigger wire supplied with the starter and splice the factory connector into it as required.
- Cut the factory plastic connector away while retaining the spade terminal, then install the appropriate ring terminal for the new starter.
- If the replacement starter uses the same spade-terminal configuration as the original, simply reuse the factory trigger wire when appropriate.
- Clean and inspect all connections before installation.
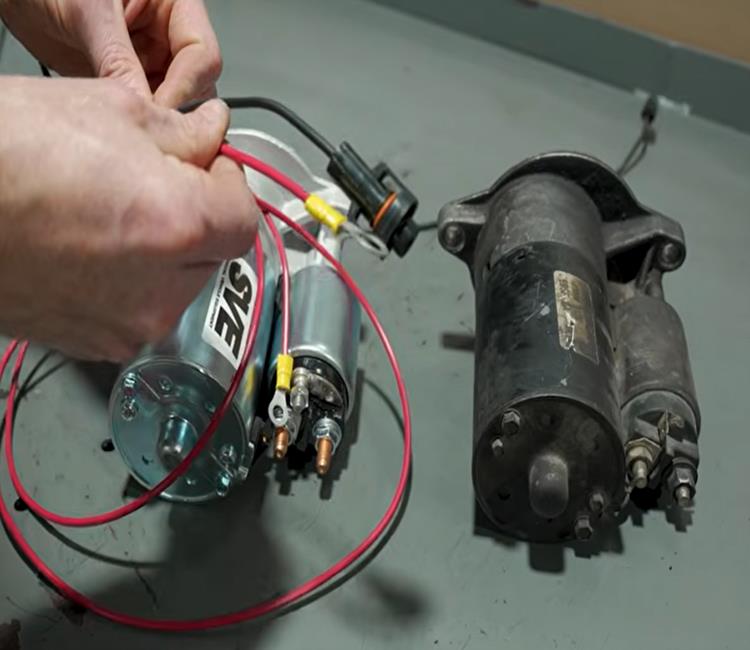
Step 8: Modify New Battery Cable
- Compare the new battery cable with the original cable to verify overall length and routing.
- Identify the orientation required for the starter power lug.
- Place the cable terminal in a vise.
- Carefully bend the terminal to approximately 90 degrees so it matches the required starter orientation.
- Make sure the bend is made in the correct section of the terminal.
- Use a hammer to finish the bend if necessary.
- Do not damage the cable insulation, conductors, or terminal during the modification.
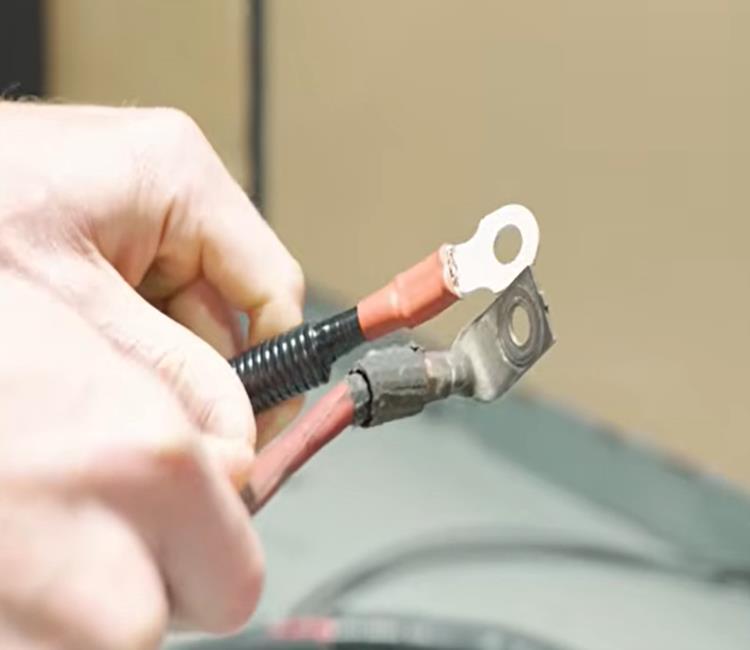
Step 9: Route New Battery Cable
- Begin feeding the new battery cable down into the engine compartment.
- Connect the upper battery and fuse-box portions loosely so the correct amount of cable slack can be established.
- Use the original cable as a reference for bends and routing.
- Recreate the factory-style downward bend where necessary.
- Position the negative terminal at a slight angle for proper fitment.
- Position the positive terminal parallel with the fender apron.
- Install the original ground connection using the factory hardware.
- Install the harness clips onto the new cable where applicable.
- Do not fully secure the battery yet; leave enough access to adjust the cable routing.
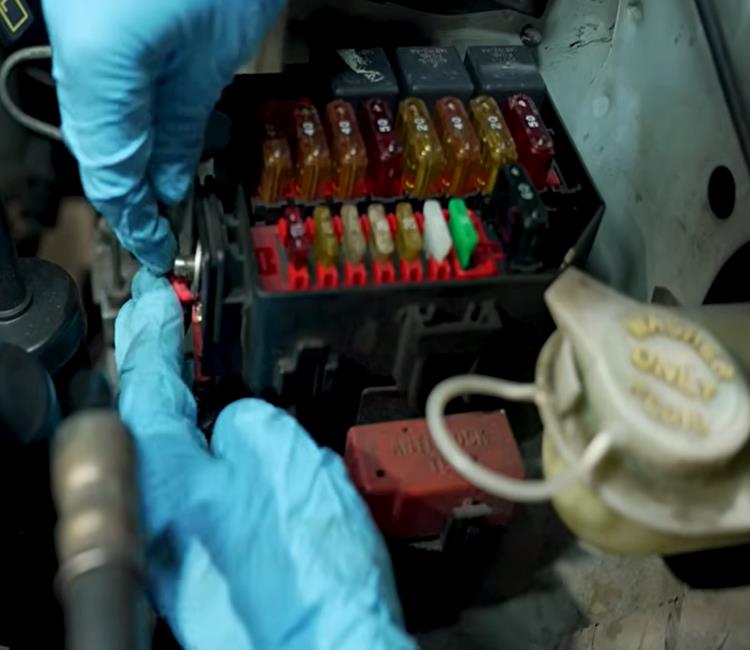
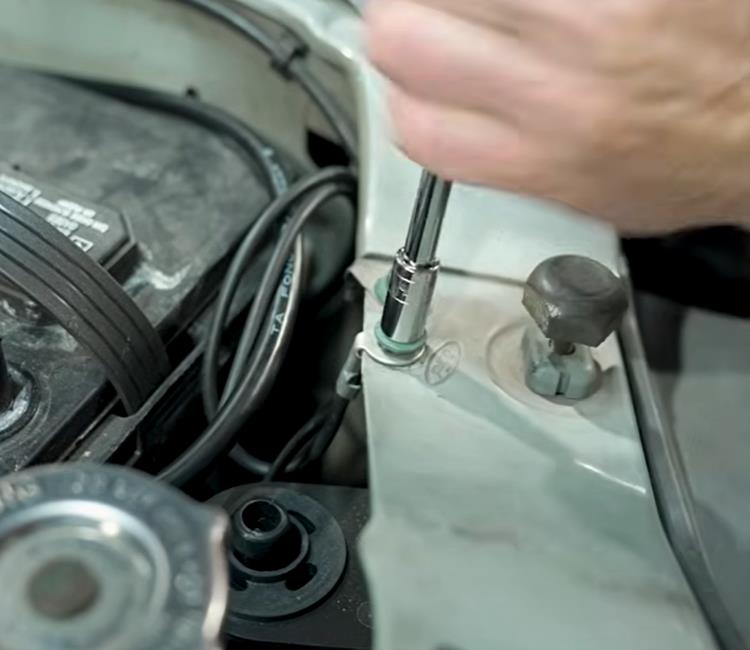
Step 10: Install Cable Brackets
- Position the cable brackets over their corresponding studs.
- Before tightening the brackets, verify that the cable fits correctly through each retaining loop.
- Adjust the bracket openings as necessary so the cable can pass through without being pinched.
- Install the bracket nuts and loosely secure the brackets.
- Continue routing the cable toward the starter.
- Pay close attention to the difficult-to-access bracket on the back side of the passenger-side engine mount.
- Reinstall the cable into the appropriate transmission cooler-line bracket.
- If a ground wire needs to be repositioned, route it toward the front of the engine compartment for improved accessibility.
- When adjusting cable bends, bend the cable at the terminal rather than forcing a bend into the cable itself.
- Use electrical tape around the cable as needed to protect the rubber portions of the retaining brackets during installation.
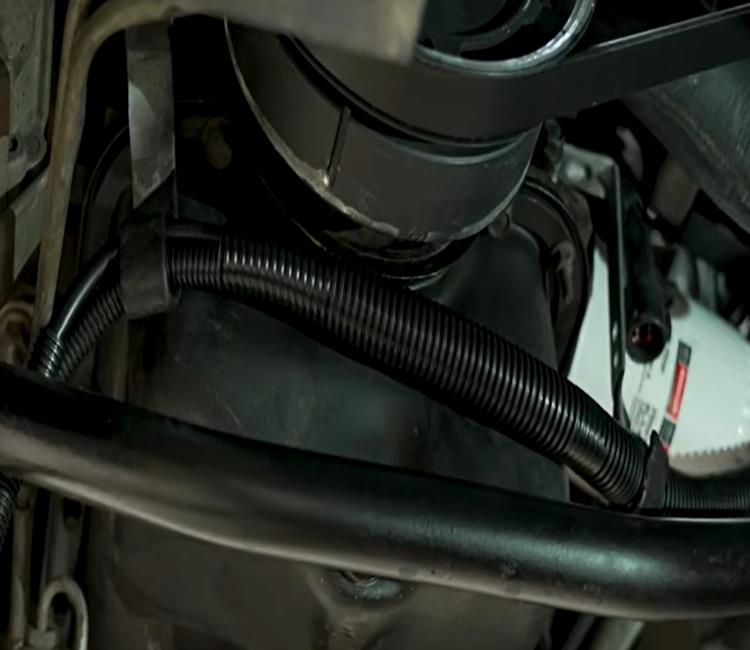
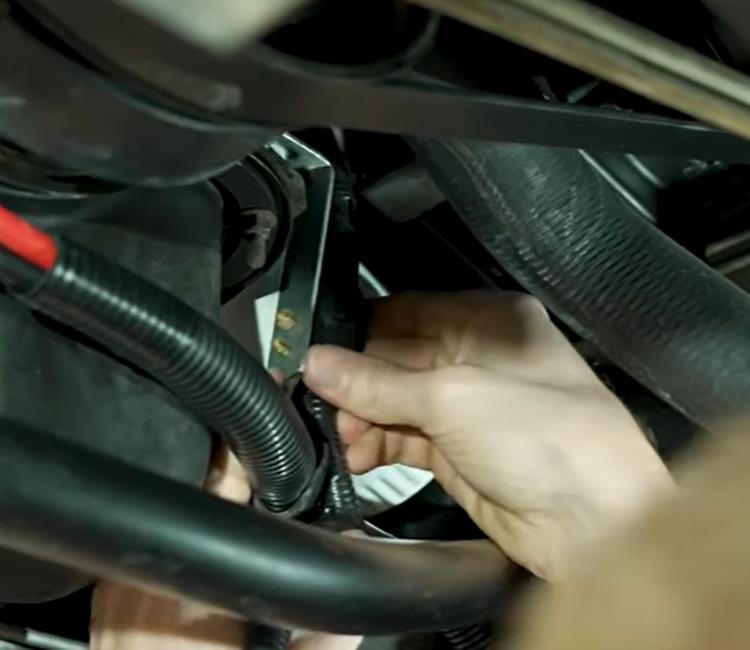
Step 11: Reinstall Oxygen & Oil Sensor Harness
- Reposition the oxygen sensor and oil-level sensor harness along the new battery cable.
- Route the harness through the same general path as the original.
- Reconnect the factory harness clips.
- Verify that the harness is not stretched, pinched, or routed against moving components.
- Secure the sub-harness to the new battery cable with zip ties once the final routing has been established.
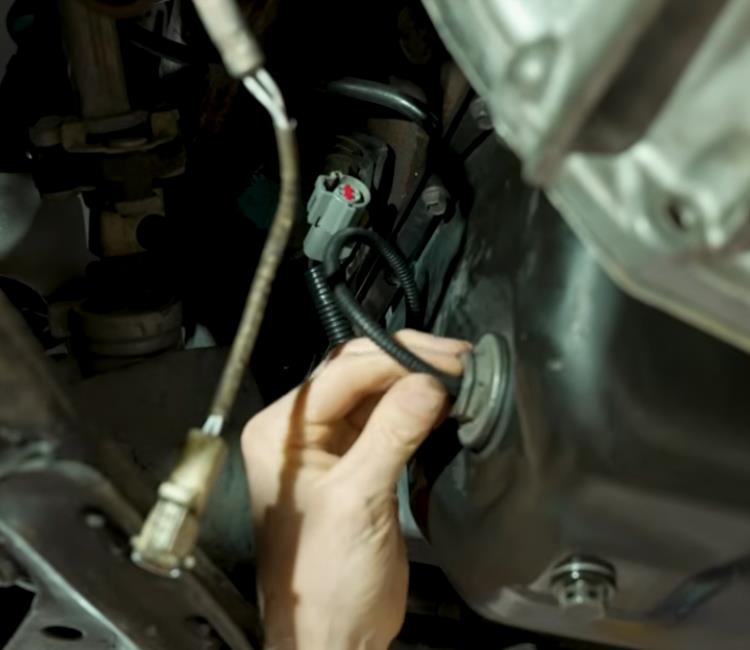
Step 12: Reinstall Starter Trigger Wire
- Route the starter trigger wire along the same path as the new battery cable.
- Connect the factory-style trigger connector at the starter.
- Feed the remaining wire alongside the new battery cable toward the engine bay.
- Secure the trigger wire to the battery cable after confirming the final routing.
- Avoid allowing the starter to hang from its wiring while working.
- If access is limited, use the available opening in the K-member to reach the starter connections.
- Position the starter power wire and trigger wire so they can be accessed and tightened without interference.
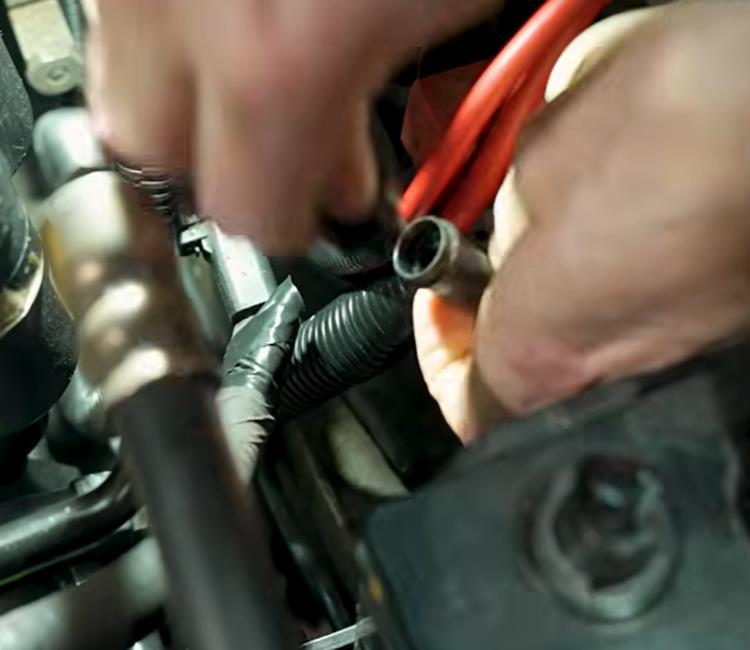
Step 13: Connect Starter
- Reinstall the starter if it was removed.
- Start the starter mounting hardware by hand.
- Tighten the starter mounting hardware using the appropriate socket and extension.
- Connect the battery cable to the starter power lug.
- Connect the starter trigger wire.
- Make sure both wires are securely attached.
- Position the wiring away from the headers.
- Check the entire routing to ensure the battery cable and trigger wire cannot contact shorty or long-tube headers.

Step 14: Secure Engine Bay Connections
- Return to the fuse box and reinstall the battery cable onto the power lug.
- Tighten the 13mm power lug nut.
- Reinstall the fuse box cover.
- Verify that both fuse box covers are properly seated.
- Check the dedicated engine-bay ground connection and make sure it is tight.
- Inspect all other ground connections that were disturbed during installation.
- Confirm that every harness clip and cable bracket is properly secured.
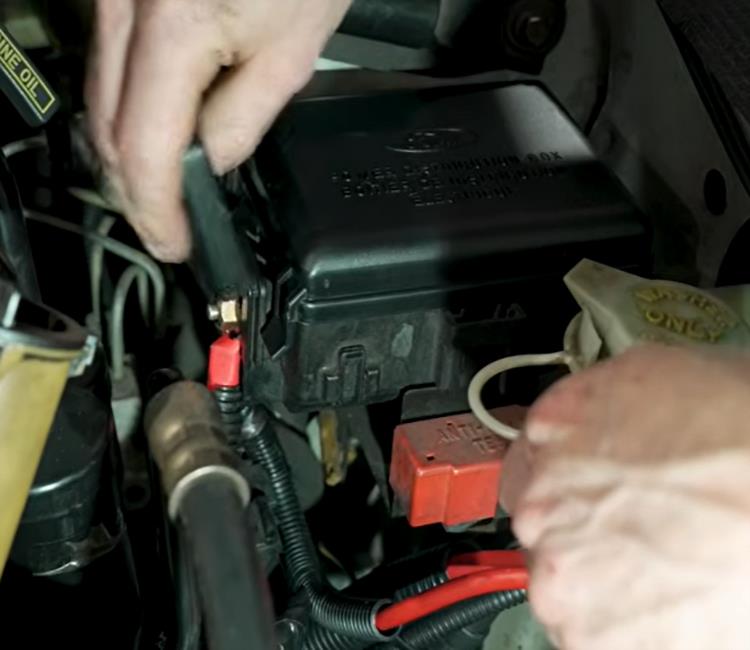
Step 15: Reinstall Battery
- Carefully place the battery back into the engine compartment.
- Leave the battery hold-down loose initially so the terminals can be accessed.
- Remove any protective tape from the battery cable terminals.
- Connect the positive battery cable first.
- Install the negative terminal.
- Make sure both terminals are fully seated and securely tightened.
- Reinstall the battery hold-down hardware and secure the battery.
- Verify that the battery cannot move excessively.
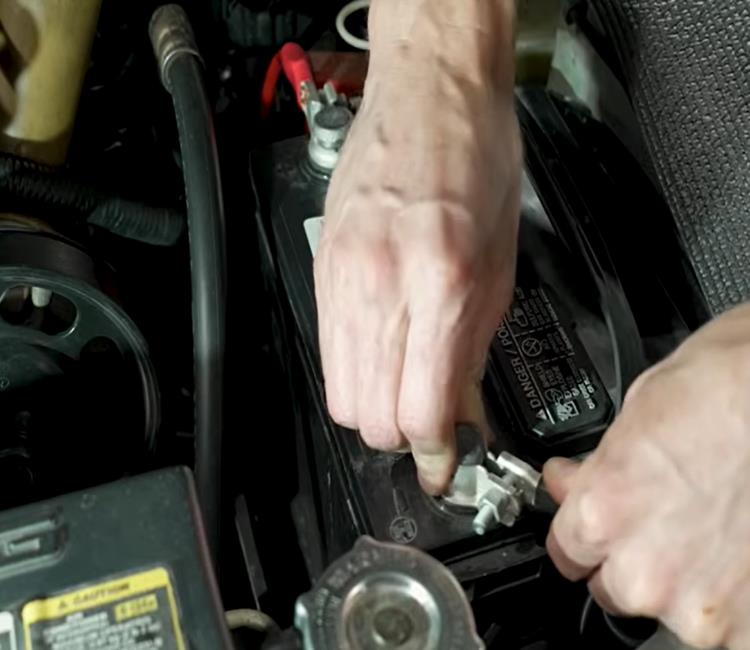
Step 16: Final Inspection & Start-Up
- Before starting the engine, inspect the entire battery cable from the battery to the starter.
- Make sure the cable is securely retained by all necessary brackets.
- Verify that no wiring is pinched or rubbing against sharp edges.
- Confirm that the battery cable and starter trigger wire are clear of the headers and other hot or moving components.
- Verify that the fuse box power connection is tight and properly covered.
- Confirm that all ground connections are secure.
- Make sure the battery terminals are tight.
- Start the vehicle and verify proper operation.
- If the vehicle does not start or an electrical issue is present, shut the engine off and recheck the battery, ground, starter power, and trigger-wire connections.
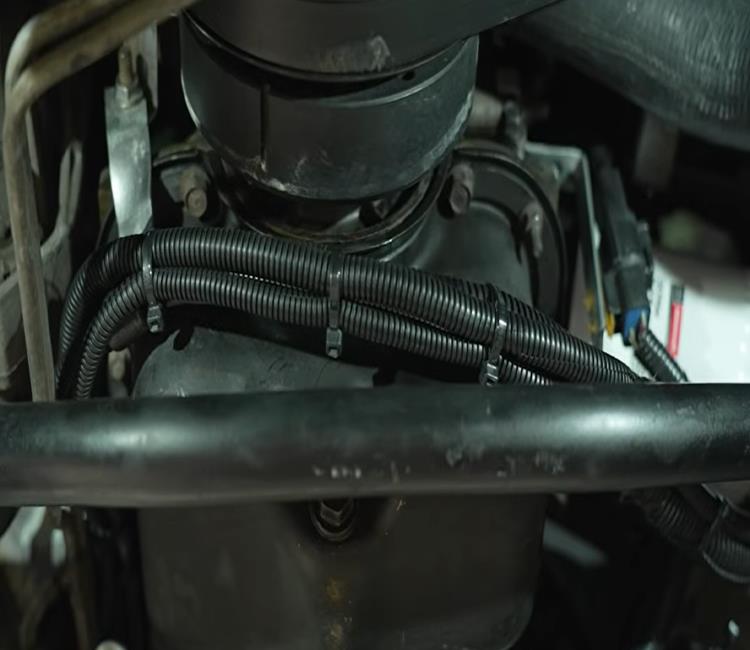
Final Inspection
After starting the vehicle, perform one final inspection of the new battery cable and surrounding wiring.
- Verify the cable remains clear of the headers.
- Confirm all brackets and harness clips are secure.
- Check the starter power and trigger connections.
- Verify the fuse box power connection.
- Confirm the battery terminals and hold-down are secure.
- Make sure the cable has adequate slack without excessive movement.
- If everything is properly installed and the vehicle starts normally, the battery cable installation is complete!