The roof rail weatherstrip on 1994-2004 Mustangs is vital to keeping your door sealed, preventing leaks, and reducing wind/road noise. With these vehicle reaching over 20+ years old, the factory weatherstrip on high mileage cars are most likely in need of replacing. Today, we walk you through the quick and easy steps of replacing your 1994-2004 Mustang roof rail weatherstrip.
Parts List:
Tool List:- Panel tool with a wide surface area for contact
- Panel tool with a narrow surface area for contact
- Panel tool with a notch
- Microfiber towel
- Waterless wash solution
- Old towels for wiping down
- (Optional) Battery charger tender or tools to disconnect the battery
- (Optional) Vacuum cleaner
- (Optional) Compressed air
- (Optional) Sharp tool or needle nose pliers
- (Optional) Boar's hair brush
Step-by-Step Guide:
Optional Step: If desired, put a battery charger tender on the battery or disconnect it to avoid draining it during the process.
1. Start on the driver's side either at the front side of the A-pillar or the B-pillar.Use a panel tool with a small notch to remove the push pins. Avoid using metal tools to prevent scratching the car's body.
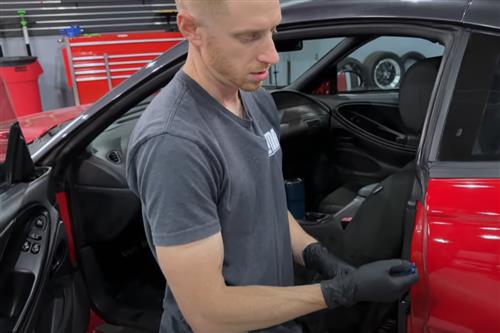
2. Carefully remove the weatherstrip, making sure to carefully remove all of the push pins.
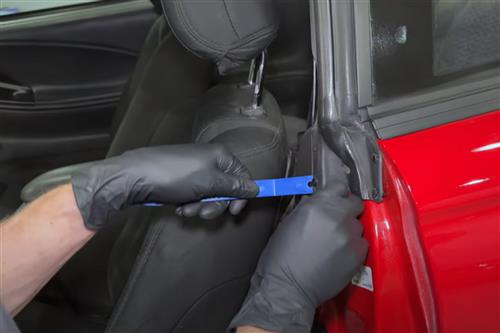 3. Clean the area where the weather strip was removed using a vacuum, paintbrush, or compressed air, depending on the level of dirt and dust.
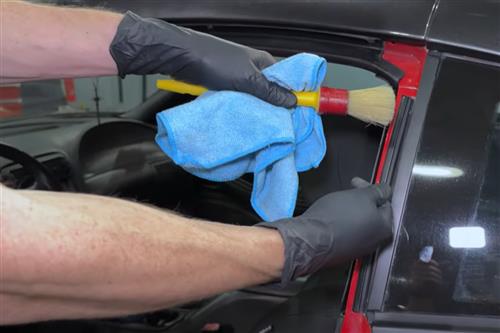
4. Wipe down the area with a microfiber towel and waterless wash solution.
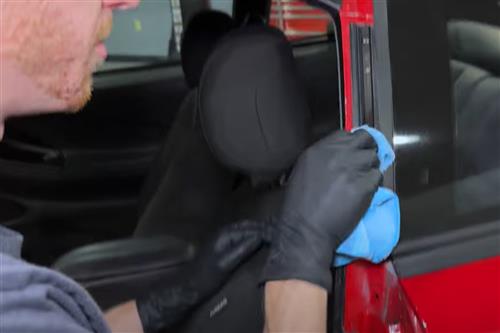
5. Verify if the new weather strip is the correct side by holding it up against the car. Ensure it aligns correctly.
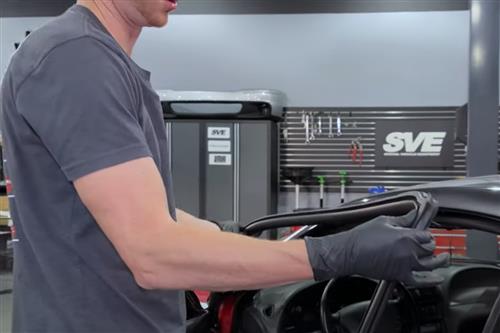
6. If necessary, modify the weather strip to fit by adjusting the position of the locator or creating a new hole using a sharp tool.
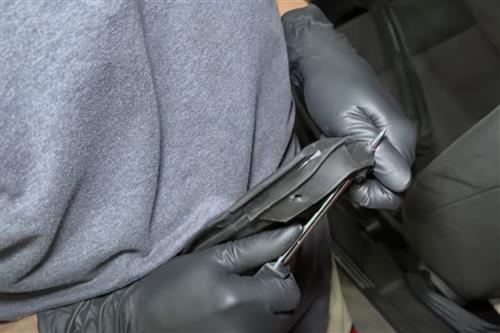
7. Reinstall the weather strip by tucking the lip into the C-channel or metal track along the A-pillar.
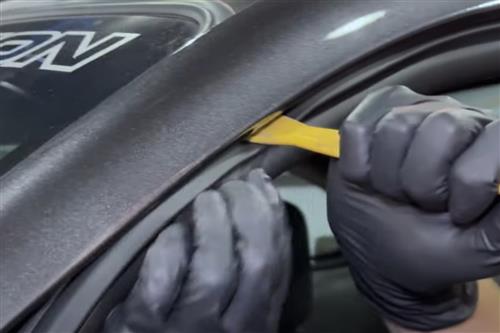
8. Make sure the weather strip is fully seated into the metal channel by pushing it in and securing any clips provided.
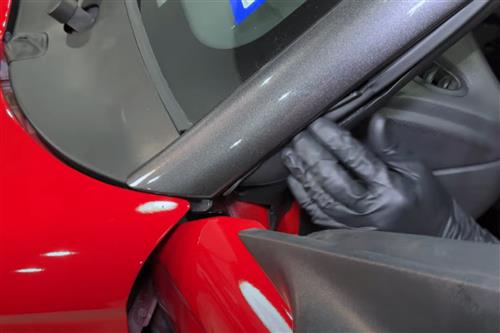
9. Repeat the same steps for the B-pillar, ensuring proper alignment and installation.
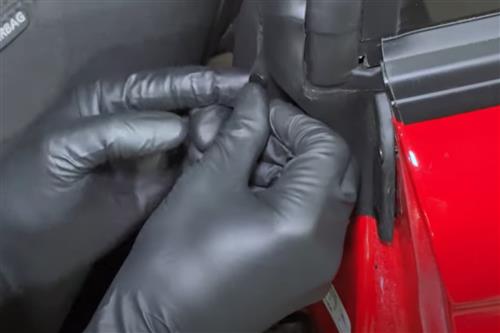
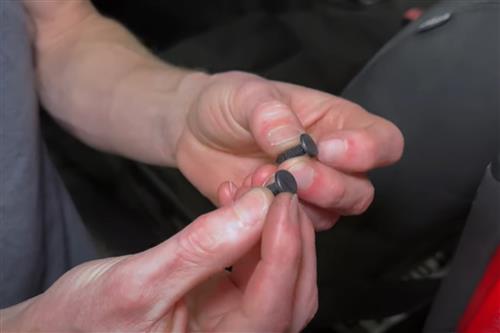
10. If the factory-style push pins do not work effectively, replace them with Christmas tree-style push pins for better engagement.
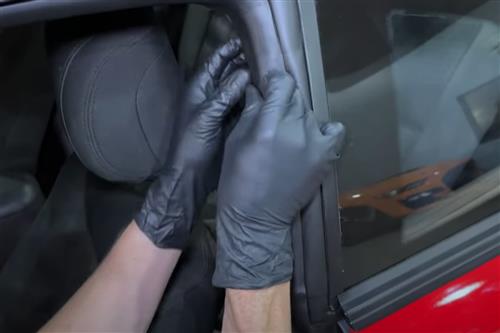
11. Tuck any excess material behind the interior C-pillar trim.
12. Close the door and check for a good seal and proper overhang of the weather strip.
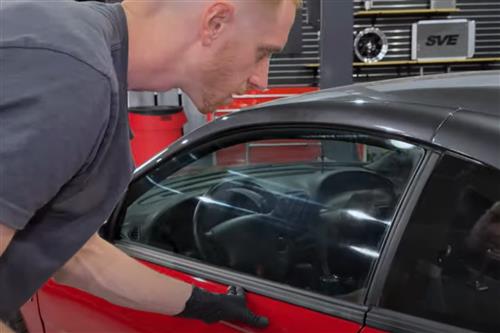
13. If necessary, adjust the door glass alignment or consider door alignment if the glass is not properly mating with the weather strip.
14. Complete the installation by ensuring satisfaction with the weather strip's fit and functionality.