SHOP

1994-04 Mustang Parts
Free Shipping on qualifying orders over $99* Details
LMR showroom & will call pickup service will be closed beginning Monday 9/21/26 for renovations until further notice. Need help? Contact Us.

How To Install 1996-2004 Mustang 4.6L 4V Replacement Coolant Crossover Tube

Created by Andrew Perry / 5 min read
Date Created: 7/31/2026
Last Updated: 8/4/2026

Learn how to install the LMR coolant crossover tube on your 1996-2004 Mustang 4V 4.6L. Restore proper cooling system function with this durable OE-style replacement!

Viewing this install and using the information shared is subject to the terms set forth here - View the LMR Install Instructions Disclaimer.
Restore the cooling system on your 96-98 Cobra, 99-01 Cobra, or 03-04 Mach 1 with LMR’s coolant crossover tubes! These high-quality reproduction crossover tubes are designed to replace the cracked or leaking factory unit commonly found on these Mustangs. The original OE tube was susceptible to rusting from the inside out due to the lack of an internal protective coating, often leaving owners searching for hard-to-find used parts or costly NOS replacements. LMR’s solution is a durable reproduction crossover tube that features both internal and external corrosion-resistant coatings to help prevent future rust issues. Each tube is manufactured with the correct tubing diameters, factory-style mounting brackets, and proper seals to ensure a hassle-free installation.
 
Late Model Restoration’s commitment to delivering quality, solution-based products is evident in every detail of this coolant crossover tube. Constructed from durable steel and finished with a satin black E-coat both inside and out, this tube is built to last. Precision-stamped and welded mounting brackets are positioned exactly like the factory unit for an OE-style fit and function. Factory dual sensor ports are retained, along with the original vent port on top of the tube. Preinstalled O-ring seals are included for convenience, as well as a block-off plug for applications where the factory sensor port is not used. Installation is straightforward; simply remove the factory crossover tube, transfer your sensors, and install the new LMR replacement.
 
Product Links:
 
Watch:

Vehicle Fitment
Make/Model: Ford SN95 & New Edge Mustang
Year Ranges & Trim: 
  • 1996, 1997, 1998 Cobra 
  • 1999, 2001 Cobra
  • 2003, 2004 Mach 1

Required Tools
  • 1/4-inch drive ratchet
  • 1/4-inch drive extension (air bleed plug)
  • Metric socket set
  • 10mm socket
  • 3/4-inch socket
  • 5/16-inch Allen socket
  • Flathead screwdriver
  • Hose clamp pliers
  • Drain pan
  • Shop towels
  • Brake cleaner


Installation Instructions

Step 1: Gain Access

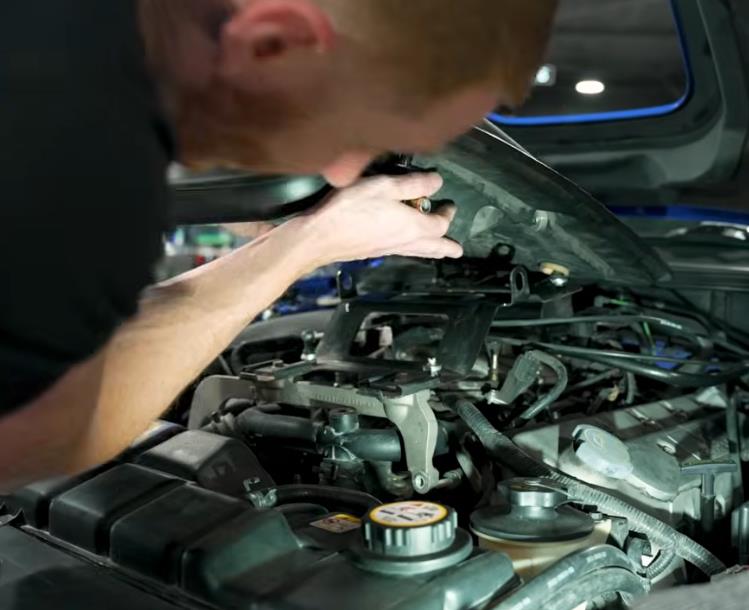
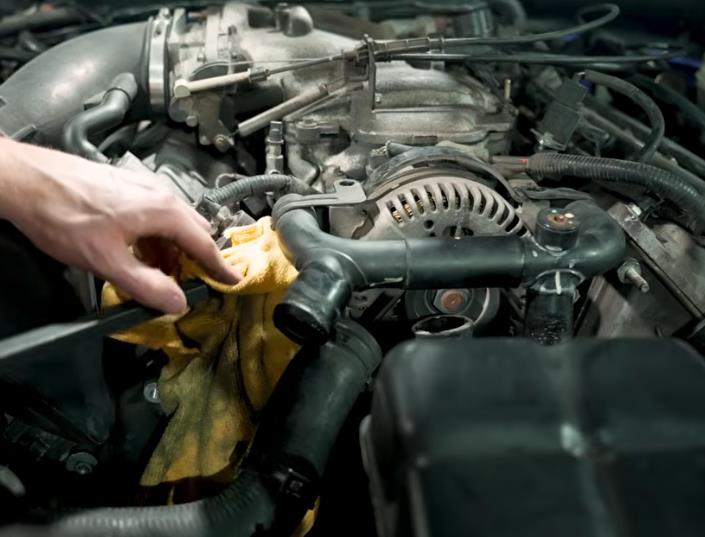
  • Remove any components preventing access to the crossover tube.
  • For Mach 1 models, remove the shaker assembly.
  • On 1996-1998 Cobras, you'll also need to move the coil packs and spark plug wires to create additional working room.
1996-2004-mustang-4v-46-replacement-coolant-crossover-tube-install-instructions_e11802da.jpg (749×610)


Step 2: Drain the Cooling System

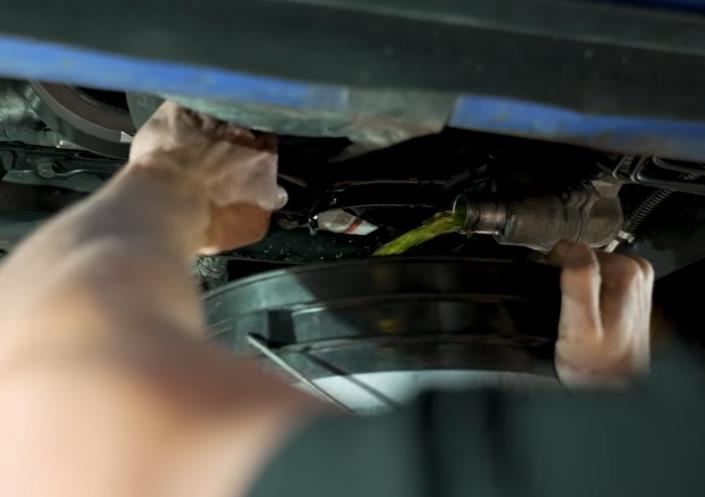
  • Relieve pressure from the cooling system. If your radiator drain petcock is damaged or seized, disconnect the lower coolant hose between the crossover tube and thermostat housing instead.
  • Position a drain pan underneath the vehicle.
  • Release the hose clamp.
  • Carefully remove the hose.
  • Drain approximately one gallon of coolant, or until the flow slows considerably.
  • Reinstall the hose and secure the clamp.
  • Clean any spilled coolant before continuing.
  • Mark the coolant level in your drain pan if you plan to reuse the coolant. This provides a good starting point when refilling the system.
1996-2004-mustang-4v-46-replacement-coolant-crossover-tube-install-instructions_33398aa9.jpg (705×497)


Step 3: Disconnect Hoses and Sensors

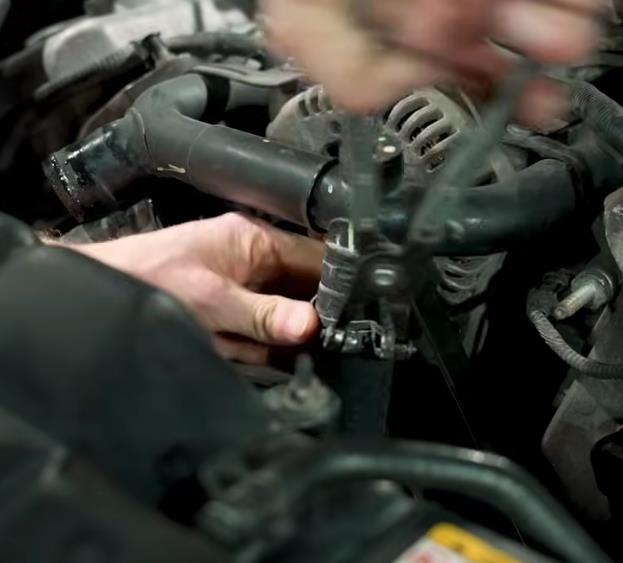
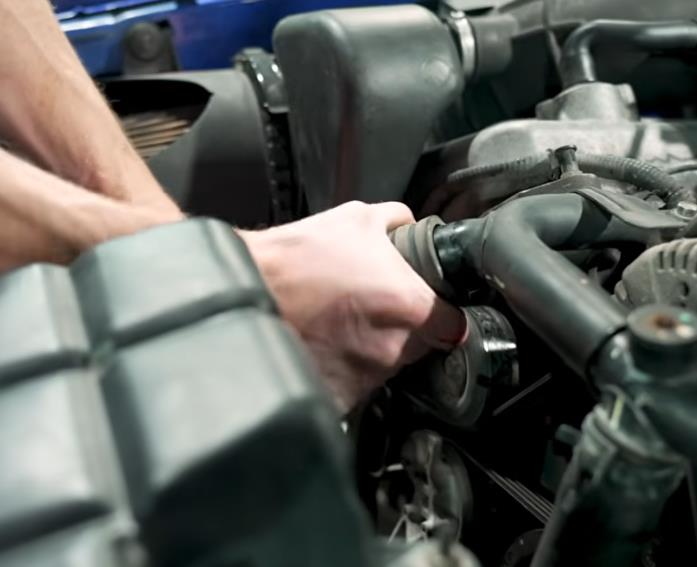
  • Remove both radiator hoses from the crossover tube.
  • Disconnect the coolant temperature sensor connector(s).
1996-2004-mustang-4v-46-replacement-coolant-crossover-tube-install-instructions_4fd4d4d6.jpg (623×563)
1996-2004-mustang-4v-46-replacement-coolant-crossover-tube-install-instructions_0140e228.jpg (697×567)


Step 4: Remove the Factory Crossover Tube

  • Remove the two 10mm retaining bolts.
  • Carefully work the crossover tube upward until both ends release from the cylinder heads.
  • If necessary, use a shop towel while gently prying to protect nearby components.
1996-2004-mustang-4v-46-replacement-coolant-crossover-tube-install-instructions_3b2cf57a.jpg (705×537)


Step 5: Prepare the New Crossover Tube

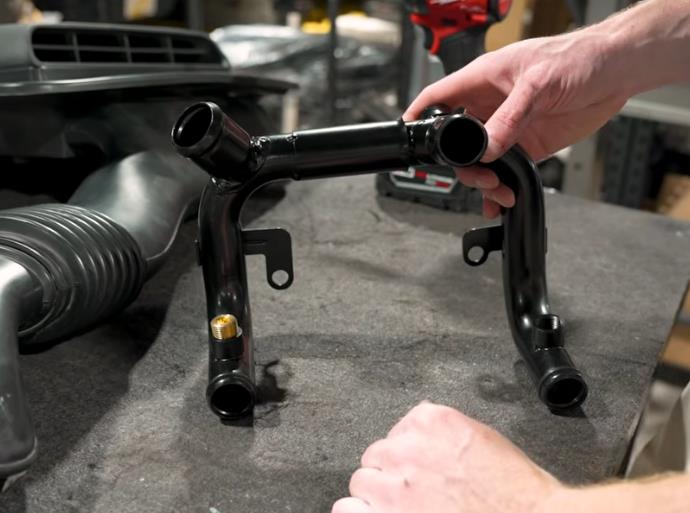
  • Transfer the factory coolant temperature sensor(s).
Before installation:
  • Remove all old thread sealant.
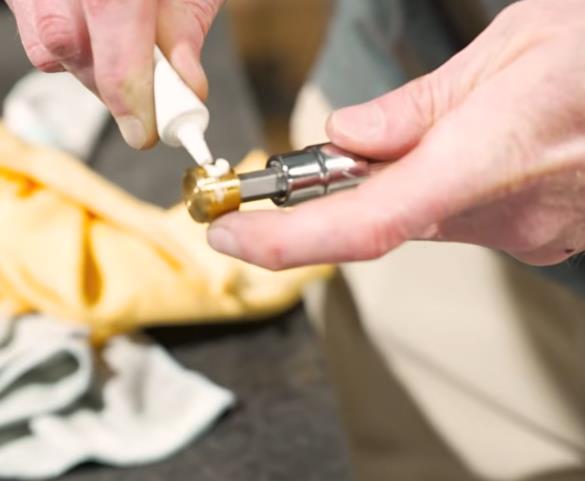
  • Apply fresh high-temperature PTFE thread sealant.
  • Clean the cylinder head bores.
  • Inspect both new Viton O-rings.
  • Apply a very light coating of O-ring grease.
Important: Do not heavily lubricate the O-rings. Only use enough lubricant to help them slide into place.

For Mach 1 and 1999/2001 Cobra applications, install the supplied brass pipe plug into the passenger-side threaded port. 1996-1998 Cobras will reinstall a coolant temperature sensor into both ports.
1996-2004-mustang-4v-46-replacement-coolant-crossover-tube-install-instructions_14246094.jpg (690×513)

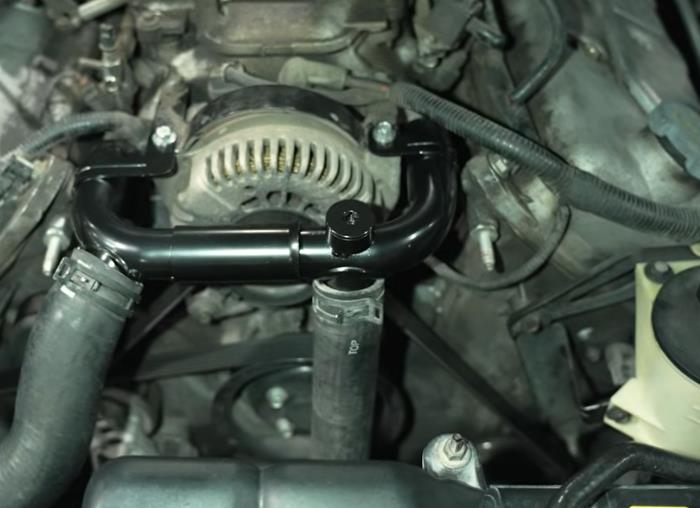
Step 6: Install the New Crossover Tube

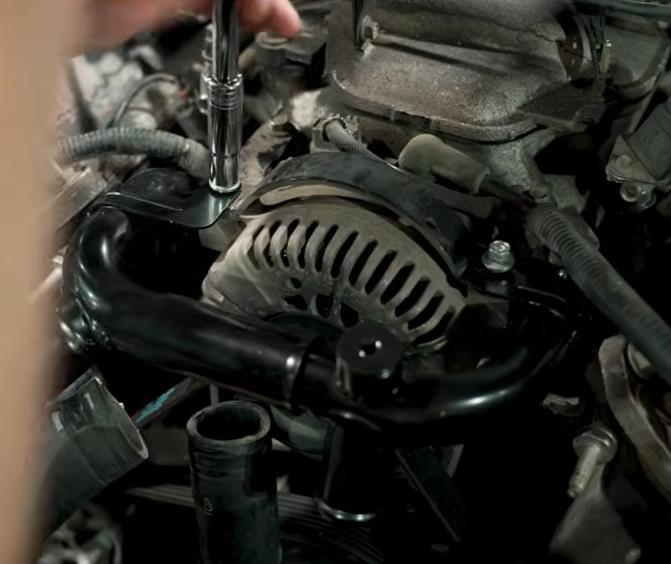
  • Position the crossover tube over both cylinder head openings.
  • Use the adjustable center section to perfectly align both ends with the cylinder heads.
Once aligned:
  • Carefully press both ends into place.
  • Verify both O-rings seat evenly.
  • Install the retaining bolts.
  • Tighten the bolts evenly until secure.

Never force the crossover tube into place. Misalignment can cut an O-ring and create an immediate coolant leak.

1996-2004-mustang-4v-46-replacement-coolant-crossover-tube-install-instructions_0e337dfe.jpg (671×564)

Step 7: Install the Pipe Plug and Temperature Sensor

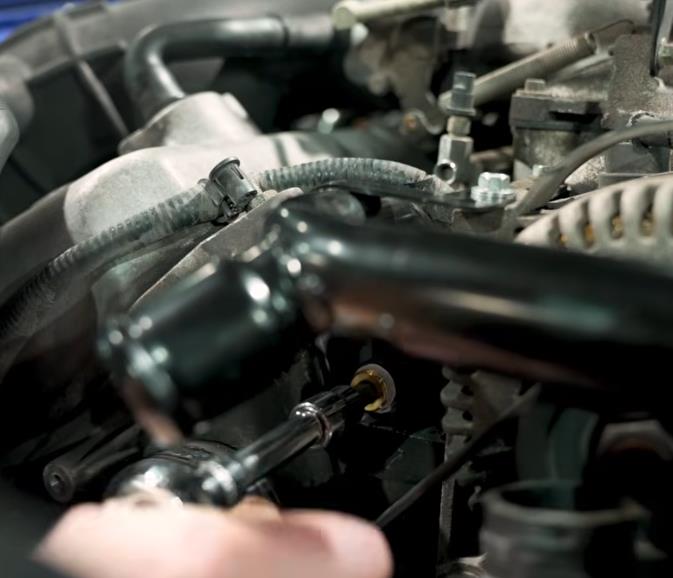
  • Apply high-temperature PTFE thread sealant to the Brass pipe plug and Coolant temperature sensor(s).
  • Install each fitting until snug, then tighten slightly beyond hand tight.
  • Reconnect the electrical connector(s).
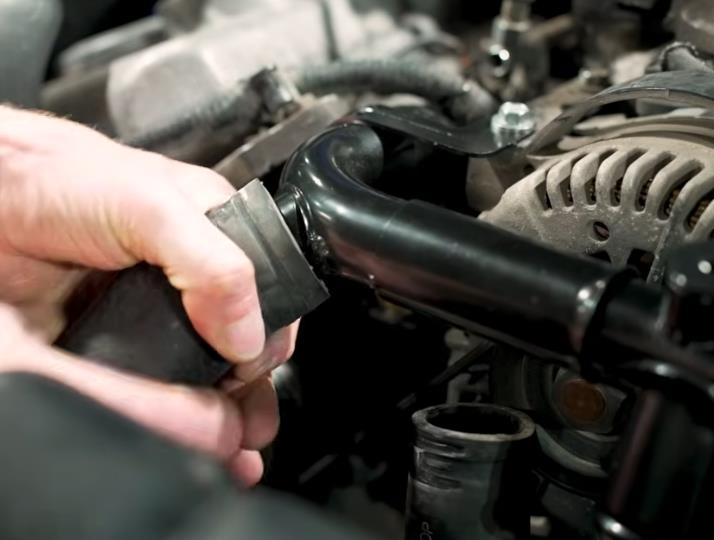
  • Reconnect both coolant hoses and reposition the hose clamps.

1996-2004-mustang-4v-46-replacement-coolant-crossover-tube-install-instructions_68213747.jpg (673×578)
1996-2004-mustang-4v-46-replacement-coolant-crossover-tube-install-instructions_ff24b8b2.jpg (585×481)
1996-2004-mustang-4v-46-replacement-coolant-crossover-tube-install-instructions_24836ca4.jpg (714×540)

Step 8: Refill and Bleed the Cooling System

  • Proper bleeding is critical on all 4.6L DOHC engines because the crossover tube is the highest point in the cooling system.
  • Vacuum Fill Method (Preferred)
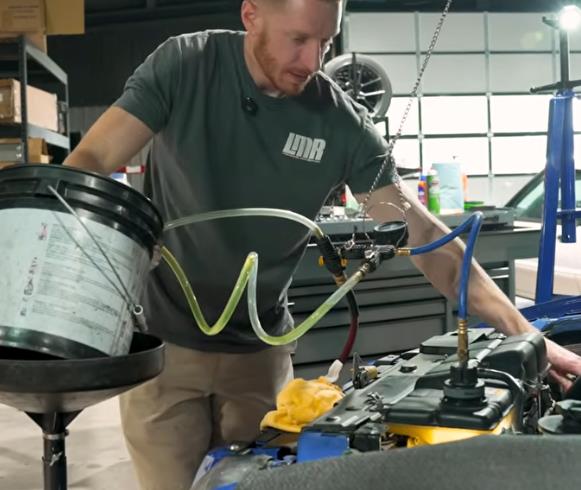
Use a vacuum coolant filler to refill the cooling system and eliminate trapped air.
  • Manual Bleeding Procedure
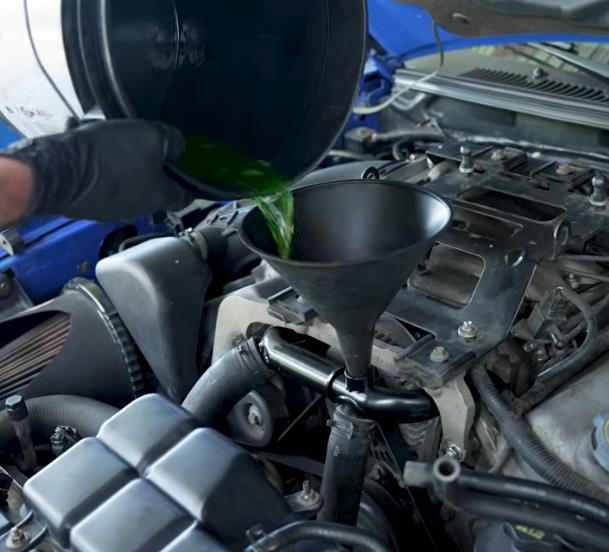
  • Remove the crossover tube air bleed plug.
  • Insert a funnel into the crossover tube opening.
  • Leave the degas bottle cap installed.
  • Slowly fill the crossover tube with coolant.
  • Start the engine.
  • Allow the engine to reach operating temperature.
  • Wait for the thermostat to open.
  • Continue adding coolant until no more air bubbles appear.
  • Install the bleed plug.
  • Allow the engine to cool completely.
  • Recheck the coolant level and top off as needed.
Applying a small amount of anti-seize to the bleed plug threads can help prevent corrosion and make future servicing easier. Tighten the bleed plug using a 1/4-inch drive extension until snug. Overtightening is unnecessary.

1996-2004-mustang-4v-46-replacement-coolant-crossover-tube-install-instructions_84679cd1.jpg (581×490)
1996-2004-mustang-4v-46-replacement-coolant-crossover-tube-install-instructions_efea6523.jpg (609×552)

Step 9: Final Inspection

After the engine reaches operating temperature:
  • Inspect both cylinder head O-ring seals.
  • Inspect the coolant temperature sensor(s).
  • Check the brass pipe plug.
  • Verify all hose connections are dry.
  • Confirm there are no coolant leaks.
  • Take the vehicle for a short test drive and inspect for leaks once the engine cools.

1996-2004-mustang-4v-46-replacement-coolant-crossover-tube-install-instructions_1e68c970.jpg (700×508)


About the Video

1996-2004 Mustang: 4V 4.6L Replacement Coolant Crossover Tube - How To Install

Check out our YouTube channel for even more tech tips, installation videos, how-tos, and more. The best place to go for anything Mustang related!

Published on 2026-06-23
In this video, Landan demonstrates how to swap out a corroded or leaking coolant crossover tube on a 4.6L 4-valve engine. This instructional guide covers the necessary steps to drain the system, properly seal threaded sensors, and ensure a leak-free installation.

The coolant crossover tube is responsible for sending heated coolant back through the radiator to be cooled. It installs into the driver and passenger side cylinder head, and is a vital cooling system component. Overtime, these tubes will start to develop leaks around the o-rings in the cylinder head, or fall victim to corrosion. Regardless of age and mileage, the coolant crossover tube on 4.6L 4V Mustangs will need to be replaced at some point in the car's life.
Thumbnail image of the author of this article, Andrew Perry.

About the Author

Andrew has been writing content for Late Model Restoration for over 2 years, producing over 50 articles. Over the years, Andrew has owned numerous Mustangs, including a 2007 V6, 2003 GT, 1967 GT, 1994 GT, 1995 GT, 2014 GT (2), 2000 V6 (V8 swapped), 2016 GT/PP, 1988 LX 5.0, and a 2009 GT/CS. Read more...