SHOP

All Mustang Parts
Free Shipping on qualifying orders over $99* Details
LMR showroom & will call pickup service will be closed beginning Monday 9/21/26 for renovations until further notice. Need help? Contact Us.

Mustang Brake Installation: SVE Cobra Style

Watch this in depth installation video for the SVE 13" Cobra Style Brake Kit for SN95 Mustangs. This performance brake kit will drastically improve your braking without "breaking" the bank!

Viewing this install and using the information shared is subject to the terms set forth here - View the LMR Install Instructions Disclaimer.

Braking performance may not be the flashiest upgrade, but it's one of the most important. Ensuring your Mustang stops when you need it to improves both your safety and the safety of those around you. If you drive a 1994–2004 Mustang GT or V6, upgrading to a Cobra-style front brake setup is a smart move—and a relatively easy one, too.

In this guide, we’ll walk you through the full installation process of an SVE Cobra-Style Front Brake Conversion Kit, which includes 13-inch rotors and dual-piston calipers—a massive improvement over the factory single-piston setup.


  • Fits: 1994–2004 Mustangs
  • Skill Level: Intermediate
  • Install Time: 2-3 hours

Product Links:


Tools Required:

  • Jack/Jack Stands
  • Impact/Lug Wrench
  • Socket Set/Ratchets
  • Torque Wrench
  • Line Wrench
  • Flathead Screwdriver/Pry Bar
  • Hammer or Rubber Mallet

Installation Instructions

  1. Raise and Support the Vehicle
    • Lift the rear end of the car using a jack and securely support it with jack stands.


  2. Prepare Your Vehicle
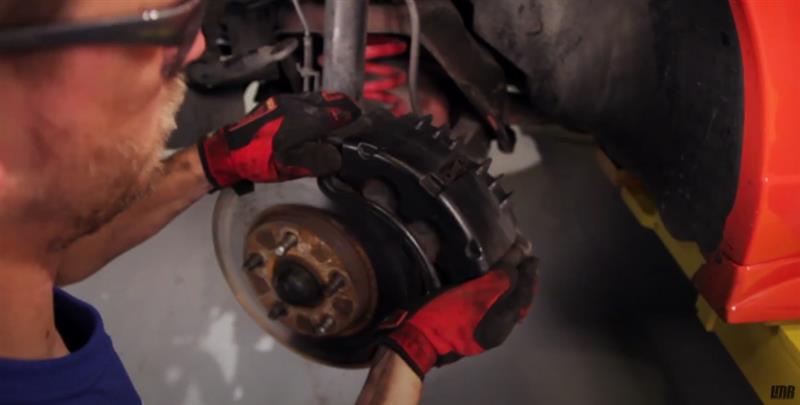
    • Remove the caliper bolts.
    • Slide the old caliper off the rotor.
    • Remove the existing 11-inch rotor from the hub.
    • Remove the brake hose retaining clip.
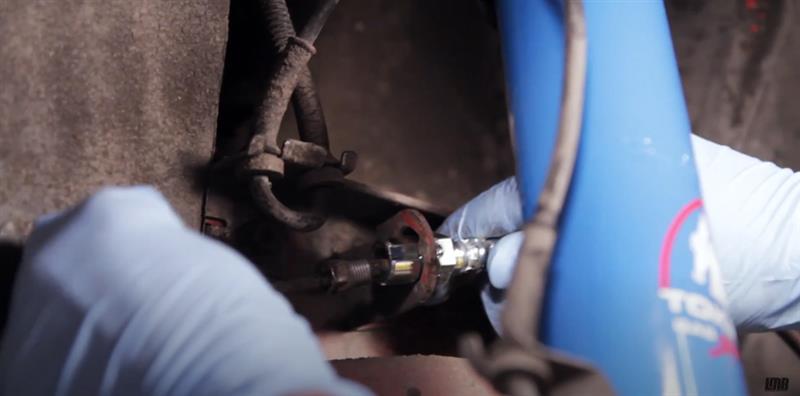
    • Use a line wrench (tubing wrench) to loosen the brake hose at the hard line connection.
    • Fully remove the brake hose and caliper assembly from the vehicle.


  3. Install the New Brake Hose
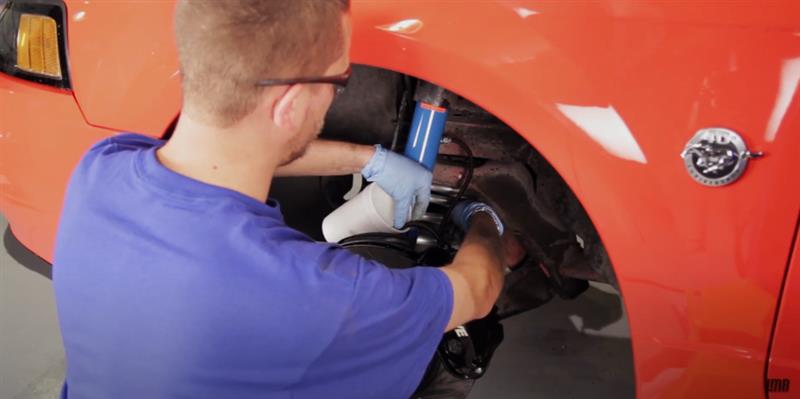
    • Slide the new stainless braided brake hose into place.
    • Thread it onto the hard line and tighten it securely.
    • Reinstall the brake hose retaining clip.


  4. Install the New 13-Inch Rotor
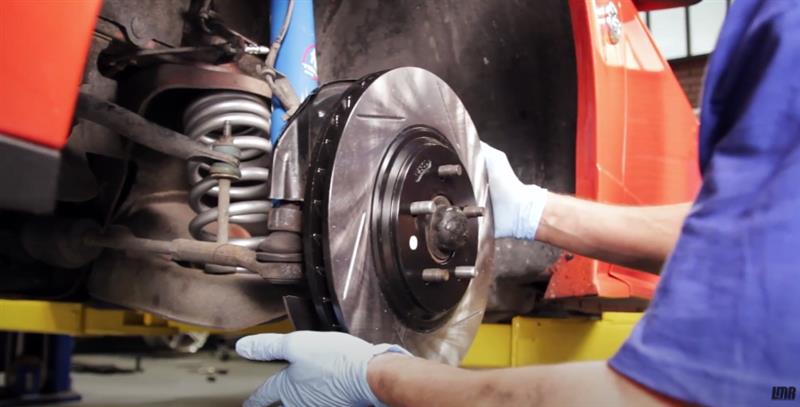
    • Slide the new 13-inch Power Slot rotor onto the hub. This larger rotor will offer greater stopping power and improved heat dissipation.


  5. Mount the New Caliper Assembly
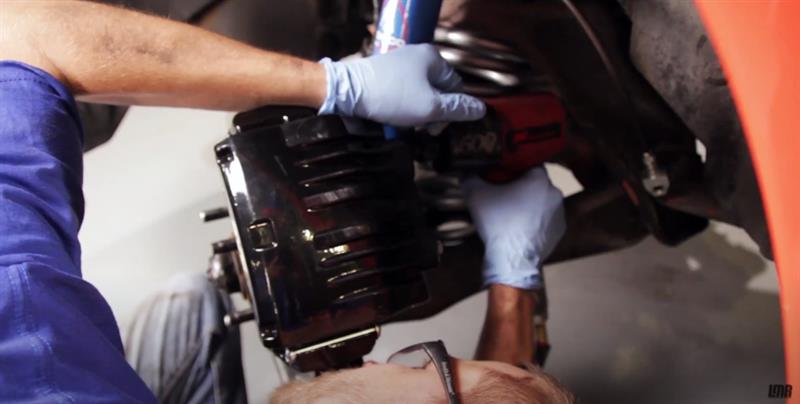
    • Position the SVE dual-piston caliper over the rotor.
    • Use the supplied caliper retaining bolts and apply blue Loctite to the threads.
    • Torque the bolts to spec to ensure a secure fit.


  6. Connect the New Brake Hose to the Caliper
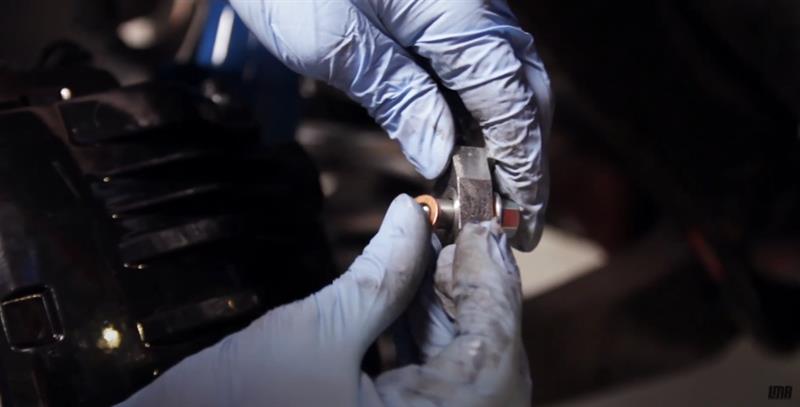
    • Attach the new hose using the supplied banjo bolt and two copper washers (one on each side of the fitting).
    • Tighten the bolt to the specified torque setting.
    • Repeat On The Other Side


  7. Bleed the Brakes
    • Start bleeding at the passenger side front, then move to the driver side front.
    • Make sure you’re using high-quality DOT 3 brake fluid.
    • Keep the master cylinder topped off throughout the process to prevent air from entering the system.


  8. Verify Wheel Fitment
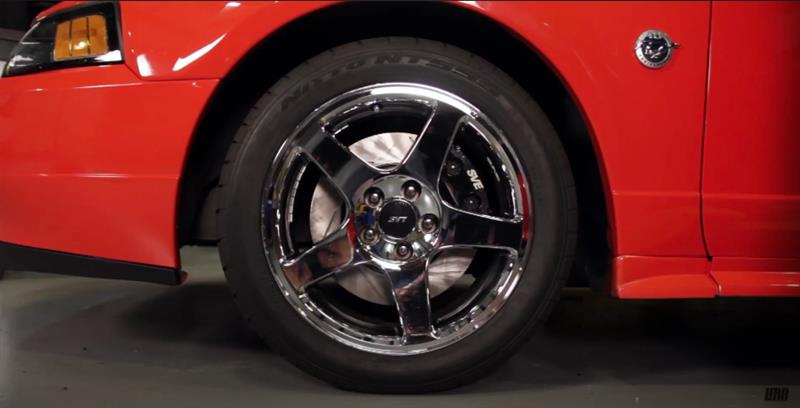
    • With the SVE Cobra-Style Brake Kit installed, make sure you're running at least a 17-inch wheel to clear the larger caliper and rotor assembly.


About the Video

1994-2004 Mustang: How To Install 13" Cobra-style Front Brakes

Check out our YouTube channel for even more tech tips, installation videos, how-tos, and more. The best place to go for anything Mustang related!

Published on 2013-08-21
PLEASE NOTE: The SVE front brake calipers in this video have been discontinued. The installation procedure shown in the video is applicable to most Cobra-style front brakes calipers.
Transcript
Braking performance isn't exactly the top of most people's list, but it sure should be. Having your Mustang stop when you want it to increases your safety and everybody else's around you.

The stock '94 to '04 Mustang GTs and V6s are equipped with either a single piston caliper with an 11 inch rotor or-- '99 to '04, they did get a dual piston aluminum caliper with 11 inch rotor-- still pretty small, though. A very common upgrade is a Cobra Style Front Brake Conversion Kit that gets you up to 13 inch front rotors and a massive two-piston Cobra style caliper. This is a direct bolt-on kit, and it'll take you just a few hours in your driveway.

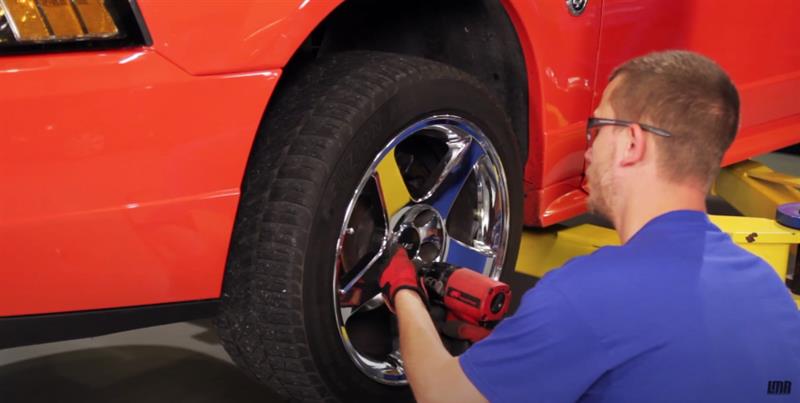
You want to start by supporting the front of the car on jack stands, and remove both front wheels. You can remove your caliper bolts, slide the old caliper off, and pull the old rotor off the hub. Remove the brake hose retaining clip and using a line wrench, also known as a tubing wrench, loosen the connection at the hard line.

Now you can fully remove the hose and caliper assembly from the car. Slide your new braided hose into place, thread it on the hard line and tighten it down. Reinstall the retaining clip.

Side your new 13 inch front rotor onto the hub. Slide your new SVE caliper assembly over the new rotor. Tighten down your two caliper retaining bolts-- be sure to use some blue Loctite.

Attach your new brake hose to the caliber, using the supplied banjo bolt, and make sure that you put the two new copper washers that are also supplied with the caliper-- torque to spec. Repeat all these steps for the other side and then bleed your brakes.

You'll want to start with the passenger front and then move to the driver front. Make sure you've got plenty of quality DOT 3 brake fluid to top off your master cylinder while bleeding.

With the installation of our SVE Style Front Brake Kit, you will need to make sure that you're running a minimum of a 17 inch wheel. These kits are available with either a red powder coat or a black powder coat caliper. They come loaded with StopTech Performance Street brake pads. And either way you choose, they come with Power Slot rotors and top-of-the-line stainless, braided hoses. Check out the rest of our braking options at latemodelrestoration.com.