All Mustang Parts
Follow along with this video as the crew replaces the lower core support. These steps apply to Fox Body, SN95, and New Edge Mustangs.
Vehicles This Applies To
These same principles apply to:
Product Links
Essential Tools
Helpful Supplies
Remove the bumper cover to access the lower support.
Typical process:
Set aside safely.
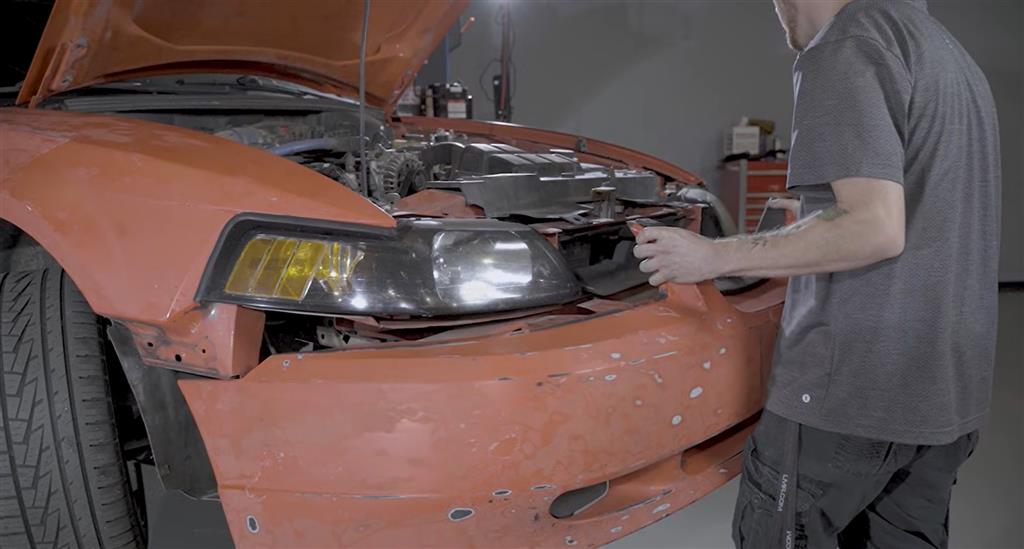
Anything bolted to the damaged lower support must come off.
Usually includes:
Remove:
Take photos first for reassembly reference.
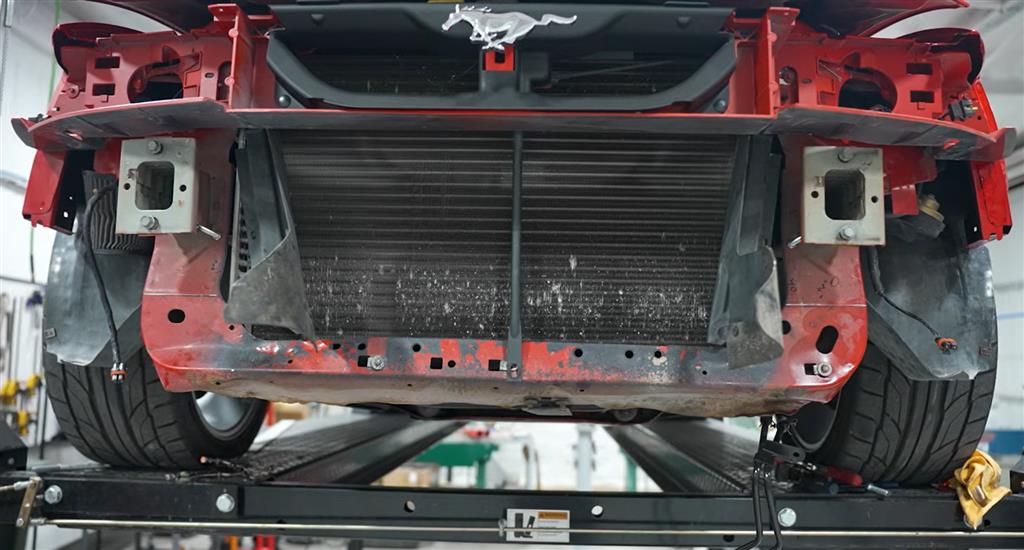
Make sure only the lower section is damaged.
Check for:
If upper structure is bent badly, a full support replacement may be necessary.
This is one of the most important steps.
Before cutting:
Measure Reference Points
Use factory holes and mounting surfaces.
Examples:
Why?
So the replacement section sits exactly where the old one was.
Tip:
Write every measurement down.
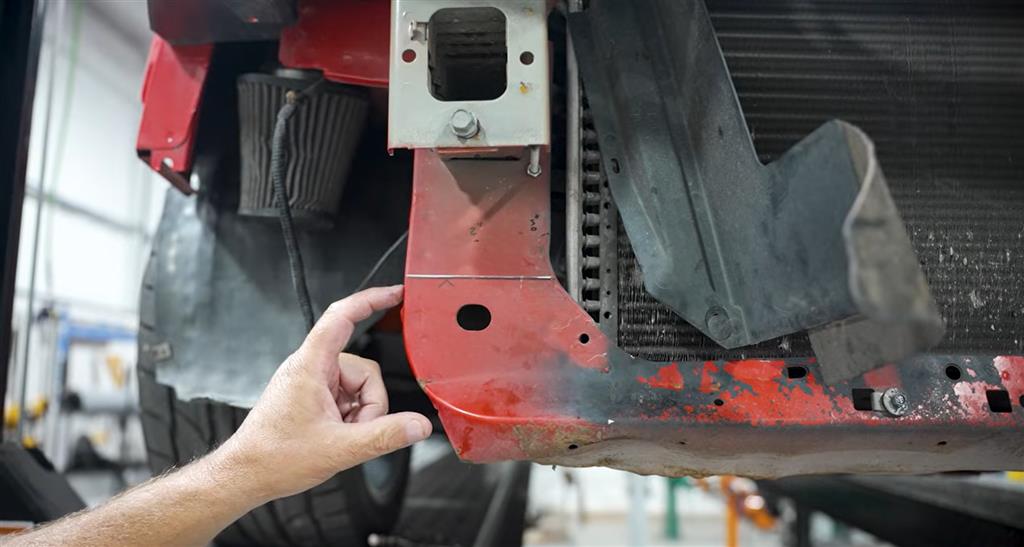
You do not want to weld into bent or weakened metal.
Choose cut locations where metal is:
Usually this means cutting several inches inward from damage.
Before welding the new section in:
Paint areas that will become inaccessible later.
Examples:
Use weld-through primer where welding occurs.
The lower support often helps hold cooling components.
Before cutting:
Use:
Support:
Prevent damage or stress on hoses/lines.
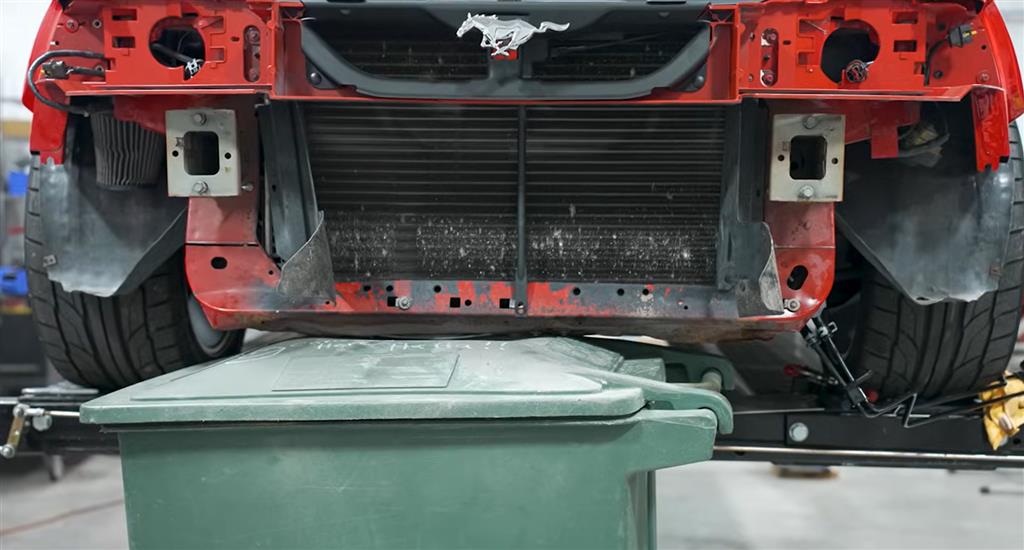
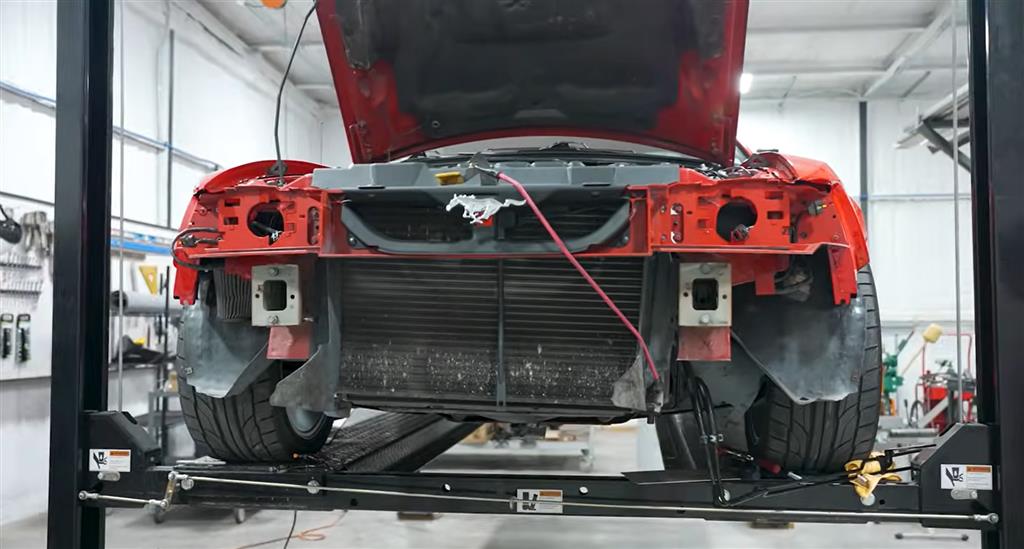
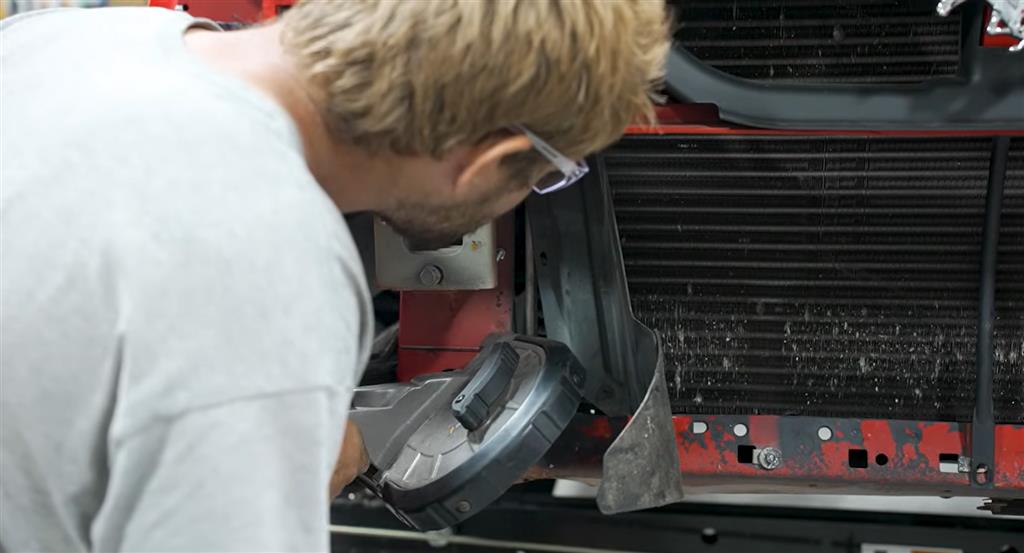
Use a deep-cut portable bandsaw if possible.
Advantages:
Cut one side first, then support the loose section before cutting the second side.
Remove damaged section.
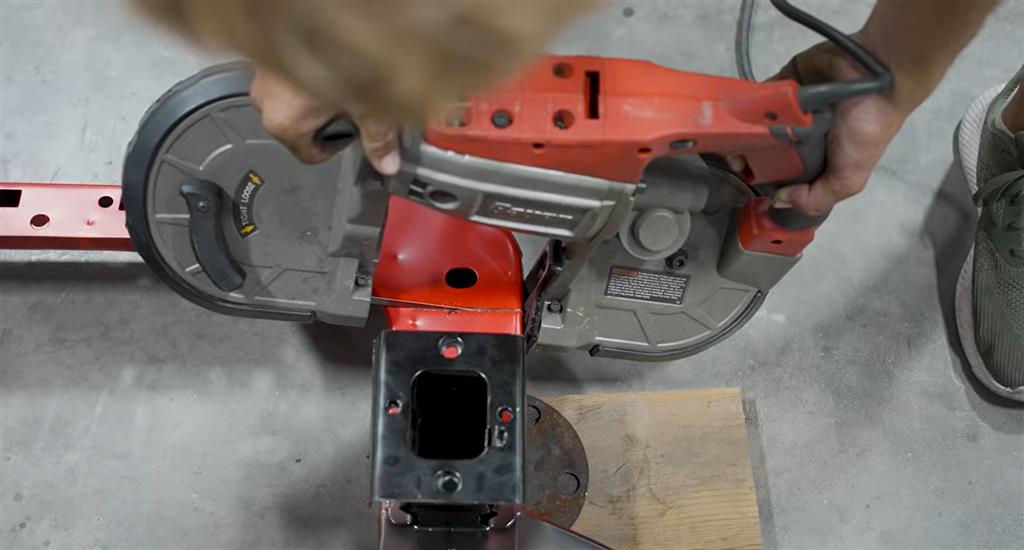
Take your new support and cut out only the lower section you need.
Use the measurements from the original car.
Important:
Match:
Move any original brackets not included on new piece.
Examples:
Clean and repaint brackets first.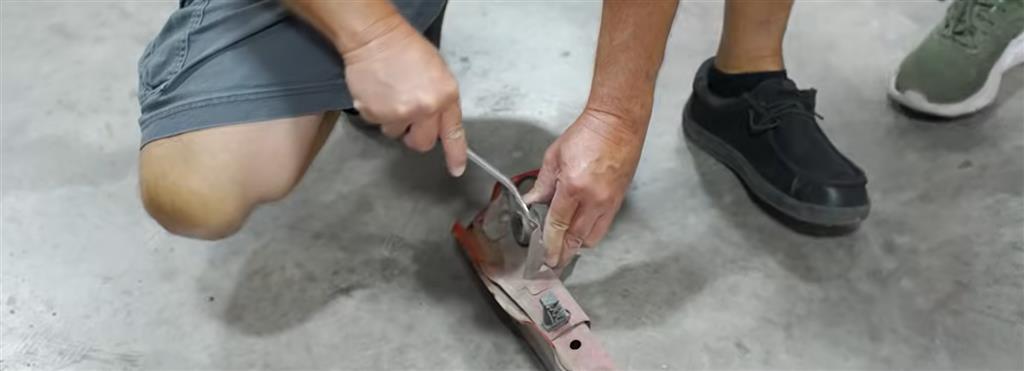
Place replacement section into opening.
Use:
Check:
Side Alignment
Flush with original support.
Height
Bottom edge sits correctly.
Width
Matches bumper cover spacing.
Hole Locations
Push pin holes and brackets align.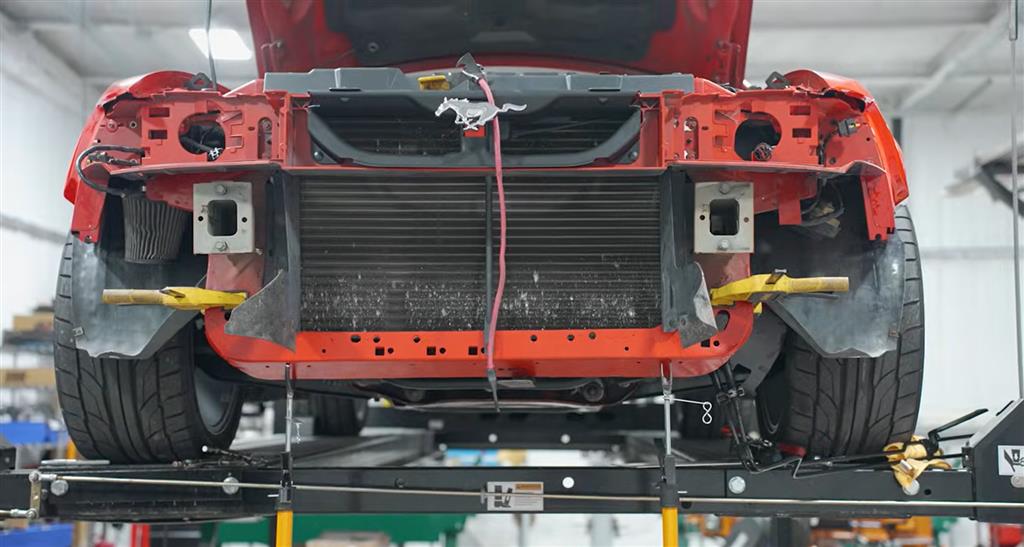
Once fitment is confirmed:
Apply tack welds:
Do not fully weld yet.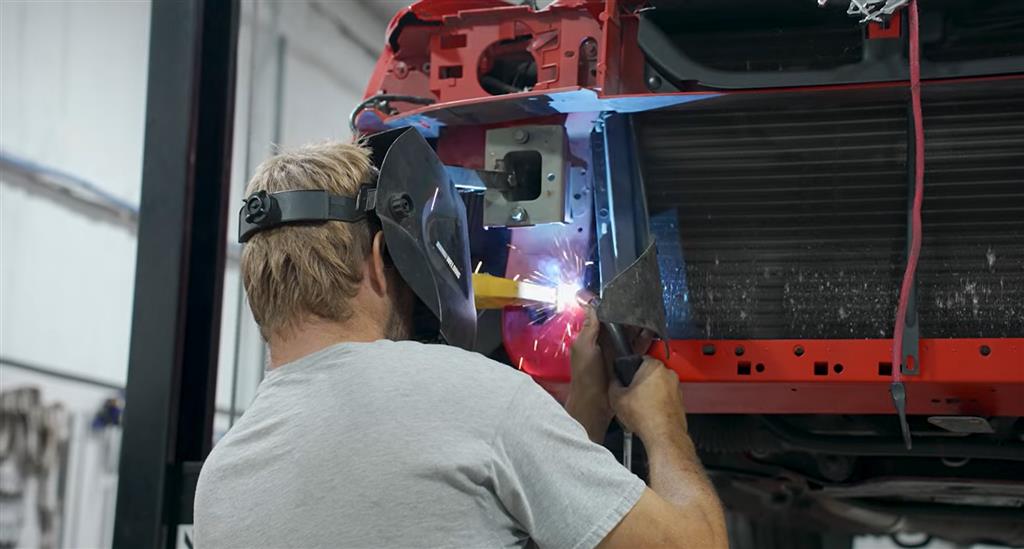
Before final welding, reinstall bumper cover loosely.
Verify:
If anything is off, break tacks and adjust.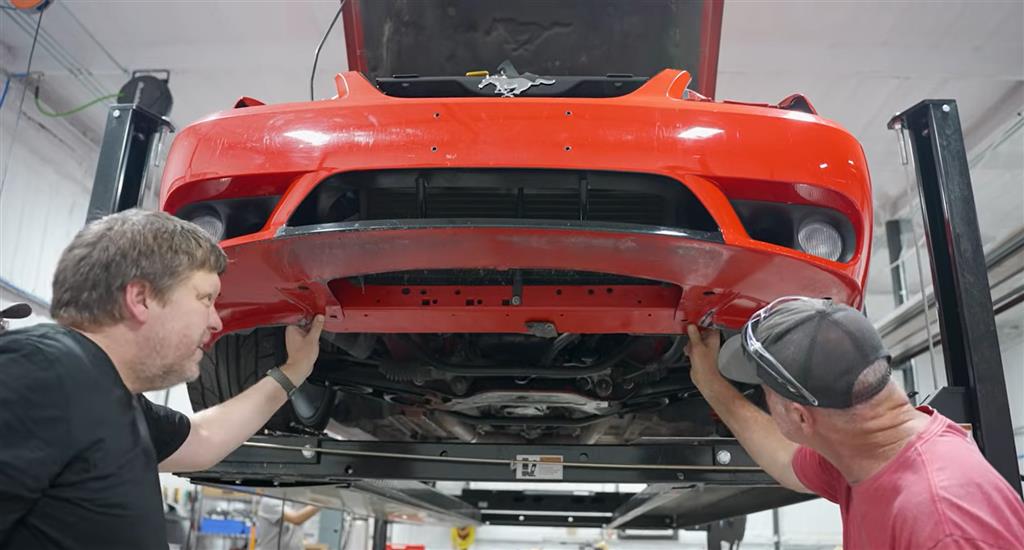
Use grinder/flap disc to expose bare metal.
Clean both sides of weld joints.
Remove:
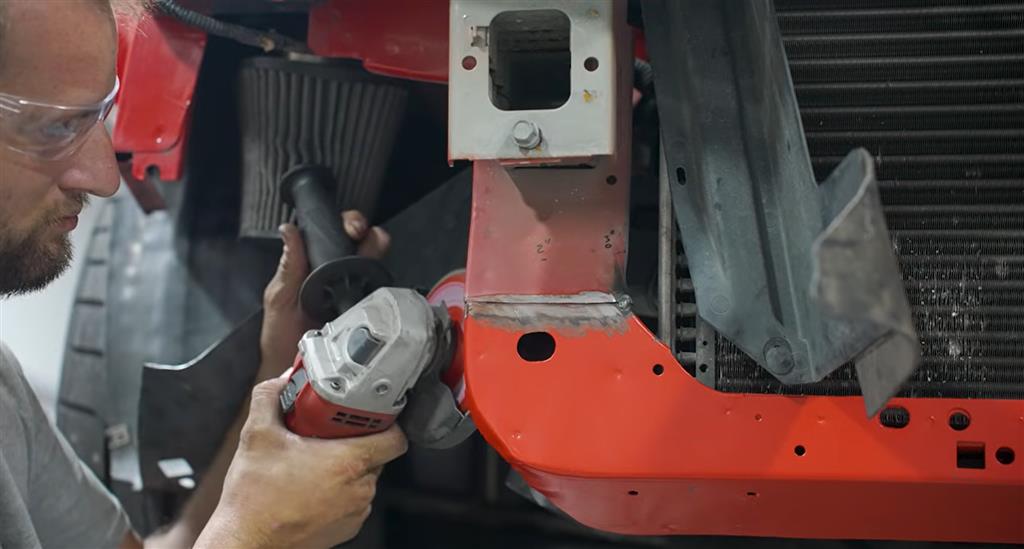
Use MIG welder.
Best practice:
Stitch Weld Method
Alternate sides to reduce heat warping.
Example:
Repeat until seam is complete.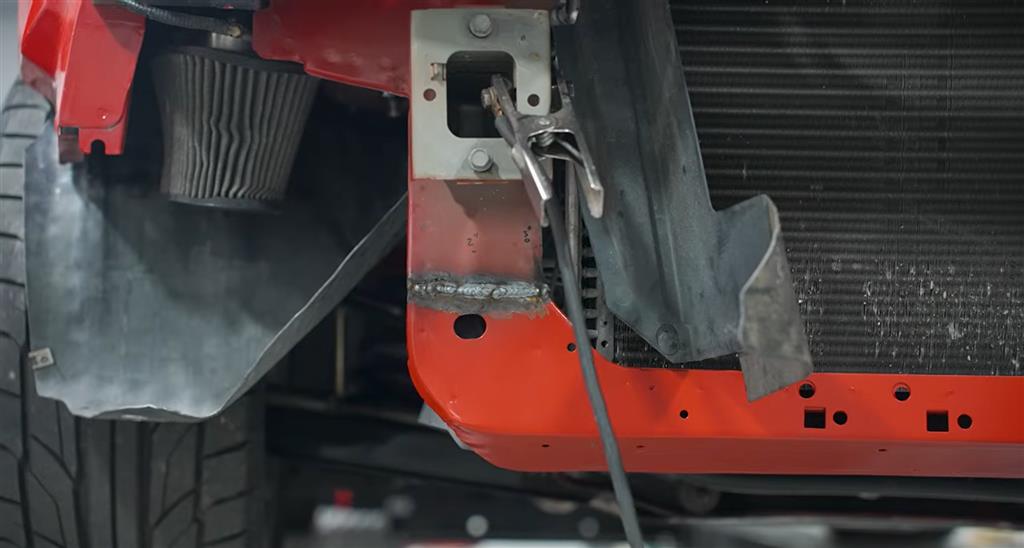
Use flap disc.
Goal:
Do not grind welds too thin.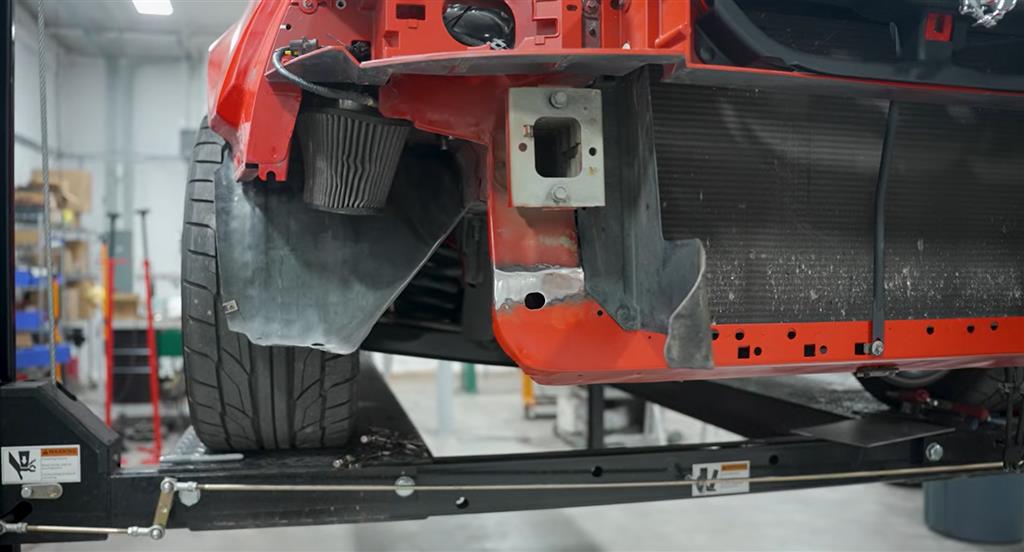
Apply:
Several light coats preferred.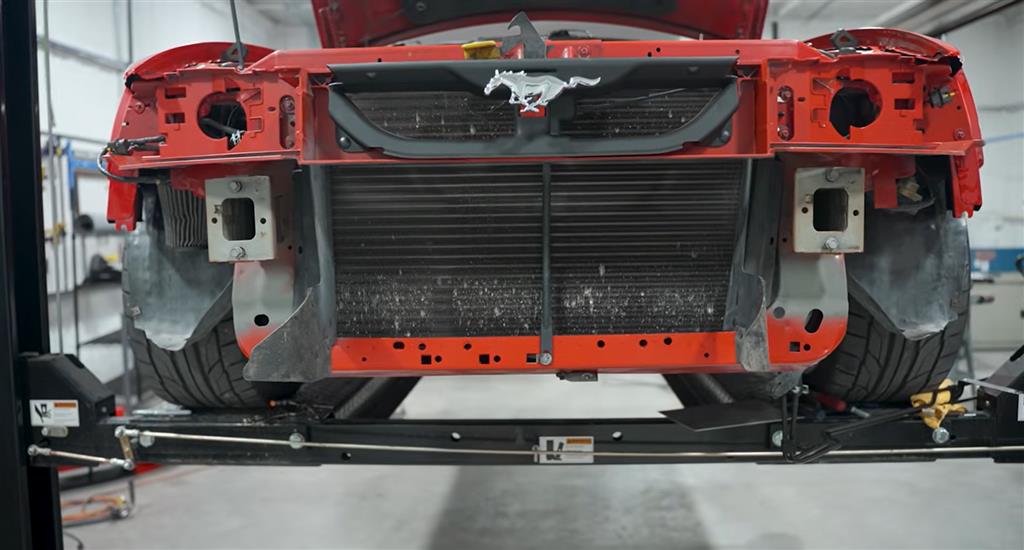
Use your preferred top coat.
Common options:
Mask surrounding areas first.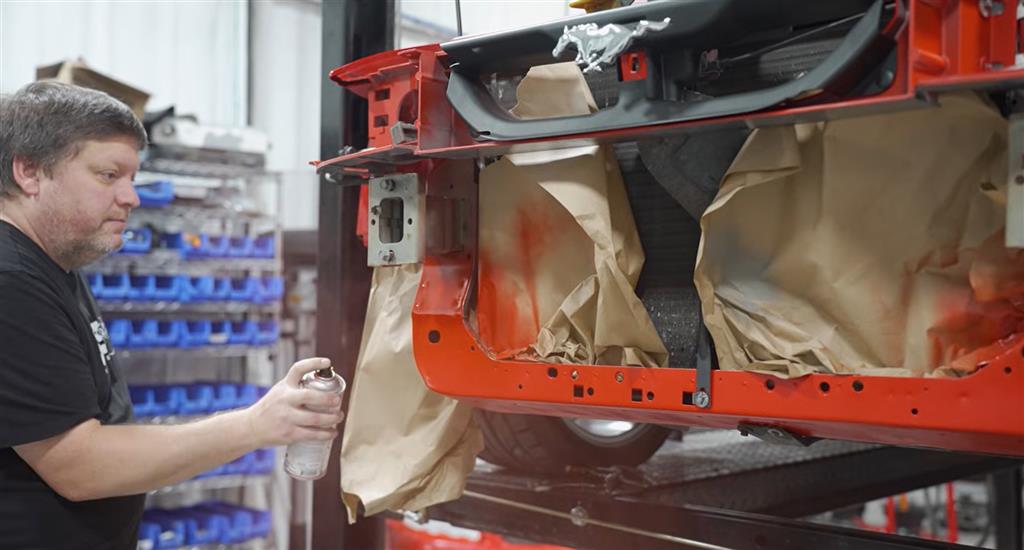
Highly recommended.
Spray inside seams with:
Especially important in humid climates.
Reattach:
Reinstall bumper and verify:
Check:
Structural
Cosmetic
Functional
Check out our YouTube channel for even more tech tips, installation videos, how-tos, and more. The best place to go for anything Mustang related!