2005-09 Mustang Parts
Follow these easy steps to install jacking rails on your 2005-2014 Mustang.
The SVE Jacking Rails are designed specifically to provide a stronger, more convenient lifting point along the side of the S197 Mustang. Unlike relying directly on individual pinch-weld lift points, the extended SVE rails allow you to support a much larger portion of the vehicle's weight and, when properly installed, lift an entire side of the Mustang.
The SVE rails are constructed from 14-gauge mild-steel tubing, providing the rigid structure necessary for the rails to function as a dedicated lifting point rather than simply relying on the Mustang's factory pinch welds. One of the major features is the extended length of the rails providing greater weight distribution and larger lifting areas. This makes wheel and tire changes easier, works well with floor jacks and vehicle lift systems, and makes QuickJack-style lifting more convenient. Instead of lifting one corner at a time, the rail allows the lifting force to be distributed along the side of the vehicle. The SVE rails feature a powder-coated black finish, providing a durable exterior coating designed to withstand normal exposure to the elements while also giving the rails a clean, finished appearance underneath the Mustang. Finally, the SVE rails use welded end caps rather than plastic caps, giving the SVE rails a more integrated and finished construction.
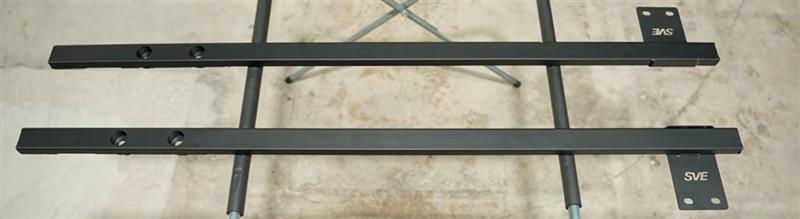
Before beginning installation, verify that the SVE Jacking Rails are appropriate for your Mustang.
The SVE rails shown in the video are designed for:
Before installing the SVE rails, the vehicle must be safely supported.
Front Support Location
Position the front lifting/support point on the K-member just forward of the oil pan.
The important thing is to keep the vehicle supported without using the pinch-weld area where the SVE rail will be installed.
Rear Support Location
At the rear, we used the rear lower control arm front body-mount area.
This provides sufficient clearance for the SVE rail during installation.
Important
The SVE rail installs between the K-member and the body, so there needs to be enough room to slide the rail's front mounting plate into position.
The K-member carries significant weight, so use caution when separating or positioning components to get the SVE mounting plate into place.
Never work underneath a vehicle that is supported only by a jack.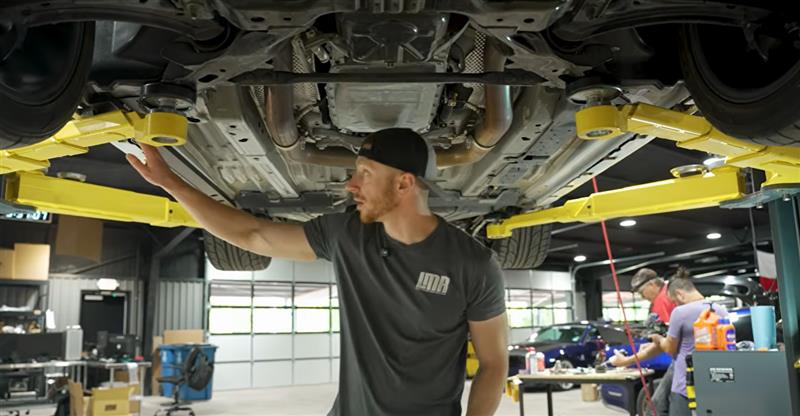
Before installing the SVE rail, clean the area where the rail will sit.
The SVE rail is designed to provide a dedicated lifting structure along the Mustang's rocker area. Proper positioning is therefore important.
Make sure:
The front portion of the SVE rail uses the existing K-member/body mounting location.
These mounting points are important because the SVE design uses the existing structure of the Mustang rather than requiring you to drill additional holes into the body.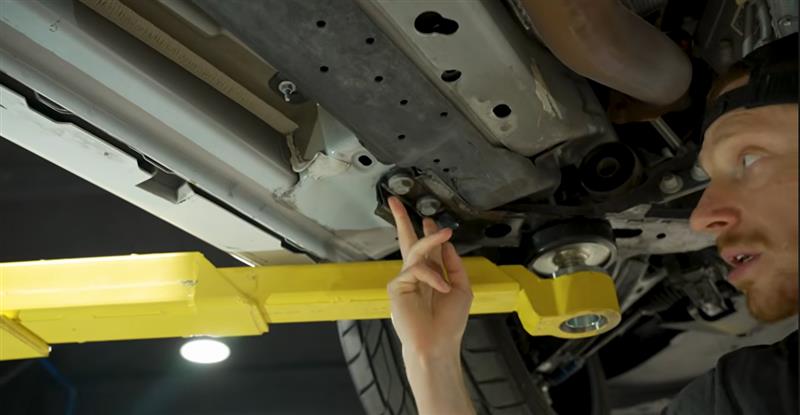
Once the factory bolts are removed, clean the threaded holes.
Why this matters for the SVE installation
The SVE rails rely on these existing mounting locations. Clean threads allow the SVE hardware to engage properly and reduce the chance of cross-threading or improper bolt seating.
* If you don't have an M12 × 1.75 tap, an old bolt can be modified into a thread chaser by cutting three grooves along its threads as shown in the video.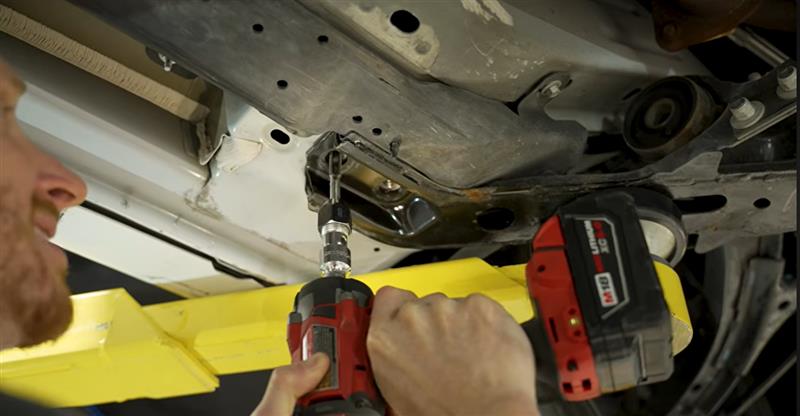
The SVE rails also use existing rear mounting holes.
These holes may not contain old thread locker like the front holes, but they can collect dirt and debris.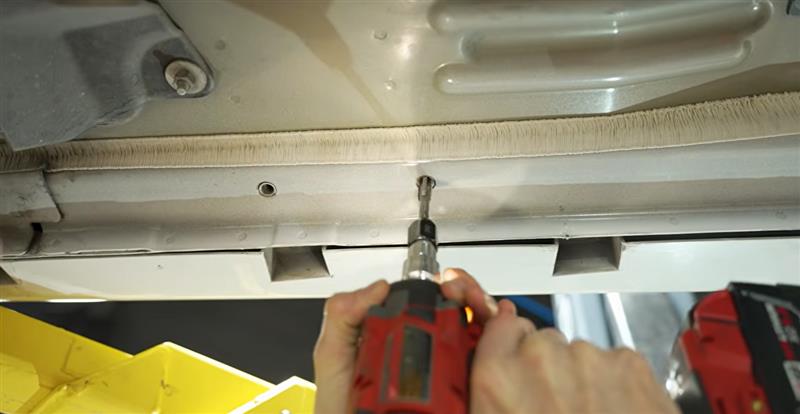
The SVE jacking rails are side-specific.
Before installing anything:
This is particularly important because the rails are shaped and positioned specifically for their respective sides.
Once the front of the SVE rail is positioned:
The rear mounting holes are angled, so you may need to manipulate the SVE rail slightly to get the bolt started.
The first rear bolt is primarily being used to hold the SVE rail in position while you align the remaining hardware.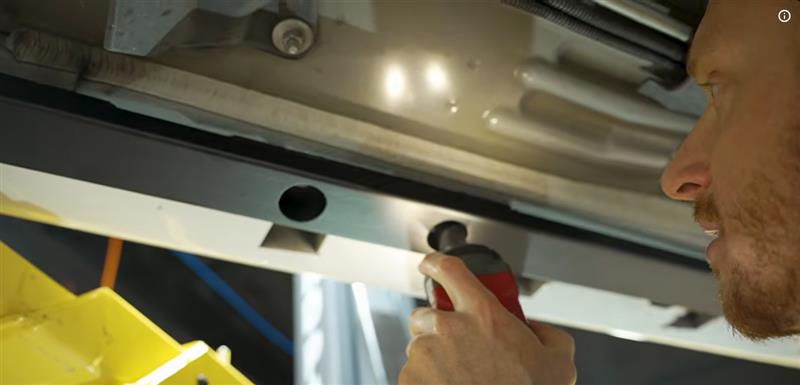
The front SVE mounting plate is designed to fit between the K-member and the Mustang's body.
This is one of the more challenging portions of the installation because the K-member can place pressure on the area.
You may need to:
Spacer recommendation
The spacer should be:
The purpose is to create enough clearance for the SVE mounting plate to slide into position without damaging the surrounding components.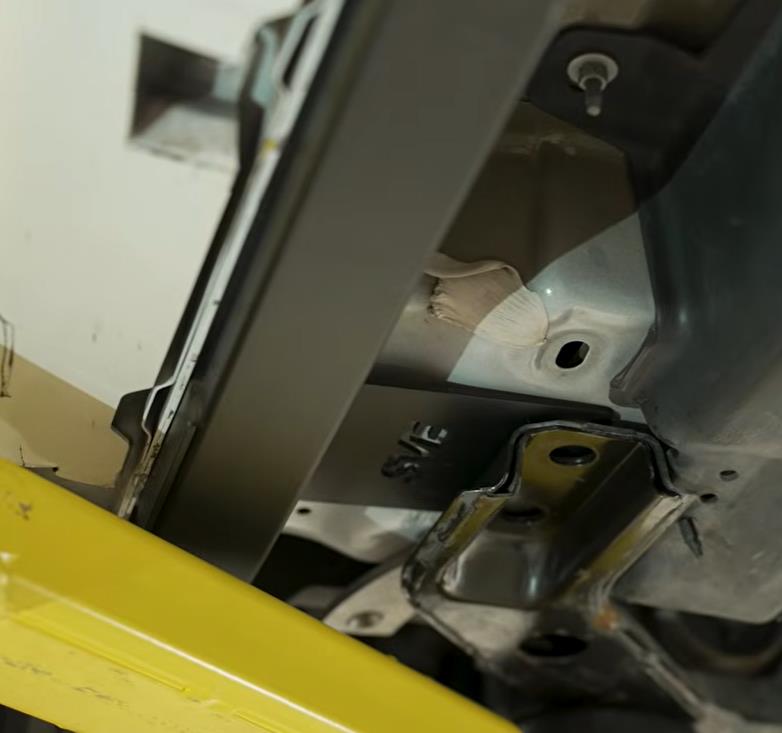
With one rear bolt started, move to the front mounting points.
Make sure the SVE rail is sitting where you want it before tightening anything completely.
The extended SVE design means the rail runs along a significant portion of the Mustang's rocker area.
Proper alignment is important because the rail is intended to become a structural lifting point.
Inspect the factory front bolts.
If the threads are clean and in good condition:
Do NOT fully tighten the front bolts yet.
The SVE rail needs some movement while the remaining mounting points are being aligned.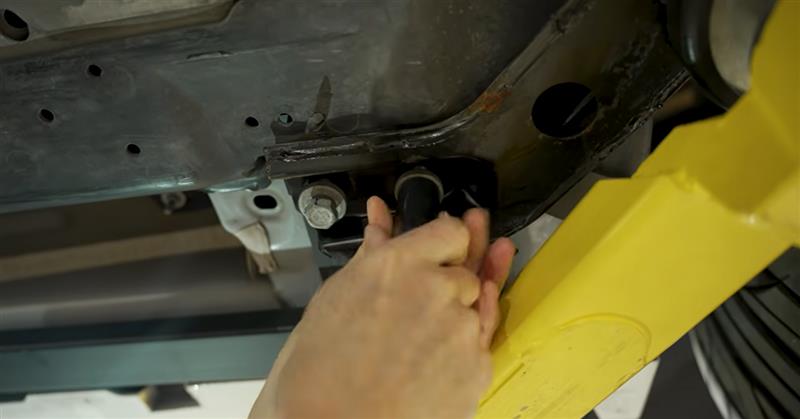
With the rail held in position:
The goal is to have all SVE mounting points started before final torque is applied.
As you tighten the mounting hardware, the SVE rail will begin to conform to the body of the Mustang.
This is normal.
The rail may want to twist slightly as the mounting bolts are tightened.
Work gradually:
Do not force the rail into an unnatural position.
Once the SVE rail is properly aligned:
Torque the front bolts to 85 ft-lb.
Make sure the mounting plate remains properly seated while tightening.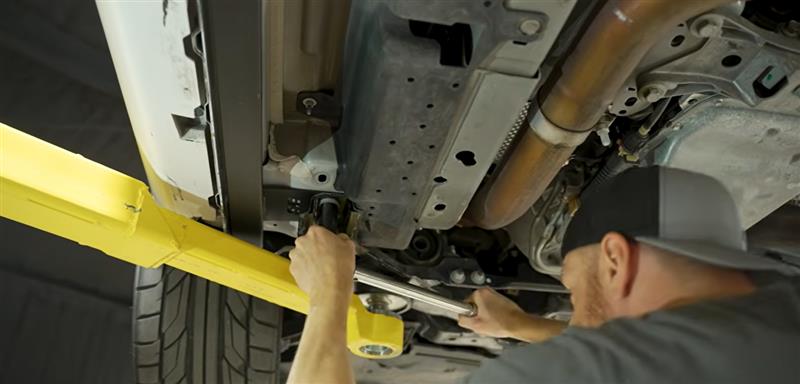
Next, tighten the rear mounting bolts.
Rear bolt torque specification: 45–50 ft-lb.
As you tighten the rear bolts, continue watching the rail because it may move slightly as it contours to the Mustang's body.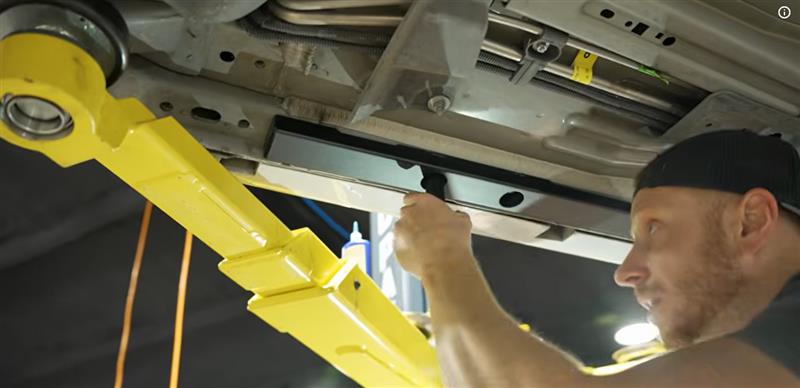
The driver side deserves particular attention.
On the example Mustang, the fuel-line shield creates a tighter working area.
Before considering the SVE installation complete:
The exact clearance can vary somewhat between model years.
The passenger side generally has more available clearance.
Nevertheless, inspect the complete installation for:
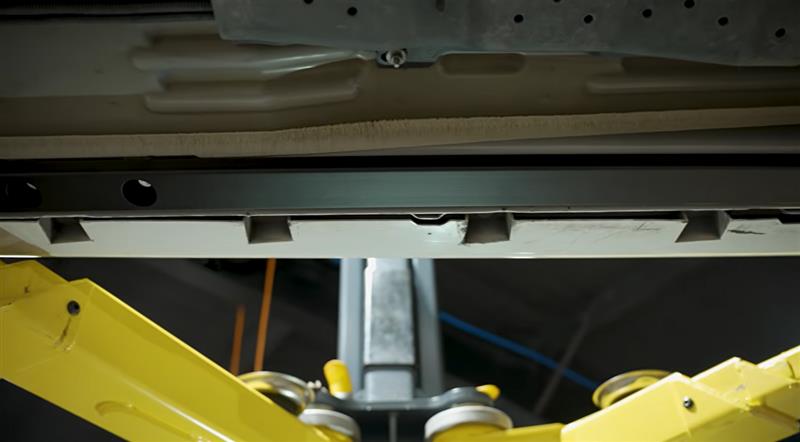
Before putting the Mustang back on the ground, perform a complete inspection.
SVE Rail
Hardware
Clearance
Check around:
Check out our YouTube channel for even more tech tips, installation videos, how-tos, and more. The best place to go for anything Mustang related!