SHOP

1979-93 Mustang Parts
Free Shipping on qualifying orders over $99* Details
LMR showroom & will call pickup service will be closed beginning Monday 9/21/26 for renovations until further notice. Need help? Contact Us.

How To: Install 302/351 Mustang Cylinder Heads and Valvetrain

Follow along as we show you step by step how to install cylinder heads and the needed accessories onto your 302 or 351 based engine!

Viewing this install and using the information shared is subject to the terms set forth here - View the LMR Install Instructions Disclaimer.

Cylinder Heads and Valvetrain Install

Upgrading the cylinder heads on a 302 small-block Ford is a timeless mod that has been done since the early Fox Body days. Over the years, more affordable heads have been introduced to the market, making this swap even easier to do for even the most budget-friendly street builds. Installing new cylinder heads may seem like a daunting task, but having done countless head swaps, head gasket repairs, and engine builds, we here at LMR have put together an easy-to-follow guide for you to follow.

Tools Required:

  • 3/8" Drive Torque Wrench
  • Socket Set
  • Allen Wrench Set
  • Black RTV Silicone
  • Engine Oil
  • Engine Assembly Lube
  • Small Ball Peen Hammer
  • Paint Pen/Permanent Marker
  • Thread Sealer
  • Fastener Assembly Lube
  • Blue Loctite

Installation Instructions

  1. Install Lifters and Retainers
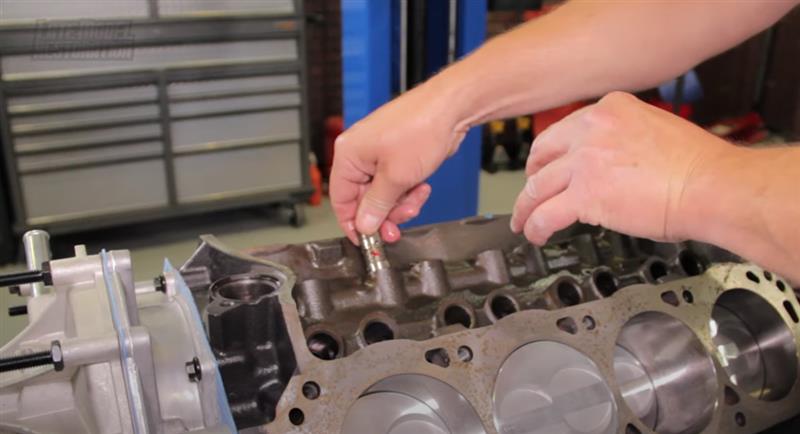
      • Apply engine assembly lube to the rollers on the lifters.
      • Install the lifters into the engine block with the holes facing up and toward the center.
      • Position the lifter retainers (also known as “dog bones”) between the lifters in their marked orientation.
      • Place the lifter retainer plate onto the engine block.
      • Loosely tighten the included lock washers and bolts to hold the plate in place.
      • Ensure the lifter retainers are centered, then torque the retainer plate bolts to 120 in/lbs.


  2. Mark Top Dead Center
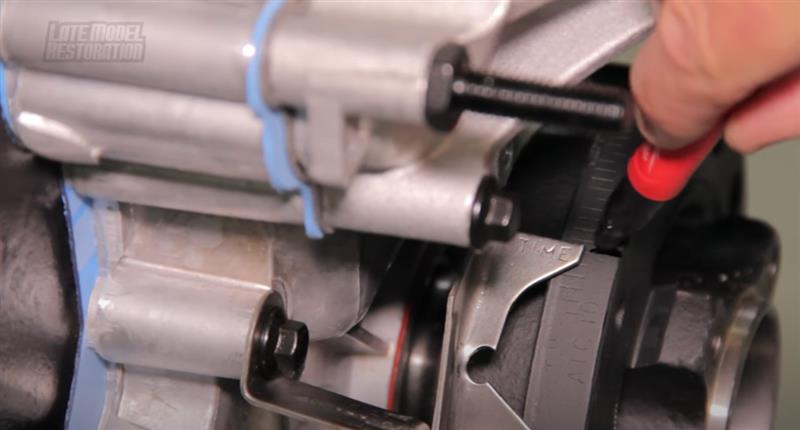
      • With the engine at top dead center, mark the zero-degree point on the harmonic balancer using a permanent marker or paint pen.


  3. Install Head Gasket
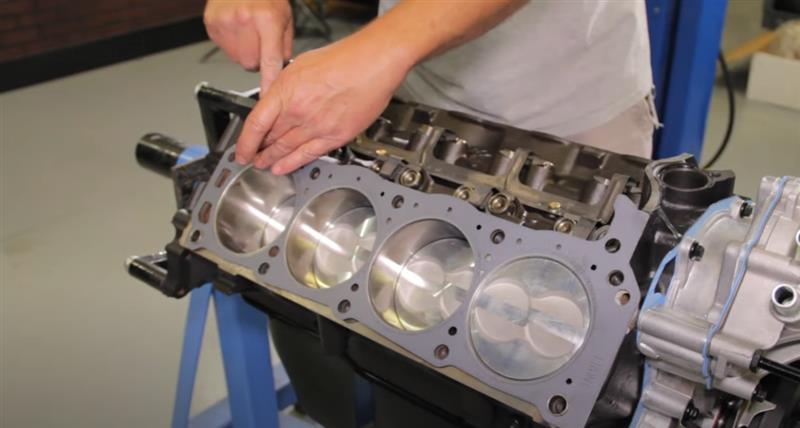
      • Position the head gasket over the cylinder head dowels on the engine block.
      • Apply a small amount of RTV behind the ear of the head gasket and at the top where the cylinder head and lower intake manifold will meet.


  4. Prep and Install Head Bolts
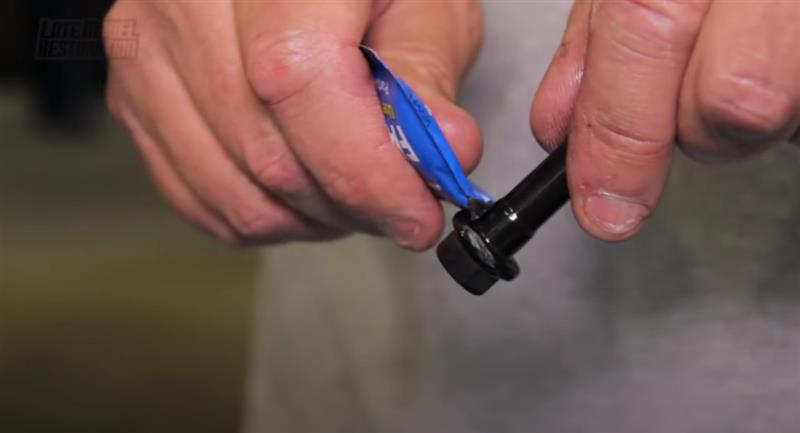
      • Apply thread sealer to all short/lower cylinder head bolts.
      • Apply fastener or moly lube to all tall/upper head bolts.
      • If using Trick Flow heads, install head bolt reducer bushings (for 7/16” bolts in 1/2” head bores).
      • Torque the head bolts in three stages from the center outward:
      •  Stage 1: 50 ft/lbs
      •  Stage 2: 60 ft/lbs
      • Final Oil & Fasteners Stage 3: 70 ft/lbs
      • Repeat the head installation for the opposite cylinder head.


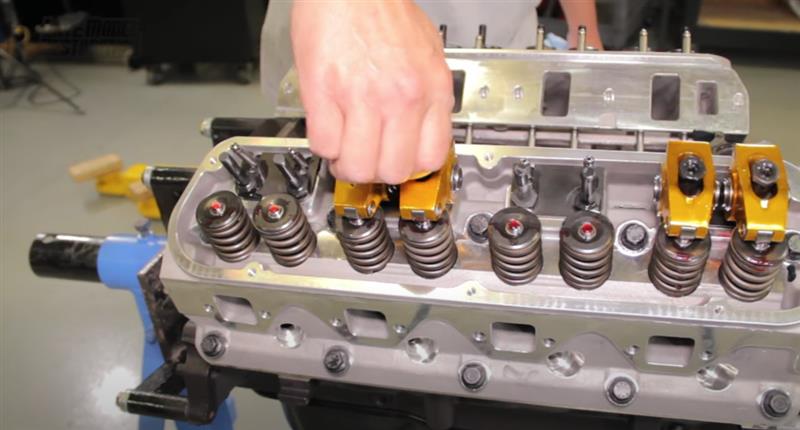
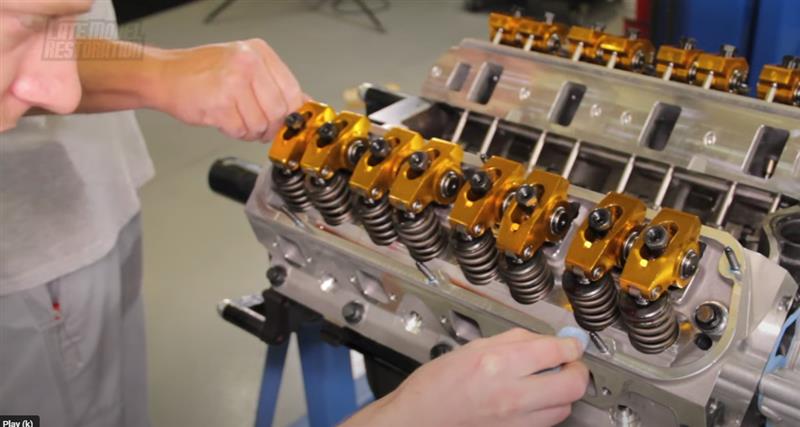
  5. Install Push Rods & Rocker Arms
      • Apply engine assembly lube to the top of the valves and lifters.
      • Slide the push rods through the guide plates and lube the guide plate area with fresh engine oil.
      • Apply engine assembly lube to the rollers and push rod cups of the rocker arms.
      • With the engine at TDC on cylinder #1, install both the intake and exhaust rocker arms.
      • Preload the lifters with about 3/8 turn on the set screw.
      • Rotate the crankshaft 90 degrees and repeat for cylinder #3.
      • Continue rotating the crankshaft 90 degrees and installing rocker arms in firing order: 1-3-7-2-6-5-4-8


  6. Final Oil & Fasteners
      • Apply fresh engine oil to any remaining contact areas.
      • Apply blue Loctite to the valve cover studs and hand-tighten them into the cylinder heads.
      • Wipe away any excess Loctite.


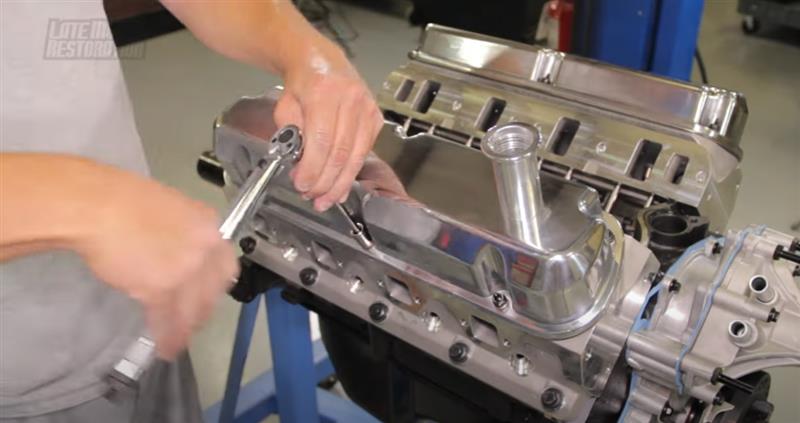
  7. Install Valve Covers
      • Position the valve cover gaskets and valve covers.
      • Install the washers and nuts, and torque the nuts to 15 ft/lbs, working from the center out.
      • Hand-tighten the oil fill cap.


  8. Final Check
    • Double and triple check all torque specs, seals, and connections.
    • This completes the cylinder head and valve train installation.


About the Video

How To Install 302/351 Mustang Cylinder Heads & Valvetrain (1979-1995)

Check out our YouTube channel for even more tech tips, installation videos, how-tos, and more. The best place to go for anything Mustang related!

Published on 2015-06-22
Landan shows how to install 302/351 mustang cylinder heads and valvetrain!

If you’ve ever wondered what it takes to install heads and the needed accessories for your pushrod-based Mustang, this video is for you!

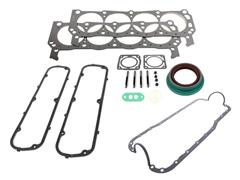
When it comes to cylinder heads, there are, without a doubt, many, many choices. From our in-house SVE heads, Trick Flow, Edelbrock, Ford Racing, and AFR, several options exist to fit your build. Whatever cylinder head fits your needs, you’ll also want to pick up a set of high-quality Ford Racing head gaskets.

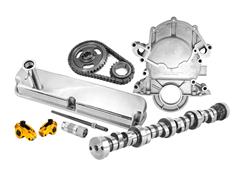
Since most new cylinder heads usually come assembled with valve springs and guide plates, you’ll need to pick up a set of roller rocker arms. We offer roller rockers from popular brands such as Crane Cams, Trick Flow, and Pro Form. Finishing off the core valve train components, are pushrods and lifters. Hydraulic roller and flat tappet lifters will be available from Comp Cams and Ford Racing. Multiple pushrod kits are available, ranging from the stock length of 6.248” to 6.700”. We also carry numerous pushrod length checking tools to ensure you select the proper push rod for your application.

Don’t forget to top off your new cylinder heads with a set of valve covers and valve cover gaskets. We offer several valve covers to match whatever engine theme you are going for. Whatever valve cover you do choose, keep in mind to always check roller rocker and throttle linkage clearance. You may need to run an intake manifold spacer with taller valve covers. Which could then lead to hood clearance issues. So always double and triple check before pulling the trigger on any valve train component.