![]()
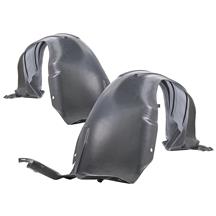
There are plenty of reasons why you might need a set of our 5.0 Resto Inner Fender Splash Shields. The first could be that the originals could have been cut or hacked to pieces or could simply be missing splash shields altogether. Taking a closer look, our splash shields are black and are constructed from plastic just as the factory pieces were. Also, all of the structural ribbing is molded into place, and all of the provisions for the push pins and the retaining screws. Below we have listed all of the components with this kit:
- (1) LH Splash Shield
- (1) RH Splash Shield
- Installation Hardware (Push Pins, J-Nuts, Short & Long Retaining Screws)
Removal Steps
Be sure to check out the full removal process on our YouTube channel!
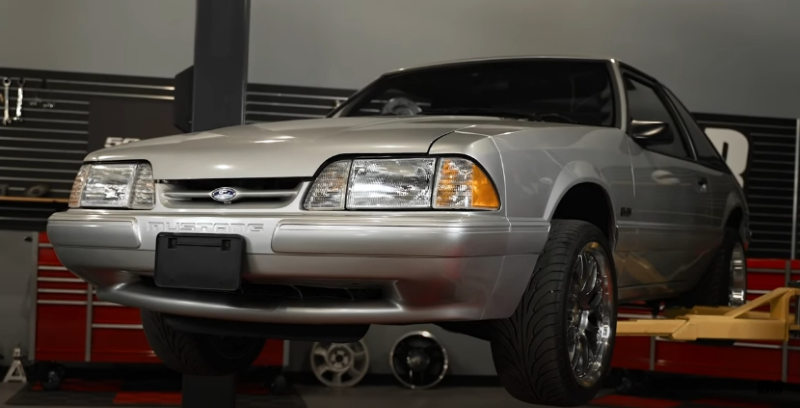
- You’ll first want to safely support the front of the car with jack stands or use a lift to support the entire car.
![]()
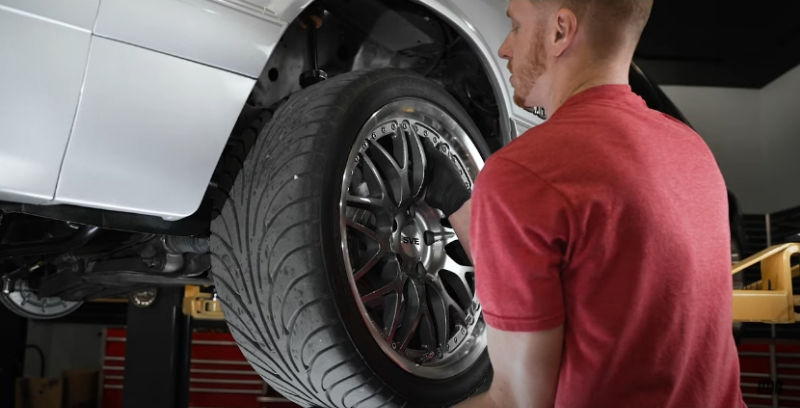
- Remove both front wheels.
![]()
- Loosen and remove all Phillips head retaining screws. There will be one at the front, top and rear of the fender. As well as (4) underneath the car.
![]()
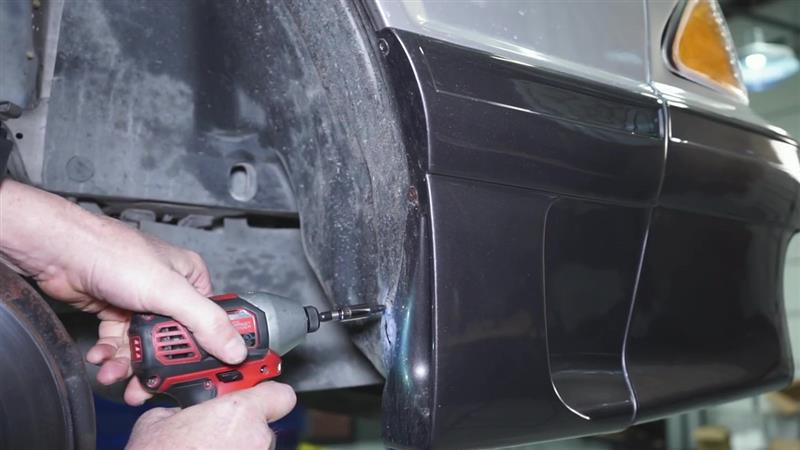
- For 87-93 GT, remove the (2) screws from the spat behind the tire. Then pull back and remove the retaining screw behind the spat.
![]()
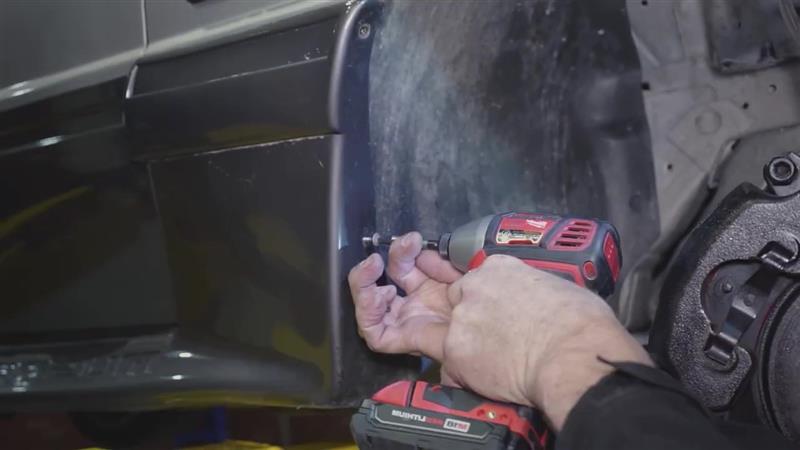
- Remove the (4) push pins from the splash shield. There will be two on either side of the strut, one near the rear of the K-Member and one under the front part of the frame rail.
![]()
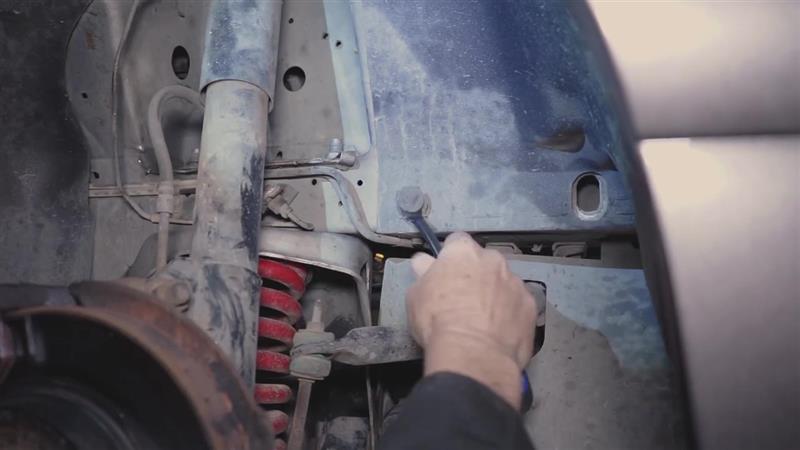
- You can now remove the splash shield from the car.
![]()
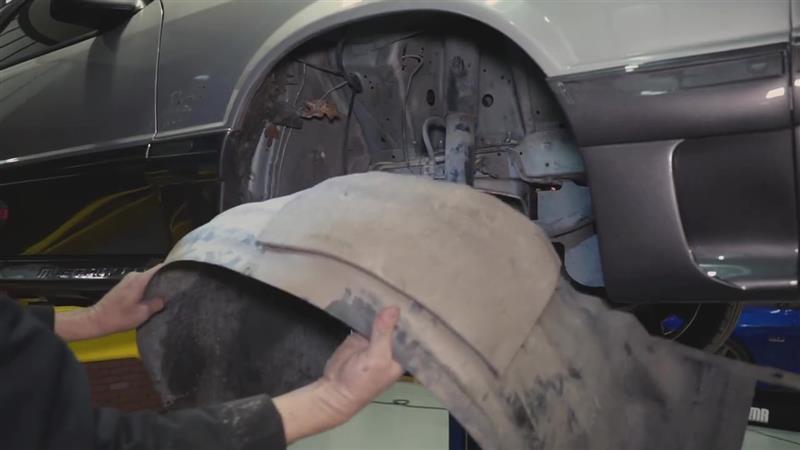
Installation Steps
- Go ahead and use this opportunity to clean the inner fender area and any other component that you can’t access with the inner fender splash shield in place.
![]()
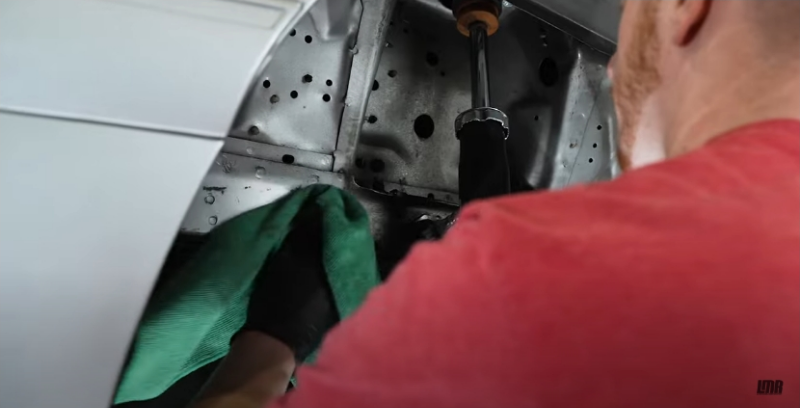
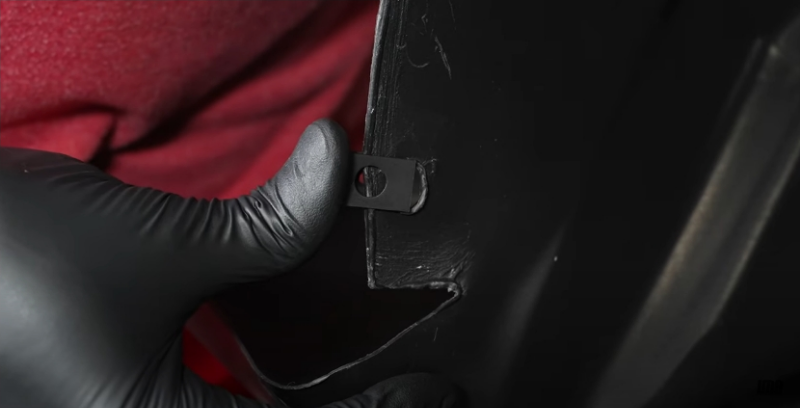
- First, we’ll go ahead and install the provided j-nuts onto the splash shields. These get positioned onto the three provisions that run the outside perimeter of the splash shield. The flat side of the j-nut will face towards the outside and you’ll want to center these over each hole.
![]()
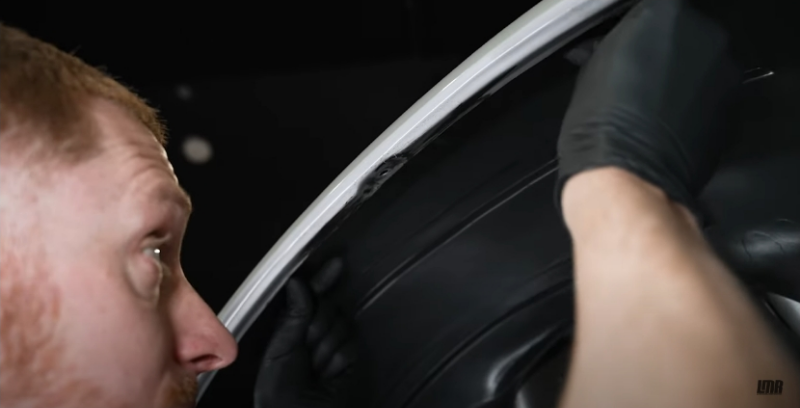
- Once clean, position the correct side splash shield into place. Roll the top edge of the splash shield around the outside lip of the fender.
![]()
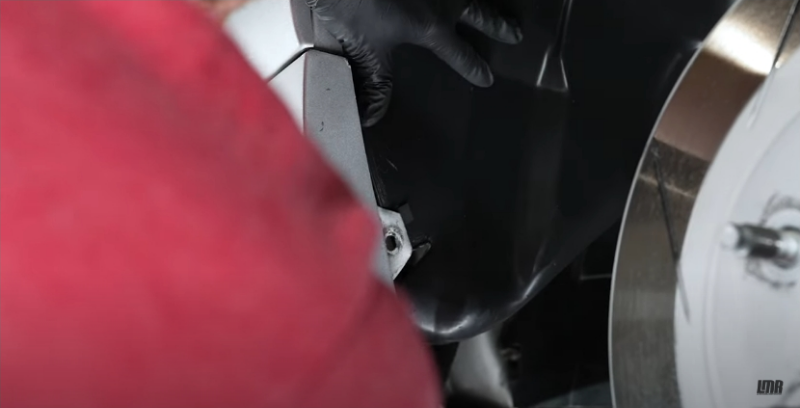
- You’ll also want to verify that the front and rear sections of the splash shield are positioned behind the fender as well.
![]()
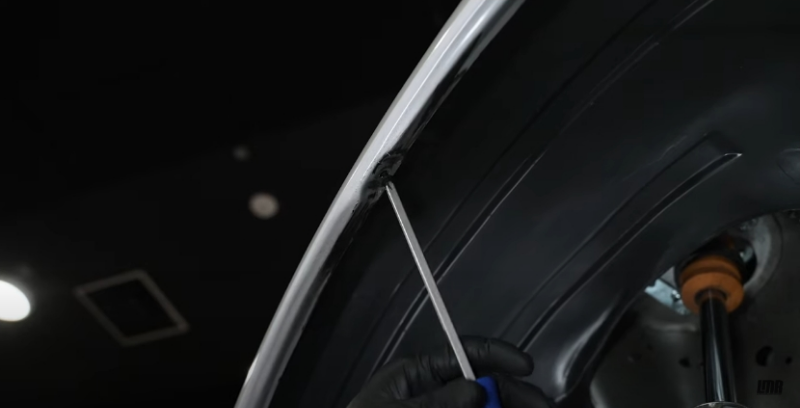
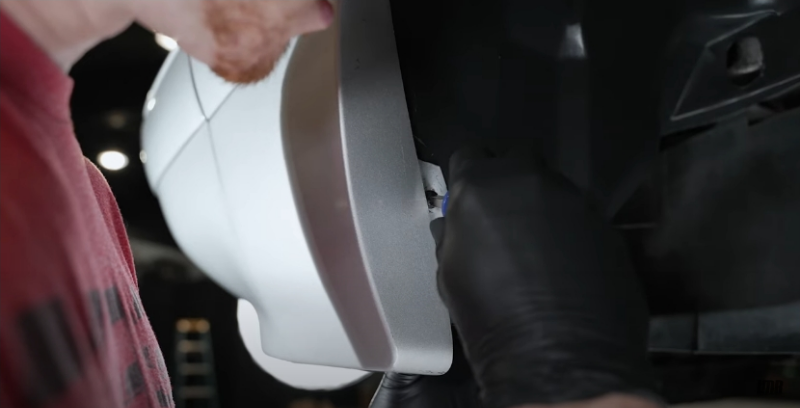
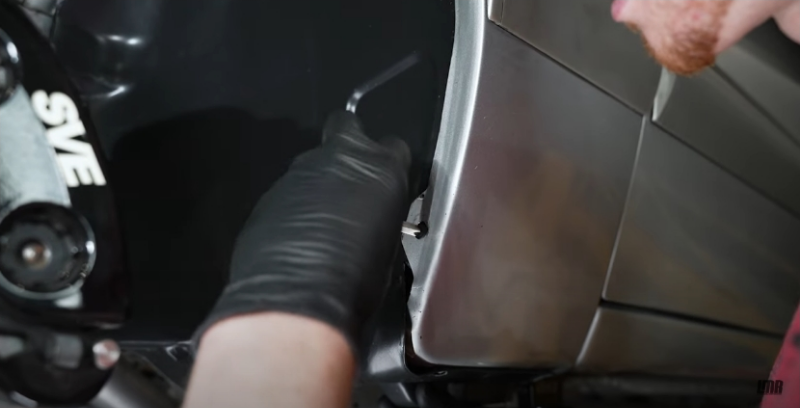
- Align the j-nut with the upper screw hole in the fender and loosely thread one of the provided long #8 screws. Run this screw all the way down, but don’t fully tighten.
![]()
- Do this for the frontward and rearward attaching points as well.
![]()
![]()
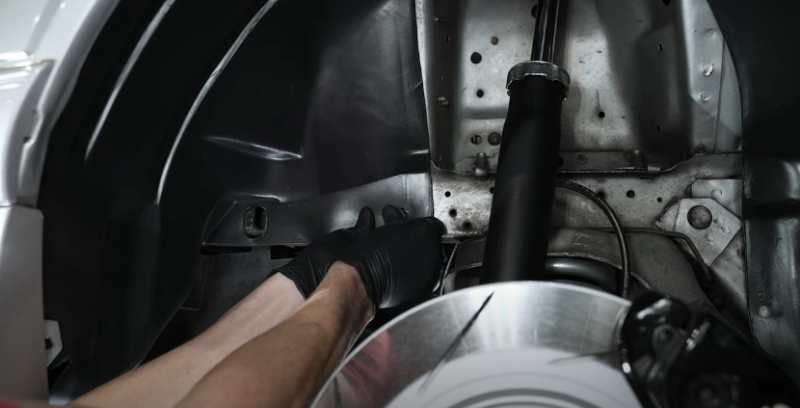
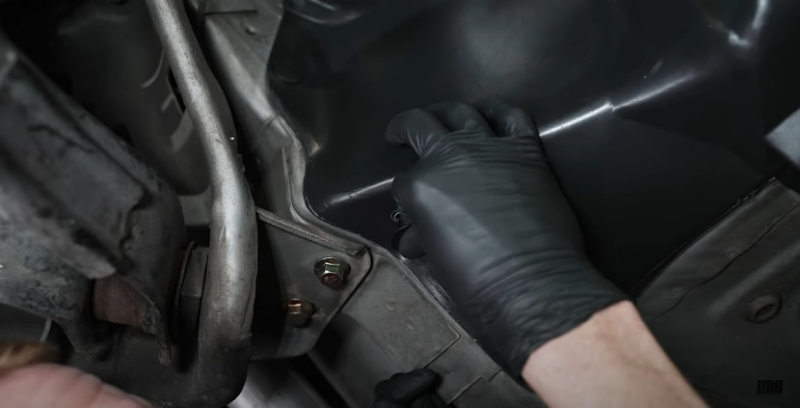
- Now you can align the splash shield with the correct holes for the push pins. There are (4) of these in total.
![]()
![]()

![]()
![]()
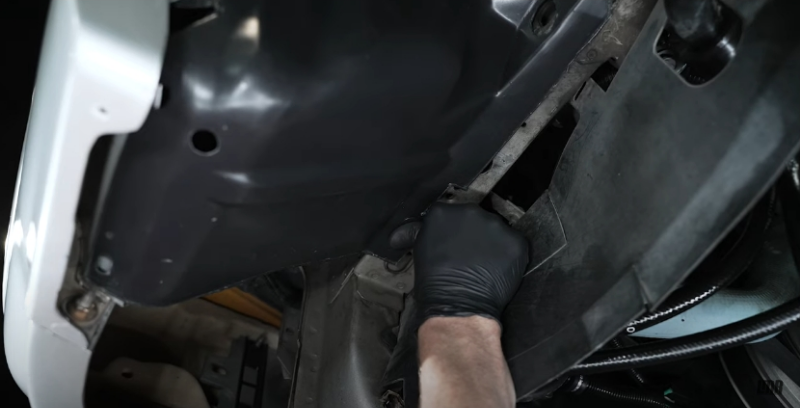
- Align the rearward most section of the splash shield with the underside of the car.
![]()
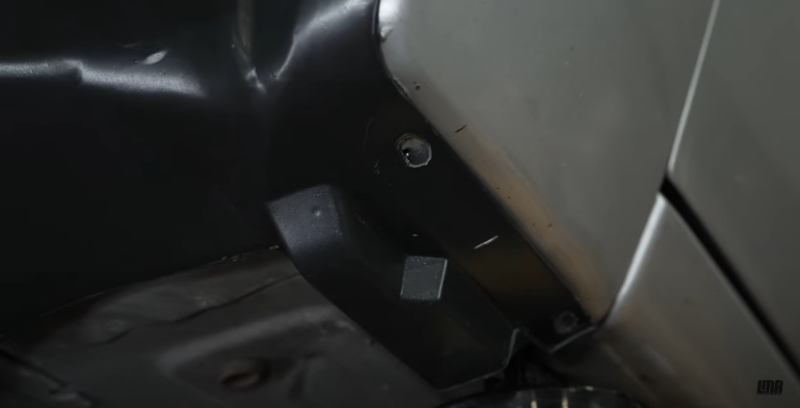
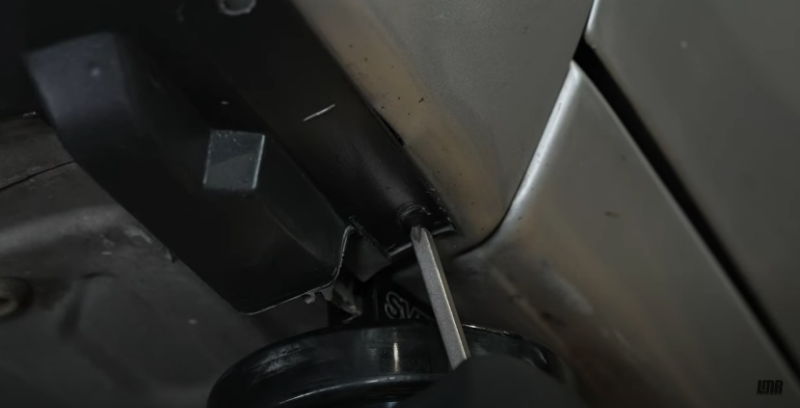
- Install two of the provided short #8 screws into place. Now, these holes are slightly oversized for a reason. You’ll want to “pinch” the outer edge of the hole with the screws. Slightly oversizing the holes allow for adjustability.
![]()
![]()
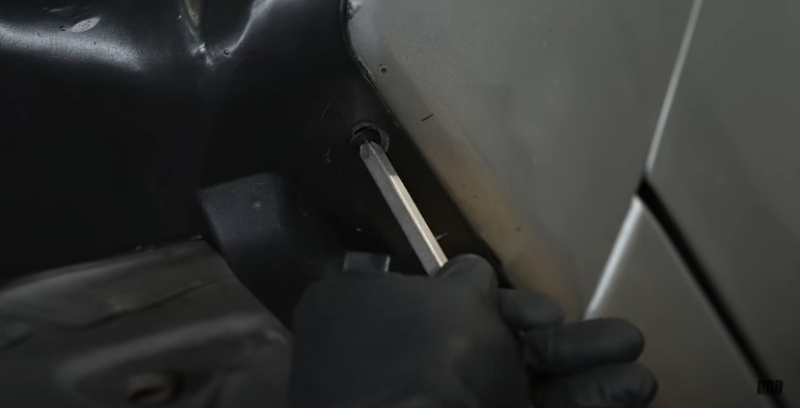
- At the very front of the splash shield, there isn’t a dedicated spot for the screw. You’ll simply eyeball the alignment from where the factory screw hole is and thread one of the short screws through the splash shield.
![]()
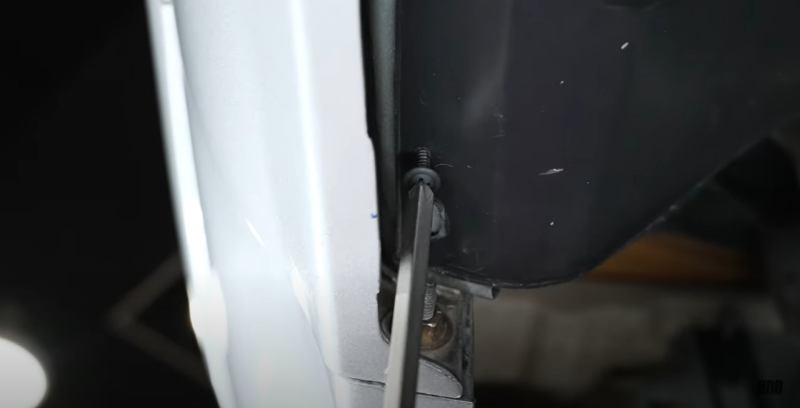
- Now you can fully tighten the three screws that you first installed. Check over your work and then do the same thing for the other splash shield.
![]()
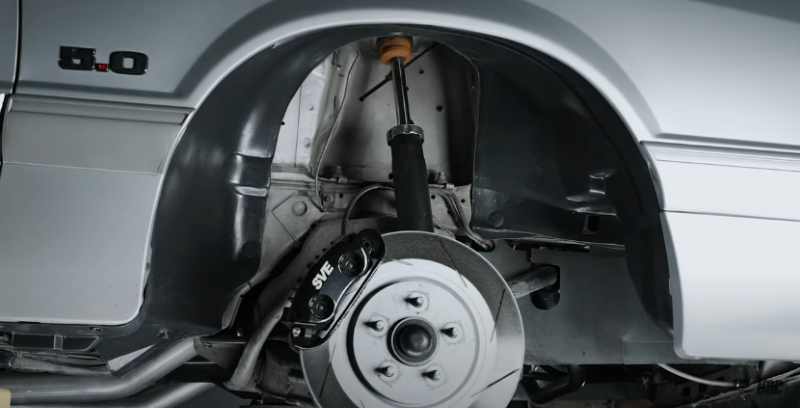
- Reinstall the wheels and torque the lug nuts to spec.
![]()
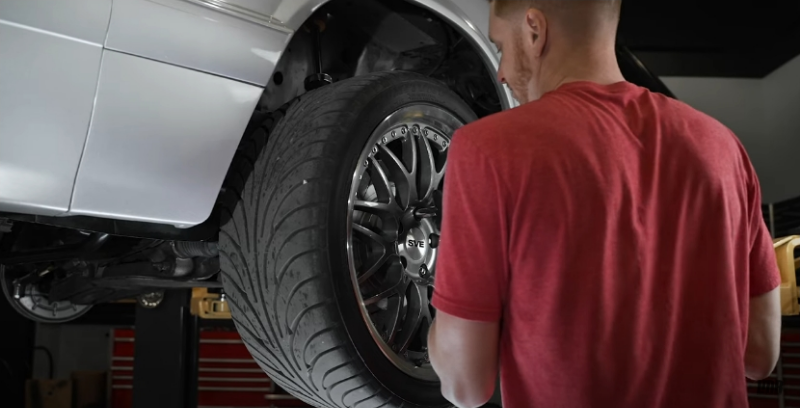
Fitment Adjustments
- If you're running into fitment issues (rubbing of the splash shield to the tire), then follow the steps below. These steps are mainly applicable for 1979-1990 cars, but those of you who own 1991-1993 Fox's may find value in this as well.
![]()
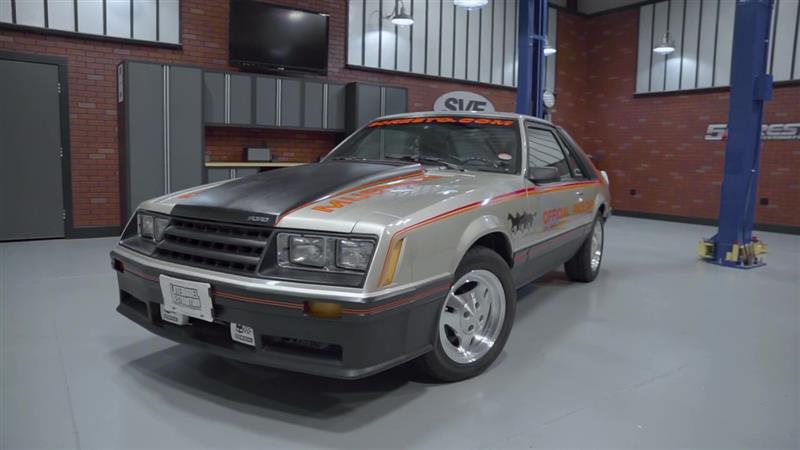
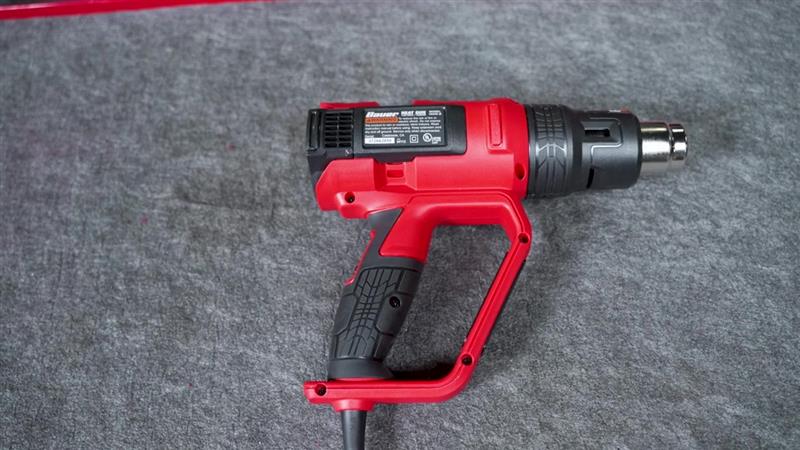
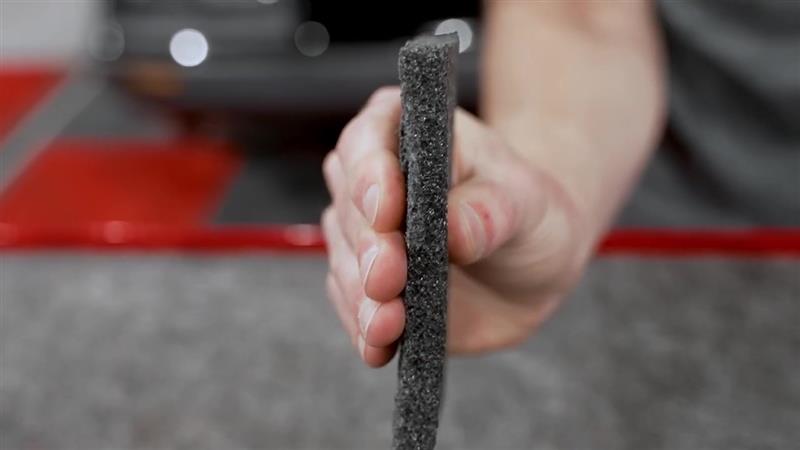
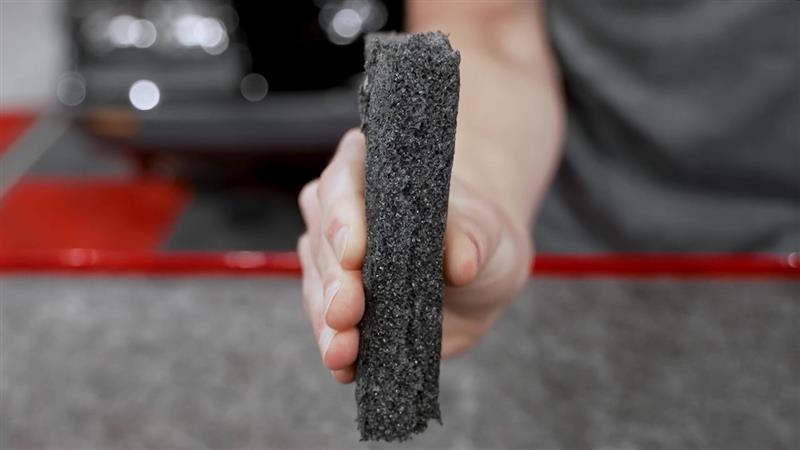
- You'll first want to gather a few supplies. This includes a heat gun and a few different thicknesses of dense foam, depending on how much clearance is needed.
![]()
![]()
![]()
- Pick a side to start with and ensure the suspension is loaded. Turn the wheel until it stops in either direction (or starting on the driver's side) and at the front of the splash shield (which is where most clearance issues occur on 1979-1990 Mustangs).
![]()
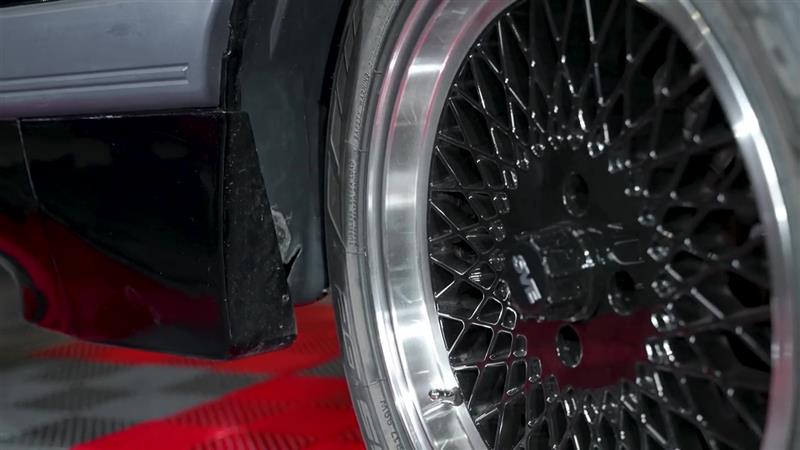
- Check the clearance and determine how much is needed. Carefully heat the plastic with a heat gun. Have a little common sense here, and don't get the plastic too hot.
![]()
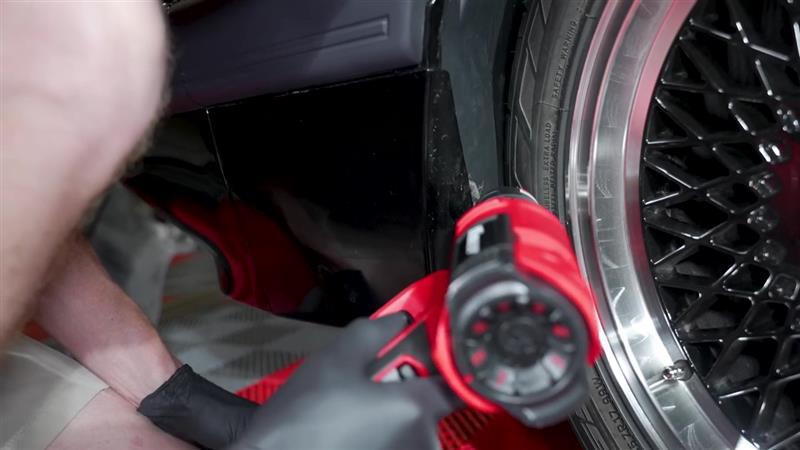
- Whenever the plastic is warm, insert the dense foam between the tire and splash shield. We started with the thinner piece first. Let this remain in place for several minutes and allow the plastic to take on a new shape. Once roughly five minutes have passed, remove the foam and check for clearance. We needed just a little more room, so we repeated the process and used a thicker piece of foam.
![]()
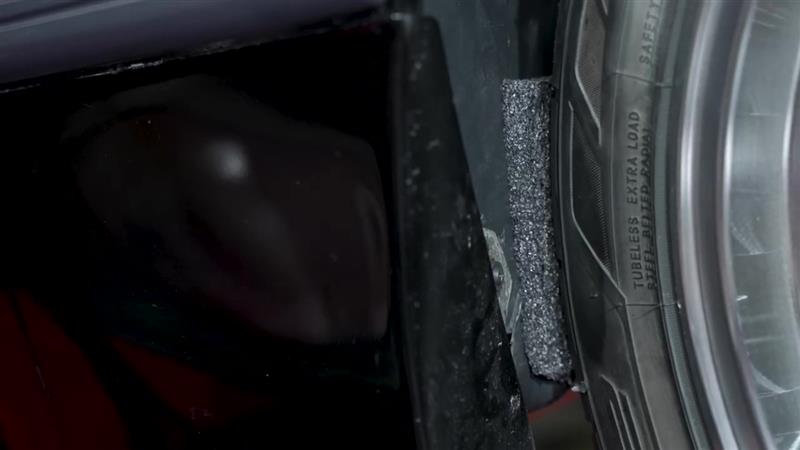
- Start the car and turn the wheel to lock in the opposite direction. Check the clearance and repeat the same steps that you just did. The rear area will only have so much clearance, as there is a section of the body directly behind the splash shield. Repeat these same steps for the other whenever you're happy and content with the clearance on one side.
![]()
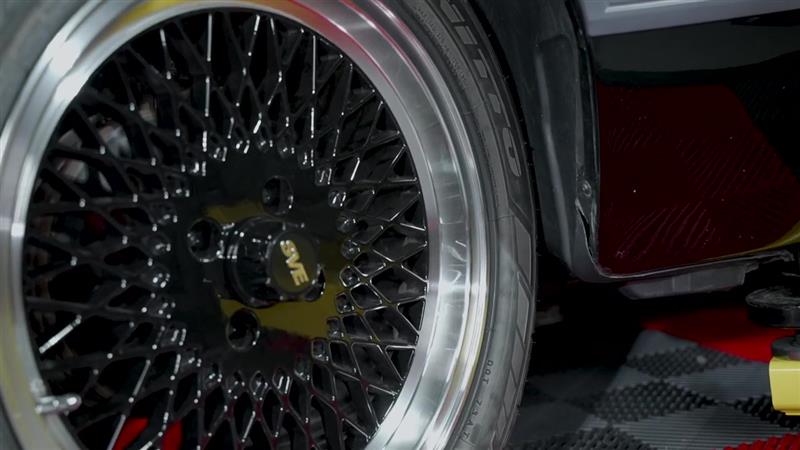
- Depending on each car and the setup, the amount of clearance will differ from car to car. After that you're good to go
![]()
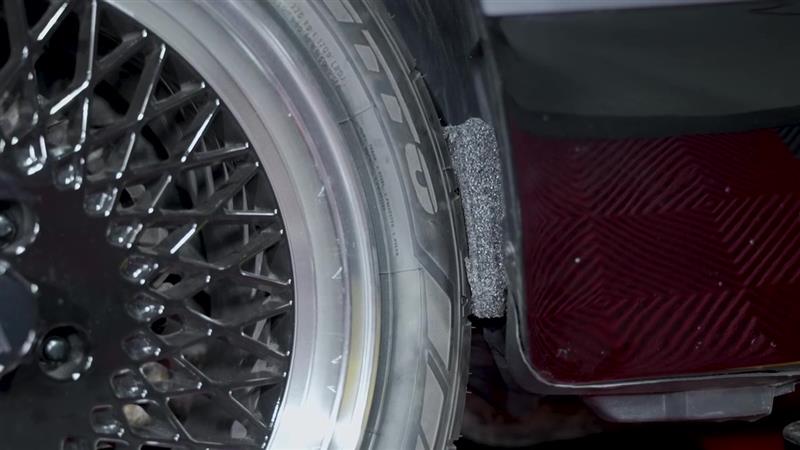
Get the car on the ground, and you’re all finished. This is an absolute must-have part and we at LMR couldn't be happier with the results. We've been anxiously awaiting this product as we know you the customer have as well.
As always, for all things Fox Body keep it here with the Real Mustang Enthusiasts at LMR.com