About the Video
How To Change Mustang Serpentine Belt - LMR Basics
Check out our YouTube channel for even more tech tips, installation videos, how-tos, and more. The best place to go for anything Mustang related!
Published on 2016-12-05
In this installment of LMR Basics, check out the very simple steps required to change your serpentine drive belt. The serpentine drive belt’s job is to turn all of the accessories in relation to the engine’s crank pulley.
Shop LMR.com for the best selection of accessory drive parts for your Mustang.
Transcript
What’s up everybody? Landan here with Late Model Restoration. In this installment of LMR Basics, I’m going to be showing you the very easy steps in regards to changing your serpentine drive belt, and will be doing the work on this ’92 coupe.
The serpentine drive belt’s job is to turn all of the accessories in relation to the engine’s crank pulley. This belt turns the power steering pump, smog pump if equipped, A/C compressor, water pump and alternator. So, needless to say; it’s fairly important.
This job doesn’t require many tools at all. If you know the correct belt length already for your car; you simply need a break over bar and an 18mm socket.
Now, for some reason you don’t know the correct belt length, access the video in the description or the card in the upper right hand corner on your screen. This will mainly benefit those of you that have an A/C delete, power steering delete, or other custom application.
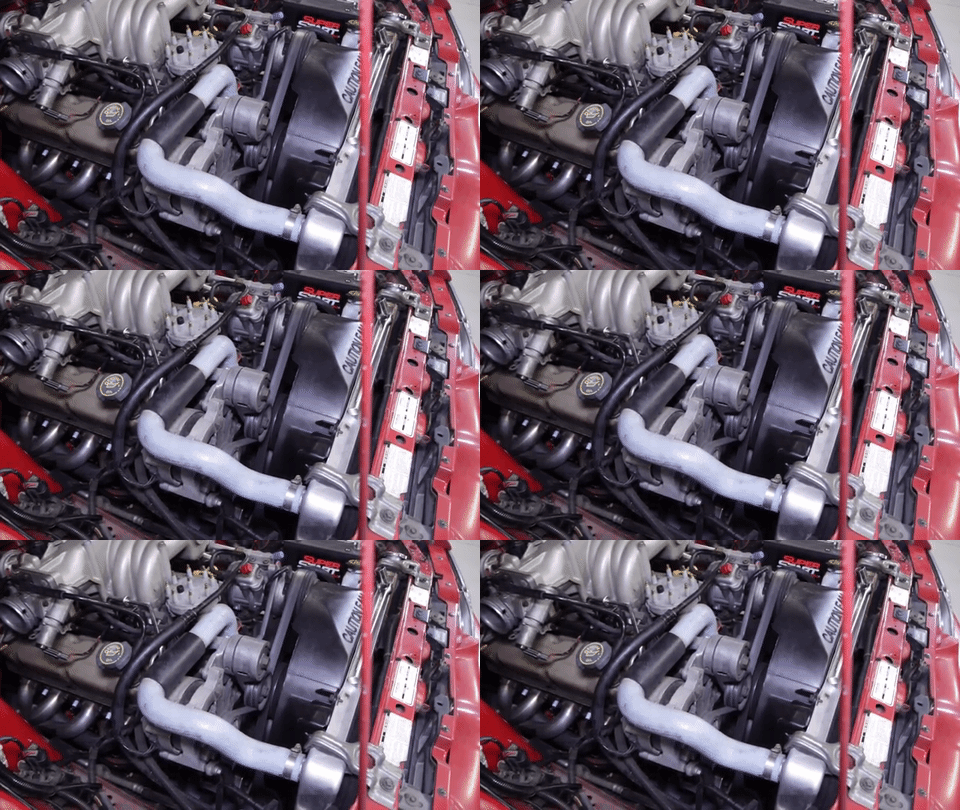
To begin, pop the hood and locate the belt tensioner.
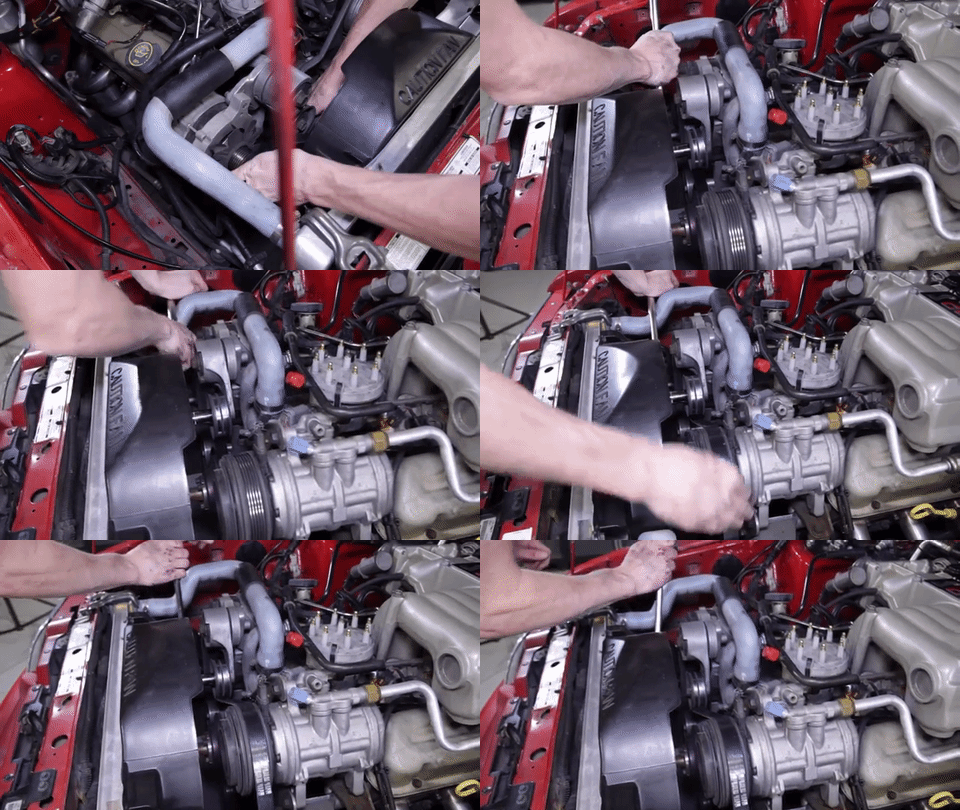
Position the 18mm socket over the bolt on the tensioner pulley. Do your best to position the break over bar at the twelve o clock position.
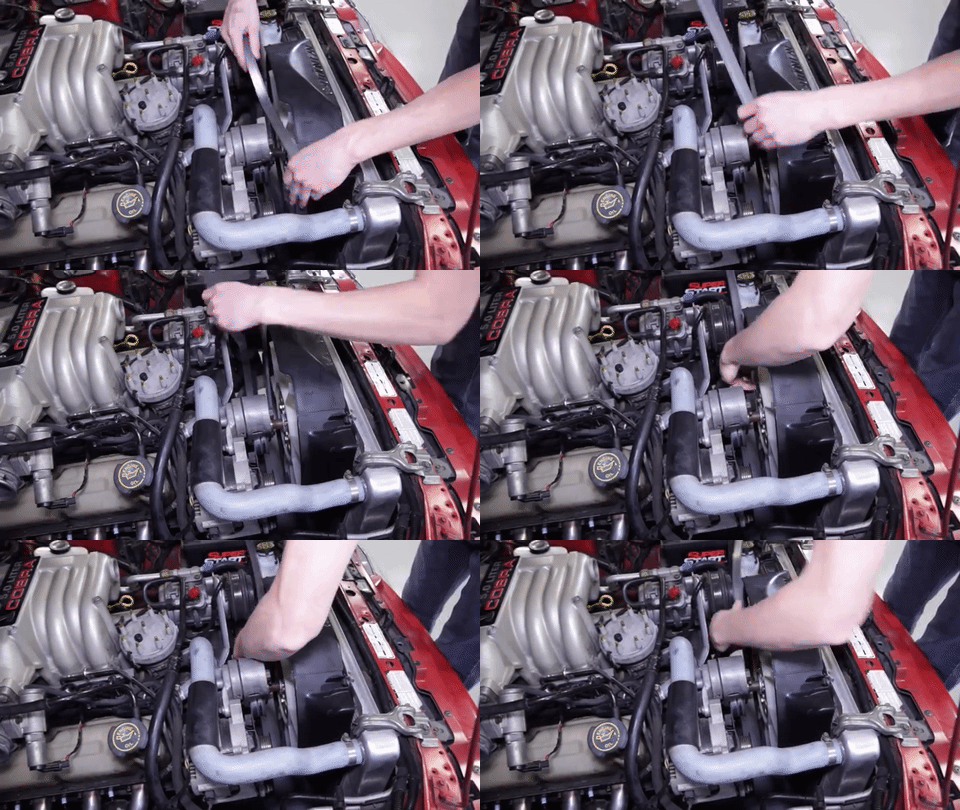
Now, rotate the bar counter-clockwise until you can release the old belt from one of the pulleys. The general rule of the thumb is to simply slide it off of the top most pulley. In this case, it’s the A/C compressor.
Once you have some slack, remove the old belt from the car.
Position the new belt in the same orientation that your original belt was.
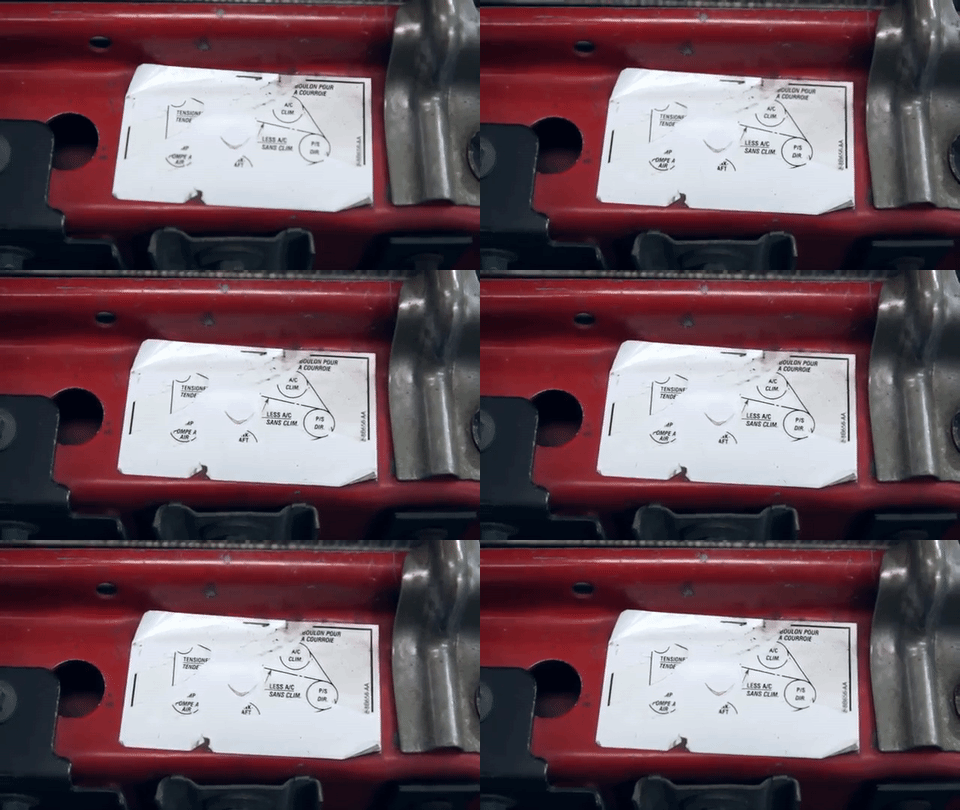
Be sure and check the engine decal for proper belt routing located on the top of the core support.
If you’re decal is missing, check out our selection of under hood factory style decals for your application.
Since this one is a little tough film because of the tight areas, check out this helpful infographic we put together.
It covers factory setups and other popular delete setups.
Once the belt is orientated in the right direction, rotate the tensioner counter-clockwise and slide it onto the tensioner pulley.
Double check and make sure all of the ribs on the belt are properly seated on the pulleys.
That completes a successful serpentine belt change.
Alright guys, this one is super easy and should take you no more than fifteen minutes to complete. While you’re replacing your belt, be sure and check other common wear items in the area. Such as the belt tensioner, fan clutch, and other key belt accessory drive components.
Until next time fellas, take this time to subscribe to our YouTube channel if you haven’t already done so. Be sure and check out are wide selection of accessory drive parts at LMR.com!