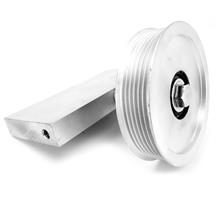
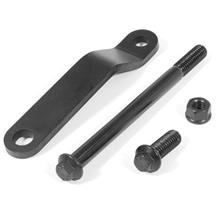
Removal and installation of your 1979-95 Mustang's off-road idler bracket is a quick easy way to free up engine space, a few free horsepower, and also weight off of the front of your pony.
Installation Instructions
- Begin by supporting your Mustang with either a lift or jack and jack stands.
- Rotate the belt tensioner with an 18mm socket and breaker bar.
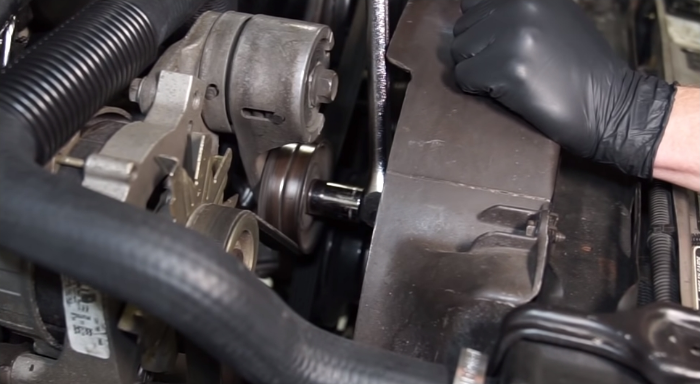
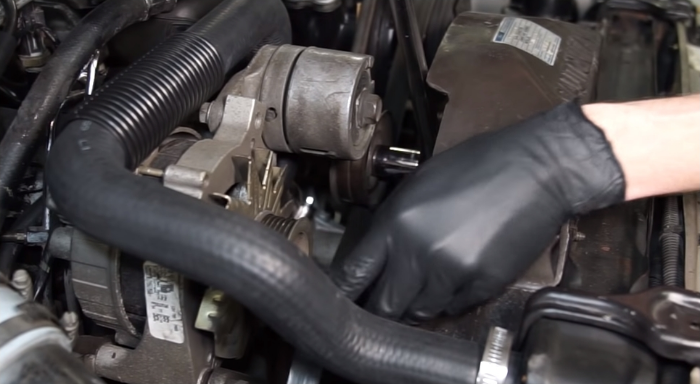
- Remove the serpentine belt and set it aside.
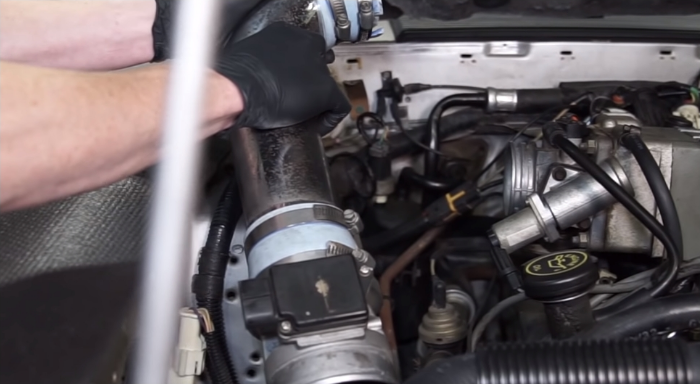
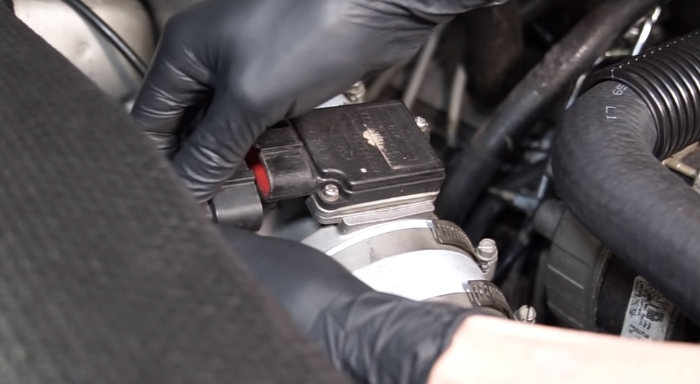
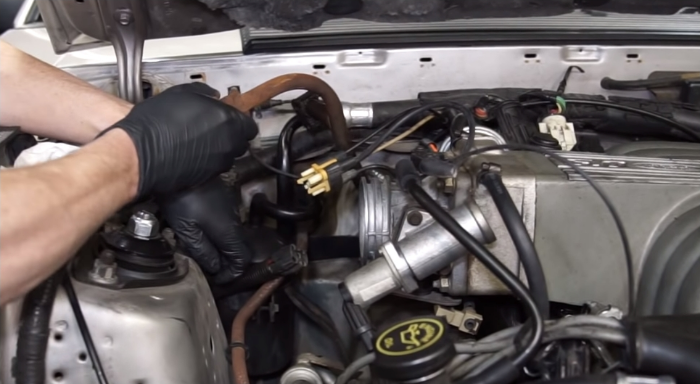
- Disconnect the mass air flow sensor connection (if equipped) and remove the inlet pipe off of the vehicle.
- Dislodge the small vacuum line from the diverter valve and the air bypass valve.
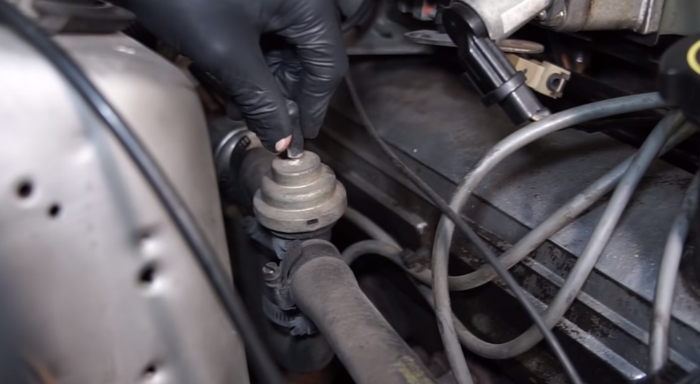
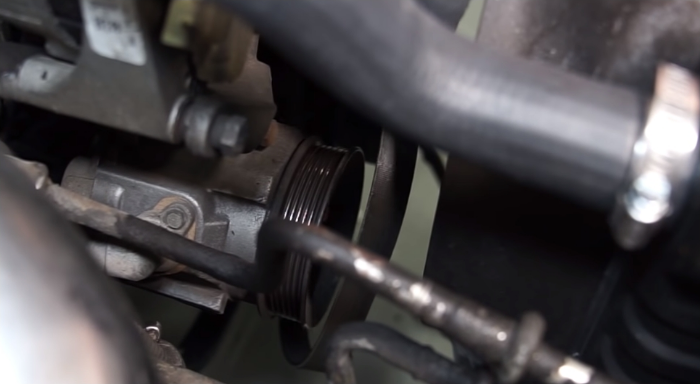
- Loosen and remove the top 1/2" bolt from the smog pump assembly.
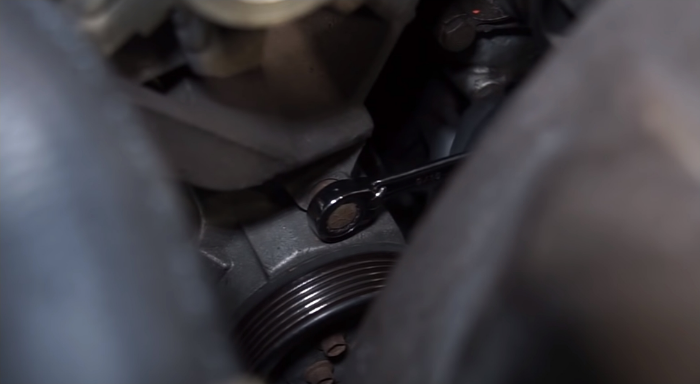
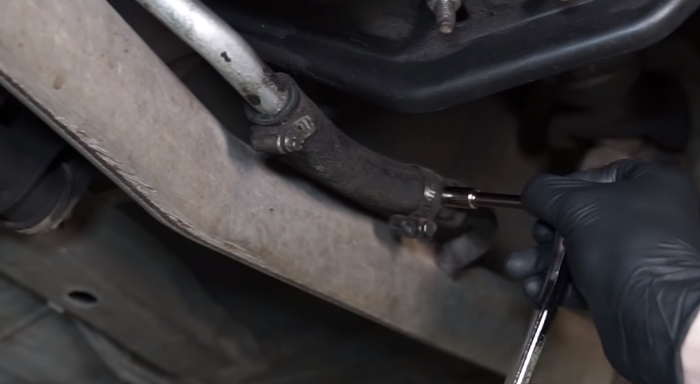
- Moving to the underside of the car, remove the 1/2" nut from the stud on the engine block. Bring the smog pump down then remove the hose from the smog pump. Normally these will have a standard style hose clamp retaining this.
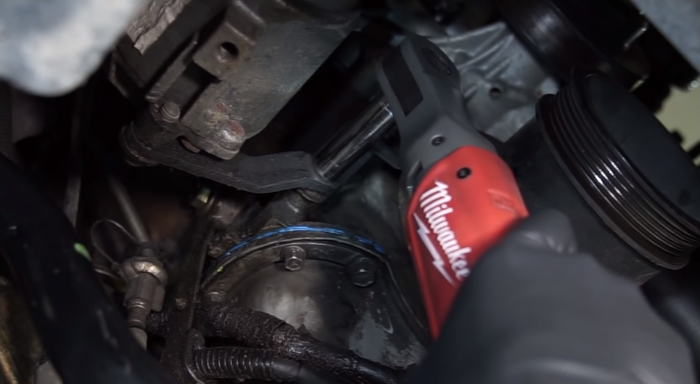
- Remove the smog pump from the car.
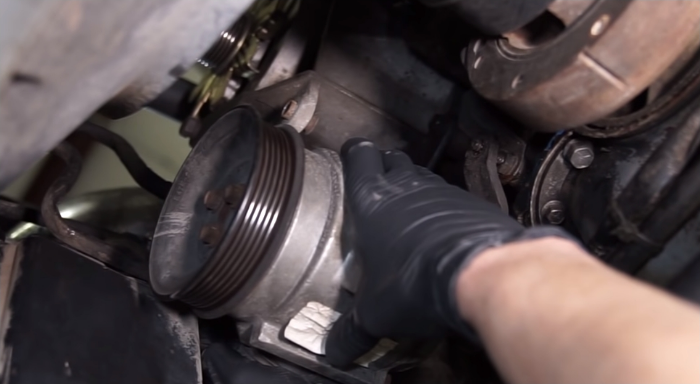
- Take the smog pump to your work bench and remove the 5/8" bolt that secures the small bracket on the backside of the pump assembly.
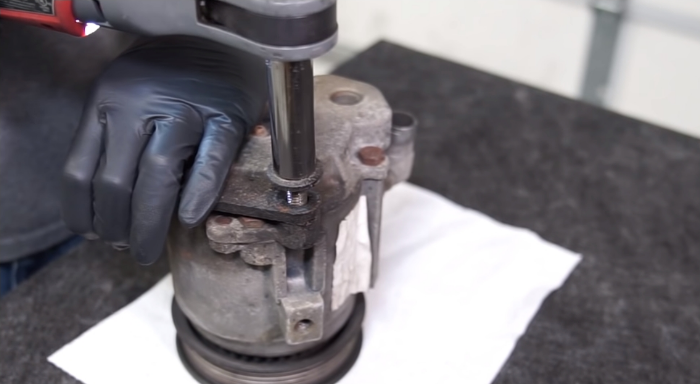
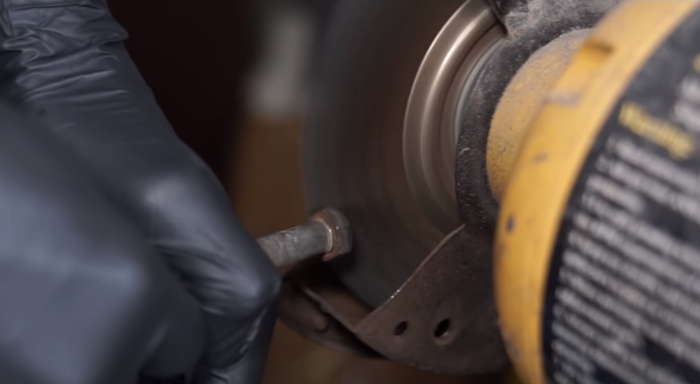
- Clean or replace all associated hardware and the small smog pump bracket at this time.
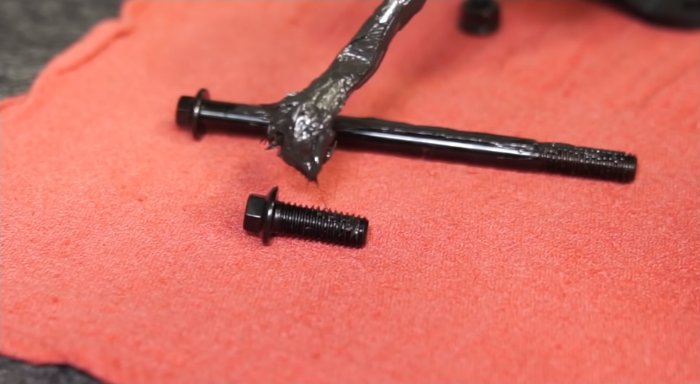
- Apply a small dab of antisieze to the threads on the hardware going back on the vehicle. This will include the short bolt, the long bolt and the stud located on the engine block.
- With your new off-road idler bracket in hand, insert the log bolt through the provision on the top side of the bracket and thread this in loosely tighten it into place.
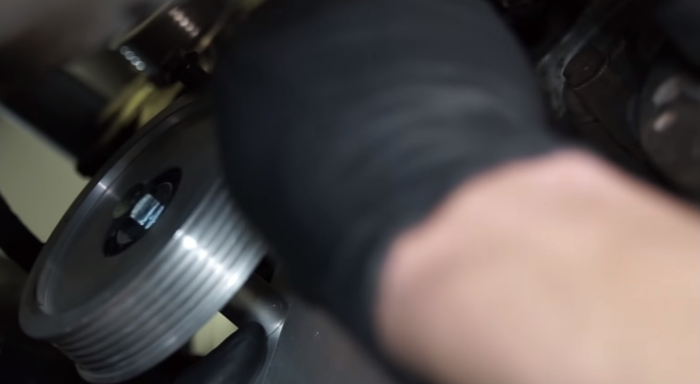
- Position the small bracket over the stud on the engine and thread on the nut. Align the bracket with the idler bracket and loosely tighten the short bolt.
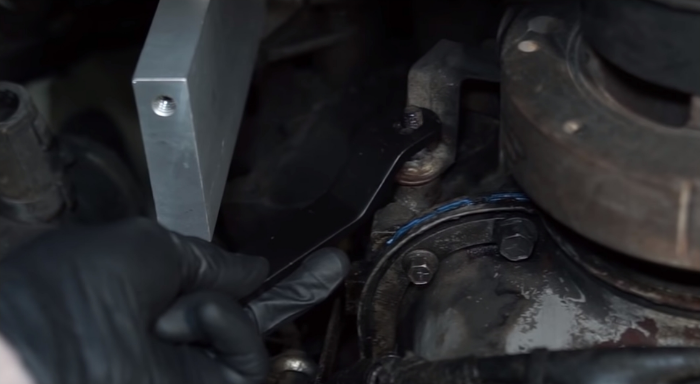
- Snug down all to this hardware then fully tighten the off-road idler bracket into place.
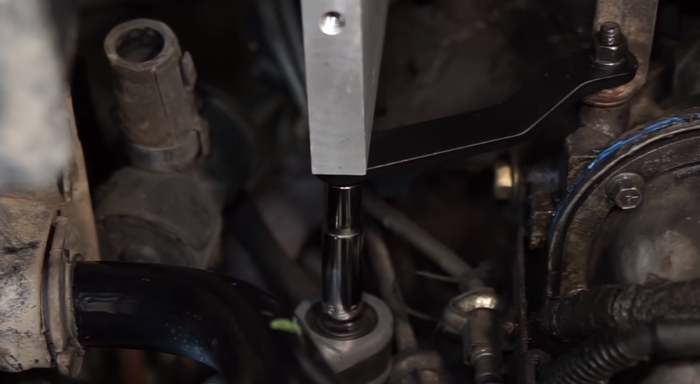
- Remove the hose clamps found on the midpipe assembly and remove the hose from the midpipe.
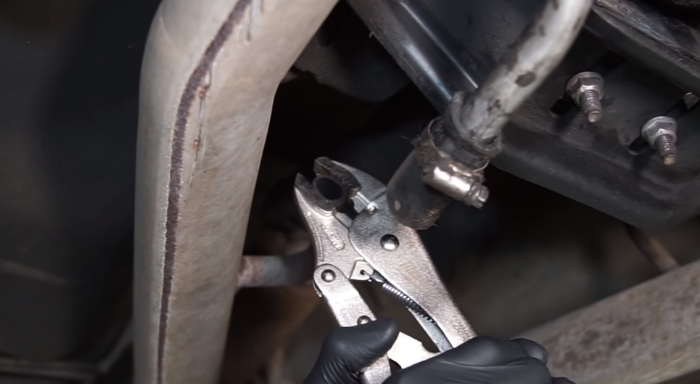
- Take a pair of vise grip pliers and crimp the tube coming off of the midpipe to prevent any exhaust leaks. You can also cut this flush and weld the hole closed if you prefer a cleaner install.
- Moving back to the engine bay, remove the hose clamp that holds the hose to the upper check valve.
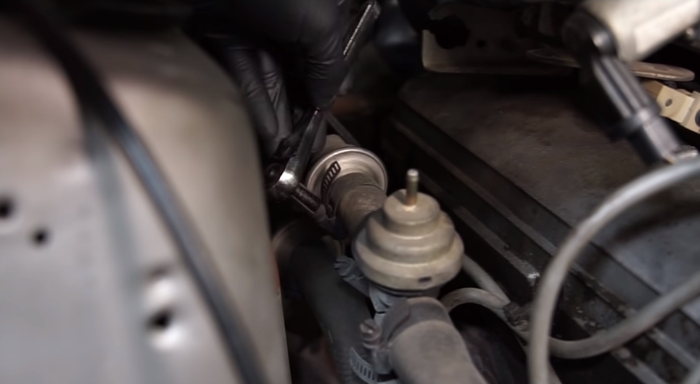
- Loosen and remove the lower hose from the bottom of the air diverter valve. Remove this from the vehicle at this time and discard.
- Next, moving to the air tube bracket, remove them from the engine.
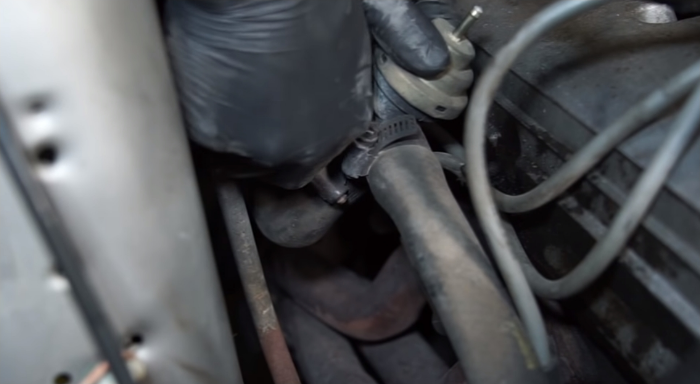
- Go to the backside of each cylinder head and remove the 1/2" bolts that hold the thermactor tube into place. Fine the vacuum union in the middle of the engine bay next to the bulkhead and separate the two halves. Be careful not to break or kink any of this line to prevent any vacuum leaks.
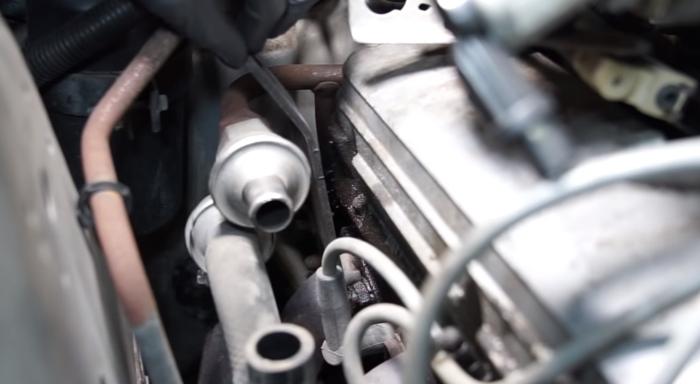
- Remove the thermactor tube from the engine.
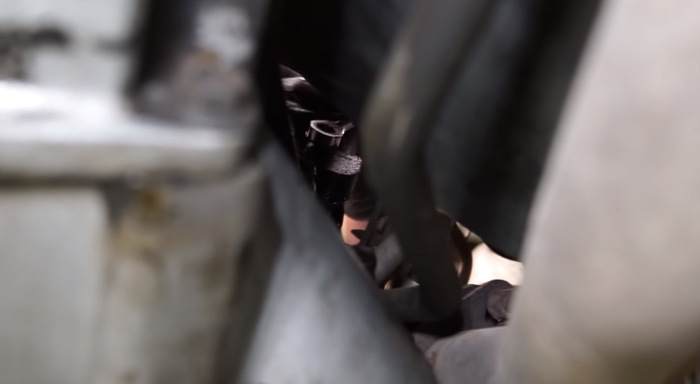
- Remove the air tube assembly from the car and reconnect the vacuum union. Cap off all of the associated lines at this time. This will include the aid diverter and air bypass valve.
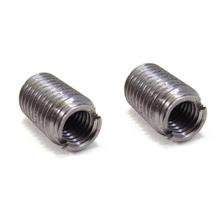
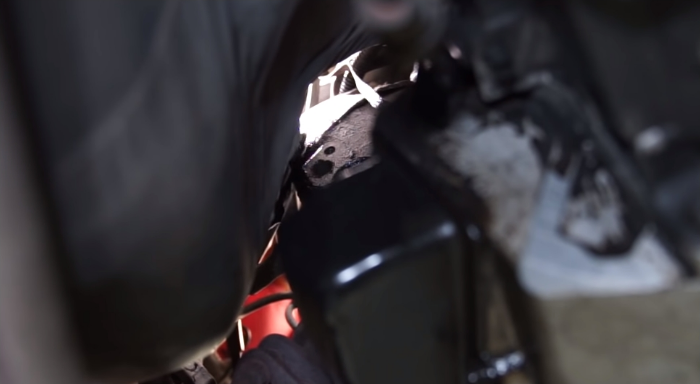
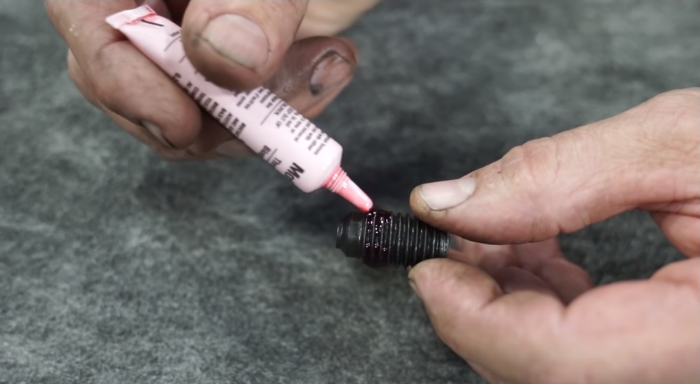
- Moving back to the rear of each cylinder head, clean any carbon build up from the smog ports. Once this is achieved, take the cylinder head smog threaded inserts and apply high temp thread locking sealer on the threads and install these into the associated ports. Thread these in until they are completely flush with the head.
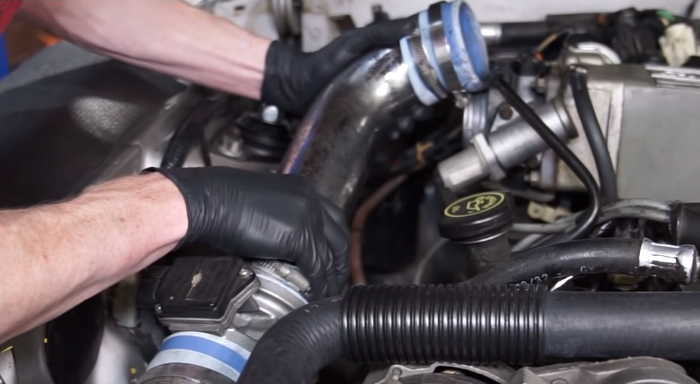
- Reinstall the air intake tube and mass air flow connection.
- Reinstall the drive let back on the engine pullies in the proper routing to your application.
- Allow the thread sealer to fully cure from step 23 before testing the engine. It does not hurt to let this sit overnight just to be sure.
- Start the engine and check for any leaks and for proper operation.
Congratulations, you have just successful removed and installed the off-road idler bracket from your engine. To see more how-to articles covering industry leading products, check out LMR.com for all things 79-present Mustang and Lightning.