SHOP

1994-04 Mustang Parts
Free Shipping on qualifying orders over $99* Details
LMR showroom & will call pickup service will be closed beginning Monday 9/21/26 for renovations until further notice. Need help? Contact Us.

How To Install 2000 Mustang Cobra R Splitter Support Brace

Created by Tyler Rodriquez / 4 min read
Date Created: 7/8/2023
Last Updated: 1/23/2024

Today, we install the LMR exclusive 2000 Cobra R splitter support brace that is modeled after a prototype piece from the early 2000s.

Viewing this install and using the information shared is subject to the terms set forth here - View the LMR Install Instructions Disclaimer.
Alright, here us out. Yes, we developed a part for the 2000 Cobra R that at the time of this video is 23 years old. However, we felt that this needed to exist for a few reasons. One, it proves our commitment to the cars; regardless of their age and production numbers. Two, we wanted all of our "2000 Cobra R friends" to have the ability to purchase a splitter support brace that should have been offered back when these cars were new. Well, here we are. Insert LMR's 2000 Cobra R splitter support brace that is modeled after a prototype piece from the early 2000s. This will reinforce and strengthen the front bumper and splitter on a 2000 Cobra R or a car with a Cobra R-style front splitter with the rearward bracket.

Supplies

Tool List
  • Lift or Jack & Jack Stands
  • Microfiber Towels
  • Heat Gun
  • Drill
  • 1/8" & 1/4" Drill Bits
  • WD-40 (Or similar lubricant)
  • Touch-up Paint
  • Push Pin Removal Tool
  • Phillips Head Screwdriver
  • Dzus Fastener Tool (Coin or something similar)
  • 1/4" Socket Wrench
  • 5.5mm Socket
  • 4mm Hex Bit Socket

Installation Steps
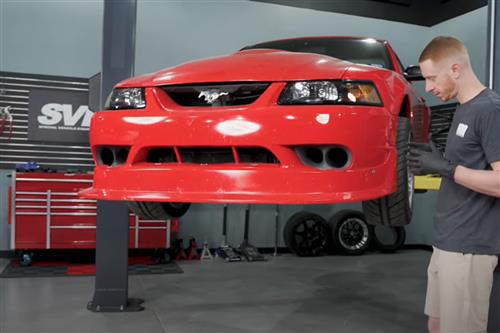
  1. Begin by safely elevating your vehicle. You can use jack stands or a lift to raise it to a comfortable working height.


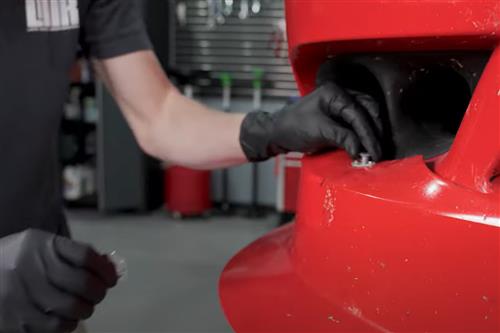
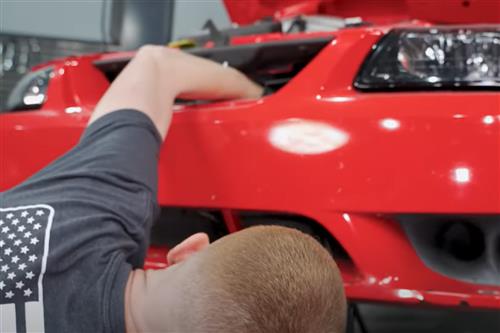
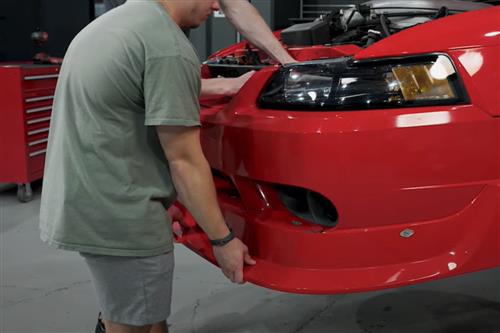
  2. Loosen all the Zeus fasteners holding the splitter in place using a spark plug gapping tool or a coin. Start with one side and then move to the other. You will need a friend to help hold the splitter once you start releasing these fasteners.


  3. Slide the splitter support brace into position, aligning it with the rear brackets on the splitter. Push it forward to make contact with the splitter and ensure it is seated correctly.


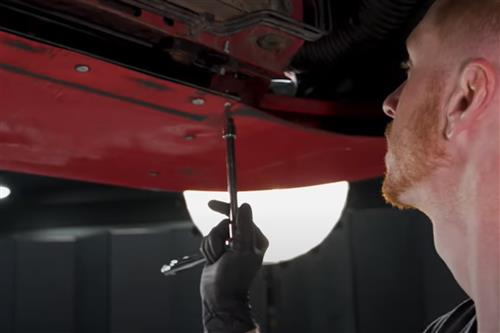
  4. Mark the holes for drilling by pushing a scribe or sharp tool through the holes in the support brace.


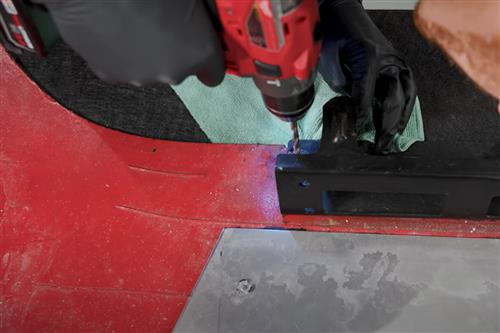
  5. Remove the support brace and drill the marked holes using a quarter-inch drill bit. Use cutting fluid or WD-40 for smooth drilling.


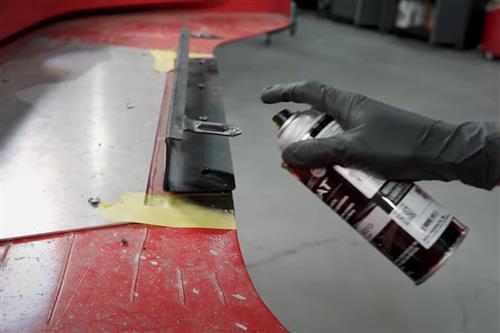
  6. Paint the exposed metal around the drilled holes with touch-up paint. Let it dry completely.


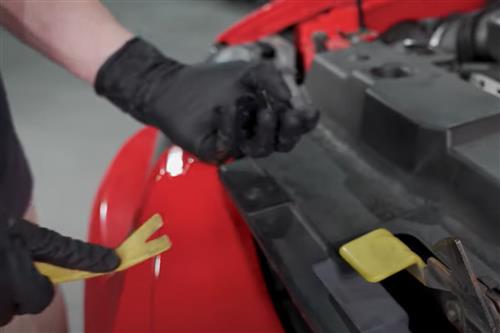
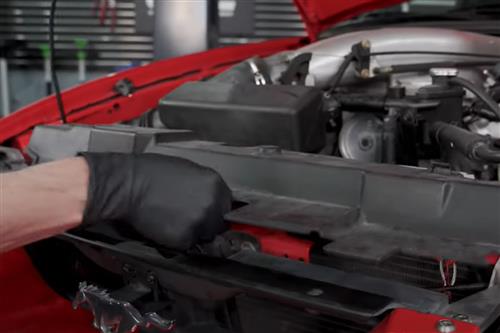
  7. Remove the radiator cover by removing the 4 push pins.


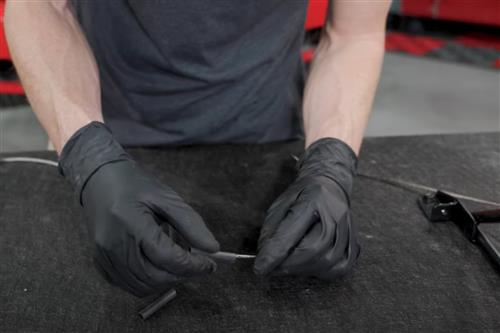
  8. Using heat shrink, cover the frayed cable ends to protect your vehicle when routing the cables through the core support.


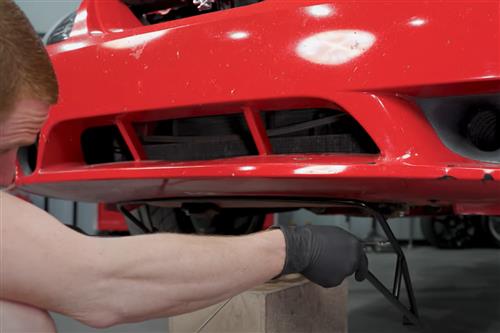
  9. Using a box or similar item, support the brace below the vehicle for easier working conditions.


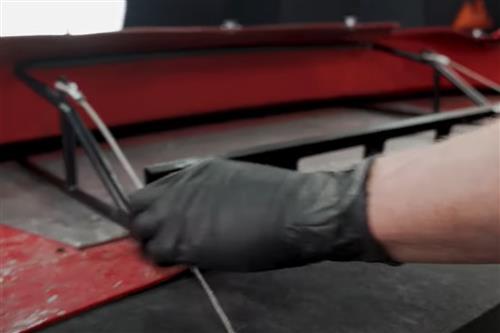
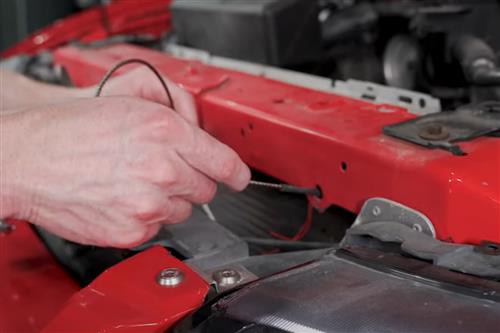
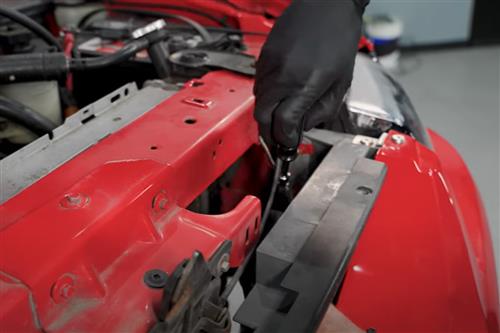
  10. Feed the cables through the core support, in front of the power steering cooler and crash bar, bringing them out through the front of the vehicle.


  11. Take the end of the cable and push it through the hold in the front side of the core support


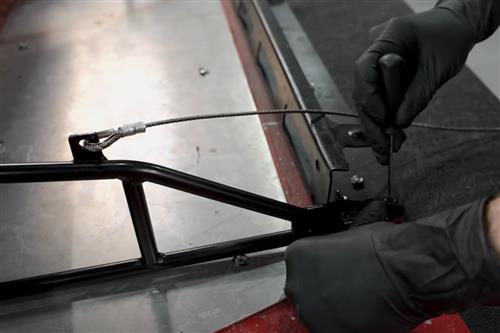
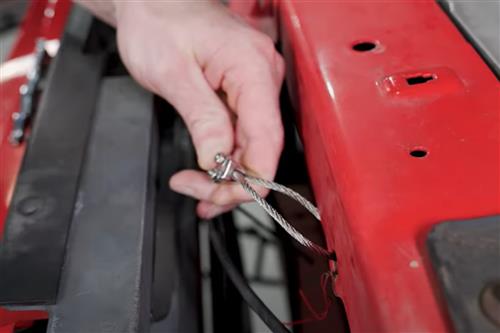
  12. Install the clamp by separating the two portions and placing them around the cables. Stack the cables within the clamp and tighten the nuts to secure them in place. Do not tighten fully at this point.


  13. With the help of a friend, or using a microfiber towel, push the upper support bar all the way into the bumper, remove the slack from the cables, and tighten the clamps down to hold it into place, but do not fully tighten.


  14. Reinstall the splitter by aligning the rearward hole with the drilled hole and tightening the fastener with a socket wrench. 


  15. With the help of a friend, lift up on the splitter slightly to mimic pre-load. Check the cables for any excess slack and adjust as necessary. Bend the cables to help them conform to their desired position. Remove the micro-fiber towel.


  16. Reinstall the radiator cover, remove any additional supports used during the installation process, and lower the vehicle.


About the Video

The PROTOTYPE that never came to be! 2000 Mustang Cobra R Splitter Support Brace - Review & Install

Check out our YouTube channel for even more tech tips, installation videos, how-tos, and more. The best place to go for anything Mustang related!

Published on 2023-05-11
Alright, here us out. Yes, we developed a part for a 2000 Cobra R that at the time of this video is 23 years old. However, we felt that this needed to exist for a few reasons. One, it proves our commitment to the cars; regardless of their age and production numbers. Two, we wanted all of our "2000 Cobra R friends" to have the ability to purchase a splitter support brace that should have been offered back when these cars were new.

Well, here are. Insert LMR's 2000 Cobra R splitter support brace that is modeled after a prototype piece from the early 2000s. This will reinforce and strengthen the front bumper and splitter on a 2000 Cobra R or a car with a Cobra R-style front splitter with the rearward bracket.
Thumbnail image of the author of this article, Tyler Rodriquez.

About the Author

Tyler has written content for Late Model Restoration for nearly 8 years, producing over 300 articles. As an avid New Edge fan, Tyler has owned 4 2004 Mustangs and an 88 Convertible Fox Body. Read more...