About the Video
Fox Body Mustang Window Guide Bushings Install
Check out our YouTube channel for even more tech tips, installation videos, how-tos, and more. The best place to go for anything Mustang related!
Published on 2012-09-26
Product: Mustang Window Guide Bushing Kit
Brand: 5.0 Resto
Fits: Mustang LX, GT, Coupe, Hatch and Convertible
Year Models: 81-93
LRS Part #: LRS-22362APR
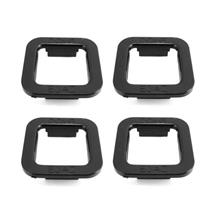
Need to know how to remove/install Fox Body Mustang window guide bushings? Follow along as Jmac shows you how to get your Mustang Window functioning properly in no time! If your Mustang's door windows are crooked as they go up & down, your window guide bushings are probably shot. This small, square bushing fits in the guide bracket at bottom of the window and guides the window glass along the window guide bar.
Applications:
Ford Mustang Hatchback - 1981, 1982, 1983, 1984, 1985, 1986, 1987, 1988, 1989, 1990, 1991, 1992, 1993
Ford Mustang Coupe - 1981, 1982, 1983, 1984, 1985, 1986, 1987, 1988, 1989, 1990, 1991, 1992, 1993
Ford Mustang Convertible Front Door - 1983, 1984, 1985, 1986, 1987
Ford Mustang Convertible 1/4 Window - 1983, 1984, 1985, 1986, 1987, 1988, 1989, 1990, 1991, 1992, 1993
Transcript
[MUSIC PLAYING]
Hey everybody. Jay Mack with LateModelRestoration.com. While you've got your door panel off, it's a good idea to tackle everything you've got in there like door lock actuators, window motors, and run channel weather strips.
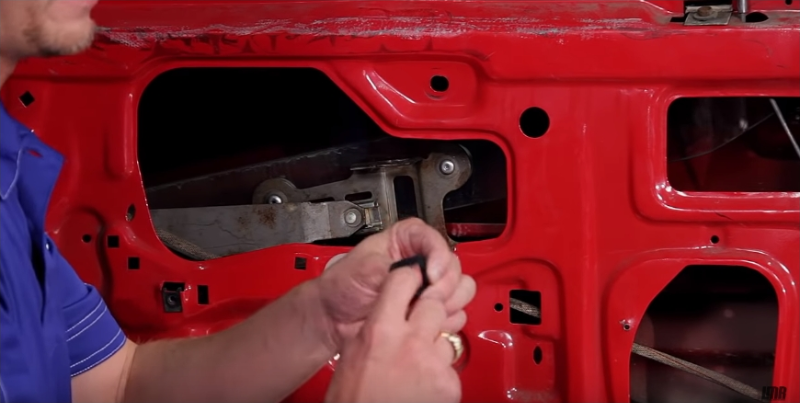
Another thing you might want to consider is these little plastic guys here called window guide bushings. Now these window guide bushings are located right here on your window glass bracket. One on the top, one on the bottom. They typically wear out and cause the window to kind of flop back and forth and maybe not even roll up properly. Now these things can be a bit of a pain to install, but follow along and we'll show you how it's done.
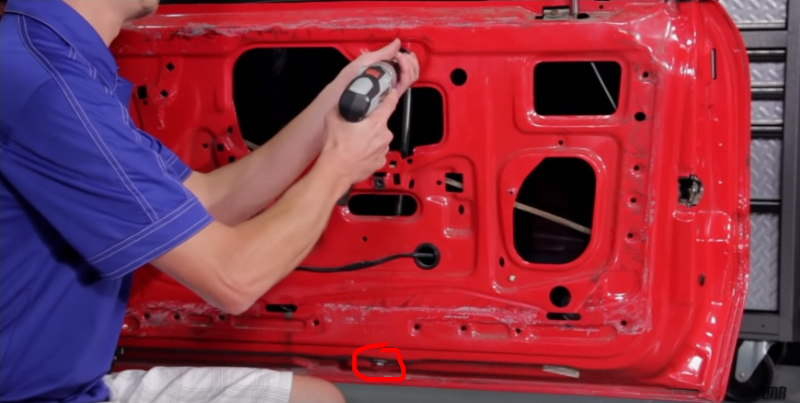
As you can see, we've already got the run channel weather strip out of the way, and that's an excellent time to go ahead and do your window guide bushings. Step one, remove the guide rod. You'll have a nut up here at the top and a nut down here at the bottom. Go ahead and get those out of the way.
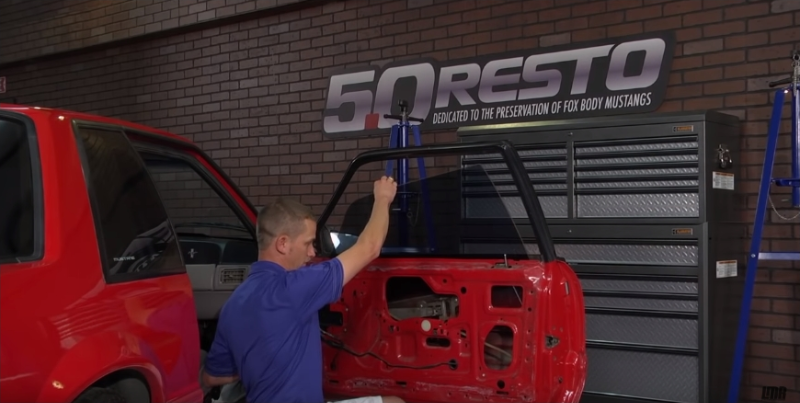
Then you can grab you a dead blow hammer, rubber hammer, something with a soft or a wooden handle, come up here to the top of the door frame, wedge that hammer handle into the top, and pry out on the top of the door, that way you can wiggle your guide run free of the door. Once that's done, you can go ahead and just bump your window up slowly, and you'll probably have to hang onto it to keep it steady. That way you can gain access to the guide rod bushings.
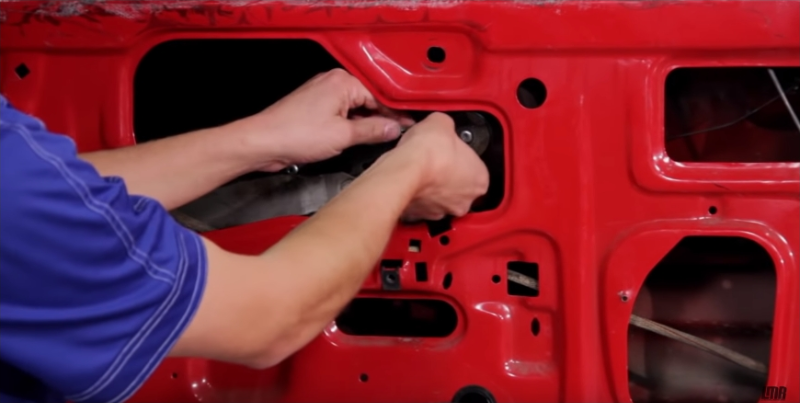
Now luckily, these guide rod bushings are simply just a pop in pop out ordeal. Pop out one. Pop out the bottom one. Now they both snap in from the top. And before you get back in there, you'll want to wipe off any grease.
And then just grab your new window guide bushings. And you'll have four tabs on there, two with edges and two that are slick. You'll want the slick tabs to be facing you. And just snap them into place from the top. And with that done, you can lower your window back down and slide your rod back into place.
Now just a quick little note before you get your guide rod back into place, go ahead and wipe off all the old grease and contamination. That way, you're starting out fresh. Then grab you some new window motor grease and apply it around the guide bushings at the rod area for lubrication. You can grab window motor grease at your local auto parts store.
And when it comes to putting the nuts back on your guide rod, on the top, use the checkmarks created whenever you took the nut off for your preliminary adjustment. And just go ahead and tighten the nut down there. Then on the bottom, you can just run the nut into place because there is no adjustment.
Now the rest of the adjustments needed to get the glass back into shape, they have to wait until the run channel weather strip is back in. So be sure to check out LateModelRestoration.com's YouTube channel for our run channel weather strip installation video. And we'll show you how to do all those adjustments there.