![]()

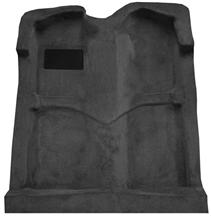
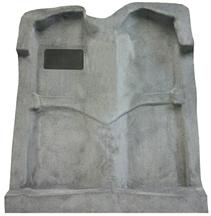
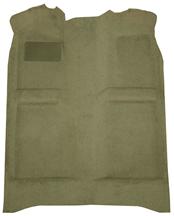
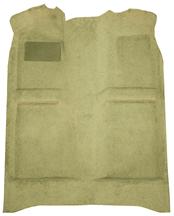
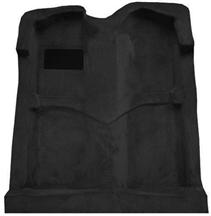
In this article, we will be highlighting the installation of new carpet in your 94-04 SN95/New Edge Mustang. The carpet in your car is just like the carpet in your house. Years of embedded dirt, grime, and spills cause wear and tear on your carpet causing it to look faded and dingy. Replacing the carpet in your Mustang is one of the easiest ways to refresh the overall appearance of your Mustang’s interior.
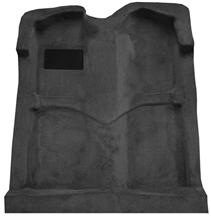
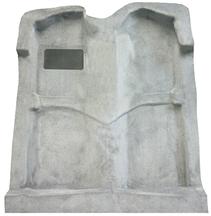
ACC is known worldwide for its custom fit and finish when it comes to automotive carpet. ACC carpet will feature OEM color match options and feature UV-resistant dyes that are used to resist sun fading. These carpets will be pre-molded for the floor pan providing you with years of comfort and reliability down the road. LMR also offers these carpets in a standard poly back or an upgraded MASS BACK configuration. The mass back option will provide you with an additional layer of rubberized sound deadening material that helps keep external noises at bay.
We do want to note first, these carpets will not be pre-cut, so make sure to have a good utility knife, plenty of razor blades, scissors or shears, a tape measure, and some assorted picks and screwdrivers on hand for this installation. Let’s head over to our 04 GT to show you just how easy this is to install.
Disassembly & Installation
- Start off by disassembling the interior. You will need to remove the front seats, the rear seat bottom, sill plates, kick panels, and the center console to begin with.
- Now you can remove the old carpet from the car but do not discard this!
![]()

- Go ahead and unfold the new carpet and work your way around by hand molding it back into shape. You can take it outside and set it in the sun to help warm up the material. By doing this, it will help you alleviate as many of the wrinkles as you can from shipping.
![]()

- Once you have the carpet inside again, go ahead and lay the new carpet face down on a clean work surface and lay the old carpet on top of the new carpet and try to line up the curves as best as possible.
![]()

- At this time you can start making some of your rough cuts. Take your time and don’t cut away too much of the new carpeting. I chose to start with the center console area first.
![]()

- Once you have your rough cuts made go ahead and take this time to clean out the floor pan of the car. Vacuum out any loose debris or trash that may have been left behind.
![]()
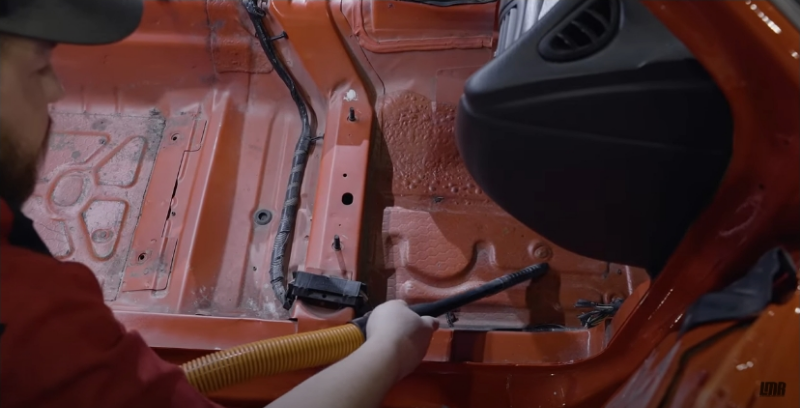
- Now you can take the new carpet over to the car and make your initial mock up.
![]()

- Lay the carpet in place over the transmission tunnel and center it up from there. Once you are satisfied with the placement, trim out this area until you are happy with the overall fitment. Make sure you account for the shifter, e-brake handle, and associated wiring in this area.
![]()
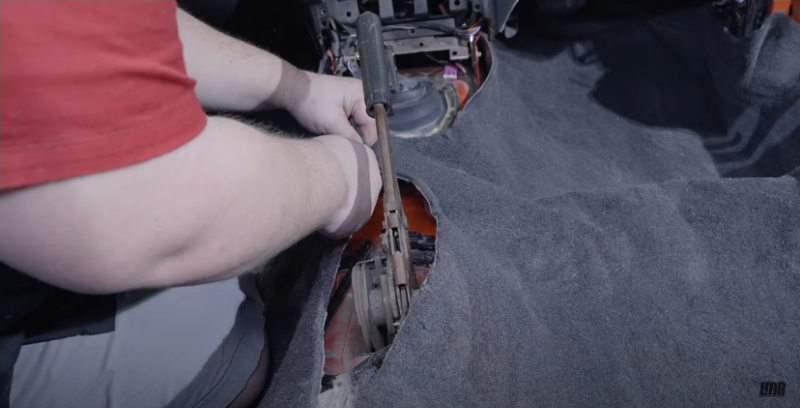
- Work your way down the tunnel to the pedal area and trim off any excess carpeting to make this sit as flush as possible. Do this on both sides and trim all the way to the kick panel area.
![]()

- Once you have completed this, you can make your trims along the door sill area on both sides.
![]()

- Moving to the seat track location, start with the front studs. You can feel these out by hand and make a few small X shaped cuts to allow these to pass through. You can cut away and trim some of this excess material here as well.
![]()

- Using the old carpet as a template again, measure the cutouts for the rear bolt hole locations.
![]()

- Using a pick or a screwdriver, locate the opening on the bottom side of the car where this bolt will go into. Pass the pick through this area and through the carpet to know where you should start cutting. Again, make sure to make some smaller cuts here and progressively make these larger until you are satisfied with your cuts.
![]()

- If your driver's seat is equipped with a power seat track, make sure to make an extra hole in the center to pass the wiring harness through.
![]()

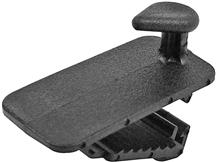
- Also on the driver’s side, you can transfer over the old floor mat retaining hook if equipped. You can add this into place if you do not already have one as well. Check out our retaining hook and our floor mat selections if you need to replace these.
![]()

- Take a few measurements off of the old carpet or lay the floor mat in place to use it as a template. To help locate where the floor mat will sit, I used a pick to center the hook. Make sure the hook is facing the rear of the vehicle when doing this as well.
![]()

- Once you have the main hole cut, you can take a quick measurement off of the hook base to make the secondary hole. On these cuts you’ll just want to go through the carpet only, the clamp design will not work if you try passing this through the carpet and the jute backing. Once you have this centered, you can snap it into place.
![]()

- One of the last major cuts we will make will be the seat locks on the rear seat bottom. Fold the carpet up and around to where it will sit. You can feel out the bolt hole locations on the lock to know where you can start cutting at. Make small cuts again and progressively go larger until you are clear of the lock body.
![]()

- Once this is all done, you can do any additional trimming that may be needed once you start going back in with the interior components. This will include the bolt locations for your seat belts on the lower A-pillar and the trans tunnel on the 94-98 models only.
![]()

![]()

- That's it! Taking your time is key on this install. We would set aside a full day of work with all of the trimming that is required on this one. If you take your time here you will be happy with the overall fitment. We would also like to note that wrinkles on aftermarket carpets are normal. These will eventually work themselves out over time but the more accurate you are with the install, it will help prevent these in the long run.
We hope that this article has helped you get a better idea of how to install carpet in your 94-04 Mustang. This is a fairly involved install, but it can make a huge difference in updating your interior.
As always, make sure to keep it here with the real Mustang Enthusiasts at LMR.com.