About the Video
1986-1993 Fox Body Mustang 5.0 Resto Heater Tube - Install & Review
Check out our YouTube channel for even more tech tips, installation videos, how-tos, and more. The best place to go for anything Mustang related!
Published on 2018-09-28
1986-1993 Mustang 5.0 Resto Heater Tube Assembly.
If the heater tube in your 1986-1993 Mustang has cracked, is leaking, or just needs to be replaced, this 5.0 Resto direct replacement assembly is the perfect fix. This heater tube assembly is currently available with or without the coolant tube. The small coolant tube is located at the top of the assembly and connects to the EGR cooler/spacer. When deleting or bypassing the EGR cooler/spacer, most people replace what they have with the heater tube assembly without the coolant tube.
Application:
- Fits 1986-1993 Mustang 5.0L & 5.8L
Heater Tube w/ Coolant Tube Item # LRS-9424BB
Heater Tube w/o Coolant Tube Item # LRS-9424BA
Transcript
If the heater tube in your Fox Mustang has developed a crack, a leak or it has simply seen better days… than these 5.0 Resto heater tube assemblies are more than likely for you.
Each of these heater tubes are constructed from steel and feature a factory-like black coating to prevent corrosion.
You’ll notice that both tubes feature a properly placed bracket to secure the tube to lower intake, a female fitting for the coolant temperature sensor, and the large swivel fitting that installs into the front of the lower intake.
The only subtle difference between the two is that one has the small fitting for the EGR cooler hose and one does not.
If you have deleted the EGR and bypassed the cooler or you have a 93 Cobra intake, the heater tube without the small fitting is the one you need for your application.
All other applications that still utilize the cooler… you’ll need the one with the small fitting.
As far as fitment goes, each of these heater tubes will fit 1986 to 1993 Fox Bodys with a 302 or 351-based engine.
Now a little disclosure on the install guys… this being a relatively simple part you would think the install wouldn’t require much effort… guess again!
Installing a heater tube can and will be time consuming. I would recommend some good mechanical skills and of course a good selection of tools.
Now for a little disclosure… Some of the methods shown in this video may or may not be needed depending your setup and application.
We are going to be removing the upper intake and a few other components so that we provide a clear understanding of how everything is removed and reinstalled.
To begin the install, support the car via a lift or jack stands.
Pop the hood and support it via the prop rod.
We chose to support it via a long piece of wood for additional work room.
If you choose to do this… be mindful of the hood and cowl vent grille, and use towels to protect the paint.
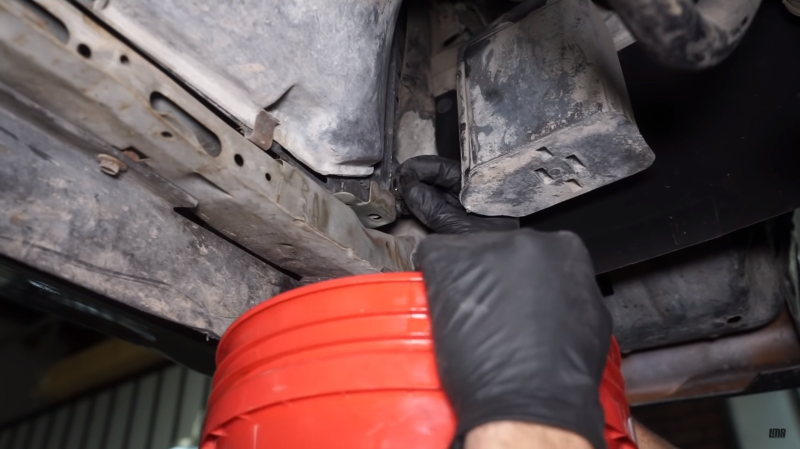
Position a drain pan or bucket underneath the drain plug on the radiator.
Open the radiator fill cap to vent the system.
Now, open the drain plug and allow the coolant to drain.
You only need to drain approximately three-quarters of a gallon of coolant to complete this install.
Close the drain plug and wipe up any mess.
If applicable, remove the small screws retaining the plenum cover to the intake manifold.
Loosen and remove the intake pipe.
This car has an aftermarket cold air kit… but the steps are very similar for a factory intake.
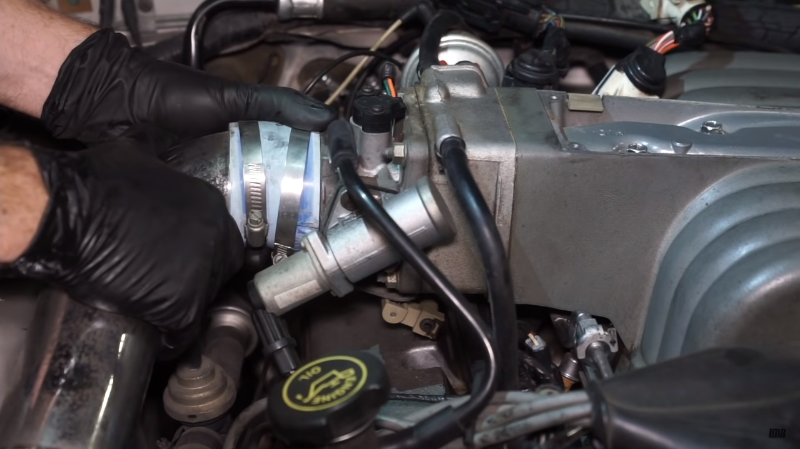
Remove the PCV hose from the throttle body and oil fill tube.
Loosen the three hose clamps securing each EGR cooler hose.
There are two on the cooler and one on the heater tube if equipped.
Remove each hose connected to the EGR cooler.
Dislodge the TPS connector push pin.
Disconnect the vacuum hose from the EGR valve.
Disconnect the EGR electrical connection.
Disconnect the TPS electrical connection.
Dislodge the throttle cable clip from the ball stud.
Loosen and remove the two three-eighths bolts securing the throttle cable bracket to the intake manifold.
Remove the 10-pin connector bracket from the intake manifold.
Disconnect the IAC electrical connection.
Remove the rubber distributor boot.
Loosen and remove the front two upper intake to lower intake manifold retaining bolts.
These are half-inch.
Position the a/c hose out of the way.
Reach behind the intake manifold and remove the EGR vacuum line.
Remove the small vacuum line connected to the fuel pressure regulator as well.
Loosen and remove the half-inch nuts securing the crash bar if it’s still equipped.
Remove the small crash bar.
With that out of the way, remove the stud with a half-inch socket.
Remove the other rearward upper intake retaining bolt.
Remove the middle, upper intake retaining bolts.
Before going any further, use an airline to flush any debris from the intake area.
Disconnect the four plug wires from the distributor cap that pertain to bank 1 which is the passenger side.
If it helps, mark each plug wire.
Unclip the rotor cap and position it out of the way.
Cover the open distributor with a few towels.
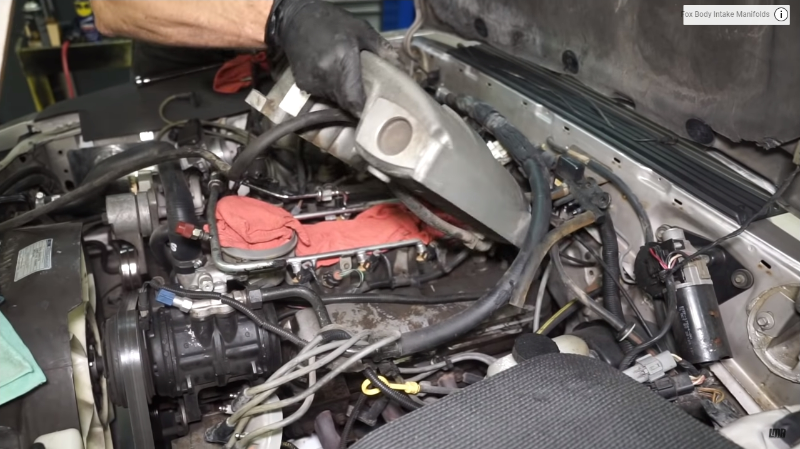
Lift up on the upper intake and cover the ports.
If you can’t get to the last vacuum hose that connects to the tree on the firewall… simply remove the two screws securing the vacuum tree.
Then, disconnect the brake booster vacuum hose followed by the cruise control vacuum if equipped.
The last hose is part of the EVAP system… it’s located at the front of the intake.
The easiest way to remove it is from the canister purge valve itself.
It’s located on the passenger side inner frame rail near the charcoal canister.
The upper intake and gasket are now finally free to come out.
Have a rag ready and depress the Schrader valve to vent any fuel pressure that may be present.
Dislodge the engine harness from heater tube.
Now, disconnect any electrical connection associated with this side of the harness.
Once that is done, position the harness out of the way.
Go ahead and position the throttle cable bracket out of the way.
Blow away any debris from the base of each injector with the airline.
It may also be in your best interest to spray the base of the injectors with quality brake clean to remove any residual dirt buildup.
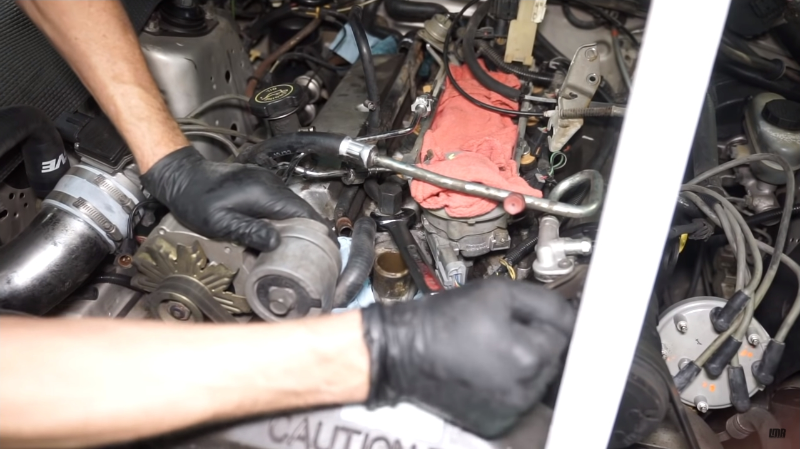
Loosen the hose clamps that secure the two heater hoses to the heater tube.
Have some rags ready before you remove the hoses.
Remove each hose from the heater tube.
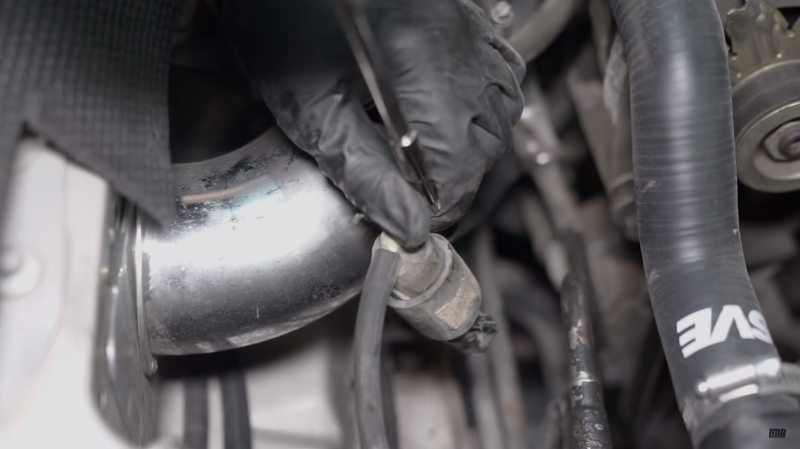
Utilize a one inch deep socket and extension to remove the coolant temperature sensor from the heater tube.
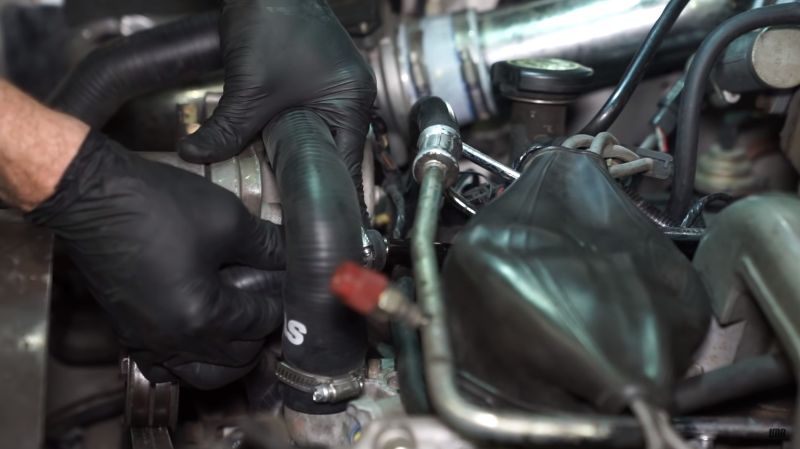
Loosen the hose clamp at the front of the heater tube.
Remove the hose from the heater tube.
Loosen the hose camp securing the upper radiator hose the water neck.
Have a few rags ready before you remove the hose.
Remove the hose and position it out of way.
Disconnect the alternator electrical connection.
This will allow more room for the open end wrench.
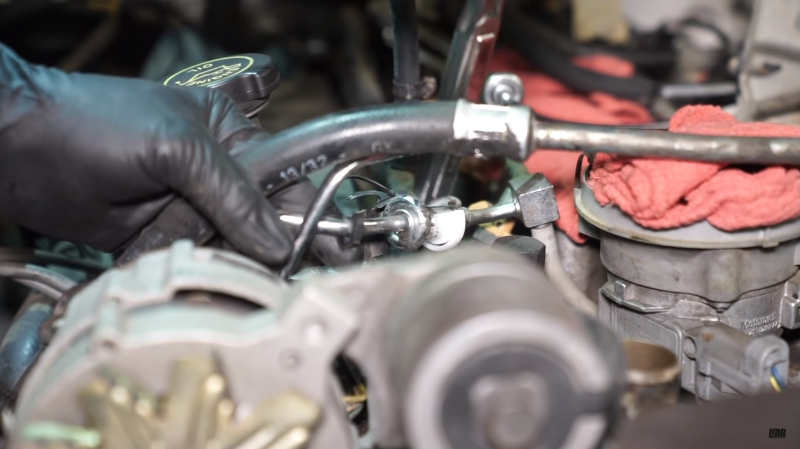
Use a one and one-eighth inch open end wrench to loosen the swivel fitting on the heater tube.
A crow’s foot can be used as well if you have one.
Do not fully remove the fitting at this time.
Brace the heater tube retaining bolt.
Loosen and remove the heater tube retaining bolt.
Loosen and remove the fuel rail to lower intake retaining bolts.
Spray WD-40 at the base of the injectors.
Carefully pry up on the injectors to dislodge them from the lower intake.
Unclip both of the fuel line release clips.
Spray some WD-40 into the fuel line fittings.
Utilize the correct size disconnect tool to release the fitting.
Do this for both fittings.
Carefully pry each injector out of the lower intake while they are still installed into the fuel rail.
Once removed, verify that there is an o-ring and end cap on the base of the injectors.
Use the one and one-eighth inch wrench or crow’s foot to fully remove the swivel fitting.
The heater tube is now free to come out.
If you notice… the lower intake manifold stud was removed along with the heater tube.
Use a thin wrench to hold the stud while you remove the half-inch retaining nut.
Reinstall the studded bolt intake manifold back into the lower intake.
Torque this studded bolt to 18 lb-ft.
Clean the intake manifold and injector bases.
Thoroughly clean and inspect the threads in the lower intake.
Before installing the heater tube, lubricate the o-ring in the swivel fitting.
Ensure that the two hose clamps on the rear heater hoses are on the hoses.
Position the new heater tube into place.
Install the rear heater hoses onto the tube.
Pass the bracket over the stud on the lower intake.
Ensure that the swivel fitting is even with the opening in the lower intake.
Start this fitting by hand… then carefully tighten it.
If at any time the fitting doesn’t want to turn, STOP!
Back it out and see what is going on.
Apply anti-seize to the threads on the nut that secures the heater tube to the lower intake.
Install the nut and torque this nut to approximately seventy-two inch pounds.
Position the rear hose clamps and then snug them down.
Install the front hose onto the heater tube.
Position the clamp and then snug it down.
Lubricate the o-rings at the base of the injectors.
Line up the injectors with the lower intake... and then seat each injector.
Reinstall the two bolts that retain the fuel rail to the lower intake.
Torque these to eighty-nine inch pounds.
Clean the threads on the coolant temperature sensor.
Apply thread sealer to the threads.
Thread the sensor into the heater tube by hand.
Carefully tighten the sensor!
Lubricate the o-rings on the fuel lines.
Install these fittings back into the fuel rail.
Reinstall the safety clips.
Reposition the injector harness.
Reconnect the four fuel injectors, EVAP connection, and coolant temperature sensor connection.
Reconnect the alternator electrical connection if you removed it for clearance.
If replacing the PCV filter and grommet, go ahead and do that now.
Remove the grommet.
Use a small pick to remove the mesh filter.
Clean the opening in the lower intake.
Install the new mesh filter followed by the grommet.
Remove the rags covering the lower intake ports.
Wipe the mating surface and ensure that it’s clean.
Preferably, position a new gasket into place.
This gasket will only install one way.
Place the rags back over the lower intake ports.
This will help keep any foreign material out of the ports when you reposition the intake.
Reposition the upper intake and remove the rags.
Realign the intake gasket.
Reinsert the PCV fitting into the grommet.
Reinstall the long, middle intake bolts.
Reinstall the front two intake bolts.
Reinstall the two, rear intake bolts.
Ensure that the studded bolt goes into the correct hole.
Run all of these bolts down evenly.
Then, working inside out, torque each bolt to eighteen pound-feet.
Reposition the small crash bar if you’d like… typically, someone had probably already removed this at some point in the car’s life.
Reinstall the half-inch nuts and retighten.
At this point you can begin reinstalling and reconnecting vacuum lines and electrical connections.
Reposition the throttle cable bracket and reinstall the retaining bolts.
Torque these to eighteen lb-ft.
Apply grease to the ball stud on the throttle body and reinstall the throttle cable clip.
Reconnect the IAC electrical connection.
Install the correct hose onto the nipple on the heater tube.
Pass the two small hose clamps over the hose and then slide the hose over the EGR cooler port.
Position each clamp and tighten them down.
Now obviously if you are installing the heater tube without nipple, these steps are not needed.
Reinstall the rearward EGR cooler hose and retighten the clamp.
Align the vacuum tree with the holes in the firewall.
Reinstall and retighten the retaining screws.
Reinstall the vacuum line to the brake booster.
Reinstall the any other vacuum hose that was removed for clearance.
Reconnect long vacuum hose to the canister purge valve.
Remove the rags from the distributor.
Reposition the distributor cap.
Engage the clips.
Reinstall the plug wires in the correct order.
Reinstall the distributor boot.
Reinstall the upper radiator hose back onto the water neck.
Snug down the clamp.
Reinstall the PCV hose that runs from the fill tube to the throttle body.
Reinstall the intake pipe.
Reinstall the plenum cover.
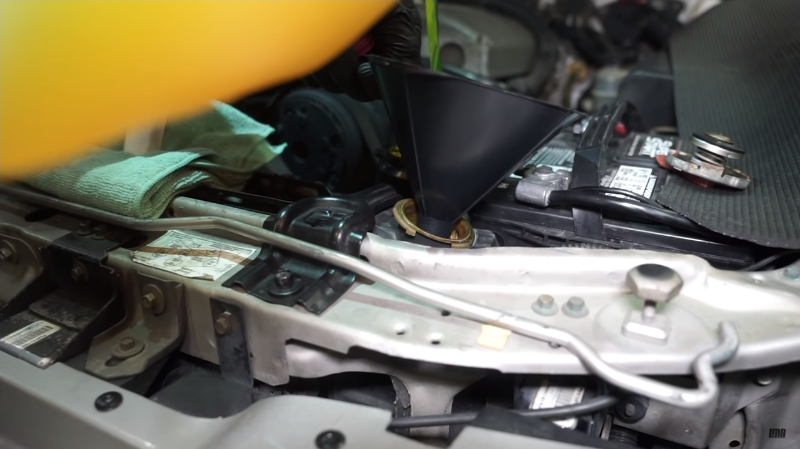
Fill the radiator with coolant.
Remove the hose connected to the front of the heater tube.
This will allow the system to bleed out any air.
Reconnect this hose and add any additional coolant.
Double check your work, start the car and verify everything is dialed in.
After that, you’re all finished.
Wrapping things up here guys… I would strongly recommend setting aside a few hours to get this one done.
Be mindful of other components and replace them while you’re there such as the lower to upper intake manifold gasket and rear PCV components… and anything else that may need replacing.
Make sure that the swivel fitting at the front of the lower intake threads in smooth! Double and triple check those threads before start threading the fitting into the intake.
To see more how-to and review videos covering industry leading products, be sure and subscribe to our YouTube channel, like this video, and turn on notifications. While you’re at it, checkout our other videos and shop LMR.com for all things 1979 to present Mustang and SVT Lightning!

