Clean and remove any burrs or paint from the top of the pinion head.
Mount the head bearing onto the pinion shaft and install it in the housing without the pinion seal or crush sleeve. Tighten the pinion nut enough to take up the slack in the bearings.
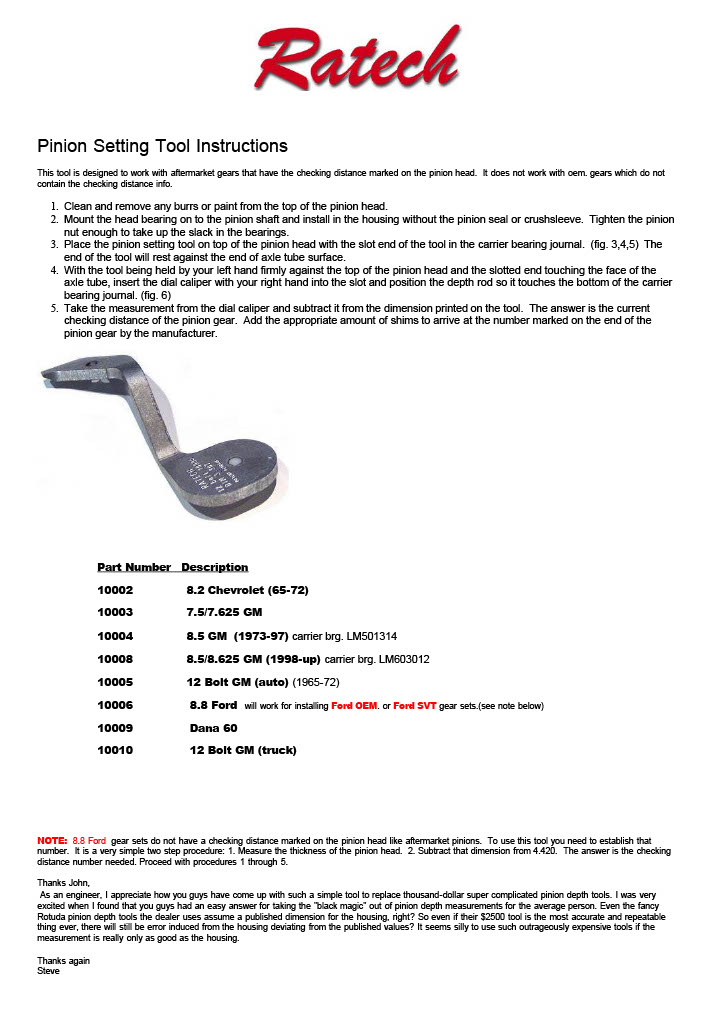
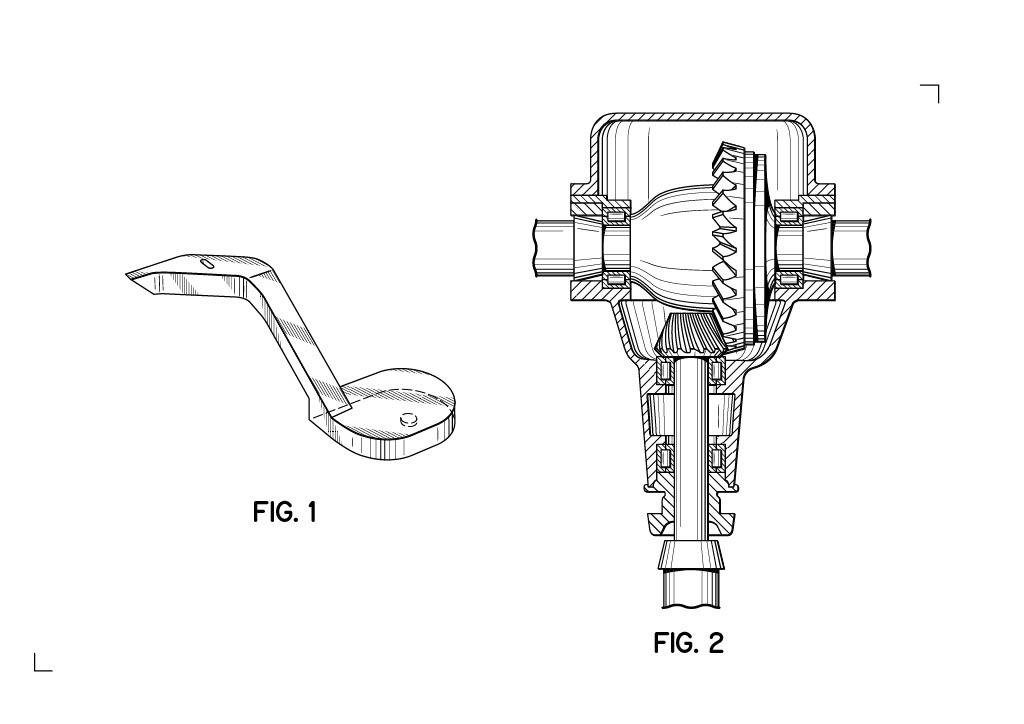
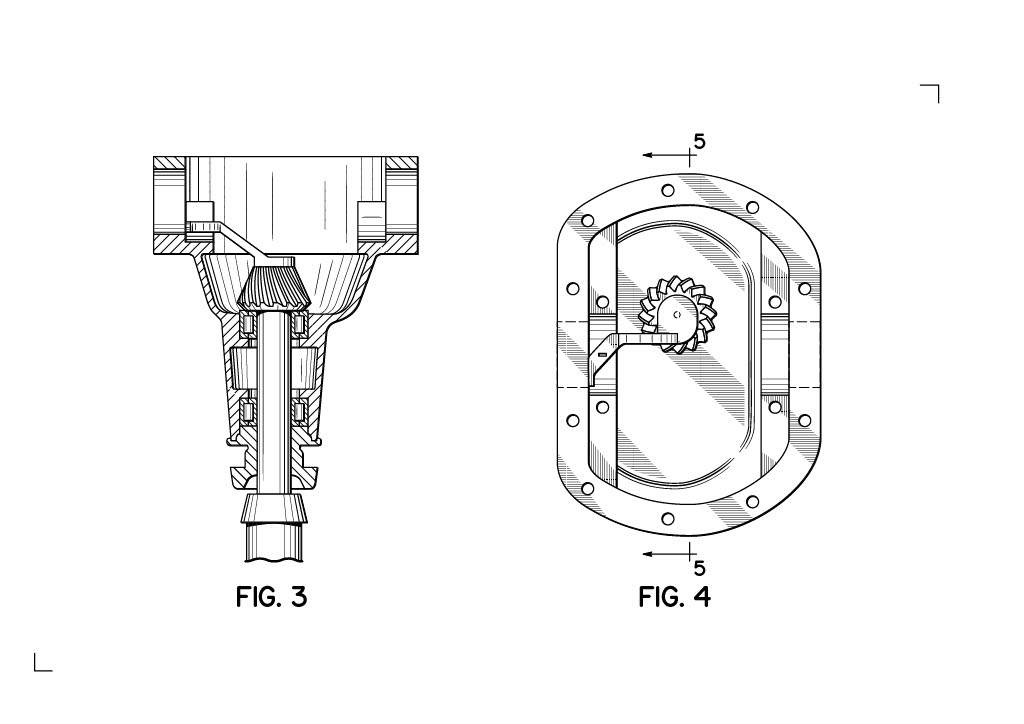
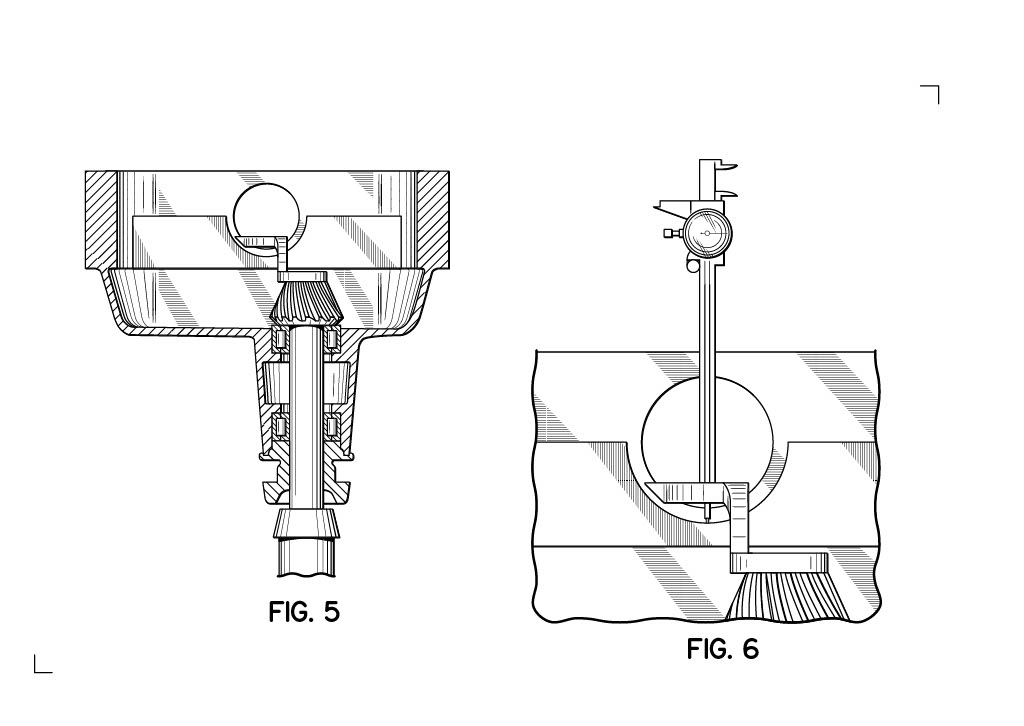
Place the pinion setting tool on top of the pinion head with the slot end of the tool in the carrier bearing journal. (fig. 3,4,5) The end of the tool will rest against the end of the axle tube surface.
With the tool being held by your left hand firmly against the top of the pinion head and the slotted end touching the face of the axle tube, insert the dial caliper with your right hand into the slot and position the depth rod so it touches the bottom of the carrier bearing journal. (fig. 6)
Measure the dial caliper and subtract it from the dimension printed on the tool. The answer is the current checking distance of the pinion gear. Add the appropriate amount of shims to arrive at the number marked on the end of the pinion gear by the manufacturer.
About the Author
Tyler has written content for Late Model Restoration for nearly 8 years, producing over 300 articles. As an avid New Edge fan, Tyler has owned 4 2004 Mustangs and an 88 Convertible Fox Body. Read more...