![]()
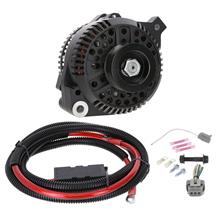
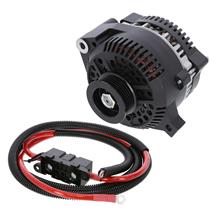
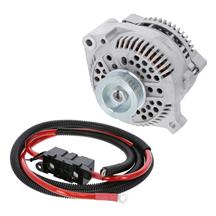
Fox Body Mustangs came with a weak 75-amp alternator, making it difficult to support electric fans, high-output ignition systems, or upgraded stereos. To solve this, SVE offers a 200-amp alternator kit available in satin or black finish. With the included alternator pulley and stock crank pulley, the unit delivers 100 amps at idle and over 200 amps at peak load.
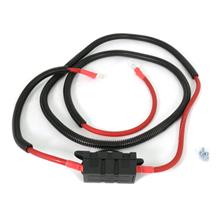
The kit includes a 10-foot #4 gauge power wire with a pre-installed in-line fuse and two retaining screws to handle the increased output safely and reduce audio noise. It also comes with stator and voltage regulator plugs, terminal and crimp-on connectors, and a new upper alternator bolt and nut for secure installation.
Installation Instructions
Step 1: Remove Factory Alternator
- Start off by lifting the vehicle via a lift or jacks and jack stands.
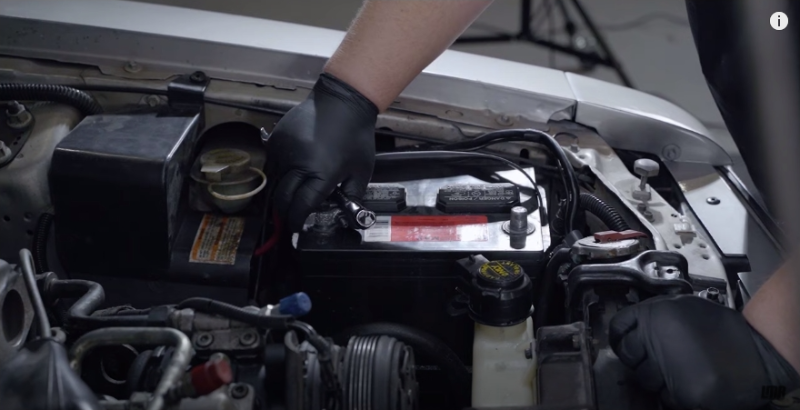
- Open the hood and disconnect the battery. Go ahead and set this aside.
- Next, remove the factory serpentine belt.
![]()
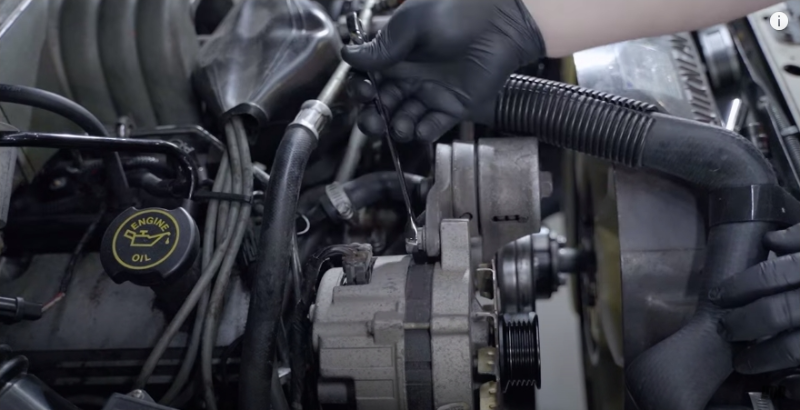
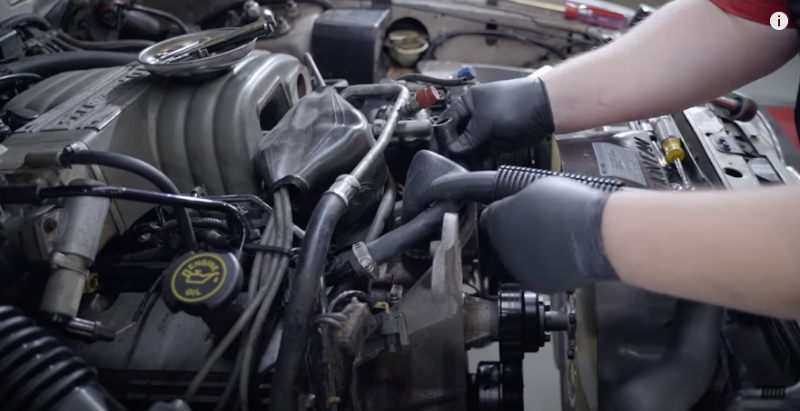
- Remove both of the attaching bolts holding the factory alternator in place.
![]()
![]()
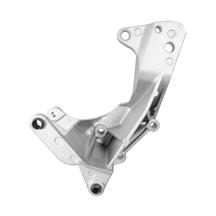
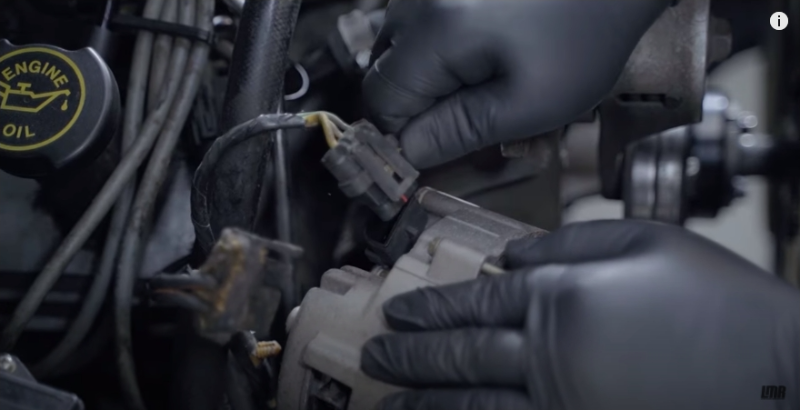
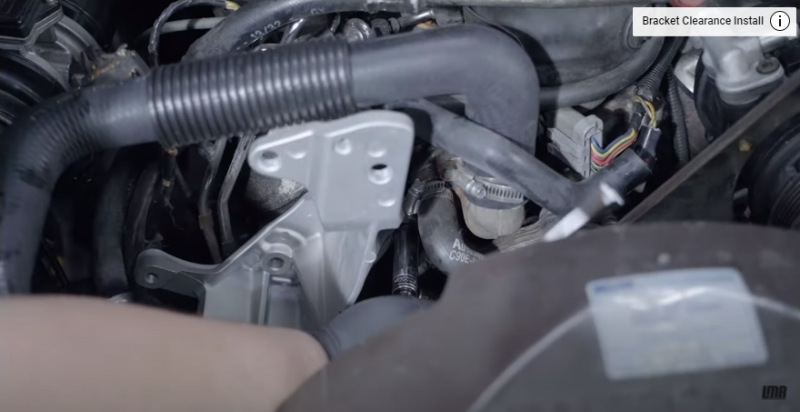
- Pull the alternator out of the bracket and disconnect all of the electrical connections on the backside. Since the 200 amp alternator is a larger size, we opted to capitalize on this opportunity and install one of the 50 RESTO alternator brackets on this car. These brackets will be a direct replacement and are manufactured for extra clearance to allow mounting of larger alternators. If you happen to use our new alternator bracket is not threaded for the factory belt tensioner. You will need to purchase the new tensioner and hardware to complete this install.
![]()
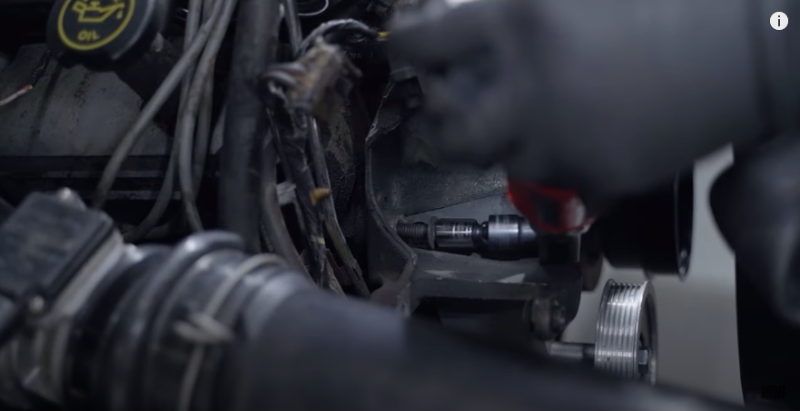
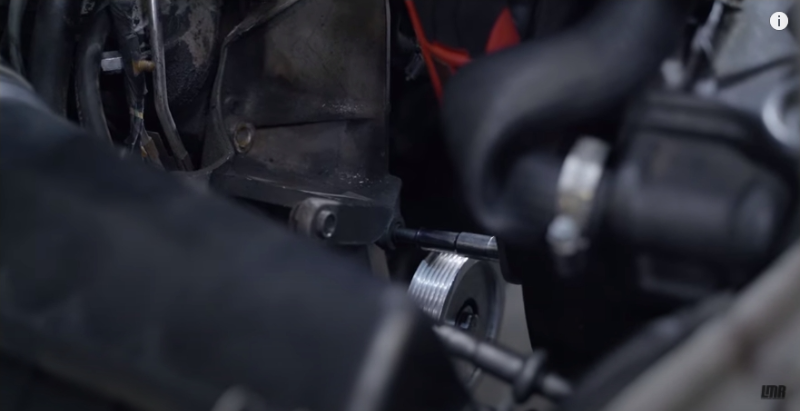
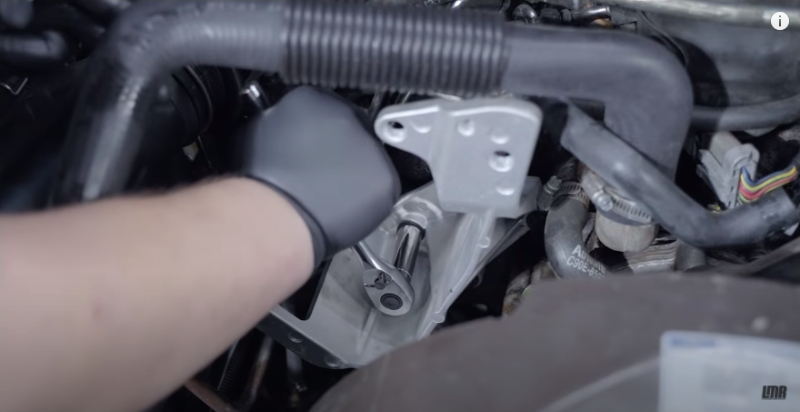
- Start off by removing the lower alternator bracket to smog pump bolt.
- Remove The Bolt Holding The Stock Belt Tensioner and remove the tensioner.
- Remove the water pump to the heater hose on the water pump side only and move this out of place.
![]()
![]()
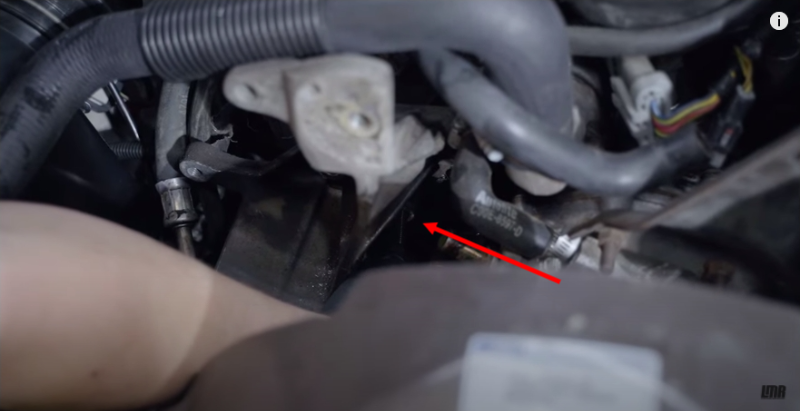
- Now remove the remaining hardware on the bracket holding this in place. Here is the section where the stock bracket would need to be clearanced if you do not go this route. Check this out and we'll show you how this is done on the 130 amp alternator install.
![]()
![]()
- Reinstall all of the previously removed hardware back in the new bracket and tighten these to spec.
- Do not forget to reinstall the heater hose at this time.
- Now let's move over to the wiring section of the install.
![]()
![]()
![]()
![]()
Step 2: Install New SVE Alternator
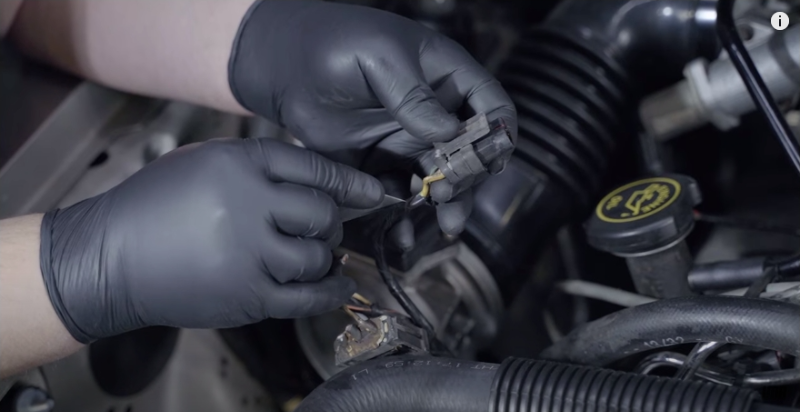
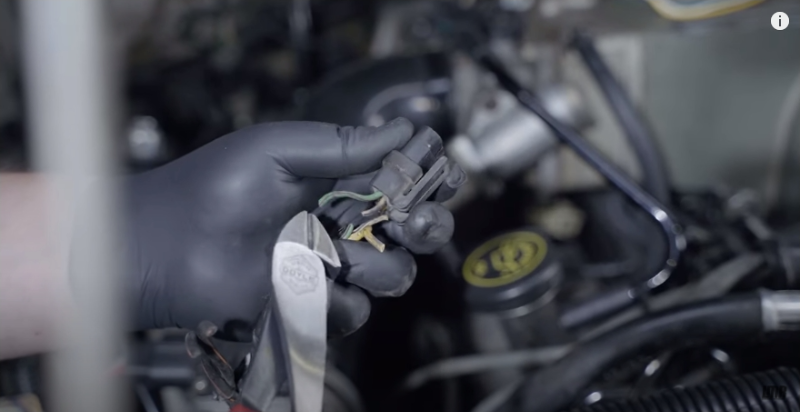
- Trim back the wiring loom on the factory stator and regulator plug.
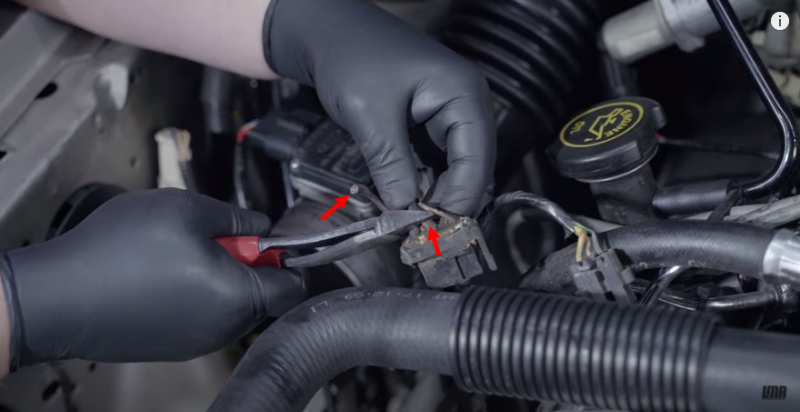
- Clip both of the black with orange tracer wires from the stock stator plug.
- Trim away the factory white stator wire from the factory harness.
![]()
![]()
![]()
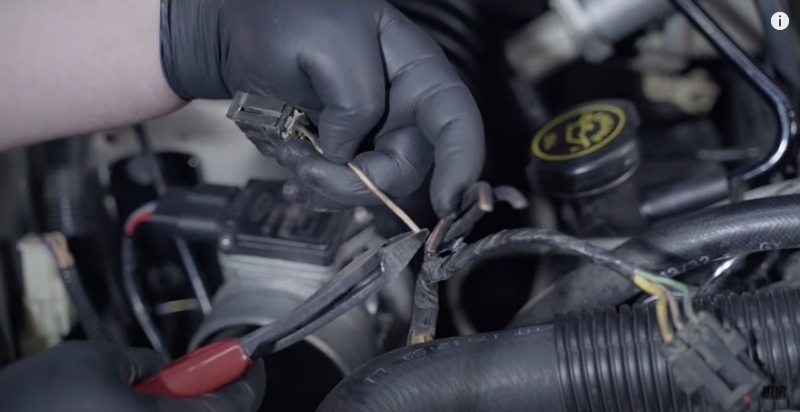
- Cut the yellow and the green wire from the stock stator plug. Discard the old regulator and stator plugs.
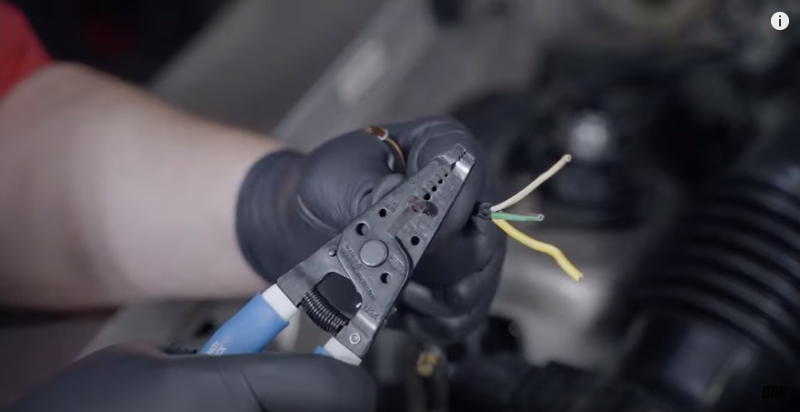
- Strip both ends of the two black with orange tracer wires.
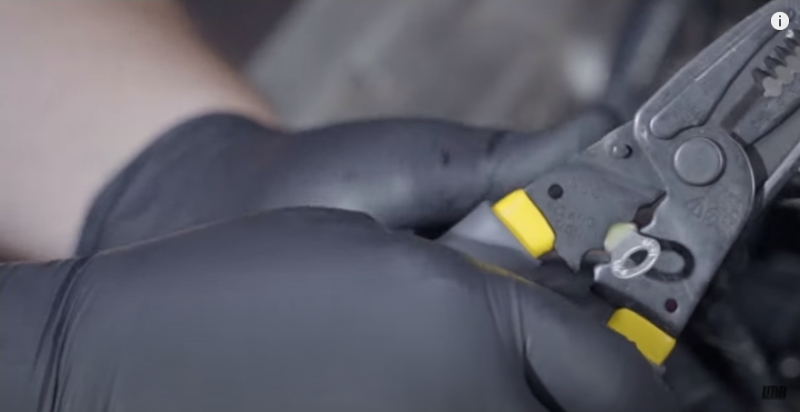
![]() Crimp-on both of the supplied ring terminals.
Crimp-on both of the supplied ring terminals.
![]()
![]()
- Now you can strip the yellow and green wire and completely cut the white stator wire away from the factory harness.
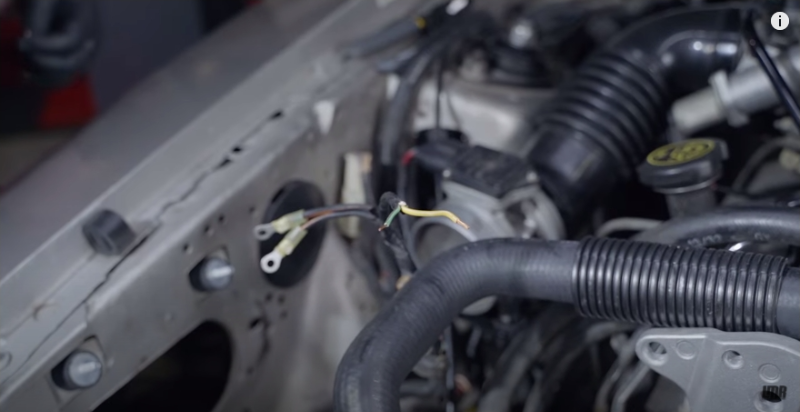
- Trim down the new regulator and stator plugs a few inches and stagger the wires.
![]() Strip all of the wiring on the new stator connector, and the new regulator connector.
Strip all of the wiring on the new stator connector, and the new regulator connector.
![]()
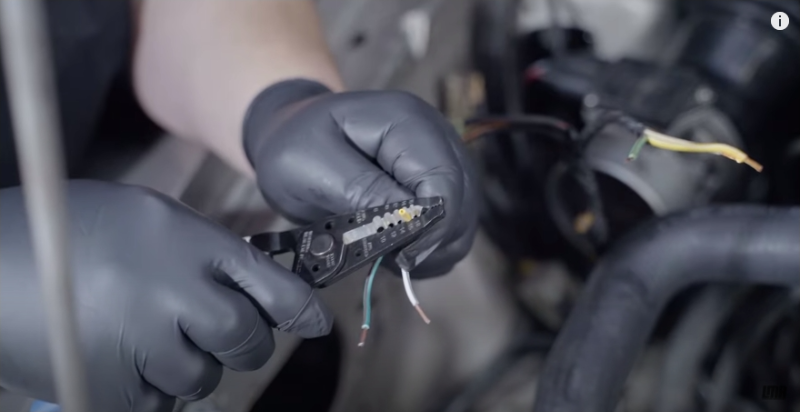
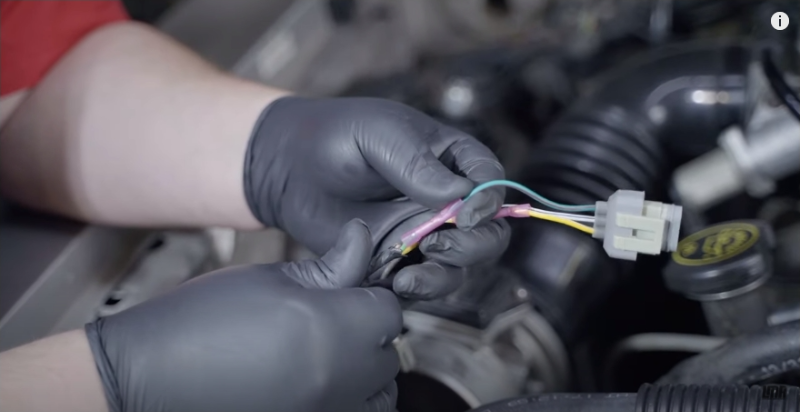
- Using the supplied butt crimp connectors match the white with the white, green with green, and yellow with the yellow.
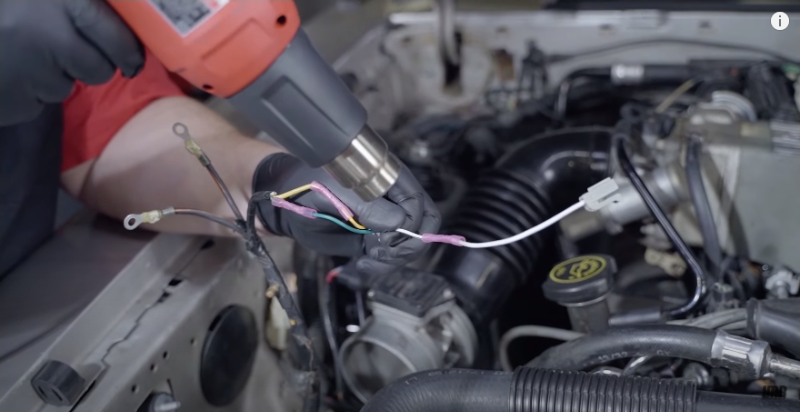
![]() Once you have all of these connections secure, take a heat gun and seal off each of these connections.
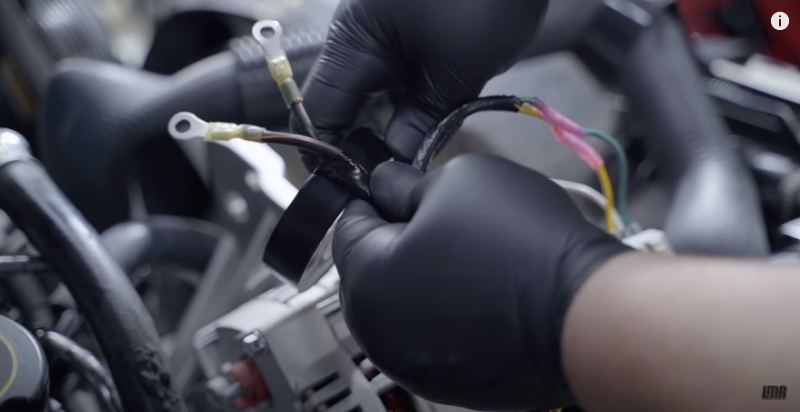
Once you have all of these connections secure, take a heat gun and seal off each of these connections.- You can now take this time to wrap these up with some electrical tape to help seal them off.
![]()
![]()
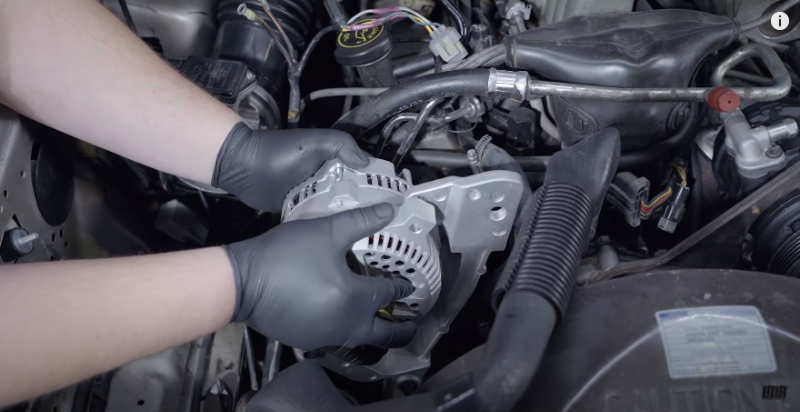
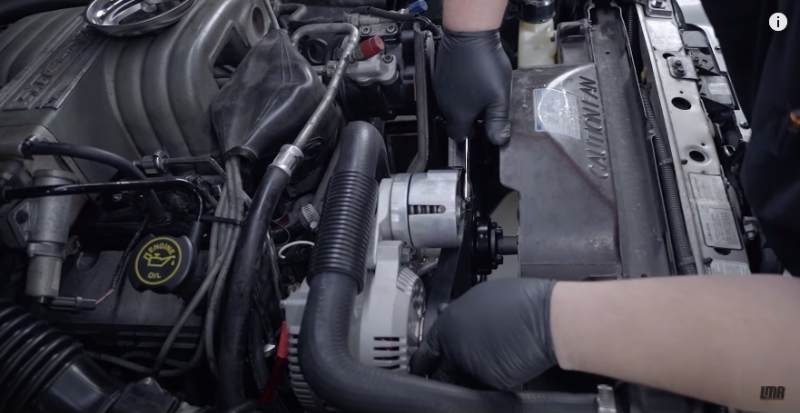
- Now you can slide the new 200 amp alternator into place.
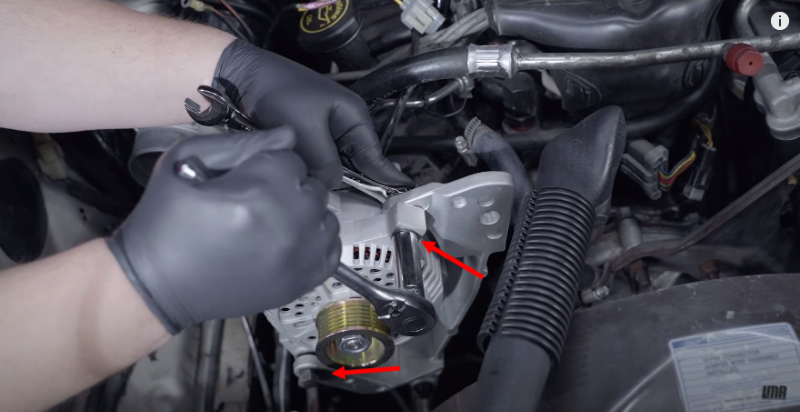
![]() Install the factory lower bolt and the supplied bolt and nut on the topside. Tighten both of these down to spec.
Install the factory lower bolt and the supplied bolt and nut on the topside. Tighten both of these down to spec.- Next, install both the stator and the regulator plugs on the backside of the alternator.
- Remove the nut from the rear lug on the new alternator.
![]()
![]()
![]()
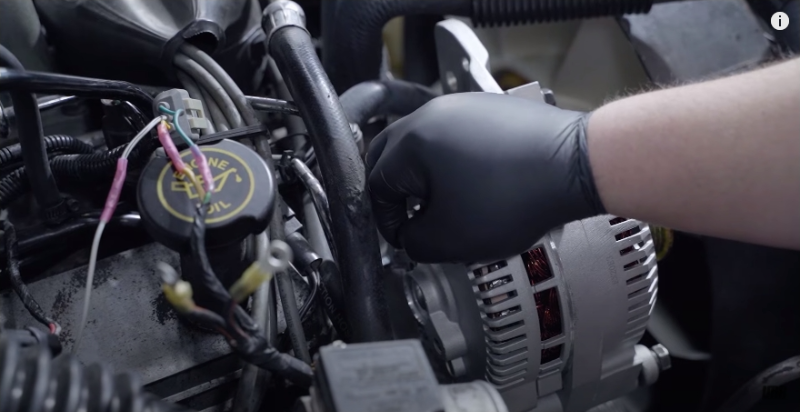
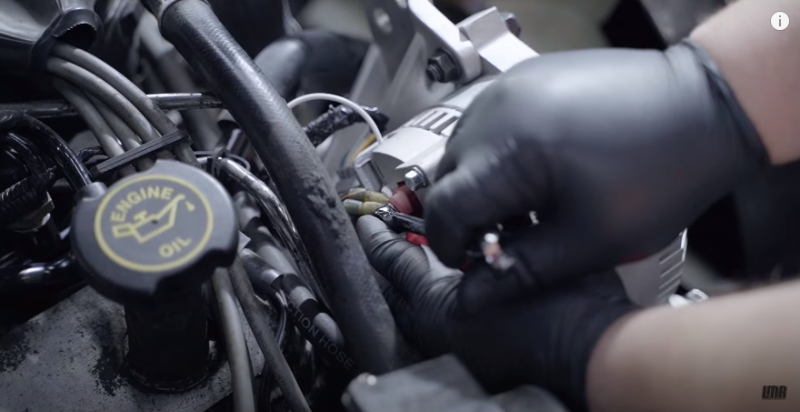
- Install both of the black wires with orange tracers and the eyelet from the 4 gauge power wire on the rear lug and tighten the nut down. This 4 gauge power wire MUST be used on the 200 amp upgrade!
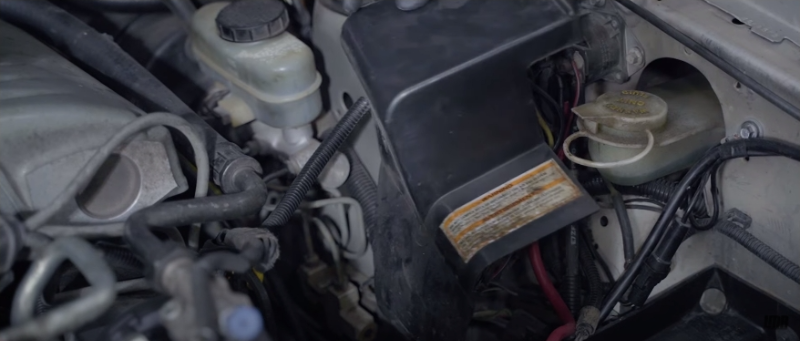
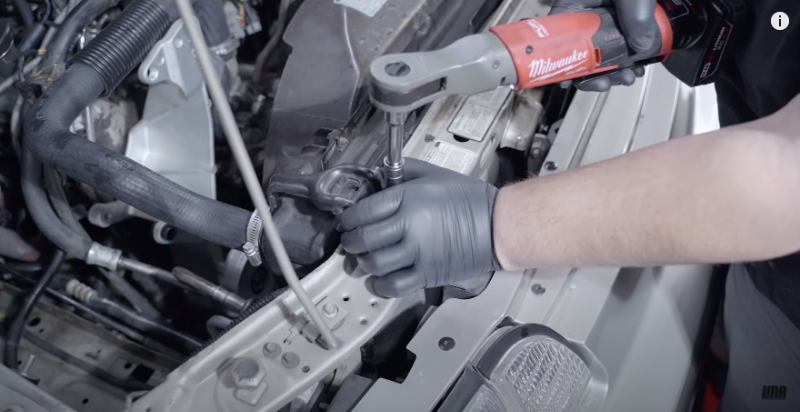
- Due to the routing of the new power wire, you will need to remove your factory airbox and the radiator hold-downs.
![]() Route the new power wire beside the old harness. Zip tie this every 6-8 inches to make sure this is secure.
Route the new power wire beside the old harness. Zip tie this every 6-8 inches to make sure this is secure.
![]()
![]()
- Remove the factory coil cover if it is still equipped.
- Position the fuse holder over the factory battery location. I went ahead and marked this and drilled out a few small pilot holes to make the self-starting screws install a little bit easier.
- Remove the nut off of the factory starter solenoid closest to the bulkhead.
![]()
![]()
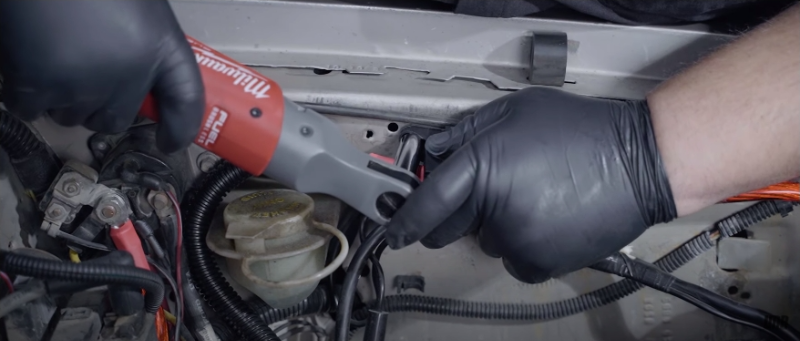
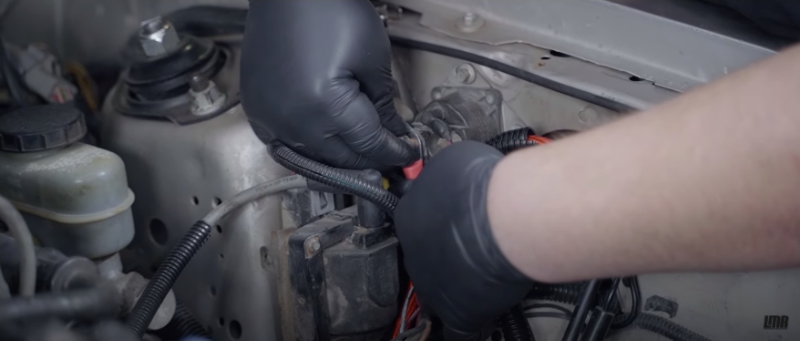
- Install the eyelet of the power wire on this lug and reinstall the nut.
- Since we are using the 50RESTO alternator bracket, these will require the use of the new tensioner and the bolt kit. If you did go this route, make sure to go ahead and install this at this time.
- Reinstall your coil cover, radiator hold downs, hose on the water pump, and the factory air box at this time.
- Now reinstall the serpentine belt.
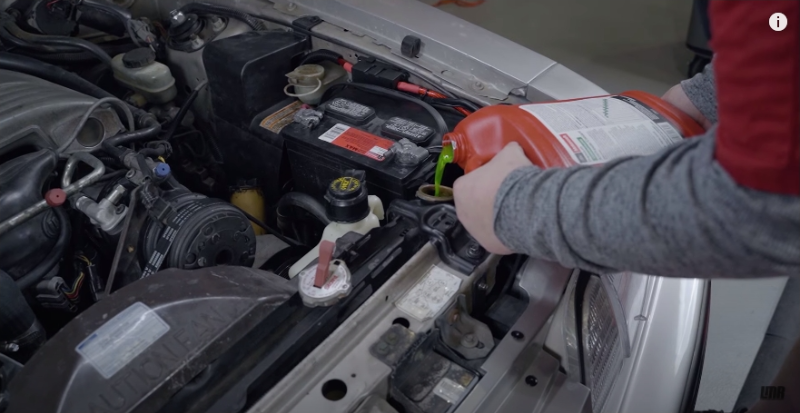
- Top off any fluids, and reconnect your battery.
- Check over your work, and you are all done!
![]()
![]()
![]()