SHOP

1979-93 Mustang Parts
Free Shipping on qualifying orders over $99* Details
LMR showroom & will call pickup service will be closed beginning Monday 9/21/26 for renovations until further notice. Need help? Contact Us.

1979-1984 Fox Body Mustang Body Side Molding & Pinstripe Removal & Install

Created by Andrew Perry / 5 min read
Date Created: 9/3/2025
Last Updated: 9/3/2025

See how we remove old body side moldings and install new moldings and pinstripes on a 1979 Fox Body!
Viewing this install and using the information shared is subject to the terms set forth here - View the LMR Install Instructions Disclaimer.
In this video, Landan explains the process of removing and installing the body side moldings on a 1979-1984 Fox Body Mustang. The icing on the cake is laying the pin stripe in the molding.

Product Links:
Watch:
Tool List:
  • Microfiber Towels
  • Heat Gun
  • Fishing Line
  • Automotive Painter's Plastic
  • Automotive Painter's Tape
  • Grey Scuff Pad (or 400 grit sandpaper)
  • Adhesive Remover
  • Prep Spray (Isopropyl Alcohol)
  • Eraser Wheel
  • 3M Adhesion Promoter (6 total)
  • Pinstripe

Removal & Installation Instructions

Step 1: Remove Old Moldings

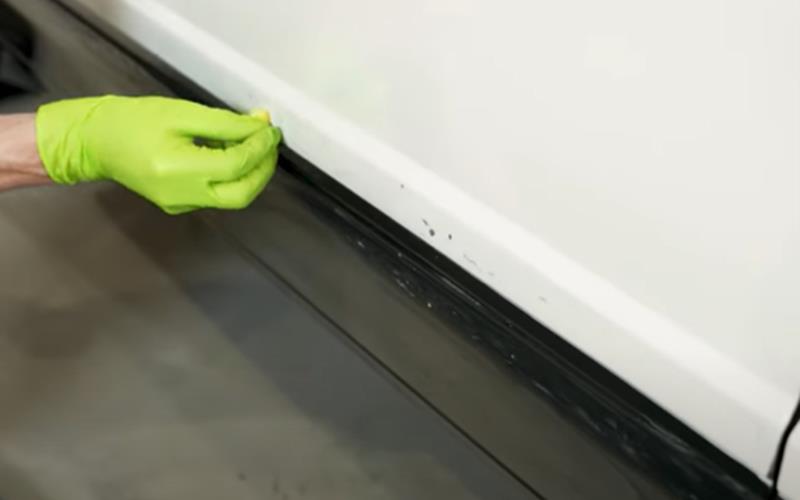
  • Use a heat gun and/or fishing line to heat up and remove the old moldings and adhesive. 
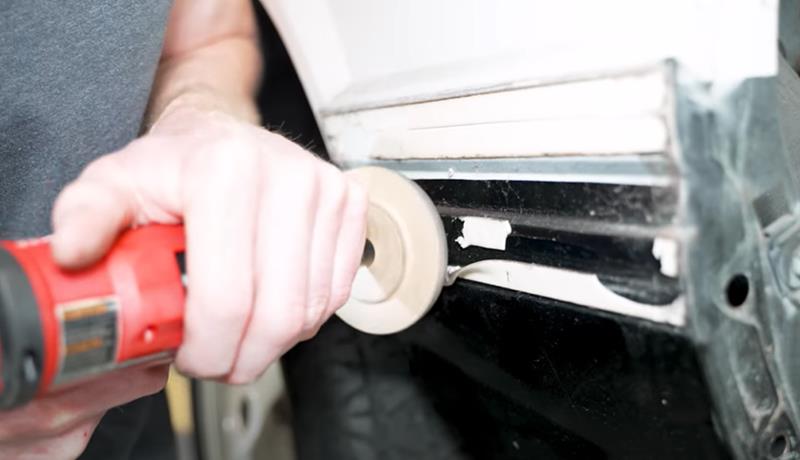
  • Next, use an eraser wheel on a drill and carefully remove the old adhesive left behind. Be mindful not to burn through the paint.
  • Finish removing any leftover residue with a microfiber towel and clear coat safe adhesive remover.
  • Follow that with a clean microfiber towel and a prep spray. Isopropyl alcohol will also do the trick.
1979-1984-fox-body-mustang-body-side-molding-pin-stripe-removal-install_9899b509.jpg (800×500)
1979-1984-fox-body-mustang-body-side-molding-pin-stripe-removal-install_e1aadaf6.jpg (800×460)

Step 2: Prep & Paint New Side Moldings

  • If you are painting the front and rear bumpers, you will want to do this with the moldings removed from the car.
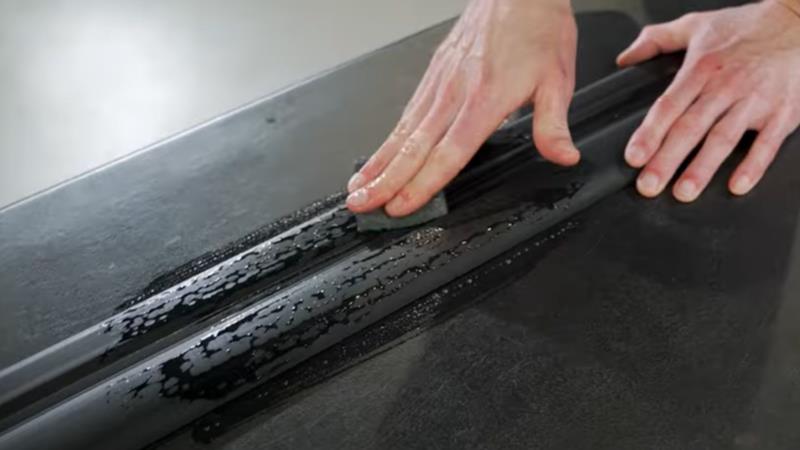
  • Use 400 grit sandpaper or a gray scuff pad and a bucket of warm water and dish soap and thoroughly scuff all of the moldings.
  • Once scuffed, dry off the moldings and inspect them. If needed, continue to scuff.
  • After the moldings are uniform, prepare an area to paint the moldings.
  • Wipe them down with a clean towel and prep spray or IA.
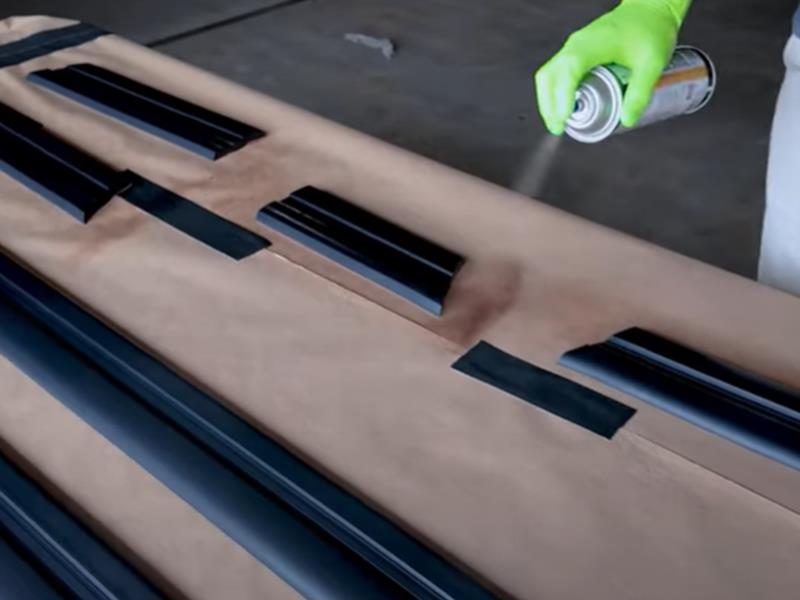
  • Spray the moldings with the SEM plastic adhesive promoter first. Allow 3-5 minutes of flash time.
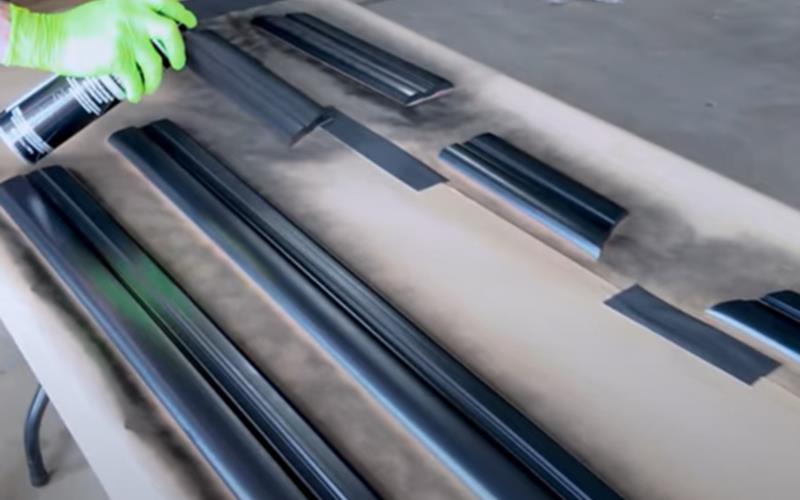
  • Then spray the moldings with a coat of SEM trim black. Allow 3-5 minutes of flash time as well, then apply another coat.
  •  Inspect coverage and apply third coat if needed.
  • Let cure for 48 hours.
1979-1984-fox-body-mustang-body-side-molding-pin-stripe-removal-install_ee849d3c.jpg (800×450)
1979-1984-fox-body-mustang-body-side-molding-pin-stripe-removal-install_1282178b.jpg (800×600)
1979-1984-fox-body-mustang-body-side-molding-pin-stripe-removal-install_55e4fadf.jpg (800×500)

Step 3: Install New Side Moldings

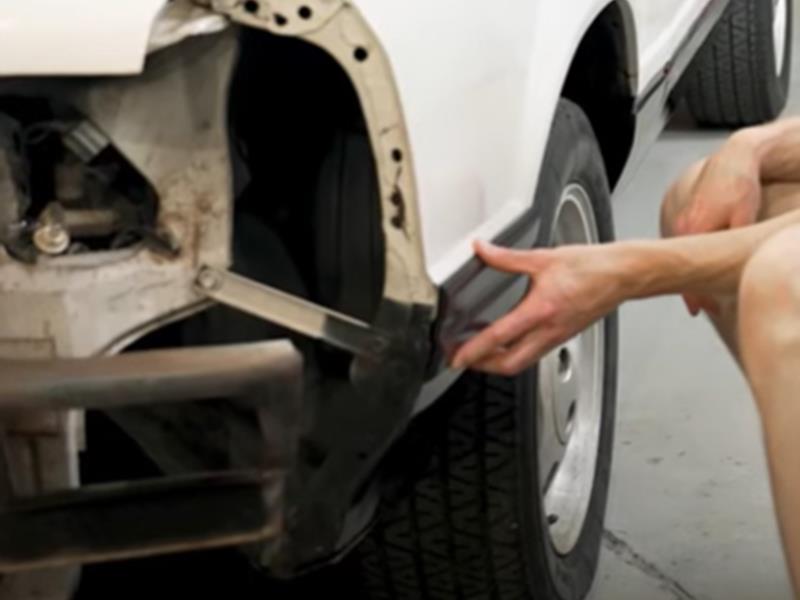
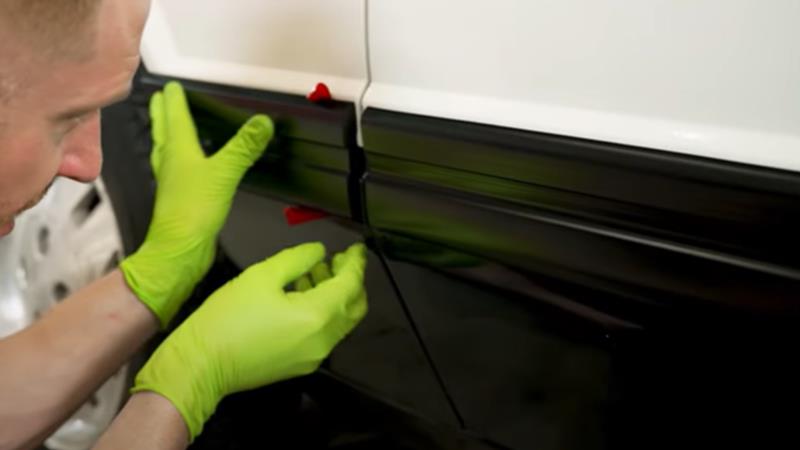
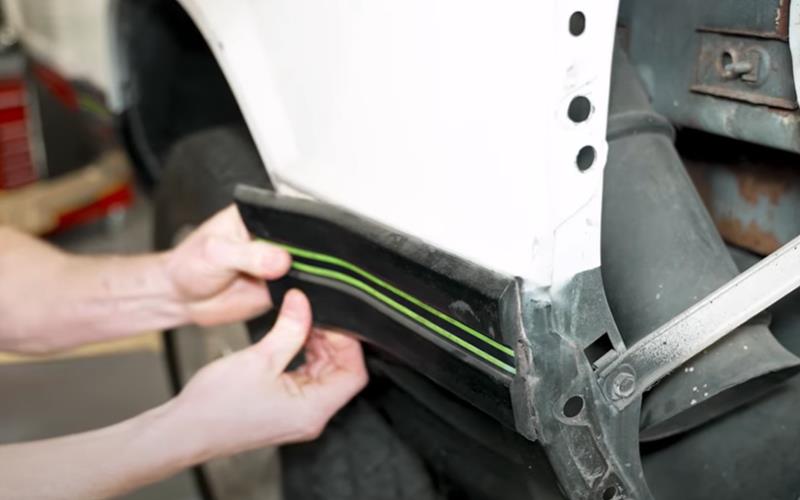
  • Before installing the moldings, go ahead and figure out which one goes where. 
  • Also, dry fit the moldings so you know where it is going to sit on the car itself. If installed too high or too low, the tape will not adhere properly.
  • Take the adhesion promoter sponge applicator, and apply it to the areas above and below the recessed area in the door where the tape will make contact.
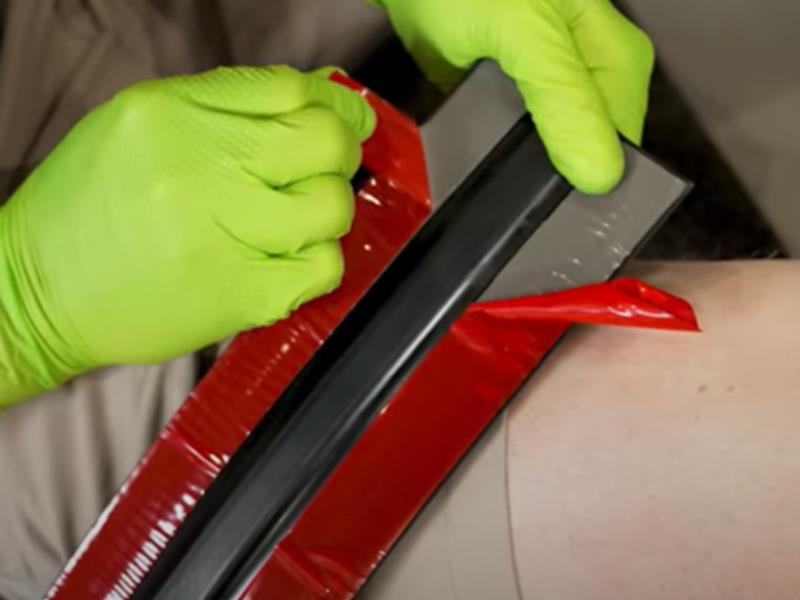
  • While the promoter flashes for about 30-90 seconds, dog ear the ends of the tape backing film.
  • Make sure the promoter has fully dried on the surface and then install the molding.
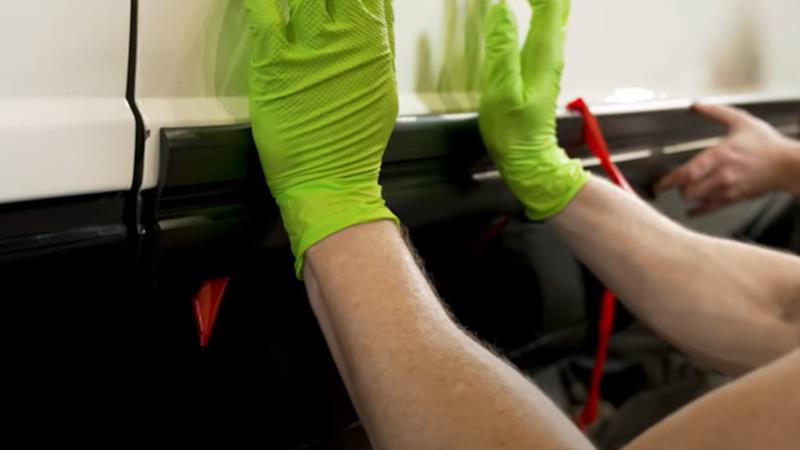
  • As you work across the top of the molding, pull the tape back and gently press the molding into place until you reach the other end.
  • Then, pull the tape from the lower portion and press the molding into place.
  • Apply pressure in sections over the entire molding for at least 30 seconds.
  • Use a new adhesion promoter sponge for the next piece and apply it to the surface.
  • Dog ear the tape and install the molding.
  • Follow these steps for the remaining moldings.
1979-1984-fox-body-mustang-body-side-molding-pin-stripe-removal-install_2b82ecca.jpg (800×600)
1979-1984-fox-body-mustang-body-side-molding-pin-stripe-removal-install_84c6ff7b.jpg (800×500)
1979-1984-fox-body-mustang-body-side-molding-pin-stripe-removal-install_2973b2ea.jpg (800×600)
1979-1984-fox-body-mustang-body-side-molding-pin-stripe-removal-install_c6d44a61.jpg (800×450)
1979-1984-fox-body-mustang-body-side-molding-pin-stripe-removal-install_490df3f0.jpg (800×450)

Step 4: Install Pinstripes

  • Before installing the pinstripes, wipe the molding and your fingertips down with some isopropyl alcohol.
  • Give yourself a little overhang when laying in the pinstripe, so that you can come back and trim it flush.
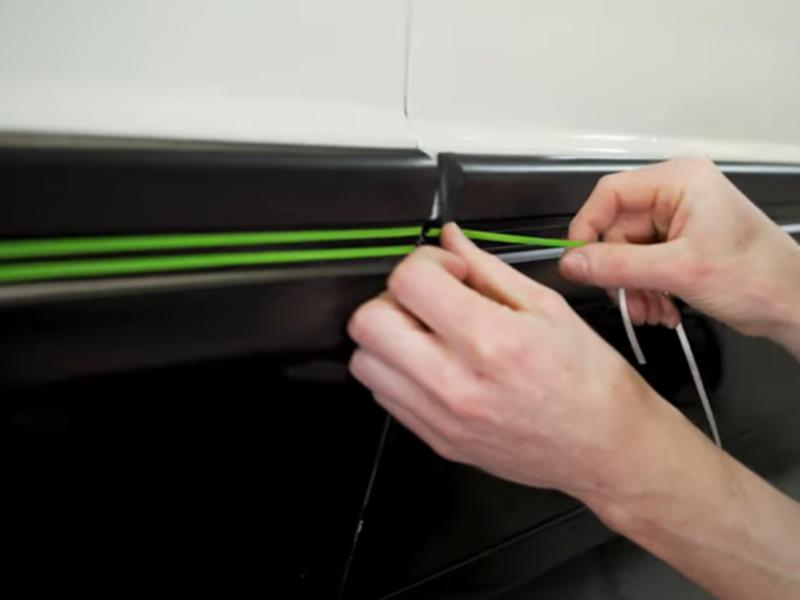
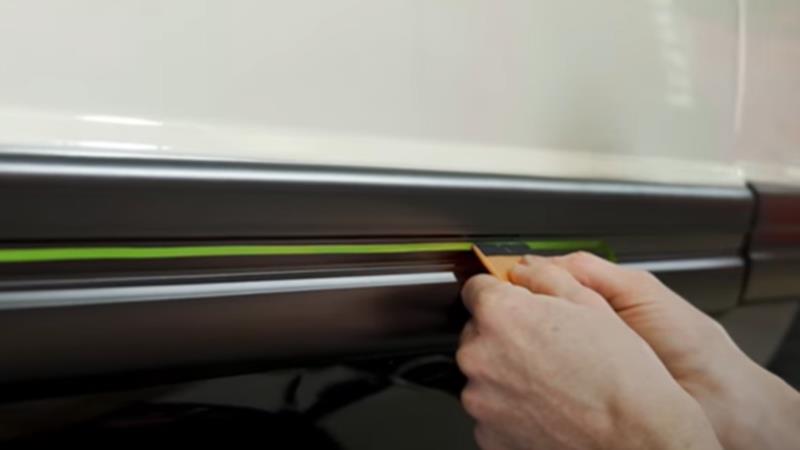
  • Feed the pinstripe into the molding, removing the back and pressing in the pinstripe, ensuring not to pull or stretch it as you go.
  • Use the felt end of the squeegee to help install the pinstripe for better adhesion.
  • Take your time a carefully lay the pinstripe down as straight as possible, working around the car.
  • After this, you are good to go!
1979-1984-fox-body-mustang-body-side-molding-pin-stripe-removal-install_1db9842f.jpg (800×600)
1979-1984-fox-body-mustang-body-side-molding-pin-stripe-removal-install_34c19863.jpg (800×450)


About the Video

1979-1984 Fox Body Mustang Body Side Molding & Pinstripe - How To Remove & Install

Check out our YouTube channel for even more tech tips, installation videos, how-tos, and more. The best place to go for anything Mustang related!

Published on 2025-08-08
In this video, Landan explains the process of removing and installing the body side moldings on a 1979-1984 Fox Body Mustang. The icing on the cake is laying the pin stripe in the molding.
Thumbnail image of the author of this article, Andrew Perry.

About the Author

Andrew has been writing content for Late Model Restoration for over 2 years, producing over 50 articles. Over the years, Andrew has owned numerous Mustangs, including a 2007 V6, 2003 GT, 1967 GT, 1994 GT, 1995 GT, 2014 GT (2), 2000 V6 (V8 swapped), 2016 GT/PP, 1988 LX 5.0, and a 2009 GT/CS. Read more...