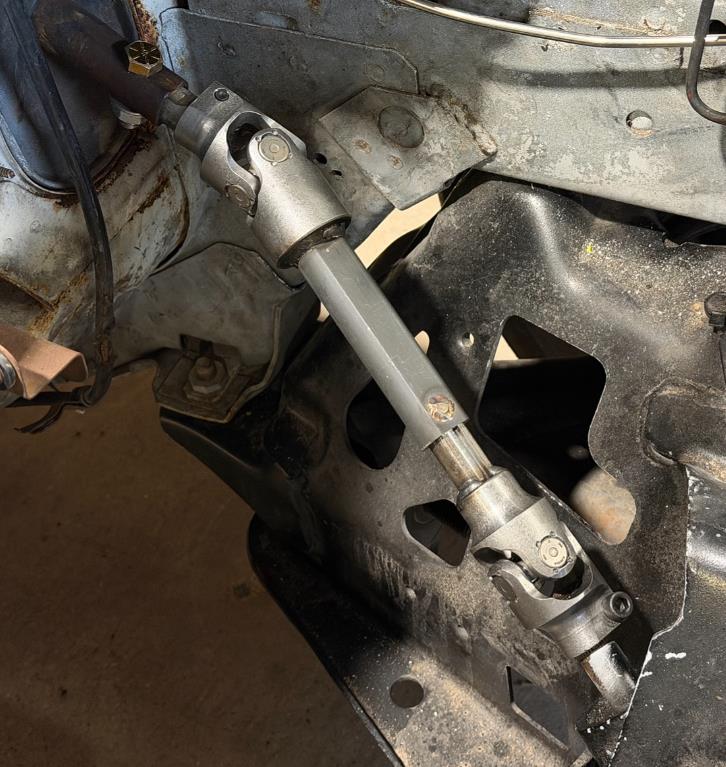
Vehicle FitmentMake/Model/Chassis: Ford Fox Body Mustang
Year Range: 1979, 1980, 1981, 1982, 1983, 1984, 1985, 1986, 1987, 1988, 1989, 1990, 1991, 1992, 1993
Torque Specs- Steering Shaft Pinch Bolts - 25 lb-ft
- Steering Shaft Adapter to Column Hardware - Get it tight.
Installation Instructions
Step 1: Prepare the Steering Rack and Column
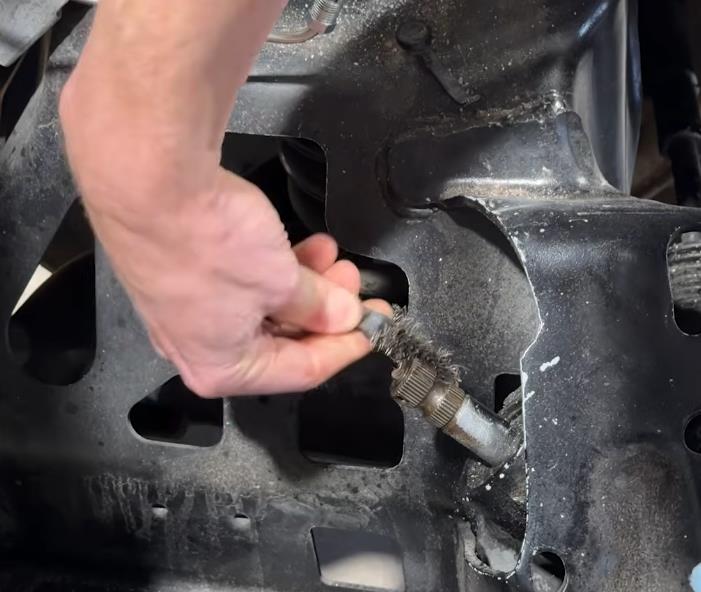
- Before installing the new SVE steering shaft, clean the mating surfaces after the old shaft is removed.
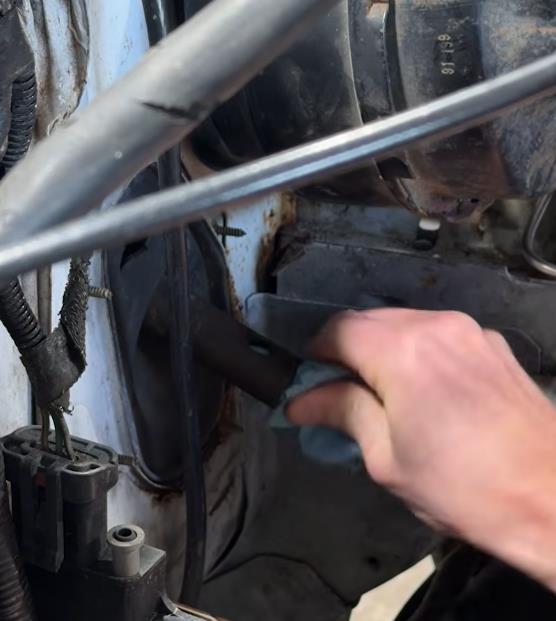
- Spray a small amount of WD-40 on the steering rack input shaft and clean the splines with a wire brush. Do the same around the inside of the steering column connection.
- Removing dirt, rust, and debris will help the shaft slide onto the splines properly and ensure the universal joints seat correctly.
Step 2: Remove or Loosen the Pinch Bolts
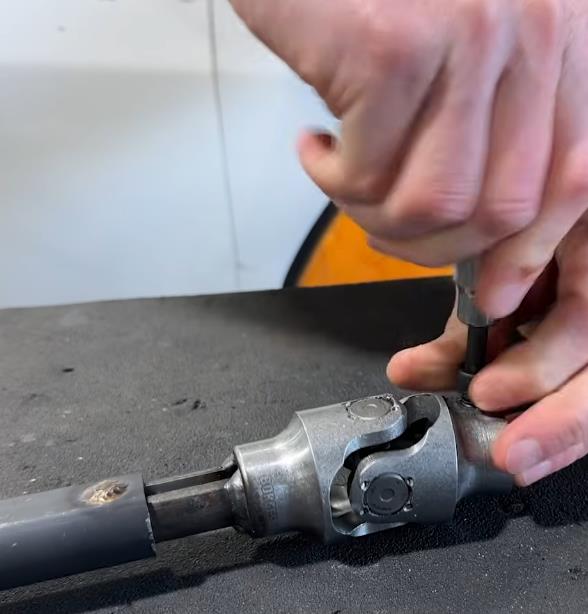
- Before installing the shaft, loosen or remove the pinch bolts from the steering shaft connections.
- A 1/4-inch-drive Allen socket or Allen key can be used for this step.
- Removing the pinch bolts completely will generally make positioning the shaft easier during installation.
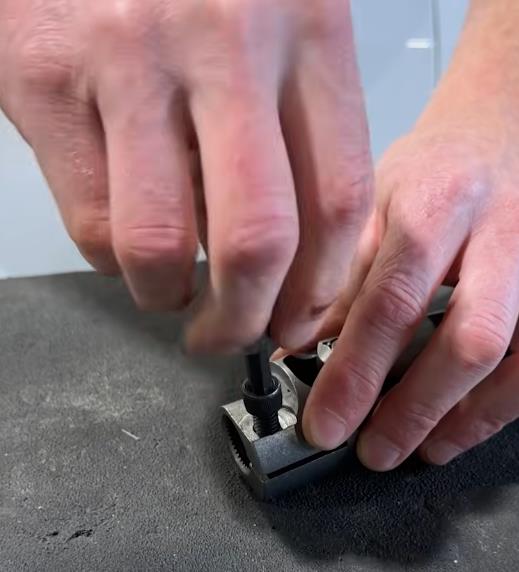
Step 3: Identify the Correct Orientation
- Before sliding the shaft into position, make sure it is oriented correctly.
- The female portion of the shaft should face upward toward the firewall and steering column, while the male telescoping portion should face downward toward the steering rack.
- This orientation allows the shaft's telescoping function to assist with installation and positioning.
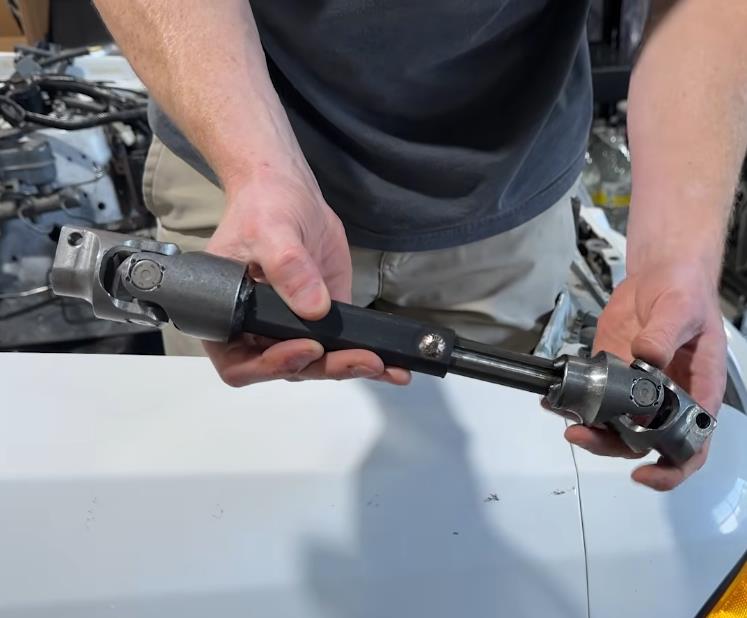
Step 4: Apply Anti-Seize
- Apply a light coating of anti-seize to the splined mating surfaces.
- You can apply it directly to the universal-joint splines or to the steering rack input shaft and column adapter.
- A light coating is sufficient. Avoid excessive application that could create a mess inside the engine bay.
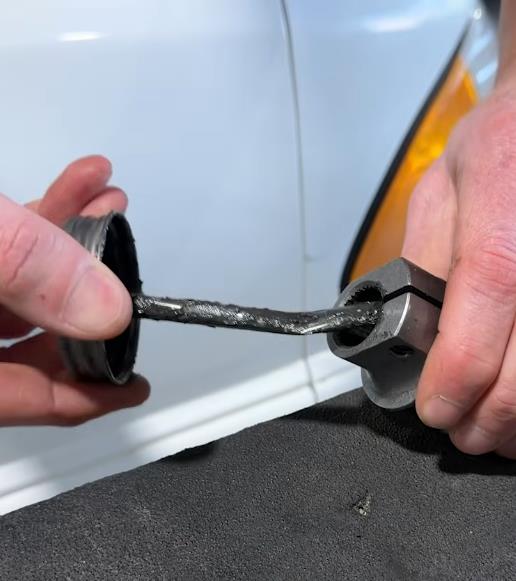
Step 5: Center the Steering Rack and Steering Wheel
- Proper centering is one of the most important parts of the installation.
- Make sure the steering rack is centered from side to side and that the steering wheel is in its centered position.

If You're Installing a New Steering Rack
- If the rack is out of the vehicle, use vice grips or another suitable method to rotate the rack input shaft from full lock to full lock.
- Count the total number of turns, then divide that number by two. Rotate the shaft back by half that amount to reach the rack's center position.
- This establishes the correct center point before installing the steering shaft.
If You're Reusing an Existing Rack
- If the steering rack is already installed and properly centered, the steering shaft can generally be installed directly into its existing position.
- Important: Do not use the steering shaft to compensate for a steering rack that is not centered.
Step 6: Install the Shaft to the Steering Rack
- With the rack centered, slide the lower portion of the steering shaft onto the steering rack input shaft.
- The telescoping section can be compressed or extended as necessary to make installation easier.
- Once the shaft is positioned, allow it to rest in place while you prepare the upper connection.
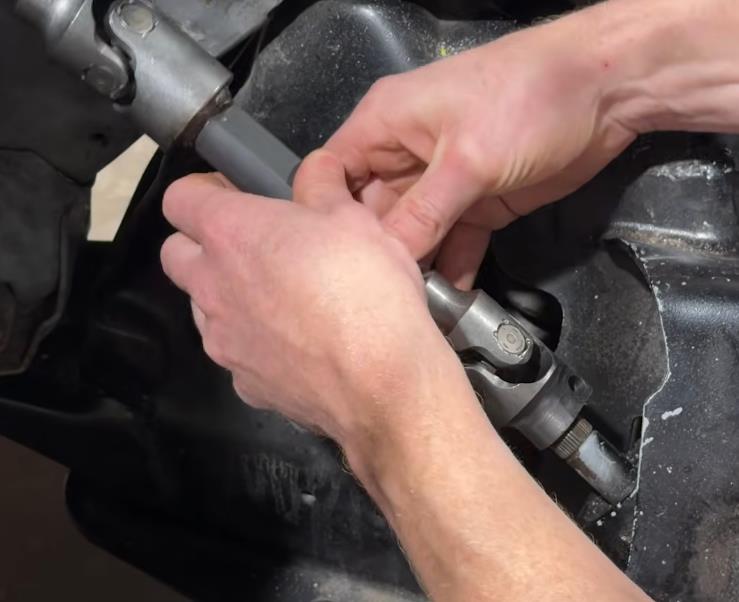
Step 7: Install the Column Adapter
- Apply a small amount of anti-seize to the splined area of the column adapter.
- Slide the column adapter into the steering column.
- Next, bring the steering shaft upward and align it with the column adapter.
- The telescoping design of the shaft makes it easier to achieve proper alignment between the steering column and steering rack.
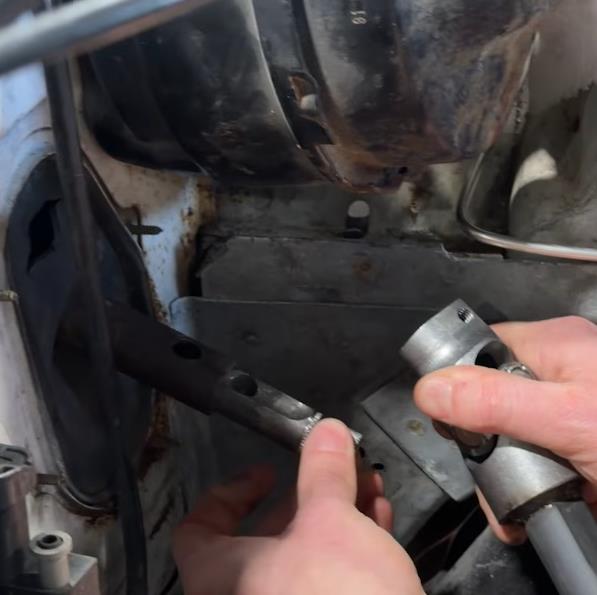
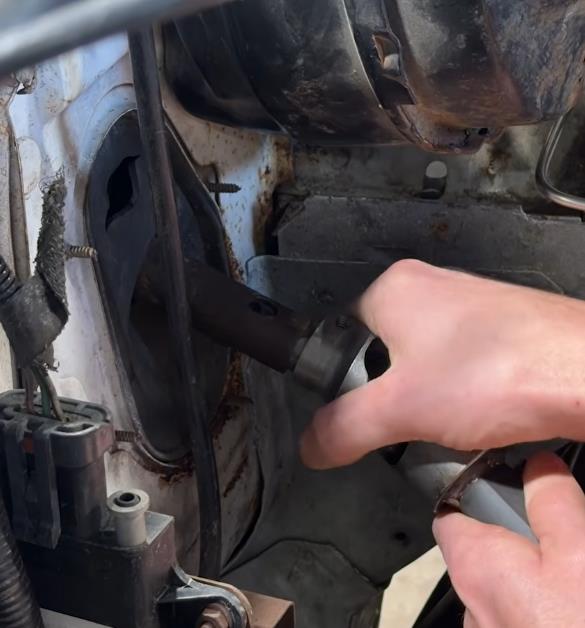
Step 8: Install the Column Pinch Bolt
- Once the steering shaft and column adapter are properly aligned, install the pinch bolt.
- Insert the bolt from the top down and install the new lock nut on the opposite side.
- A stubby wrench can be helpful for holding the nut while tightening the bolt.
- Depending on the vehicle and the components installed around the steering column, access may be tight. The brake booster, transmission, and other components can interfere with tool access.
- If necessary, use two wrenches to reach both the bolt head and nut.
- The supplied deformed lock nut may require some effort to thread onto the bolt. This is normal for this style of locking nut.
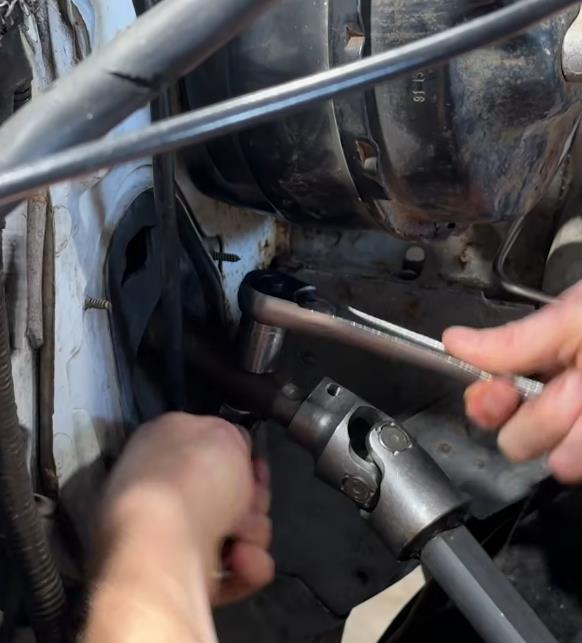
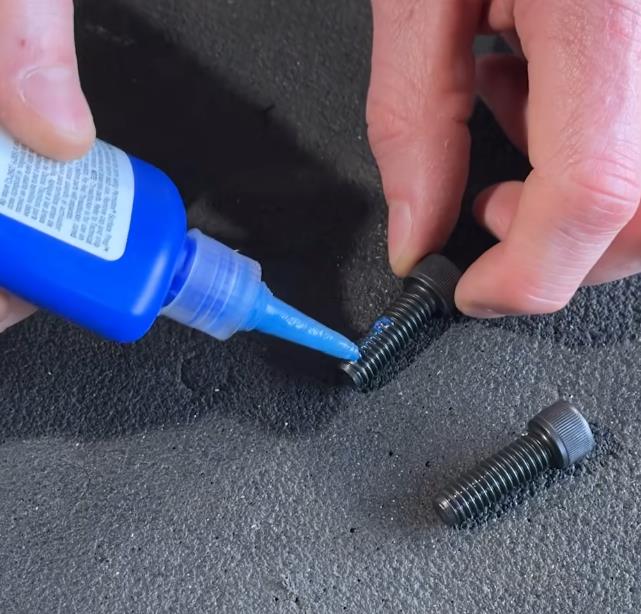
Step 9: Apply Thread Locker to the Pinch Bolts
- Before installing the remaining pinch bolts, apply a small amount of blue thread-locking compound to the bolt threads.
- This helps prevent the pinch bolts from loosening during operation.
Step 10: Align the Universal Joints
- Proper universal-joint alignment is critical.
The universal joints must line up correctly with the grooves in:
- The steering rack input shaft
- The steering column adapter
Make sure each universal joint is fully seated and properly aligned with the corresponding groove before tightening the pinch bolts.
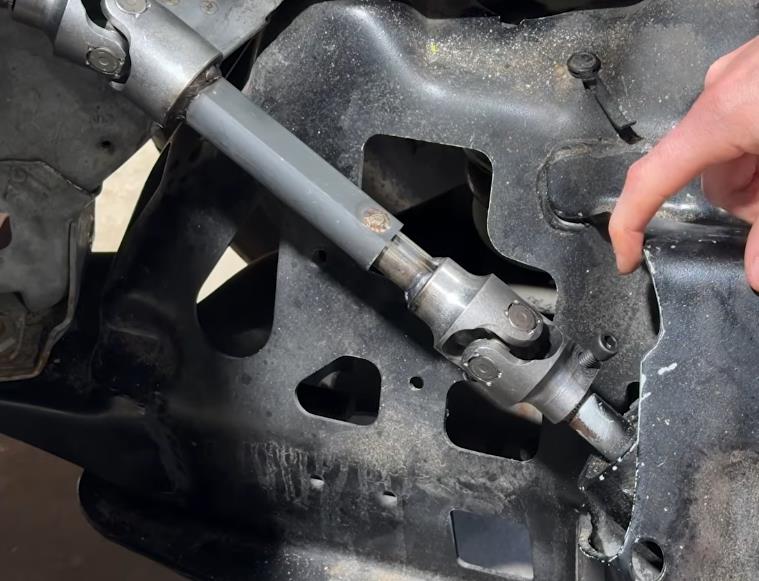
Step 11: Install and Tighten the Remaining Pinch Bolts
- With the universal joints properly aligned, install the remaining pinch bolts.
- You may need to rotate the steering shaft to position the flats on the universal joints so that the pinch bolts can be installed.
- If you're working underneath the vehicle, access may be different depending on the transmission and other components.
- Rotate the shaft as necessary until you have enough access to install and tighten the bolts.
- Once everything is properly positioned, tighten the pinch bolts securely.
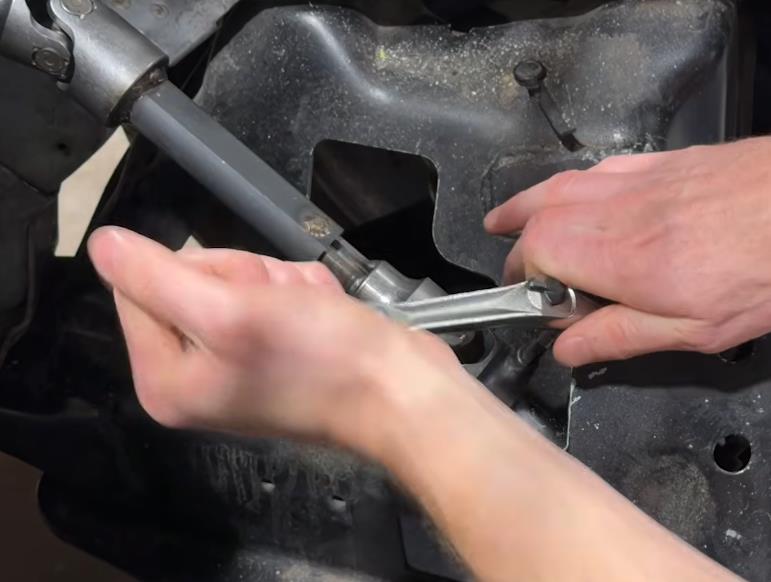
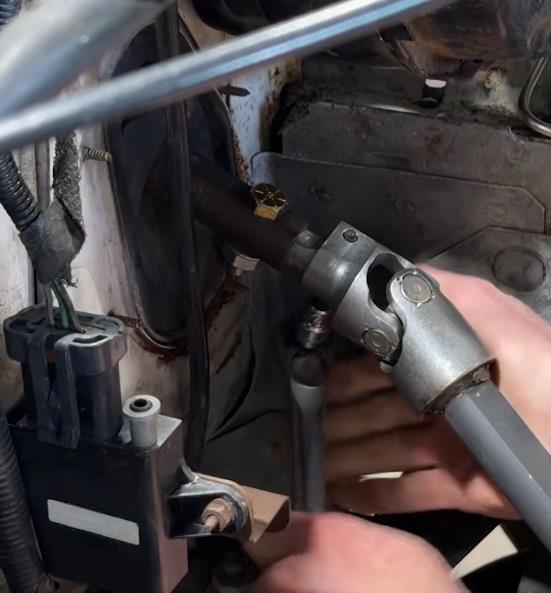
Final Inspection
Before the installation is fully complete, double-check:
- The steering rack and steering wheel are centered.
- Make sure the steering shaft is installed in the correct orientation.
- Verify the telescoping section is positioned properly.
- Check that both universal joints are fully seated.
- Confirm the universal joints are properly aligned with the grooves in the steering rack input shaft and column adapter.
- Make sure the column and rack-side pinch bolts are installed.
- Verify blue thread locker has been applied where required.
- Confirm all pinch bolts and lock nuts are properly tightened.
- Turn the steering system by hand to ensure the steering shaft moves smoothly without binding or interference.