SHOP

All Mustang Parts
Free Shipping on qualifying orders over $99* Details
LMR showroom & will call pickup service will be closed beginning Monday 9/21/26 for renovations until further notice. Need help? Contact Us.

Ford 302 & 351W Pushrod Engine Rocker Arm Install Guide

Created by Andrew Perry / 5 min read
Date Created: 8/21/2026
Last Updated: 8/21/2026

Learn how to install rocker arms on a Ford 302 or 351W engine in your Mustang, Lightning, or OBS Bronco, by following this guide, including preload and valve train adjustment tips!
Viewing this install and using the information shared is subject to the terms set forth here - View the LMR Install Instructions Disclaimer.
  • Ford 302 & 351W Pushrod Engine Rocker Arm Install Guide

Ford 302 & 351W Pushrod Engine Rocker Arm Install Guide

Installing rocker arms on a Ford 302 or 351W small-block in your Mustang, Lightning, or OBS Bronco is a straightforward job when the components are properly matched and the valve train is adjusted correctly. Whether you’re replacing worn rocker arms or upgrading to performance components such as Scorpion Racing or Comp Cam rocker arms, careful preparation and correct preload are essential for reliable valve train operation.
Product Links
Article Links

Installation Instructions

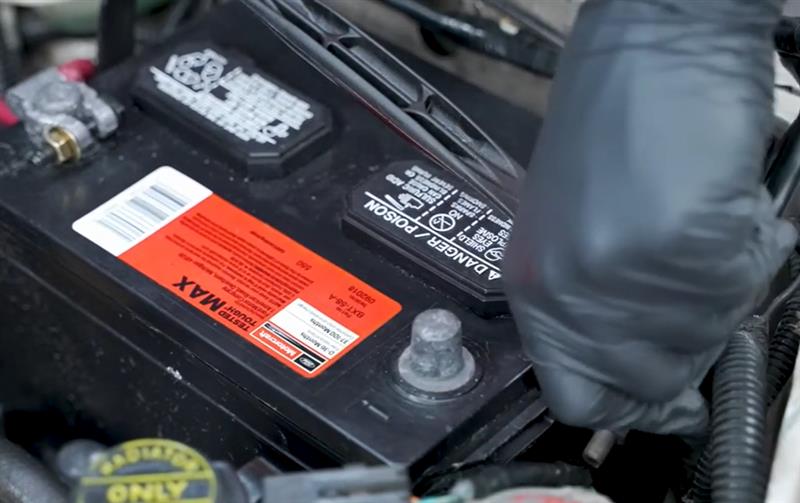
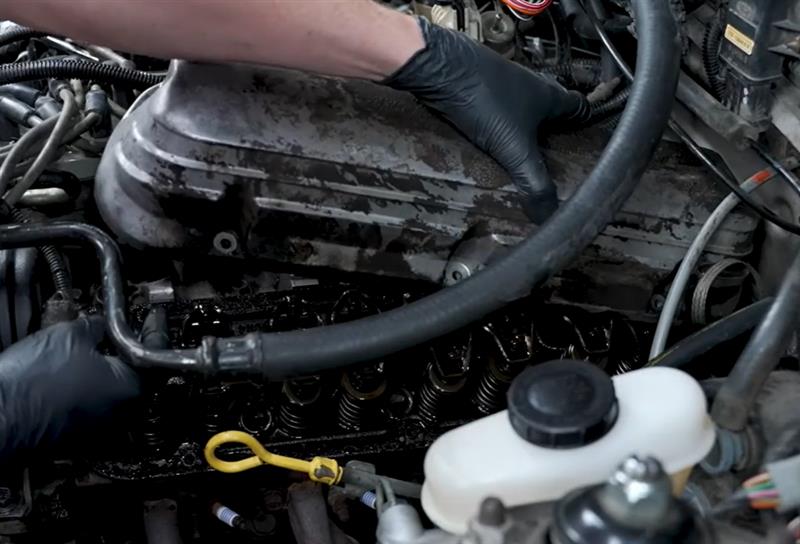
Step 1: Disconnect Battery & Remove Valve Covers

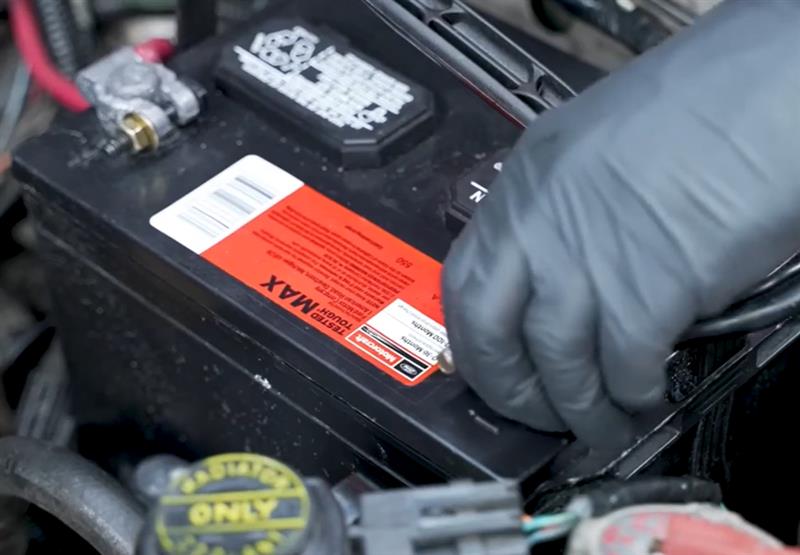
  • Begin by opening the hood and disconnecting the negative battery cable to prevent accidental engine startup while working on the valve train.
  • Make sure the engine is completely cool before beginning the installation.
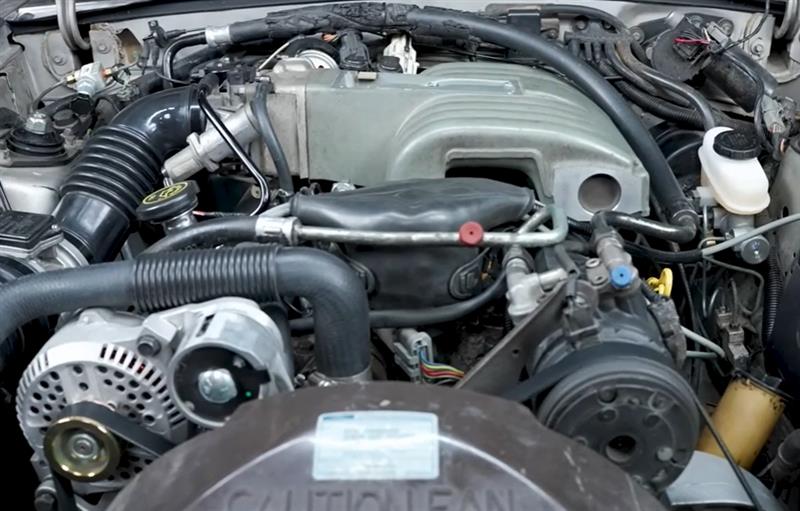
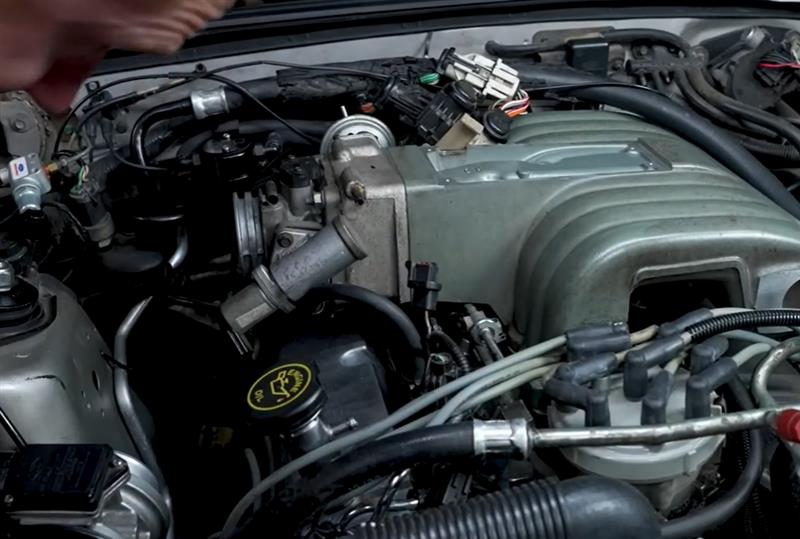
  • Remove any components that may be obstructing access to the valve covers.
  • Using the appropriate socket and ratchet, remove the valve cover fasteners.
  • Carefully lift the valve covers from the cylinder heads and set them aside.
  • If the valve cover gaskets will be reused, inspect them for damage. Replace them if they are worn, damaged, or no longer sealing properly.
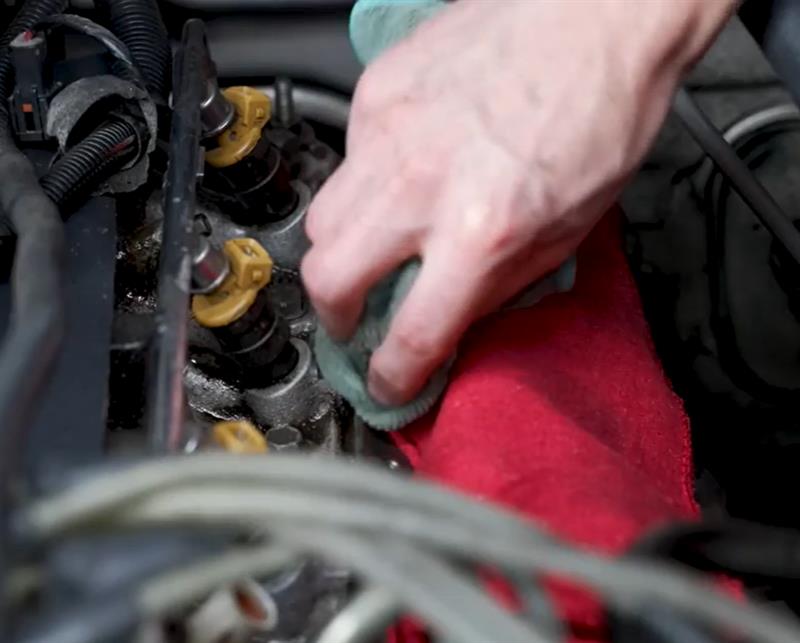
  • Use a clean shop towel to remove any excess oil or debris around the cylinder head and rocker arm area.
ford-302-351w-50-58-sbf-pushrod-engine-rocker-arm-install-instructions_4a02e5f9.jpg (800×503)
ford-302-351w-50-58-sbf-pushrod-engine-rocker-arm-install-instructions_21a4d089.jpg (800×544)

2. Remove Existing Rocker Arms

  • Before removing the existing rocker arms, inspect the valve train and take note of the current rocker arm and pushrod arrangement.
  • Rotate the engine as necessary to position the valve train for removal.
  • Loosen the rocker arm fasteners and carefully remove the existing rocker arms.
  • Keep the rocker arm hardware organized if it will be reused.
  • Inspect the existing rocker arms, pushrods, valve tips, and mounting hardware for signs of excessive wear, scoring, pitting, or other damage.
  • If any component shows abnormal wear, determine the cause before installing the new rocker arms.
  • Once the rocker arms are removed, clean the surrounding areas with a shop towel to remove excess oil and debris.
ford-302-351w-50-58-sbf-pushrod-engine-rocker-arm-install-instructions_f80cc351.jpg (800×643)

3. Inspect & Prepare the Valve Train

  • Before installing the new rocker arms, verify that the pushrods are properly seated in the lifters.
  • Inspect the pushrods for bends, excessive wear, or damage.
  • Check the valve tips and rocker arm mounting points for abnormal wear or damage.
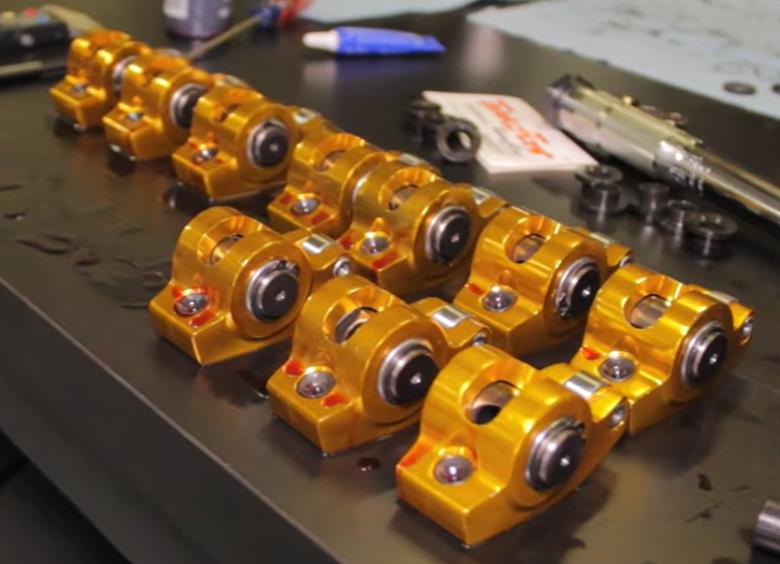
  • Verify that the replacement rocker arms are correct for your specific Ford 302 or 351W combination.
  • Confirm that the rocker arms, pushrods, lifters, valve springs, and cylinder heads are compatible with one another.
  • If you're using aftermarket components, verify the manufacturer's recommended specifications before proceeding.


ford-302-351w-50-58-sbf-pushrod-engine-rocker-arm-install-instructions_3024e16e.jpg (746×622)

4. Install New Rocker Arms

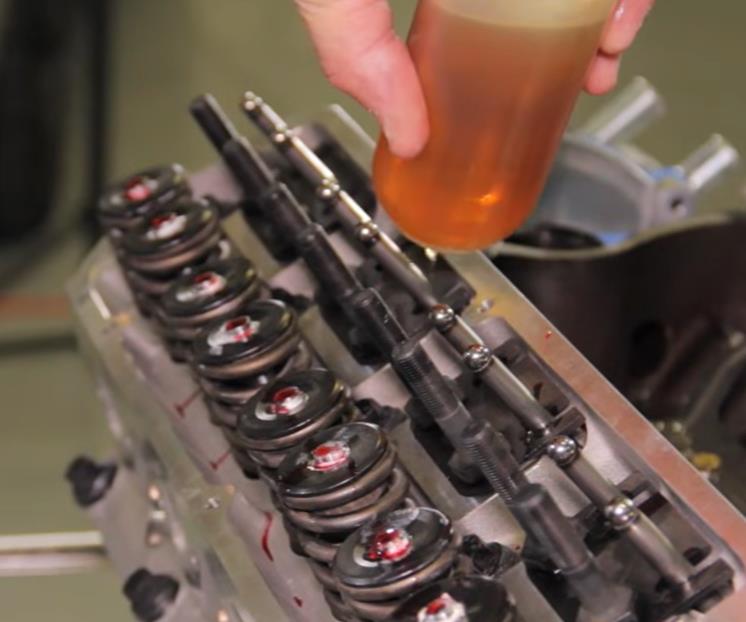
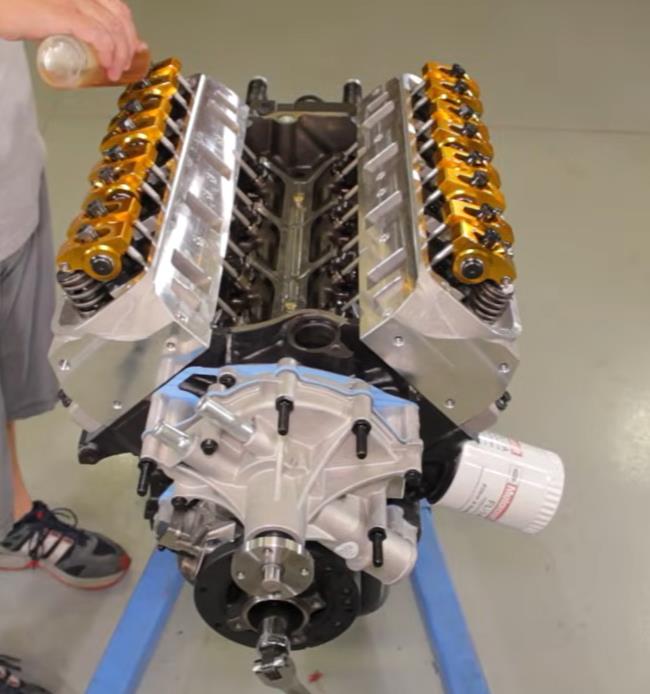
  • Apply a small amount of assembly lubricant to the appropriate rocker arm contact points and pushrod interfaces.
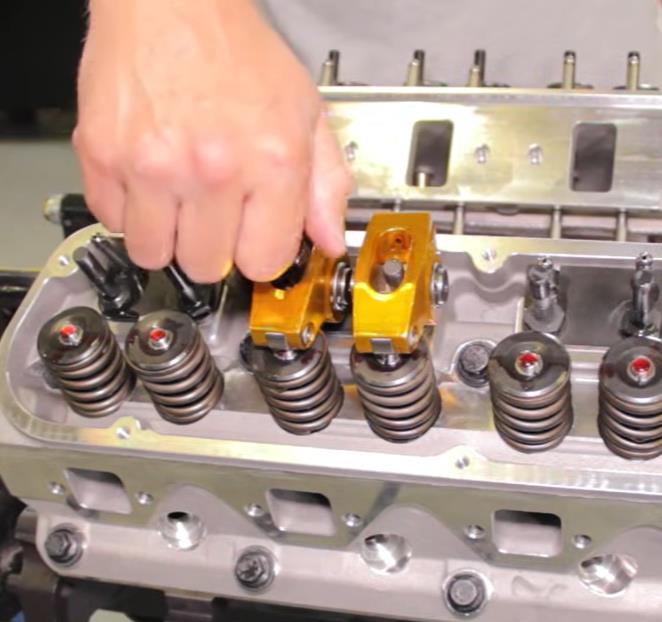
  • Position each rocker arm over the corresponding valve stem and pushrod.
  • Make sure the pushrod is properly seated in the rocker arm.
  • Verify that the rocker arm is correctly aligned with the valve stem.
  • For stud-mounted rocker arms, install the rocker arm and adjustment hardware according to the manufacturer's instructions.
  • For shaft-mounted systems, make sure the rocker assembly, stands, spacers, and related hardware are installed in the correct orientation.
  • Repeat the process for the remaining rocker arms.
  • Before tightening the hardware, visually inspect the entire valve train to make sure every rocker arm and pushrod is correctly positioned.


ford-302-351w-50-58-sbf-pushrod-engine-rocker-arm-install-instructions_680b5eea.jpg (780×564)
ford-302-351w-50-58-sbf-pushrod-engine-rocker-arm-install-instructions_c6641620.jpg (662×622)

5. Adjust the Rocker Arm Preload

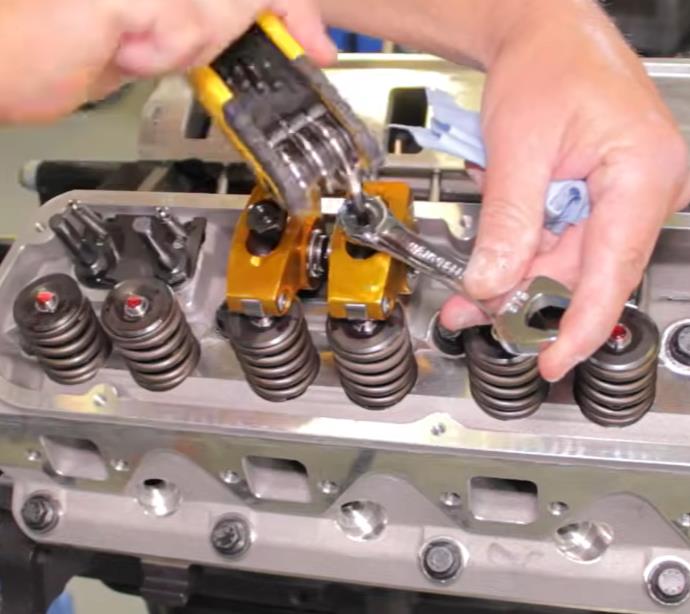
  • Proper rocker arm adjustment is critical for correct valve train operation.
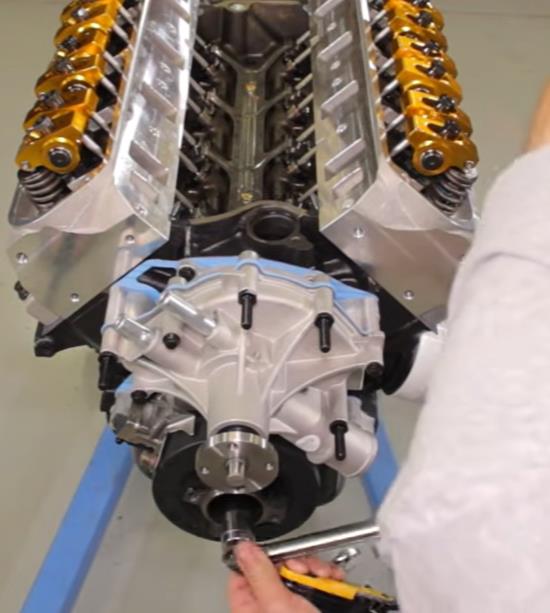
  • Rotate the engine by hand using the crankshaft bolt until the camshaft is positioned on the base circle for the valve being adjusted.
  • With the valve closed and the lifter on the base circle of the camshaft lobe, check the rocker arm and pushrod.
  • Slowly adjust the rocker arm until zero lash is achieved.
  • Zero lash is reached when there is no noticeable vertical movement in the pushrod while the pushrod can still rotate freely.
  • From zero lash, set the required lifter preload according to the specifications for your specific lifters and rocker arm setup.
  • Repeat the adjustment procedure for each valve.
  • Important: Do not assume the same preload specification applies to every Ford 302 or 351W engine. Preload requirements can vary depending on the lifters, rocker arms, pushrods, cylinder heads, and other valve train components.
  • Always refer to the specifications supplied with your rocker arms and lifters before finalizing the adjustment.


ford-302-351w-50-58-sbf-pushrod-engine-rocker-arm-install-instructions_6063792c.jpg (690×614)

6. Torque the Rocker Arm Hardware

  • Once the rocker arms have been properly adjusted, use a calibrated torque wrench to tighten the rocker arm hardware.
  • Torque each fastener to the manufacturer's recommended specification.
  • Tighten the hardware carefully and avoid overtightening.
  • The correct torque specification can vary depending on the rocker arm design, mounting system, fastener type, and engine combination.
  • If thread-locking compound or another installation product is required, use it only as specified by the rocker arm manufacturer.


ford-302-351w-50-58-sbf-pushrod-engine-rocker-arm-install-instructions_ff68f3cf.jpg (650×694)

7. Double-Check Rocker Arm Alignment

  • Before reinstalling the valve covers, carefully inspect the entire valve train.
  • Verify that every pushrod is fully seated in the lifter and rocker arm.
  • Confirm that each rocker arm is properly centered over the corresponding valve stem.
  • Check that the rocker arms have adequate clearance from the surrounding components.
  • Using a wrench on the crankshaft, rotate the engine by hand through at least two complete crankshaft revolutions.
  • Watch the rocker arms as the engine rotates and verify that the valve train moves smoothly without binding or abnormal contact.
  • If anything appears misaligned or does not move freely, stop and correct the issue before proceeding.


ford-302-351w-50-58-sbf-pushrod-engine-rocker-arm-install-instructions_08dabf08.jpg (550×613)

8. Reinstall Valve Covers

  • Once the rocker arms have been installed, adjusted, and inspected, clean the valve cover sealing surfaces.
  • Install new valve cover gaskets if needed.
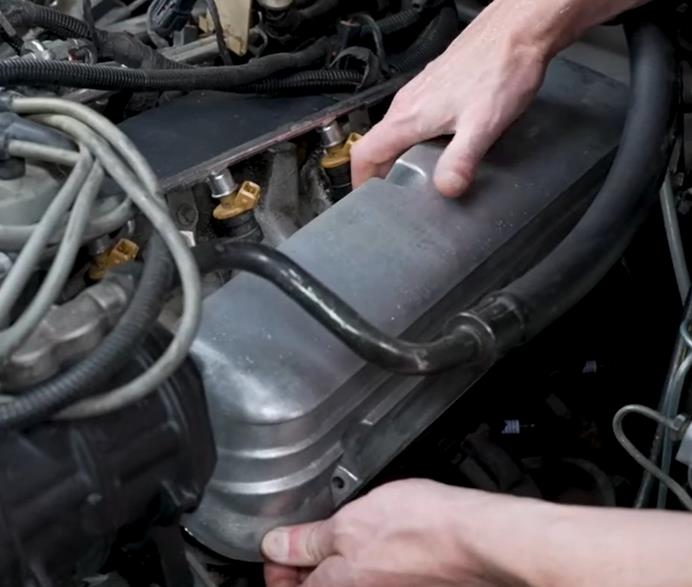
  • Carefully position the valve covers over the cylinder heads without disturbing the rocker arms or gasket.
  • Reinstall the original valve cover hardware and tighten it evenly.
  • Avoid excessive tightening, as overtightening valve cover hardware can damage the gasket or cause sealing problems.
  • Reinstall any components that were removed to gain access to the valve covers.


ford-302-351w-50-58-sbf-pushrod-engine-rocker-arm-install-instructions_ca3fc83c.jpg (692×587)

9. Reconnect Battery & Start Engine

  • Reconnect the negative battery cable.
  • If the engine has been apart for an extended period or the valve train has been newly assembled, follow the appropriate engine oiling or priming procedure before startup.
  • Start the engine and allow it to idle.
  • Listen carefully for unusual valve train noises, including persistent ticking, clattering, or knocking.
  • Inspect around the valve covers for oil leaks.
  • If you notice abnormal noise, excessive vibration, or other signs of a valve train problem, shut the engine off and inspect the installation before continuing to operate the vehicle.


ford-302-351w-50-58-sbf-pushrod-engine-rocker-arm-install-instructions_ede4f037.jpg (800×555)
ford-302-351w-50-58-sbf-pushrod-engine-rocker-arm-install-instructions_b55acfa8.jpg (800×511)

10. Final Inspection

  • After the engine has been started and checked for leaks or unusual noises, shut it off and allow it to cool as necessary.
  • Perform a final inspection of the valve covers, rocker arm hardware, and surrounding components.
  • Verify that all removed components have been properly reinstalled.
  • Check that the battery connection is secure.
  • If everything is properly installed and the engine is operating normally, the rocker arm installation is complete!
ford-302-351w-50-58-sbf-pushrod-engine-rocker-arm-install-instructions_51144585.jpg (800×539)

Thumbnail image of the author of this article, Andrew Perry.

About the Author

Andrew has been writing content for Late Model Restoration for over 2 years, producing over 50 articles. Over the years, Andrew has owned numerous Mustangs, including a 2007 V6, 2003 GT, 1967 GT, 1994 GT, 1995 GT, 2014 GT (2), 2000 V6 (V8 swapped), 2016 GT/PP, 1988 LX 5.0, and a 2009 GT/CS. Read more...