SHOP

1979-93 Mustang Parts
Free Shipping on qualifying orders over $99* Details
LMR showroom & will call pickup service will be closed beginning Monday 9/21/26 for renovations until further notice. Need help? Contact Us.

How To Install Contour Electric Fan Assembly On Your 79-93 Fox Body Mustang

Created by Tyler Rodriquez
Date Created: 6/1/2020
Last Updated: 3/31/2025

Viewing this install and using the information shared is subject to the terms set forth here - View the LMR Install Instructions Disclaimer.

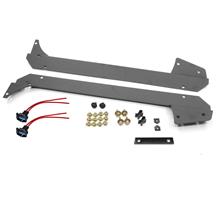
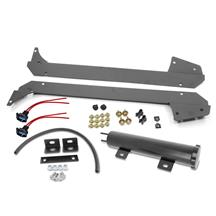
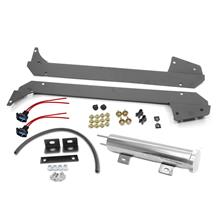
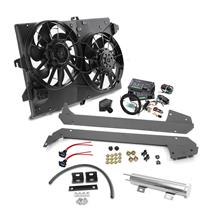
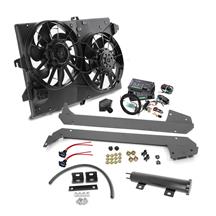
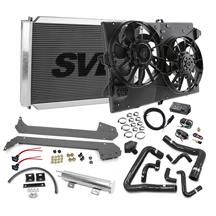
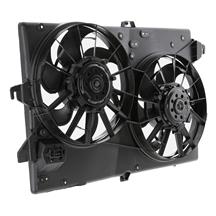
Upgrade the oem cooling fan on your 1979-1993 Mustang with this Contour electric fan assembly! From the factory, your Mustang has a single fan blade attached to a fan clutch that is bolted to the water pump pulley. This causes parasitic loss as your engine has to spin the assembly and as you modify your engine, this single fan blade has a hard time keeping up with the demands of your newfound power. This can cause cooling system efficiency loss, leading to overheating issues. Now you can increase the output of your cooling fan to keep your coolant temperatures down with this Contour electric dual radiator fan assembly!


Required Tools

  • 3/8" Socket Wrench
  • Socket Set
  • 1/2" Breaker Bar
  • Small Hack Saw
  • File
  • Drill
  • Stepped Bit Or Similar

Parts Used

Installation Instructions

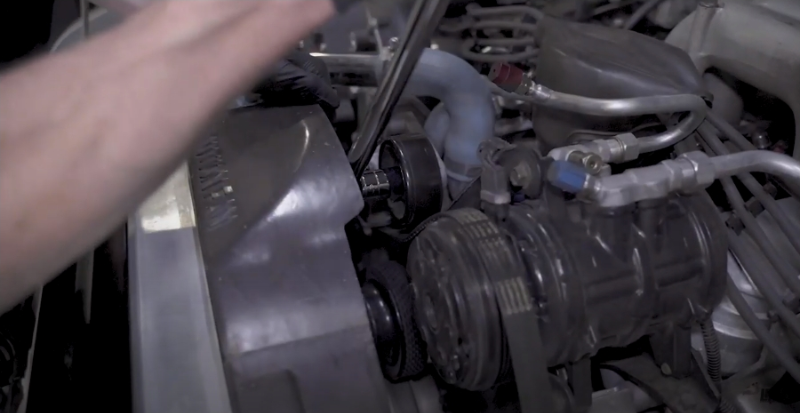
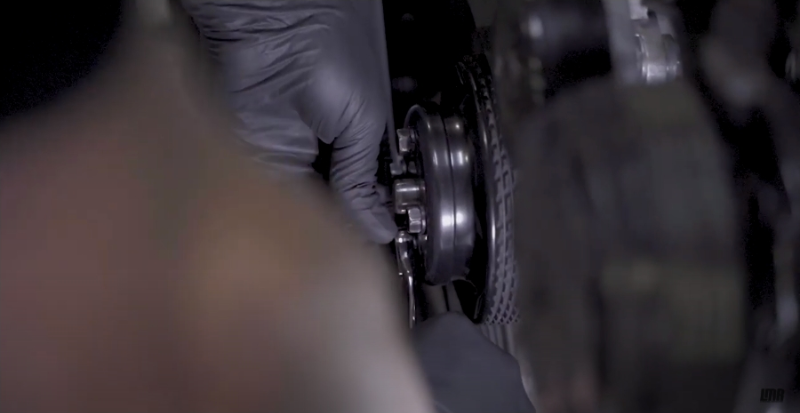
1. Loosen and remove the (4) 7/16” bolts that secure the fan assembly to the water pump.
How To Install 79-93 Fox Body Mustang Contour Electric Fan Assembly - How To Install 79-93 Fox Body Mustang Contour Electric Fan Assembly


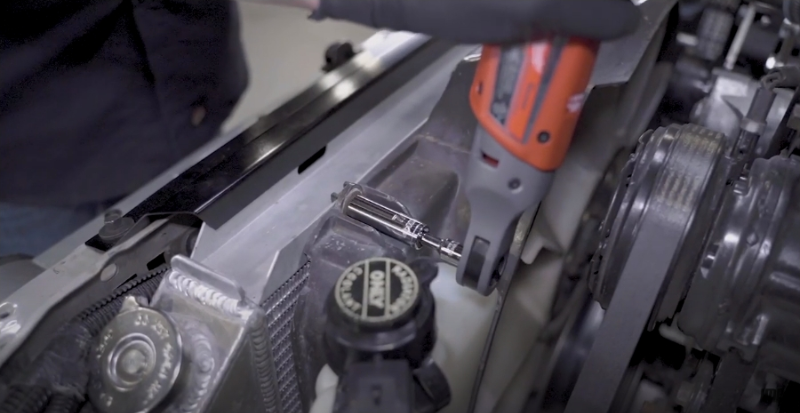
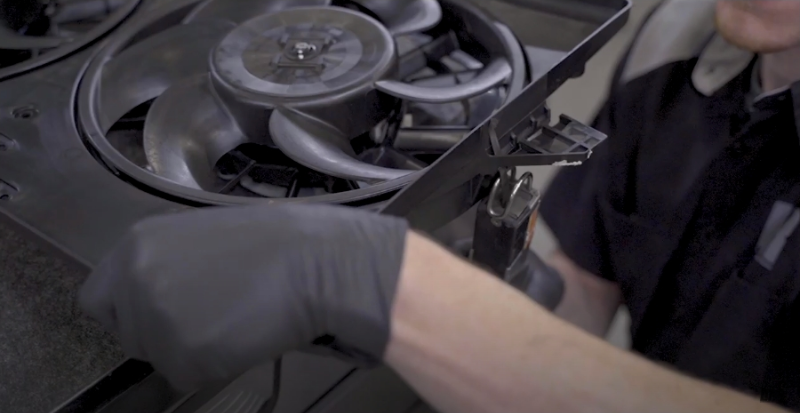
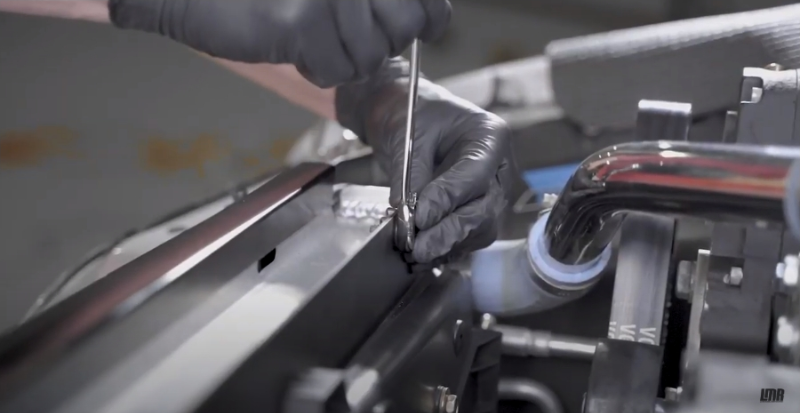
2. Loosen and remove the (2) bolts that secure the fan shroud to the radiator.
How To Install 79-93 Fox Body Mustang Contour Electric Fan Assembly - How To Install 79-93 Fox Body Mustang Contour Electric Fan Assembly


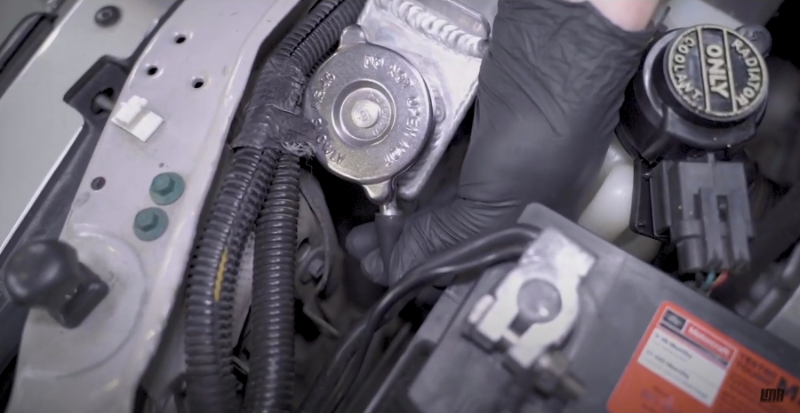
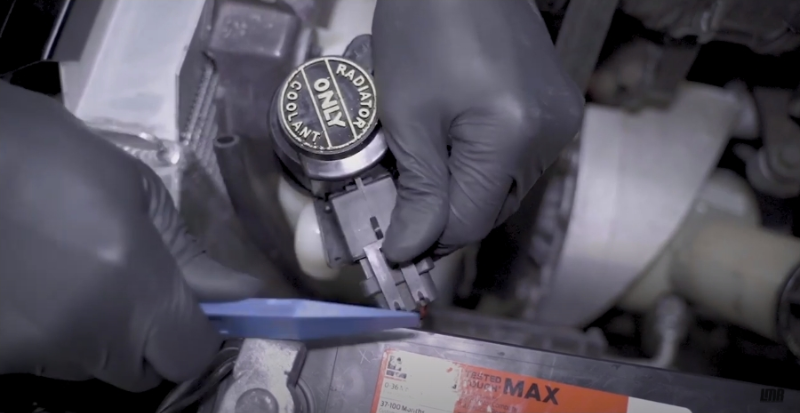
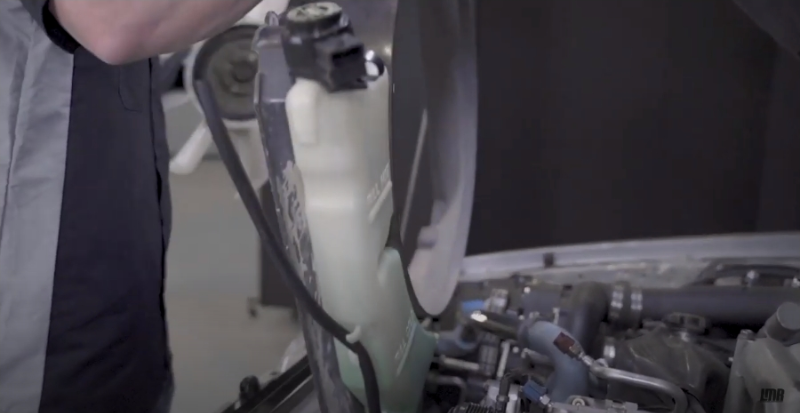
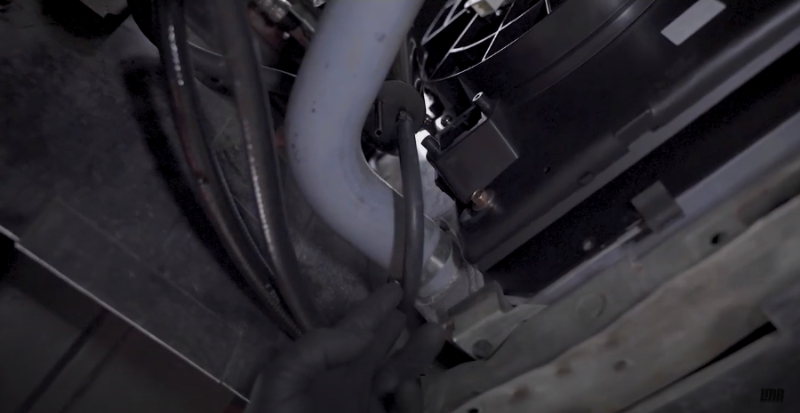
3. Remove the overflow hose from the radiator and disconnect the low coolant sensor electrical connection if equipped.
How To Install 79-93 Fox Body Mustang Contour Electric Fan Assembly - How To Install 79-93 Fox Body Mustang Contour Electric Fan Assembly

How To Install 79-93 Fox Body Mustang Contour Electric Fan Assembly - How To Install 79-93 Fox Body Mustang Contour Electric Fan Assembly

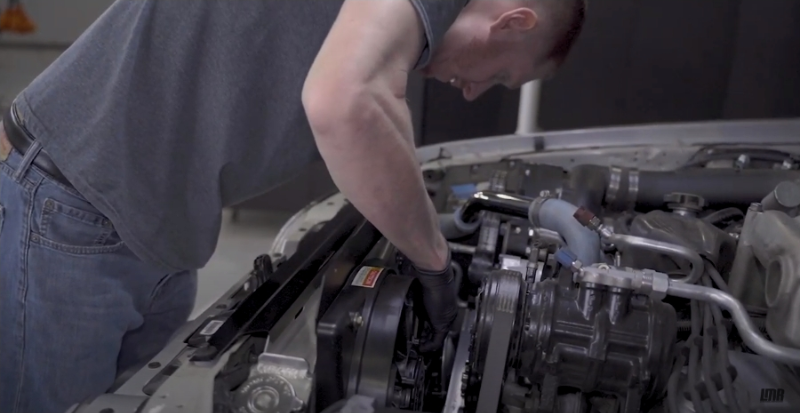
4. Use long, ½” break over bar and an 18mm socket to rotate the tensioner to release belt tension so that you can remove the belt from the AC compressor.
How To Install 79-93 Fox Body Mustang Contour Electric Fan Assembly - How To Install 79-93 Fox Body Mustang Contour Electric Fan Assembly


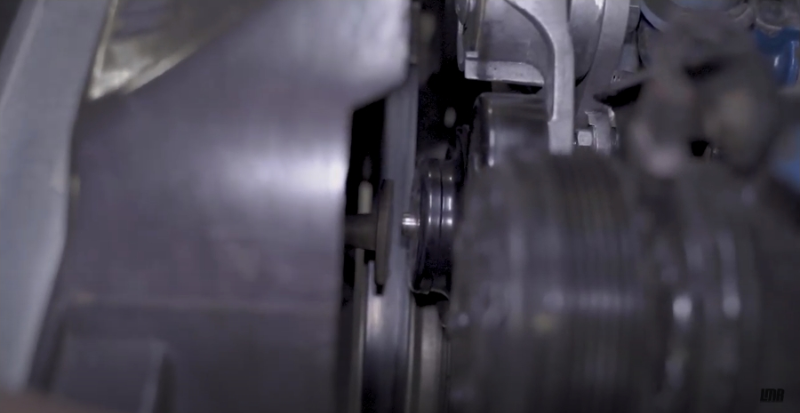
5. With belt tension removed, wiggle the fan assembly back and forth while pulling towards the front of the car to remove from the water pump shaft.
How To Install 79-93 Fox Body Mustang Contour Electric Fan Assembly - How To Install 79-93 Fox Body Mustang Contour Electric Fan Assembly


6. The fan and shroud assembly can now be removed from the car.
How To Install 79-93 Fox Body Mustang Contour Electric Fan Assembly - How To Install 79-93 Fox Body Mustang Contour Electric Fan Assembly


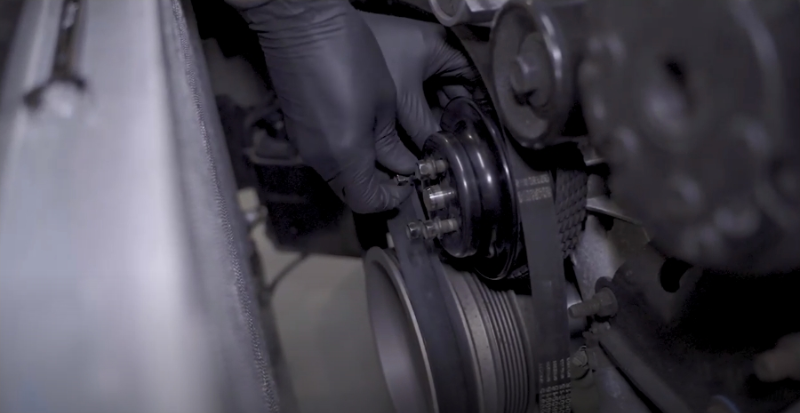
7. Align the bolt holes in the water pump pulley, with the hub on the water pump and reinstall the previously removed bolts and finger tighten.
How To Install 79-93 Fox Body Mustang Contour Electric Fan Assembly - How To Install 79-93 Fox Body Mustang Contour Electric Fan Assembly


8. Rotate the tensioner and reposition the belt then you can fully tighten the water pump pulley retaining bolts.
How To Install 79-93 Fox Body Mustang Contour Electric Fan Assembly - How To Install 79-93 Fox Body Mustang Contour Electric Fan Assembly


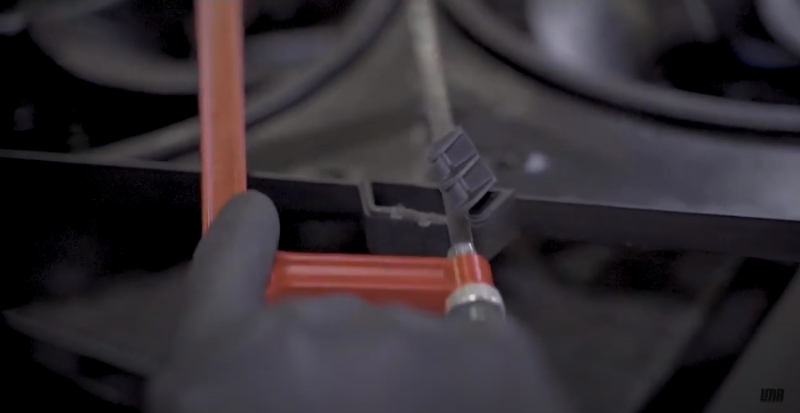
9. Place the fan assembly on a workbench and locate the mounting tabs on both sides of the fan shroud (4 in total). Cut this flush on the side of the shroud with a small hack saw.
How To Install 79-93 Fox Body Mustang Contour Electric Fan Assembly - How To Install 79-93 Fox Body Mustang Contour Electric Fan Assembly


10. The last area that needs to be trimmed is the small hook at the top of the fan shroud.
How To Install 79-93 Fox Body Mustang Contour Electric Fan Assembly - How To Install 79-93 Fox Body Mustang Contour Electric Fan Assembly


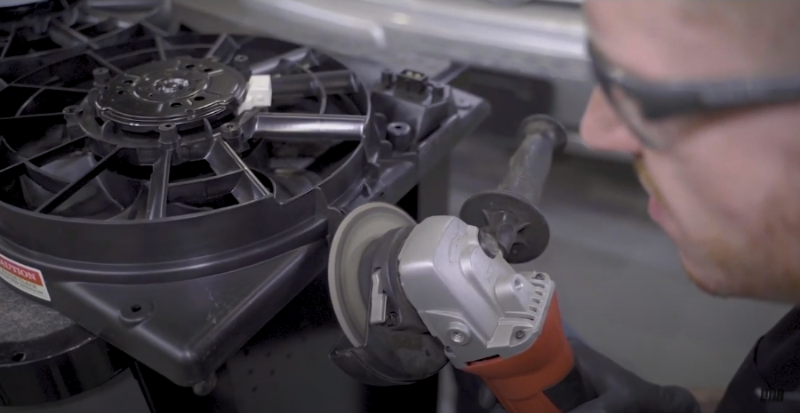
11. File and sand down the areas so that they are nice and even.
How To Install 79-93 Fox Body Mustang Contour Electric Fan Assembly - How To Install 79-93 Fox Body Mustang Contour Electric Fan Assembly


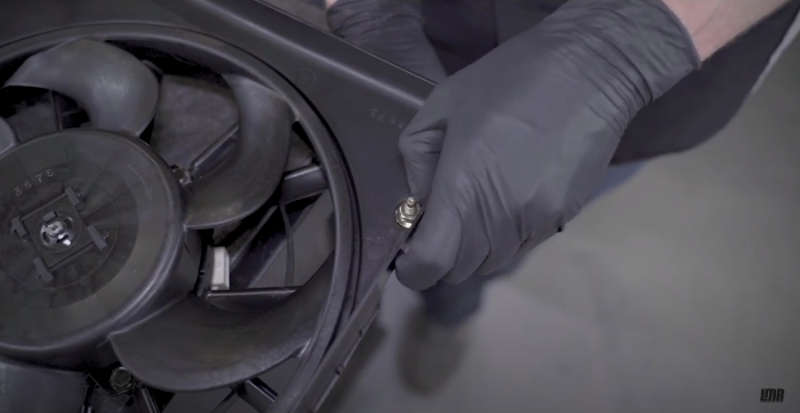
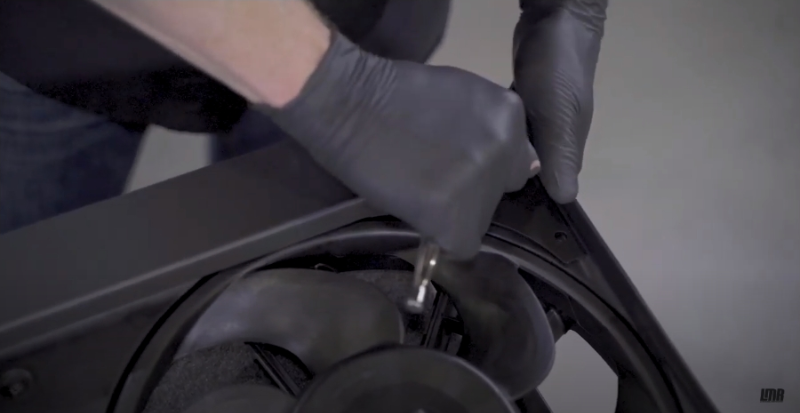
12. Per the instructions included with our brackets, install the bolts and nuts into their designated locations in the shroud.
How To Install 79-93 Fox Body Mustang Contour Electric Fan Assembly - How To Install 79-93 Fox Body Mustang Contour Electric Fan Assembly


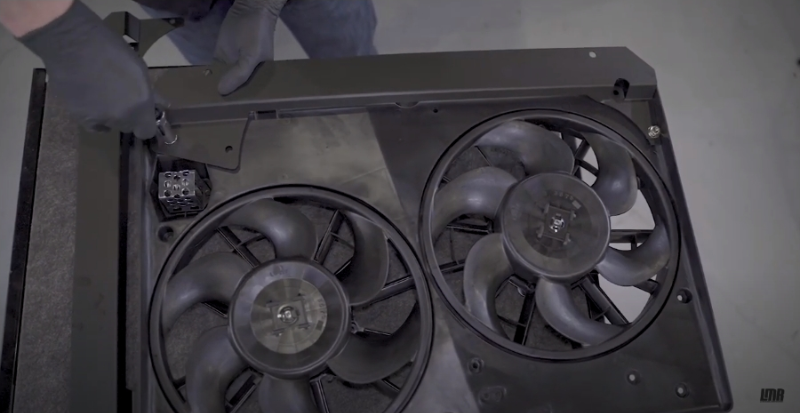
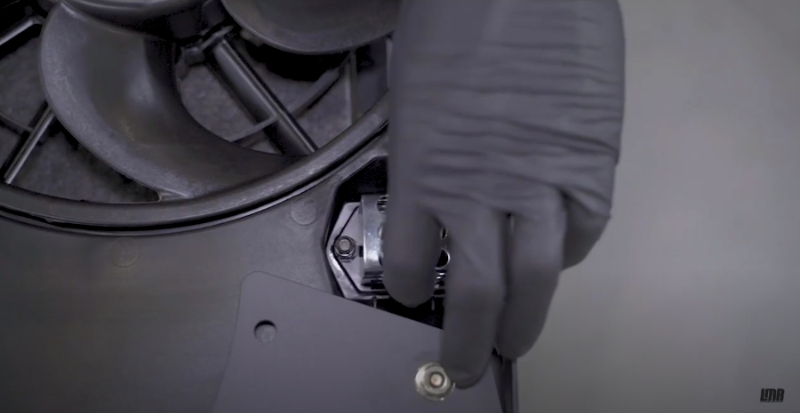
13. Each bracket is symmetrical by design so there isn’t a top or bottom orientation. Simply align the bracket with the bolts and install (2) more nuts.
How To Install 79-93 Fox Body Mustang Contour Electric Fan Assembly - How To Install 79-93 Fox Body Mustang Contour Electric Fan Assembly


14. Do the same for the other bracket.
How To Install 79-93 Fox Body Mustang Contour Electric Fan Assembly - How To Install 79-93 Fox Body Mustang Contour Electric Fan Assembly


15. The preinstalled resistor can be kept in place or removed.
How To Install 79-93 Fox Body Mustang Contour Electric Fan Assembly - How To Install 79-93 Fox Body Mustang Contour Electric Fan Assembly


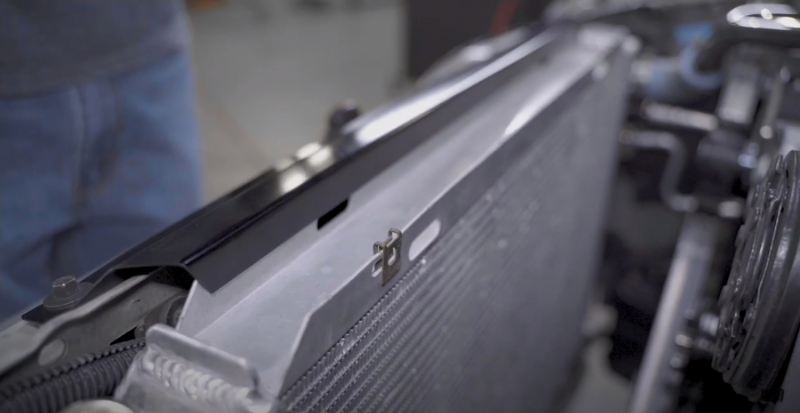
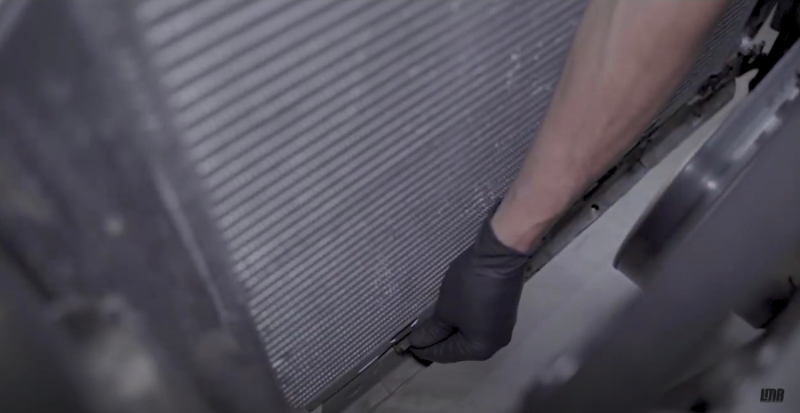
16. Before installing the fan assembly, verify that there are speed nuts in the (2) upper slots in the radiator and clips in the (2) lower spots.
How To Install 79-93 Fox Body Mustang Contour Electric Fan Assembly - How To Install 79-93 Fox Body Mustang Contour Electric Fan Assembly

How To Install 79-93 Fox Body Mustang Contour Electric Fan Assembly - How To Install 79-93 Fox Body Mustang Contour Electric Fan Assembly


17. Use the ones that are there or you can use the new ones that come with the kit.
How To Install 79-93 Fox Body Mustang Contour Electric Fan Assembly - How To Install 79-93 Fox Body Mustang Contour Electric Fan Assembly


18. At this point you can test fit the fan assembly. There will be some instances where extra clearance is required. For example, with our install, we had to remove the metal cover and file down the plastic mounting tabs due to the vehicle having a vortech setup.
How To Install 79-93 Fox Body Mustang Contour Electric Fan Assembly - How To Install 79-93 Fox Body Mustang Contour Electric Fan Assembly


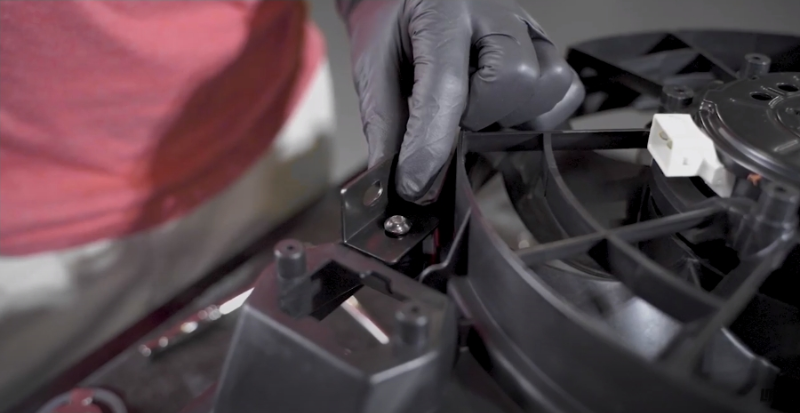
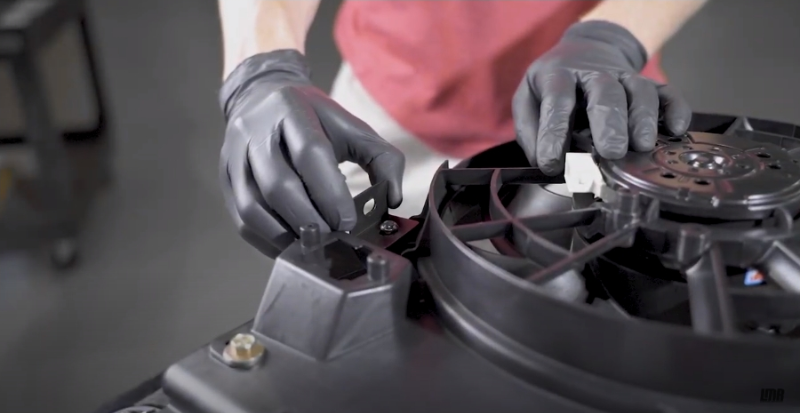
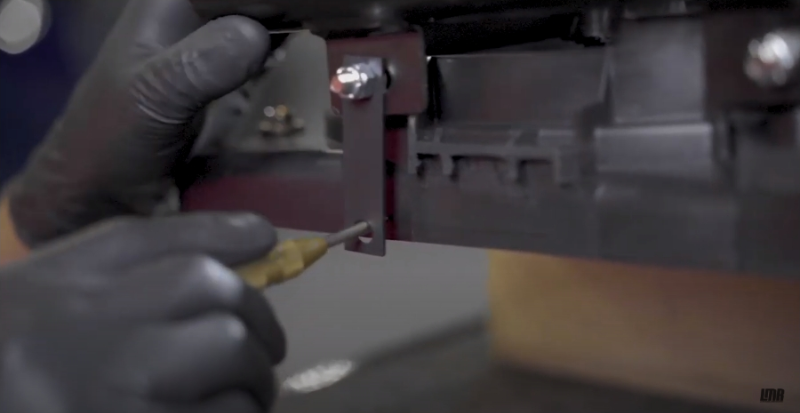
19. Once the clearances are good, we can now install the overflow tank. With the fans on a workbench, take one of the provided L brackets and place it over the lower hole on the driver side of the contour fan assembly. Install the provided button head allen bolt through the hole.
How To Install 79-93 Fox Body Mustang Contour Electric Fan Assembly - How To Install 79-93 Fox Body Mustang Contour Electric Fan Assembly


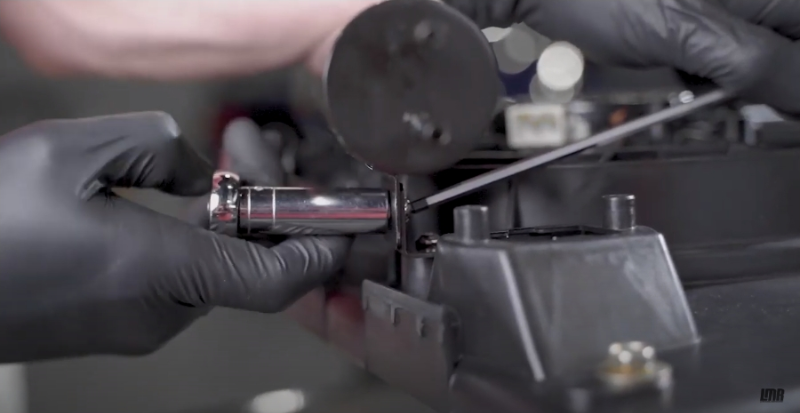
20. Thread on the provided locking nut, and tighten the hardware enough so that it can still be moved.
How To Install 79-93 Fox Body Mustang Contour Electric Fan Assembly - How To Install 79-93 Fox Body Mustang Contour Electric Fan Assembly


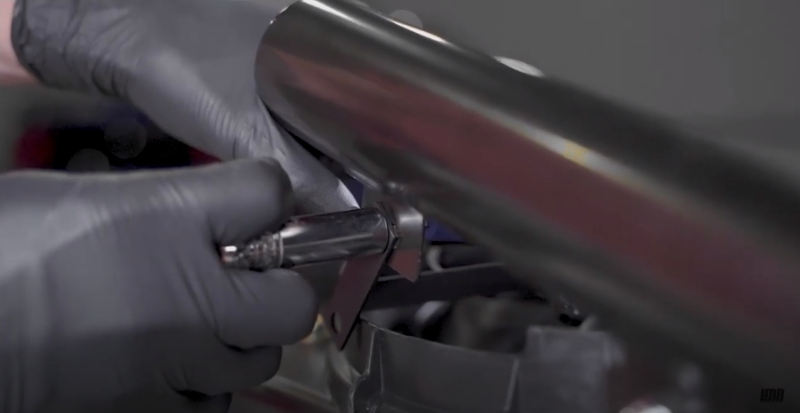
21. Position another allen bolt through the outside hole on the lower L bracket and loosely tighten.
How To Install 79-93 Fox Body Mustang Contour Electric Fan Assembly - How To Install 79-93 Fox Body Mustang Contour Electric Fan Assembly


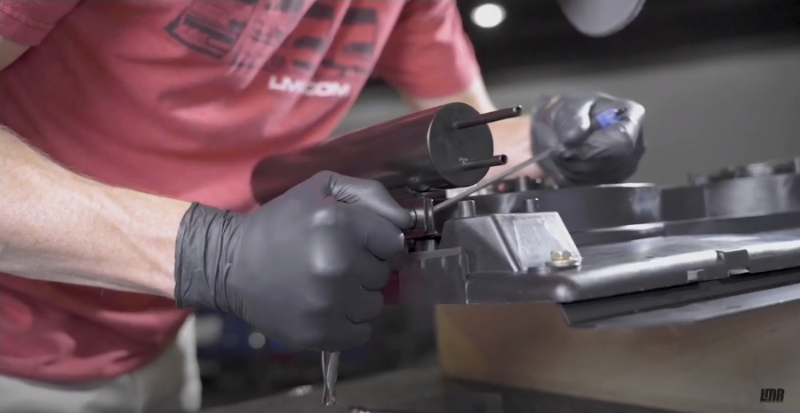
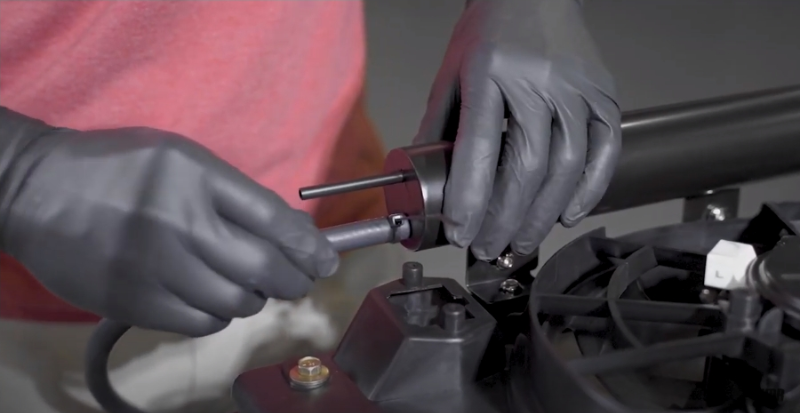
22. Use the provided small straight bracket in our kit and loosely install onto the overflow tank.
How To Install 79-93 Fox Body Mustang Contour Electric Fan Assembly - How To Install 79-93 Fox Body Mustang Contour Electric Fan Assembly


23. Make sure the overflow tank is even as well as the bracket and mark the fan shroud with a center punch or something that you can visibly see.
How To Install 79-93 Fox Body Mustang Contour Electric Fan Assembly - How To Install 79-93 Fox Body Mustang Contour Electric Fan Assembly


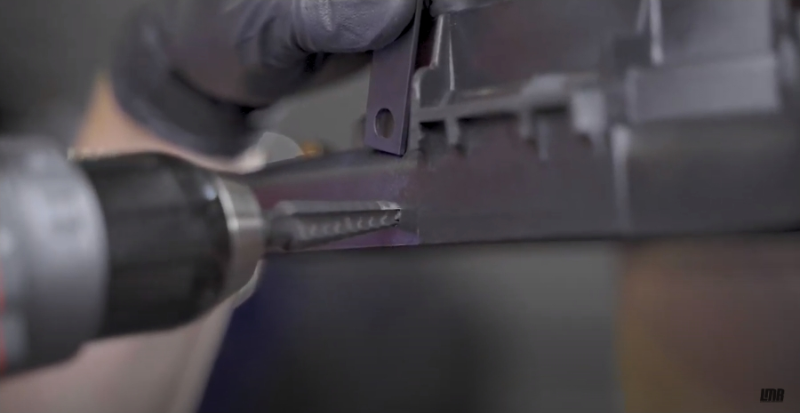
24. Drill the marked area to a ¼” using a regular drill bit or stepped bit.
How To Install 79-93 Fox Body Mustang Contour Electric Fan Assembly - How To Install 79-93 Fox Body Mustang Contour Electric Fan Assembly


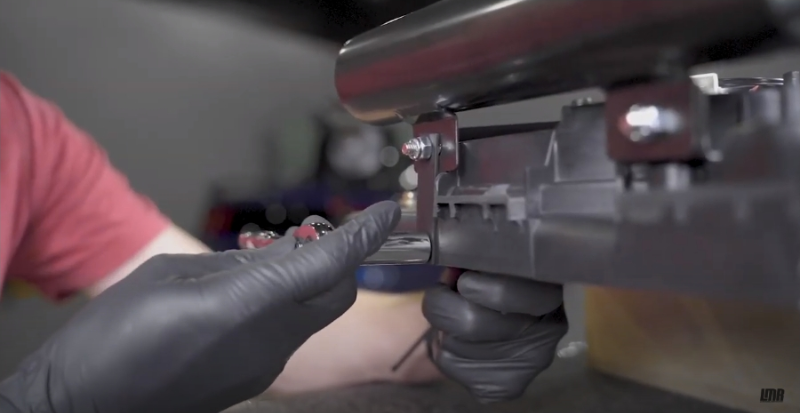
25. Install the hardware and snug it down.
How To Install 79-93 Fox Body Mustang Contour Electric Fan Assembly - How To Install 79-93 Fox Body Mustang Contour Electric Fan Assembly


26. Make sure the overflow tank is even with the shroud and tighten the rest of the hardware.
How To Install 79-93 Fox Body Mustang Contour Electric Fan Assembly - How To Install 79-93 Fox Body Mustang Contour Electric Fan Assembly


27. Use the provided heater hose and install onto the shorter fitting at the bottom of the tank. This can be secured with a small zip tie or clamp.
How To Install 79-93 Fox Body Mustang Contour Electric Fan Assembly - How To Install 79-93 Fox Body Mustang Contour Electric Fan Assembly


28. Install the fan into the car so that you can plan on how you want to run the wires for the fan controller.
How To Install 79-93 Fox Body Mustang Contour Electric Fan Assembly - How To Install 79-93 Fox Body Mustang Contour Electric Fan Assembly


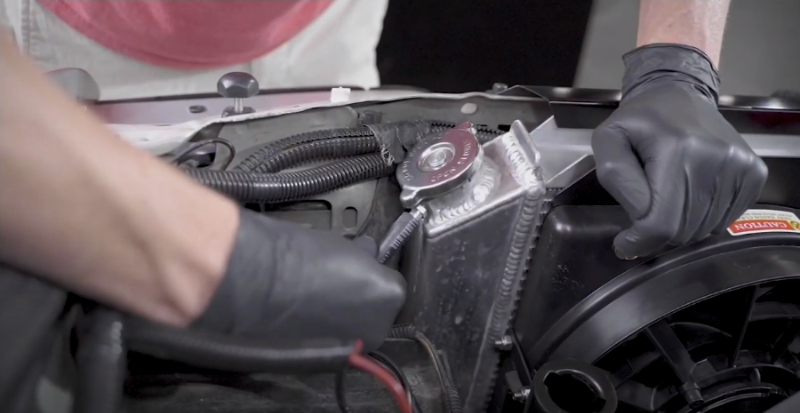
29. You will need to route the overflow hose around the lower radiator hose and connect to the small fitting near the radiator cap.
How To Install 79-93 Fox Body Mustang Contour Electric Fan Assembly - How To Install 79-93 Fox Body Mustang Contour Electric Fan Assembly

How To Install 79-93 Fox Body Mustang Contour Electric Fan Assembly - How To Install 79-93 Fox Body Mustang Contour Electric Fan Assembly

You’re All Done! As mentioned at the beginning of the article, we will be providing an additional install video and article on how to wire your fan assembly.

Sort By

About the Video

How To Install Fox Body Mustang Contour Electric Fan Assembly (79-93)

Check out our YouTube channel for even more tech tips, installation videos, how-tos, and more. The best place to go for anything Mustang related!

Published on 2020-05-22
1979-1993 Contour Fan Assembly: https://latemodelres.to/8607F
Contour Fan Mounting Brackets: https://latemodelres.to/CONTOUR-MK

Watch the Contour Fan review and Wiring video below!
Review: https://youtu.be/NjdLR_FYOPw
Wiring: https://youtu.be/j0WVoyqNTfg

Follow along as Landan walks you through the steps of installing the Contour Fan Assembly on your 1979-1993 Fox Body Mustang

YouTube: https://latemodelres.to/youtube-subscribe
Facebook: http://www.facebook.com/latemodelresto
Instagram: http://instagram.com/latemodelresto
Twitter: http://twitter.com/latemodelresto

#LMR #50Resto #Foxbody

Due to factors beyond the control of LMR.com, we cannot guarantee against the improper use or unauthorized modifications of this information. LMR.com assumes no liability for property damage or injury incurred as a result of any of the information contained in this video. Use this information at your own risk. LMR.com recommends safe practices when working on vehicles and or with tools seen or implied in this video. Due to factors beyond the control of LMR.com, no information contained in this video shall create any expressed or implied warranty or guarantee of any particular result. Any injury, damage, or loss that may result from improper use of these tools, equipment, or from the information contained in this video is the sole responsibility of the user and not LMR.com.
Thumbnail image of the author of this article, Tyler Rodriquez.

About the Author

Tyler has written content for Late Model Restoration for nearly 8 years, producing over 300 articles. As an avid New Edge fan, Tyler has owned 4 2004 Mustangs and an 88 Convertible Fox Body. Read more...