About the Video
How To: Fox Body Mustang 5 Lug Disc Conversion - SVE (1987-1993)
Check out our YouTube channel for even more tech tips, installation videos, how-tos, and more. The best place to go for anything Mustang related!
Published on 2017-03-16
This is the ultimate Fox Body Mustang Disc Brake Conversion Kit!
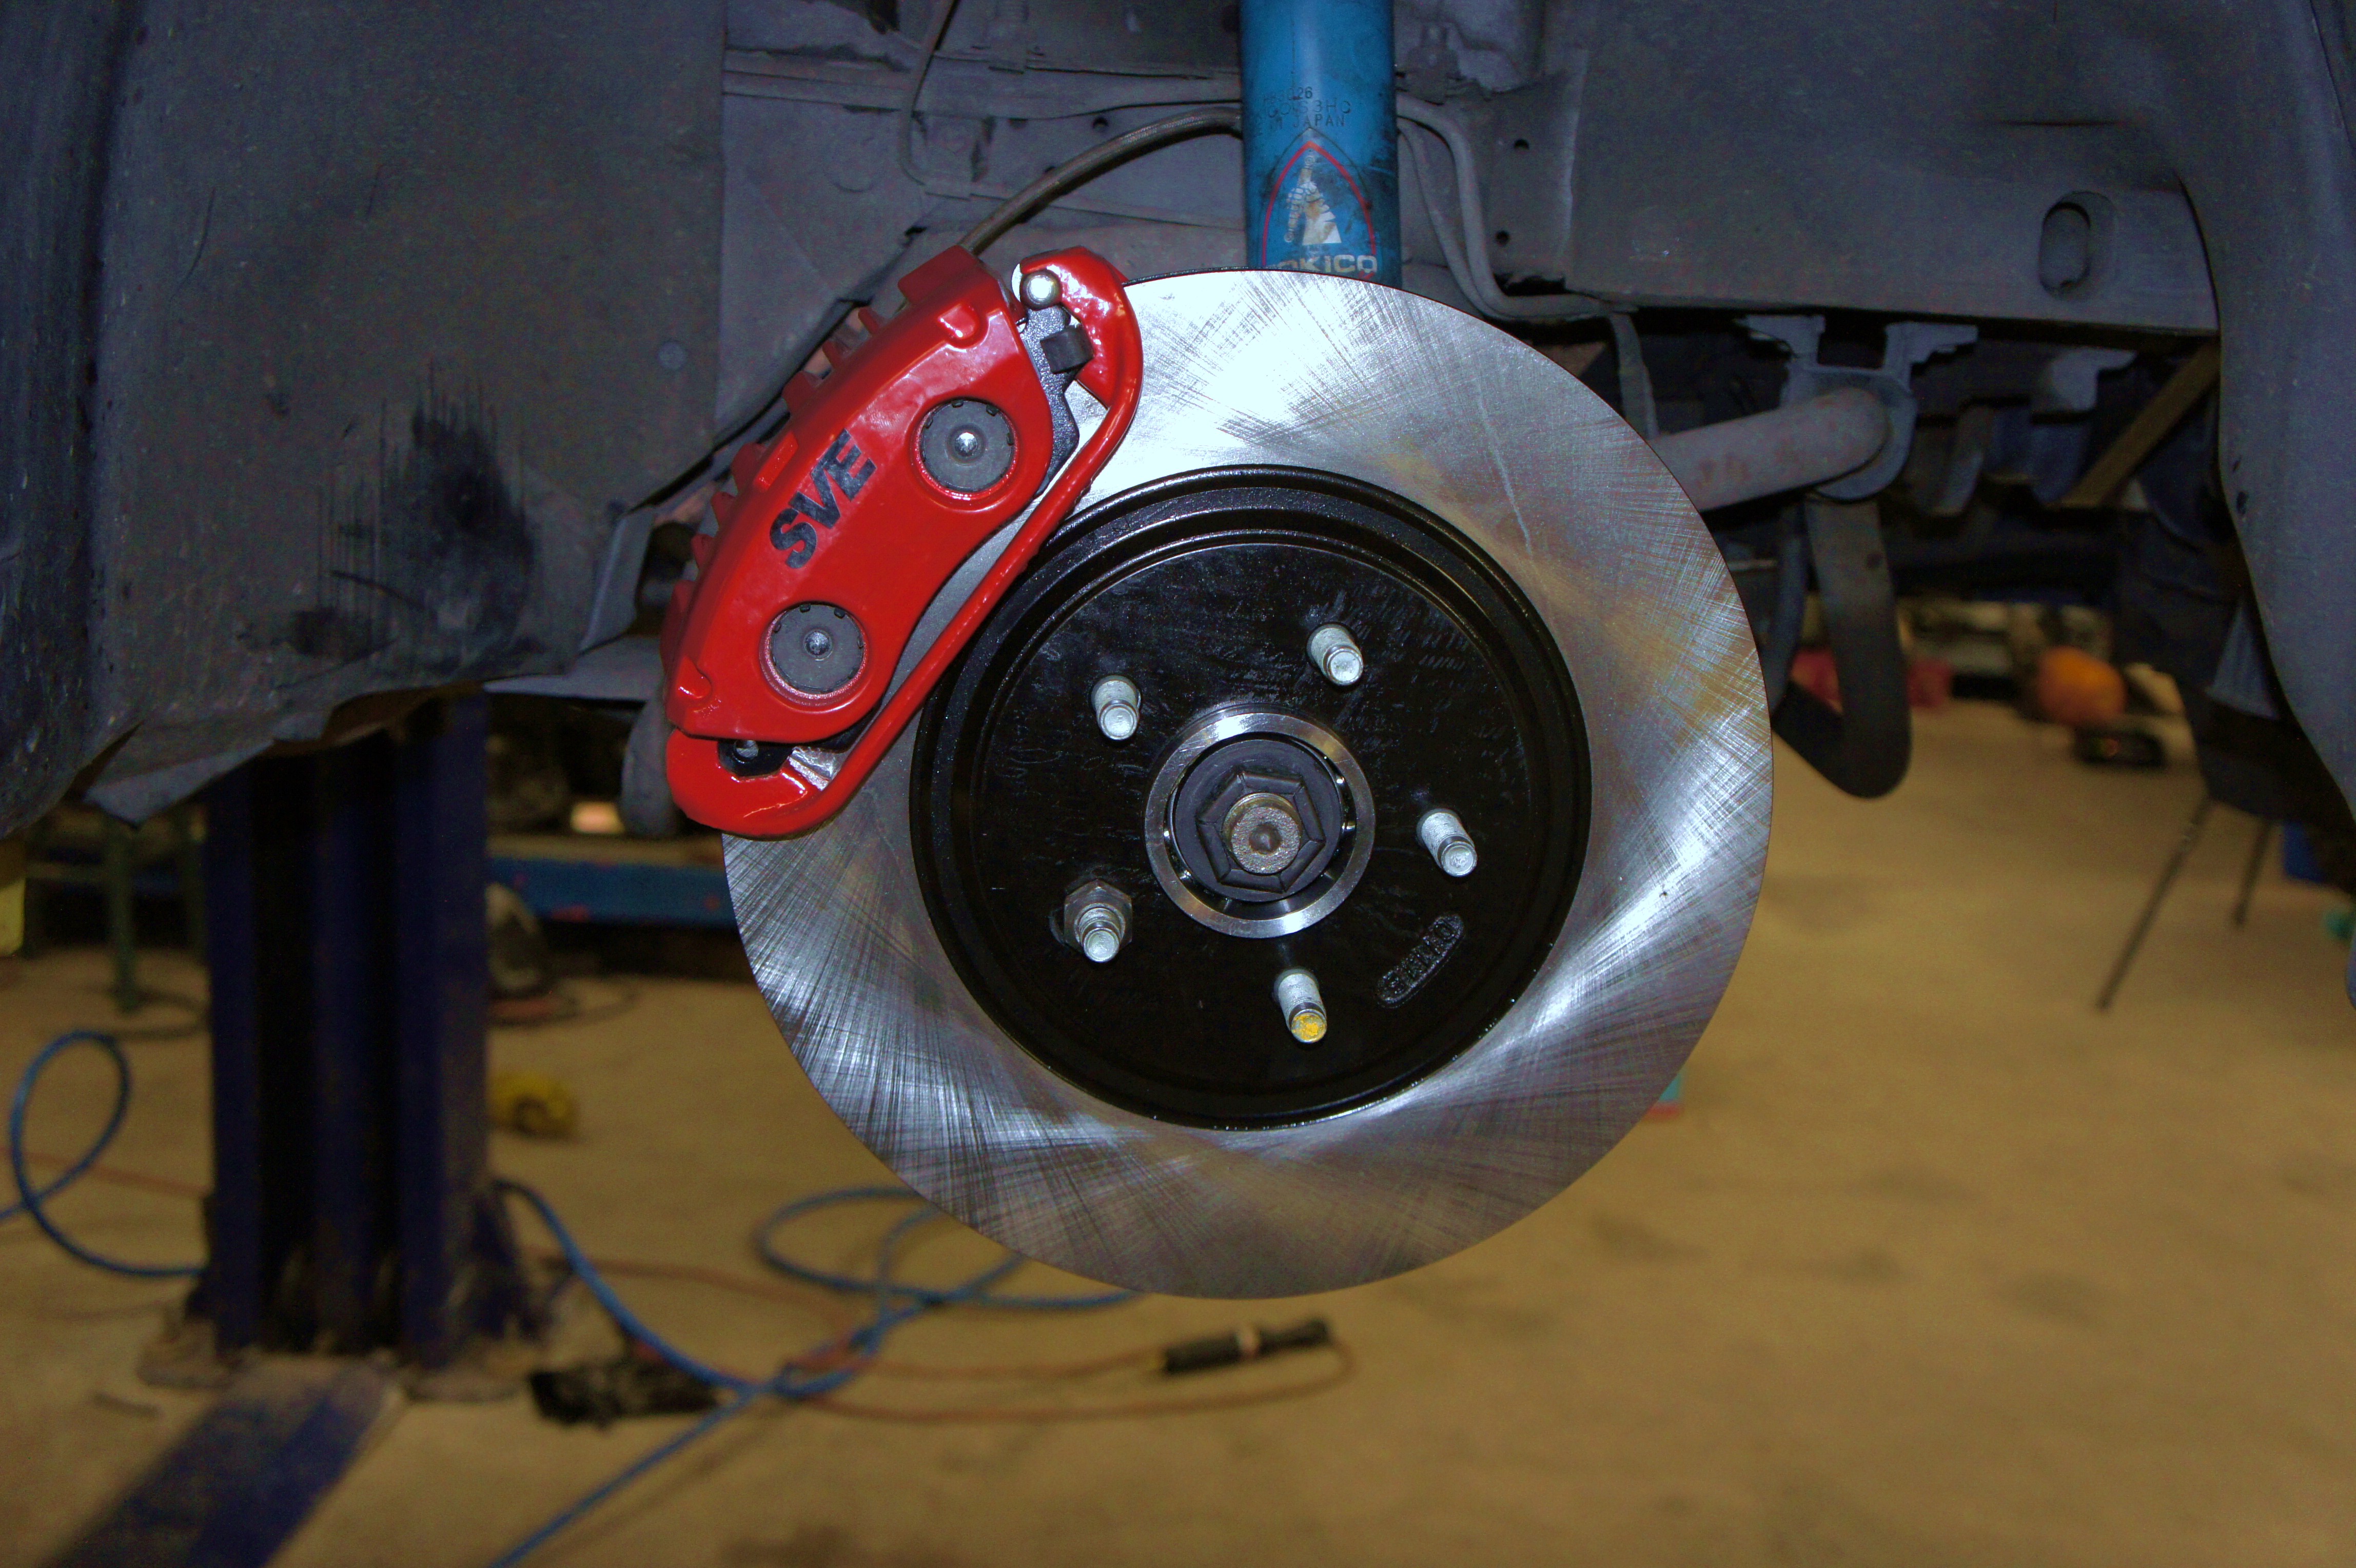
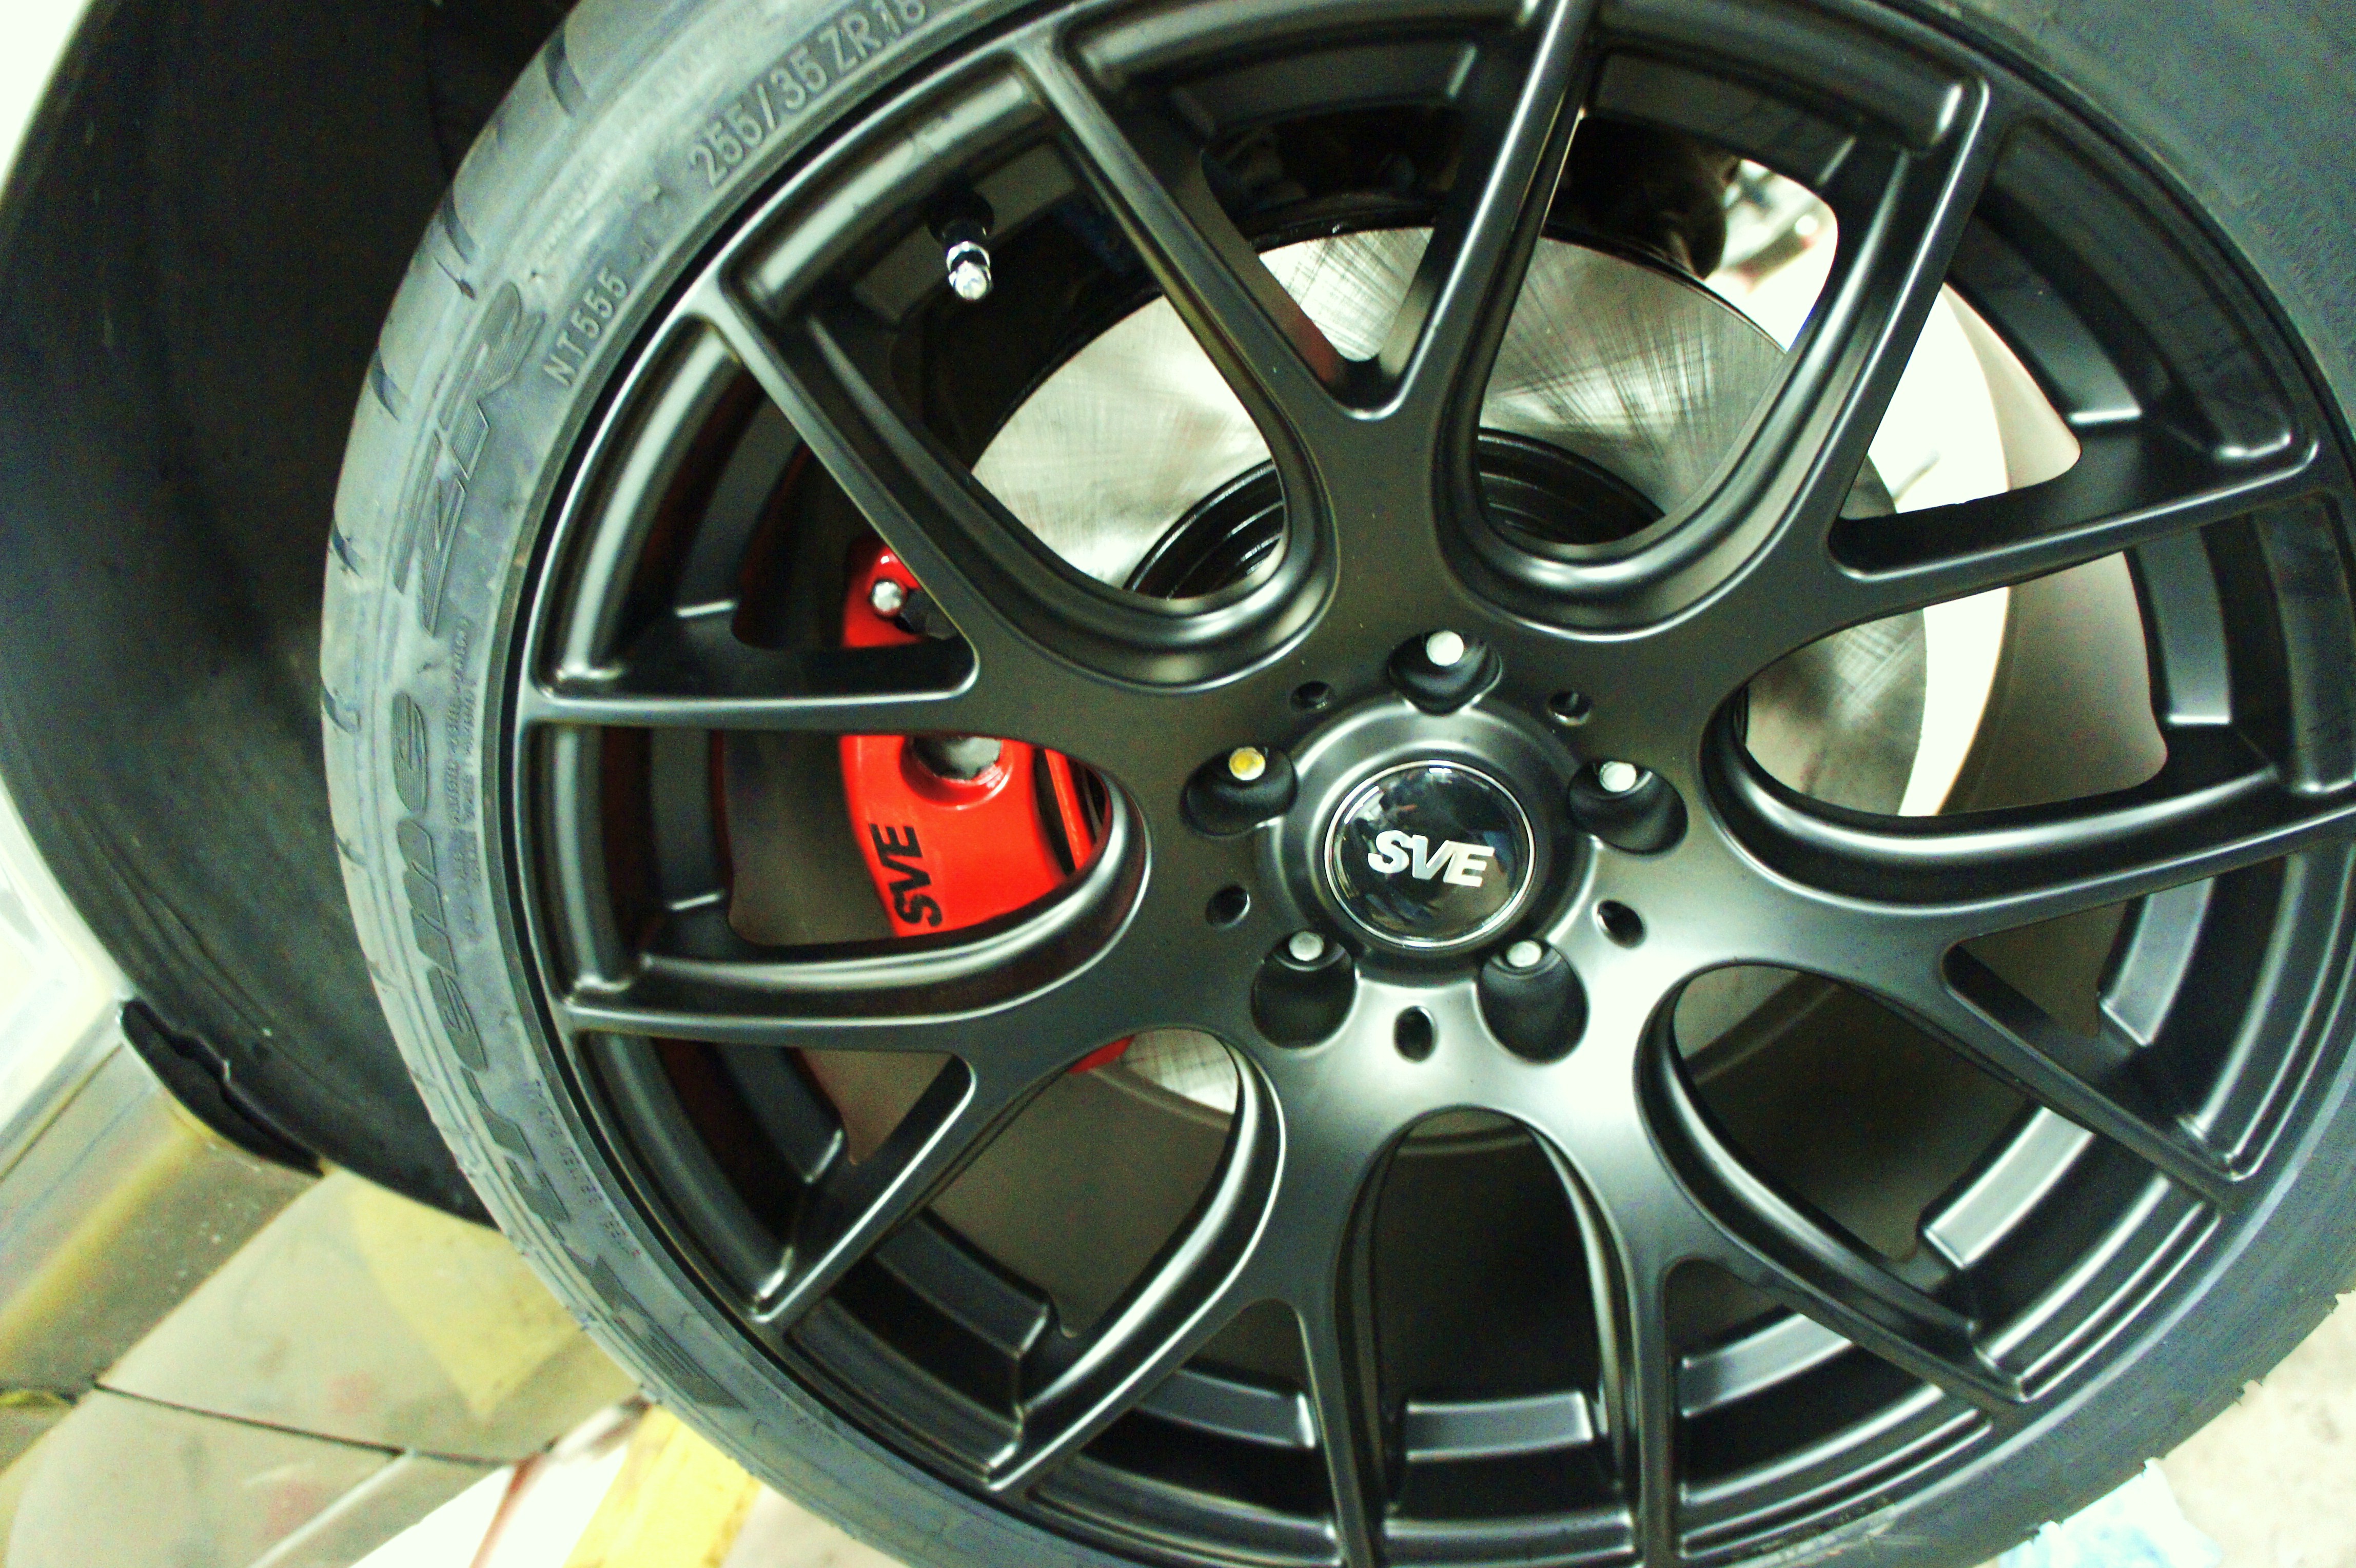
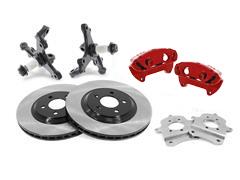
These SVE SN95 style 5 lug conversion kits for the 1987-1993 Fox Body Mustangs are the most comprehensive kits on the market! They feature every single component to convert your Fox to 5 lug, SN95 Cobra style brakes.
Features:
- Complete 5 Lug Conversion
- Cobra Style Calipers
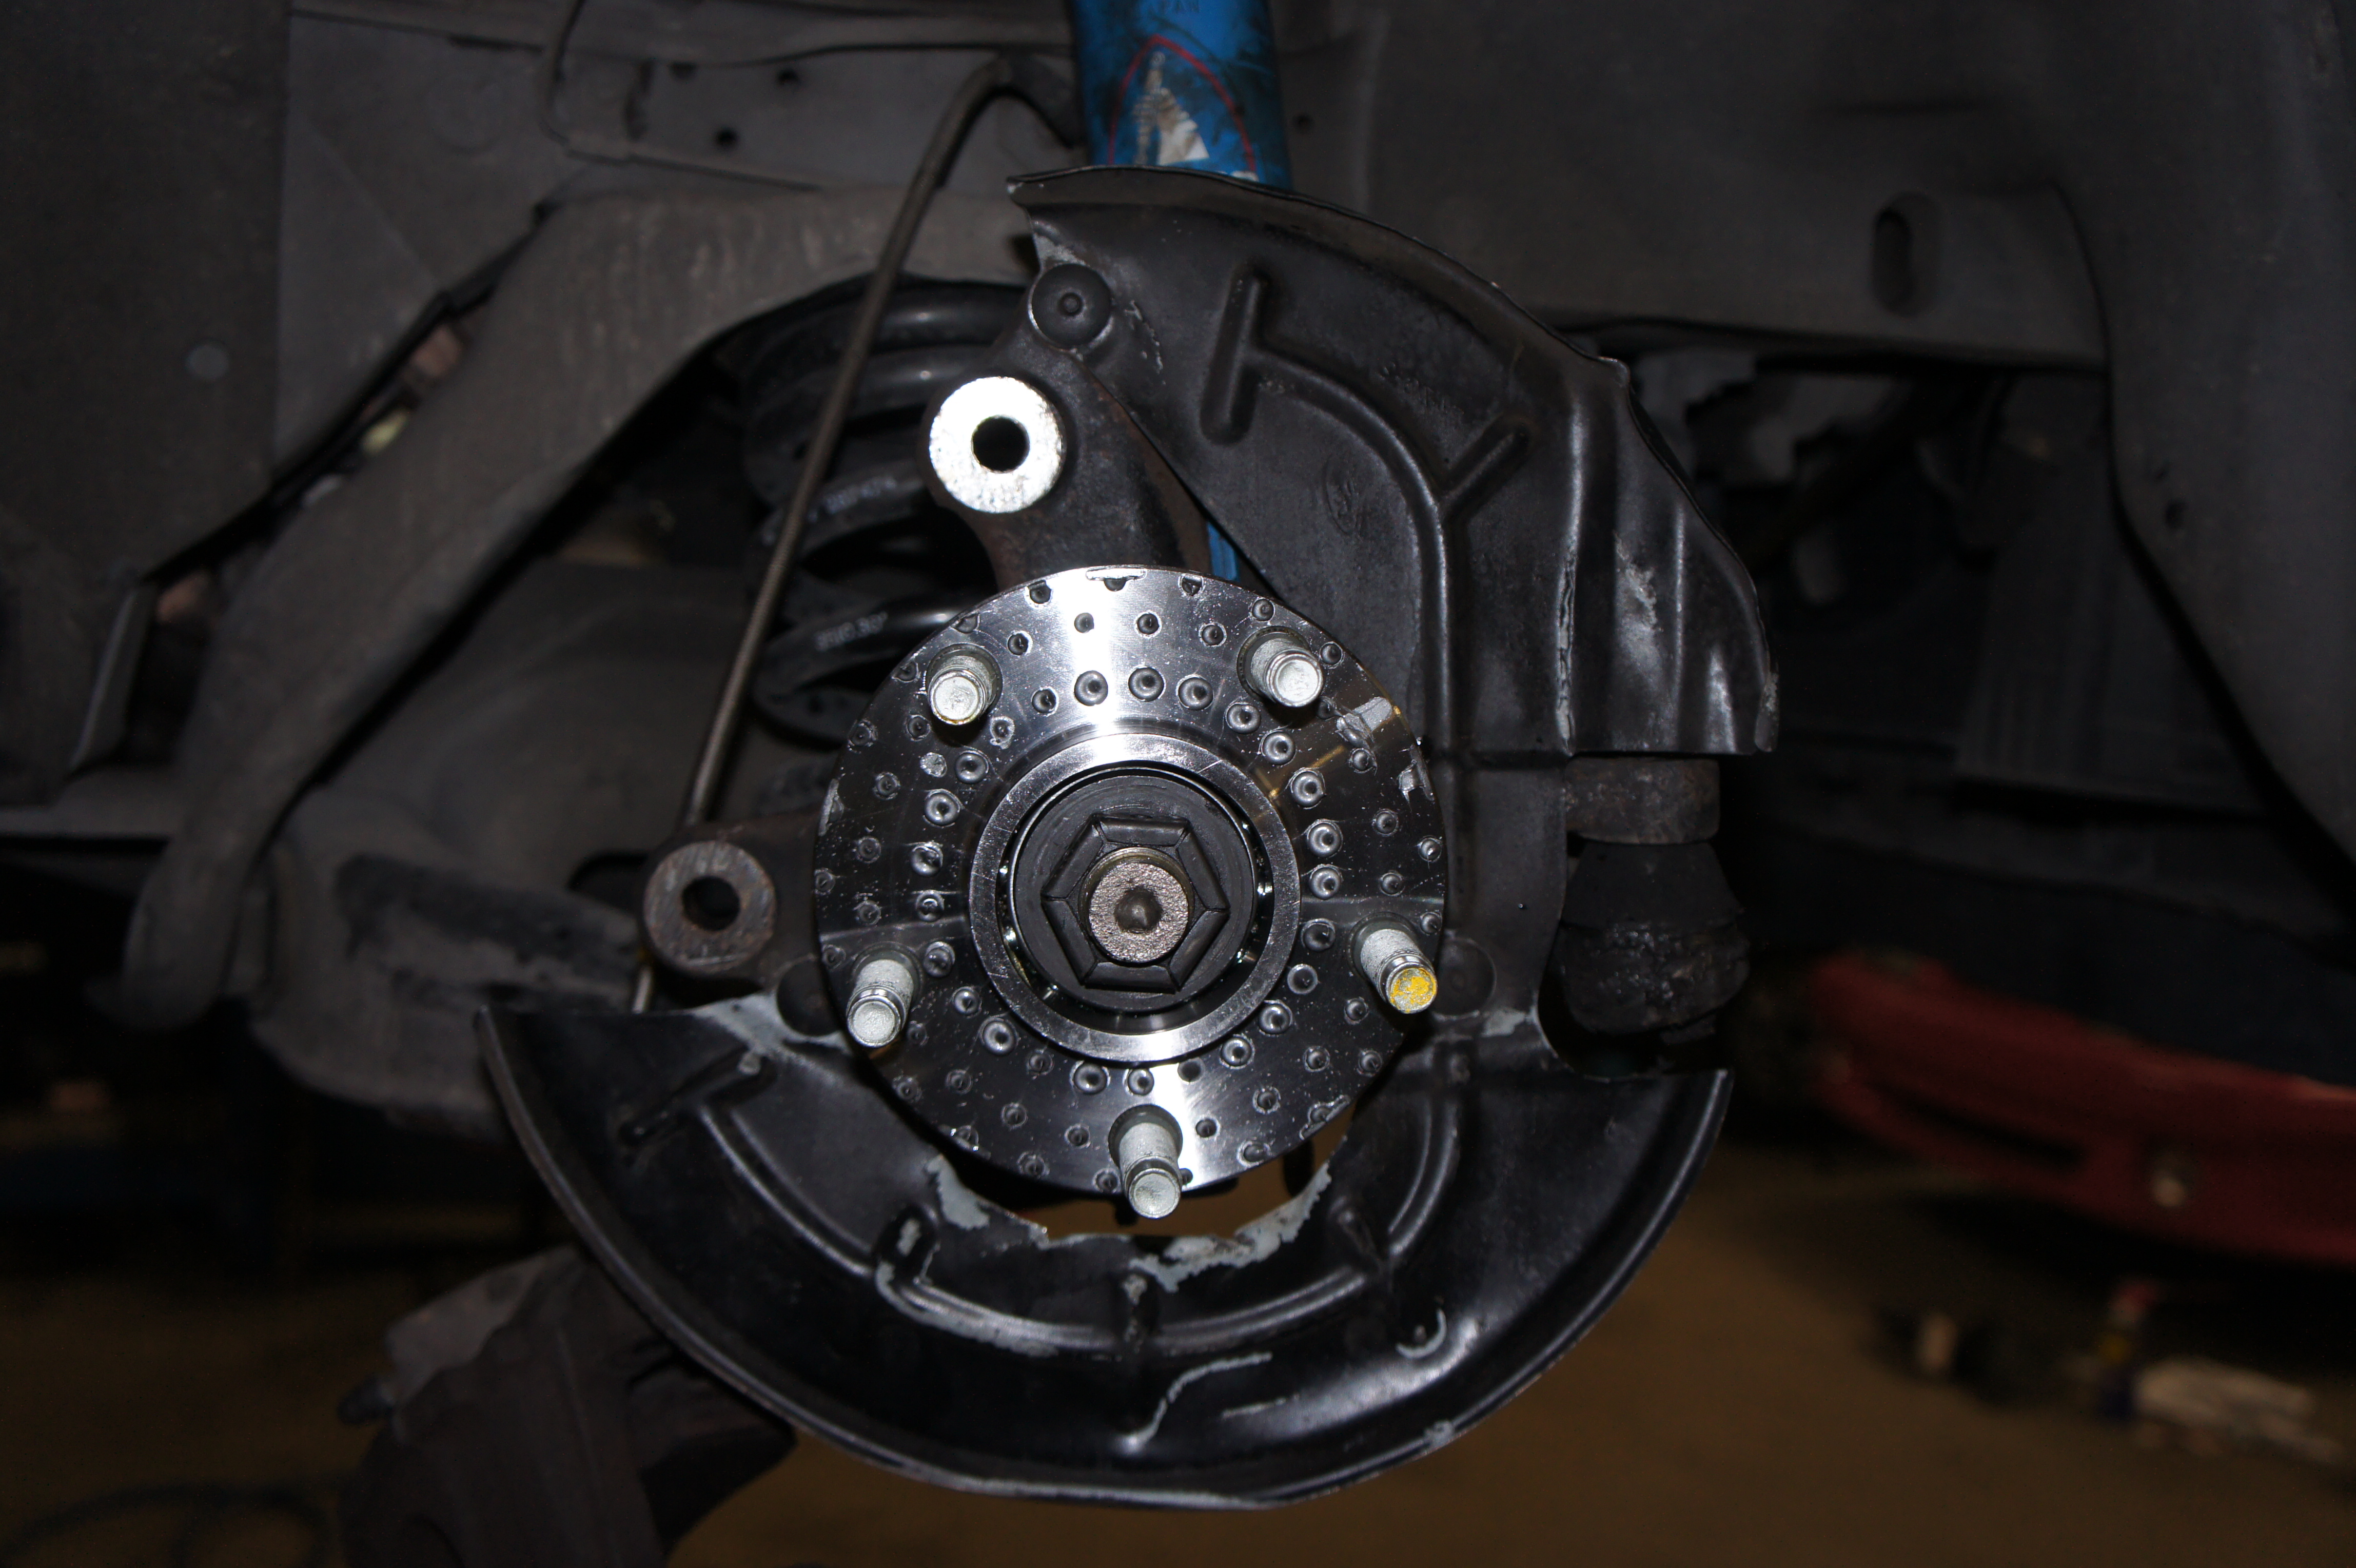
- Refurbished 96-04 SN95 Spindles
- 13" Front Rotors
- 11.65" Rear Rotors
- 28 or 31 Spline Kits
- Red or Black Caliper Options
- Premium Slotted Rotors
- SVE Axle Hard Lines
Fitment Notes:
- Can be used on 1979-1986 Mustangs and 1987-1993 2.3L Mustangs with the addition of 5.0L front struts.
- 1987-2004 V8 front brake hose brackets will need to be sourced since the 2.3L has a different bracket that is not compatible with the hoses.
- Some Mustangs may require front fender/fenderwell modifications depending on tire size and ride height, especially 1987-1990 Mustangs because of the smaller wheel opening. 1991-1993 Mustangs has a larger fender opening but still may require modification. Modifications typically consist of trimming the fender & lower front spat for tire clearance, and/or trimming the wheel well liner.
Red 28 Spline Item # SVE-2300AK
Red 31 Spline Item # SVE-2300CK
Black 28 Spline Item # SVE-2300AK-B
Black 31 Spline Item # SVE-2300CK-B
Transcript
How’s it going everyone? Landan with Late Model Restoration.
This video will cover my in depth review and install on SVE’s SN95 five lug conversion kits designed for the 1987 to 1993 Fox Mustangs.
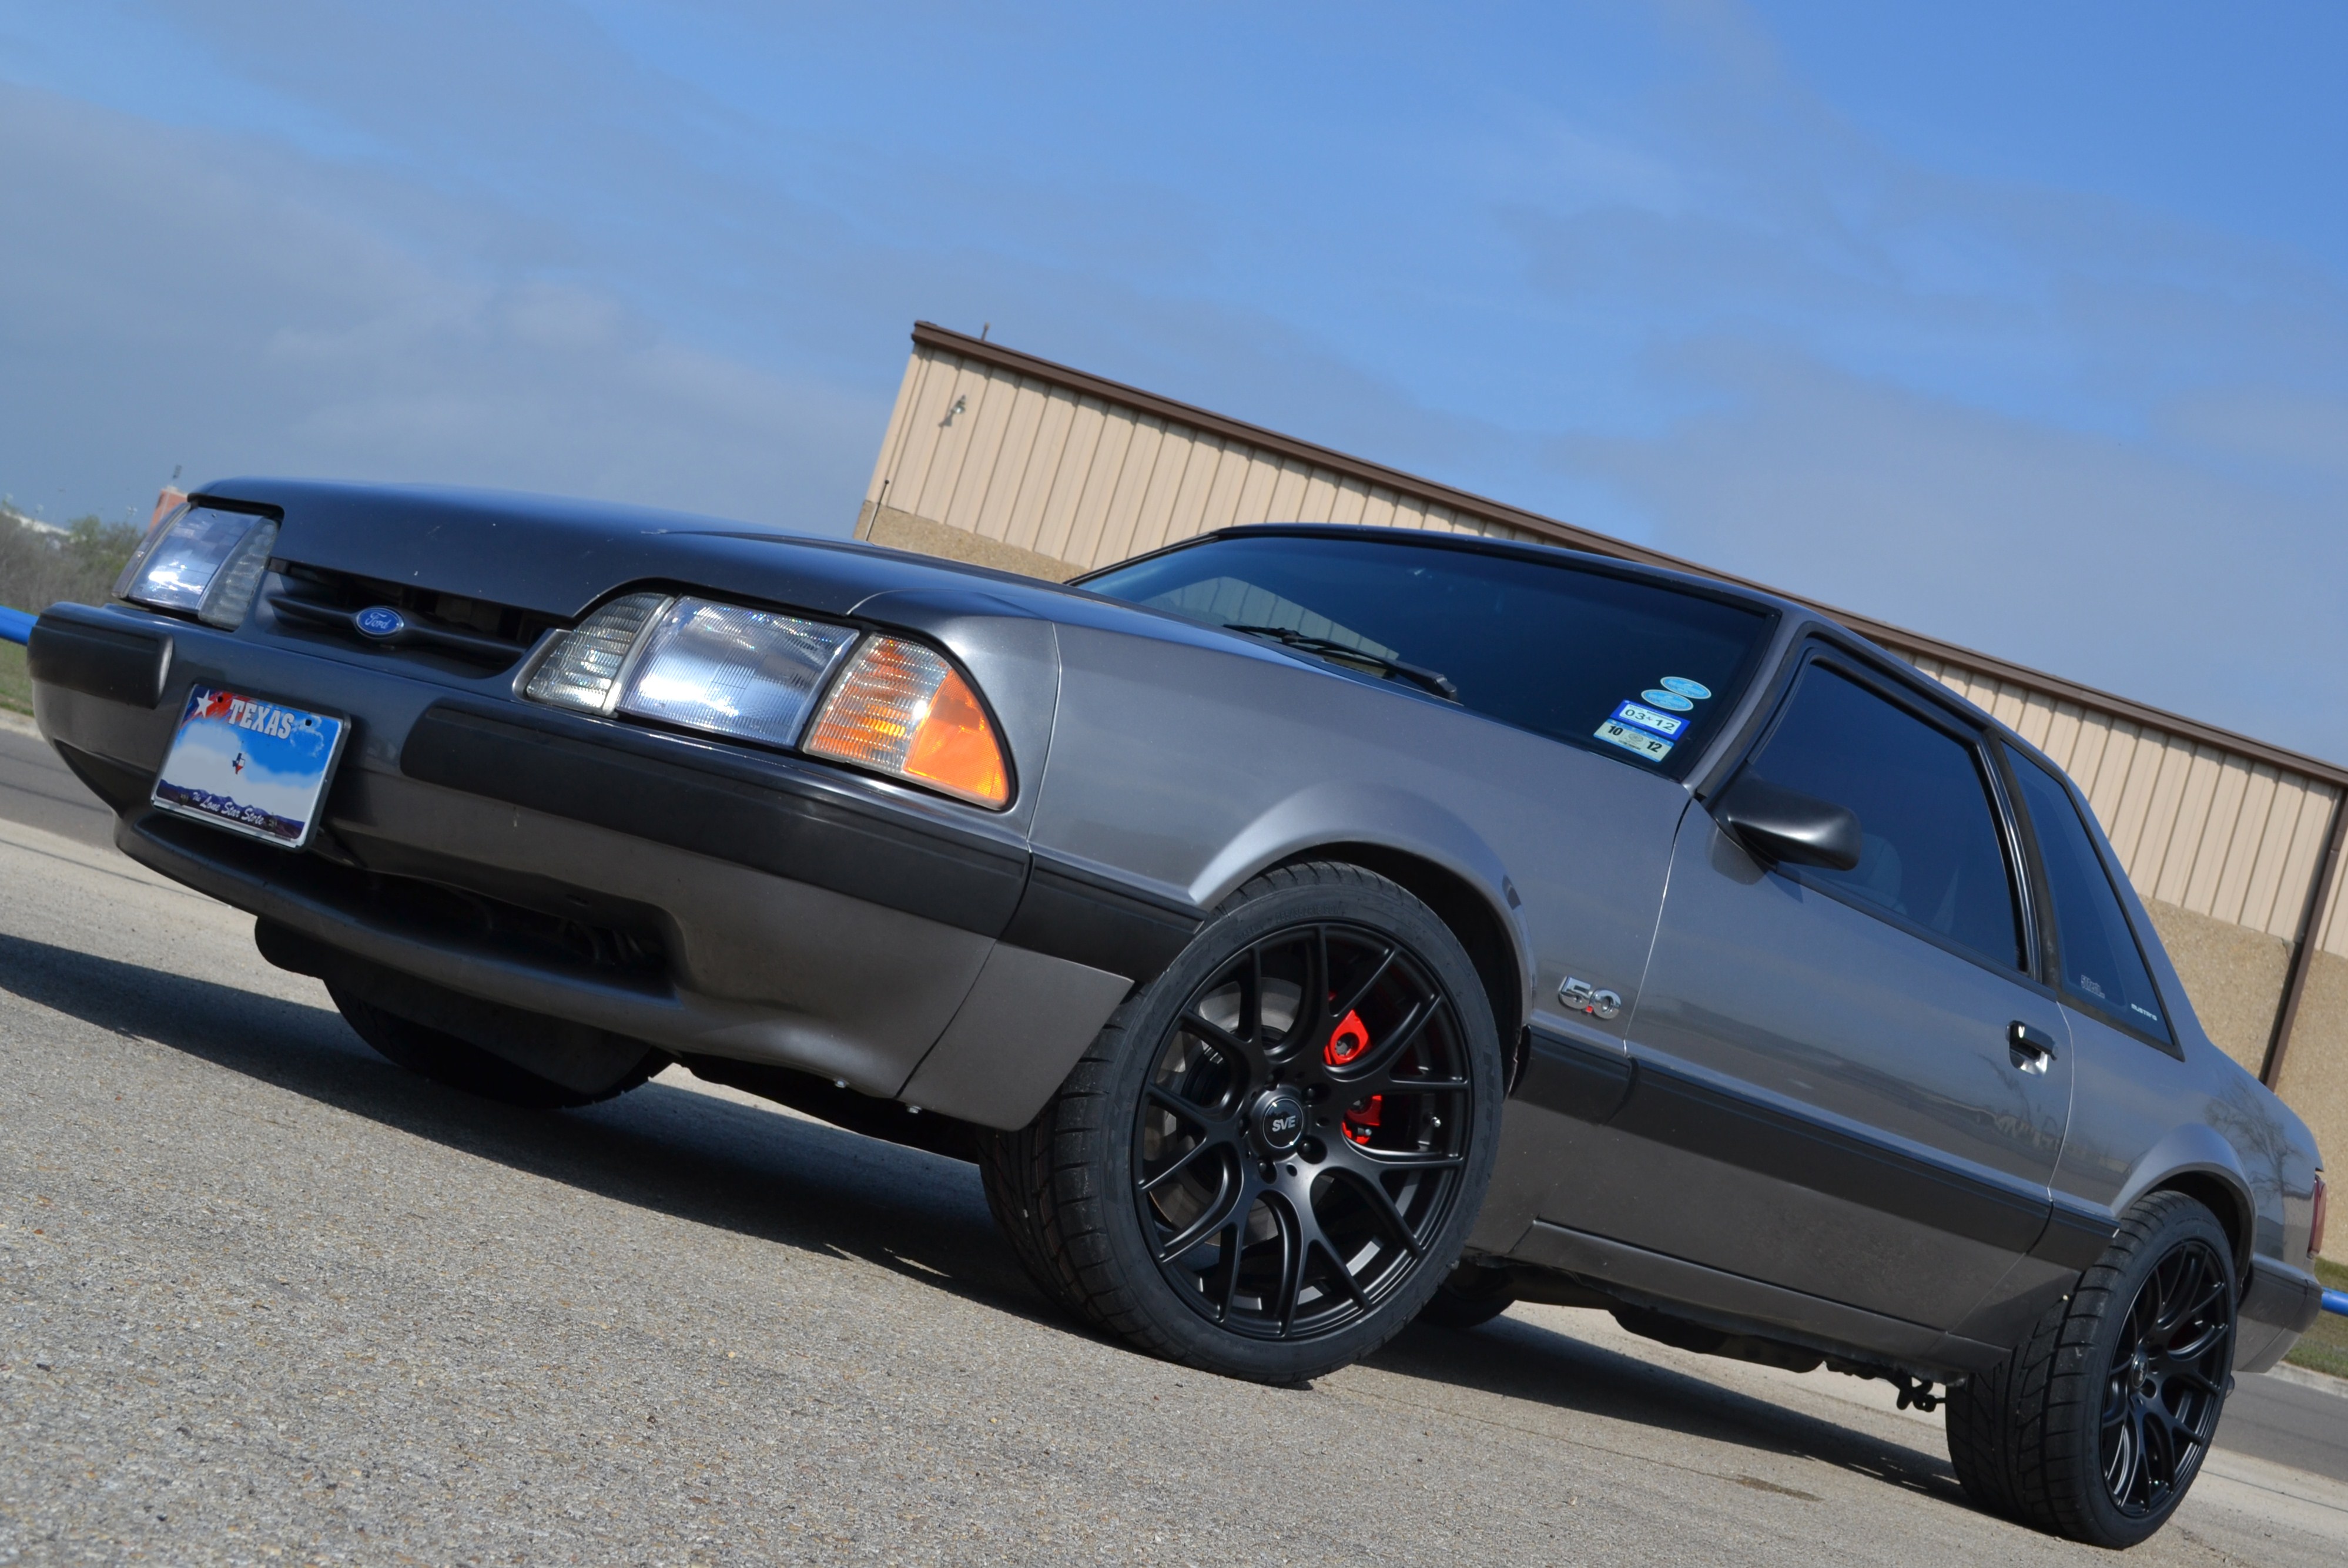
Factory brakes on a Fox Mustang are quite sketchy, and for lack of a better word; simply suck! In my opinion, upgrading the brakes on a Fox Body is one of the best things you can do for the car. Converting to an SN95 style 5 lug kit offers much better performance, visual aesthetics, and of course a wider range of wheel options to choose from.
This SVE SN95 5 lug kit is the most comprehensive brake on the market to convert your 1987 to 1993 Fox Mustang from 4 lug to 5 lug four wheel disc brakes. It does include all of the trimmings from rotors and calipers all the way to brake fluid and rear end gear oil. If you’re still utilizing a factory 28 spline carrier, then you can go for the 28 spline kits with your choice of either red or black calipers. Now, if you’ve upgraded to a 31 spline carrier, you’ll need to opt for the 31 spline kits which are currently available with either red or black calipers as well.
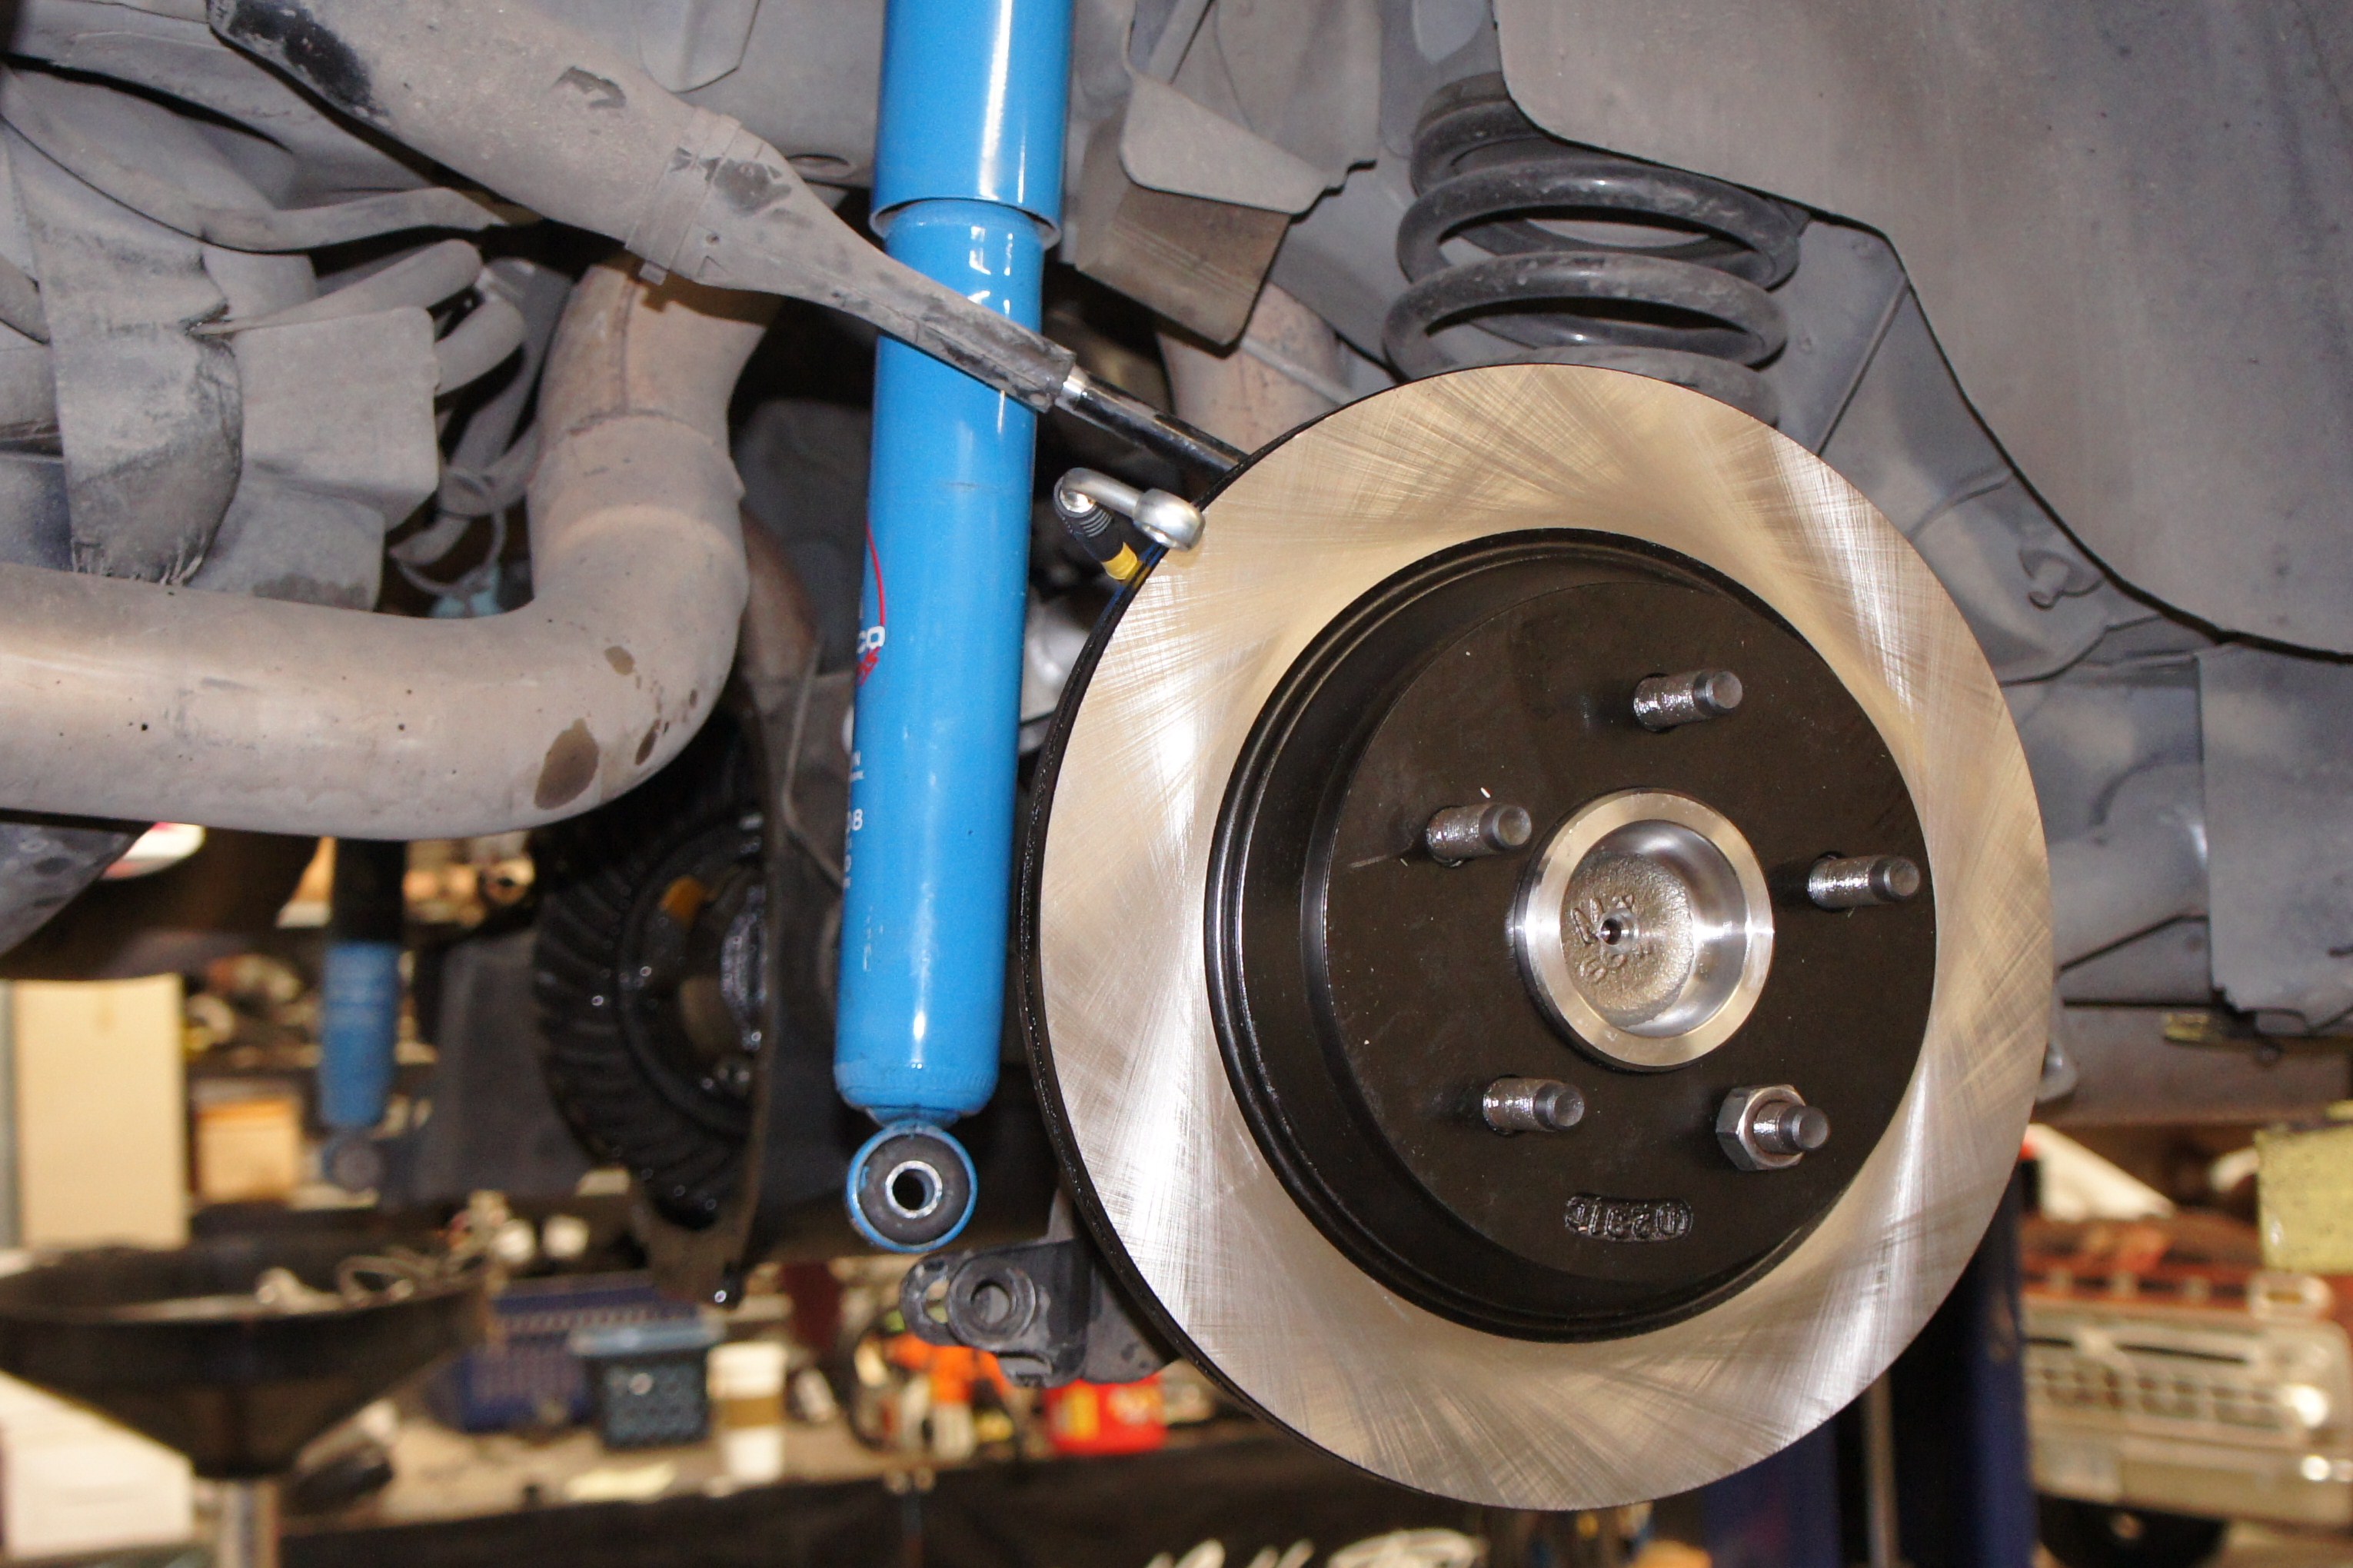
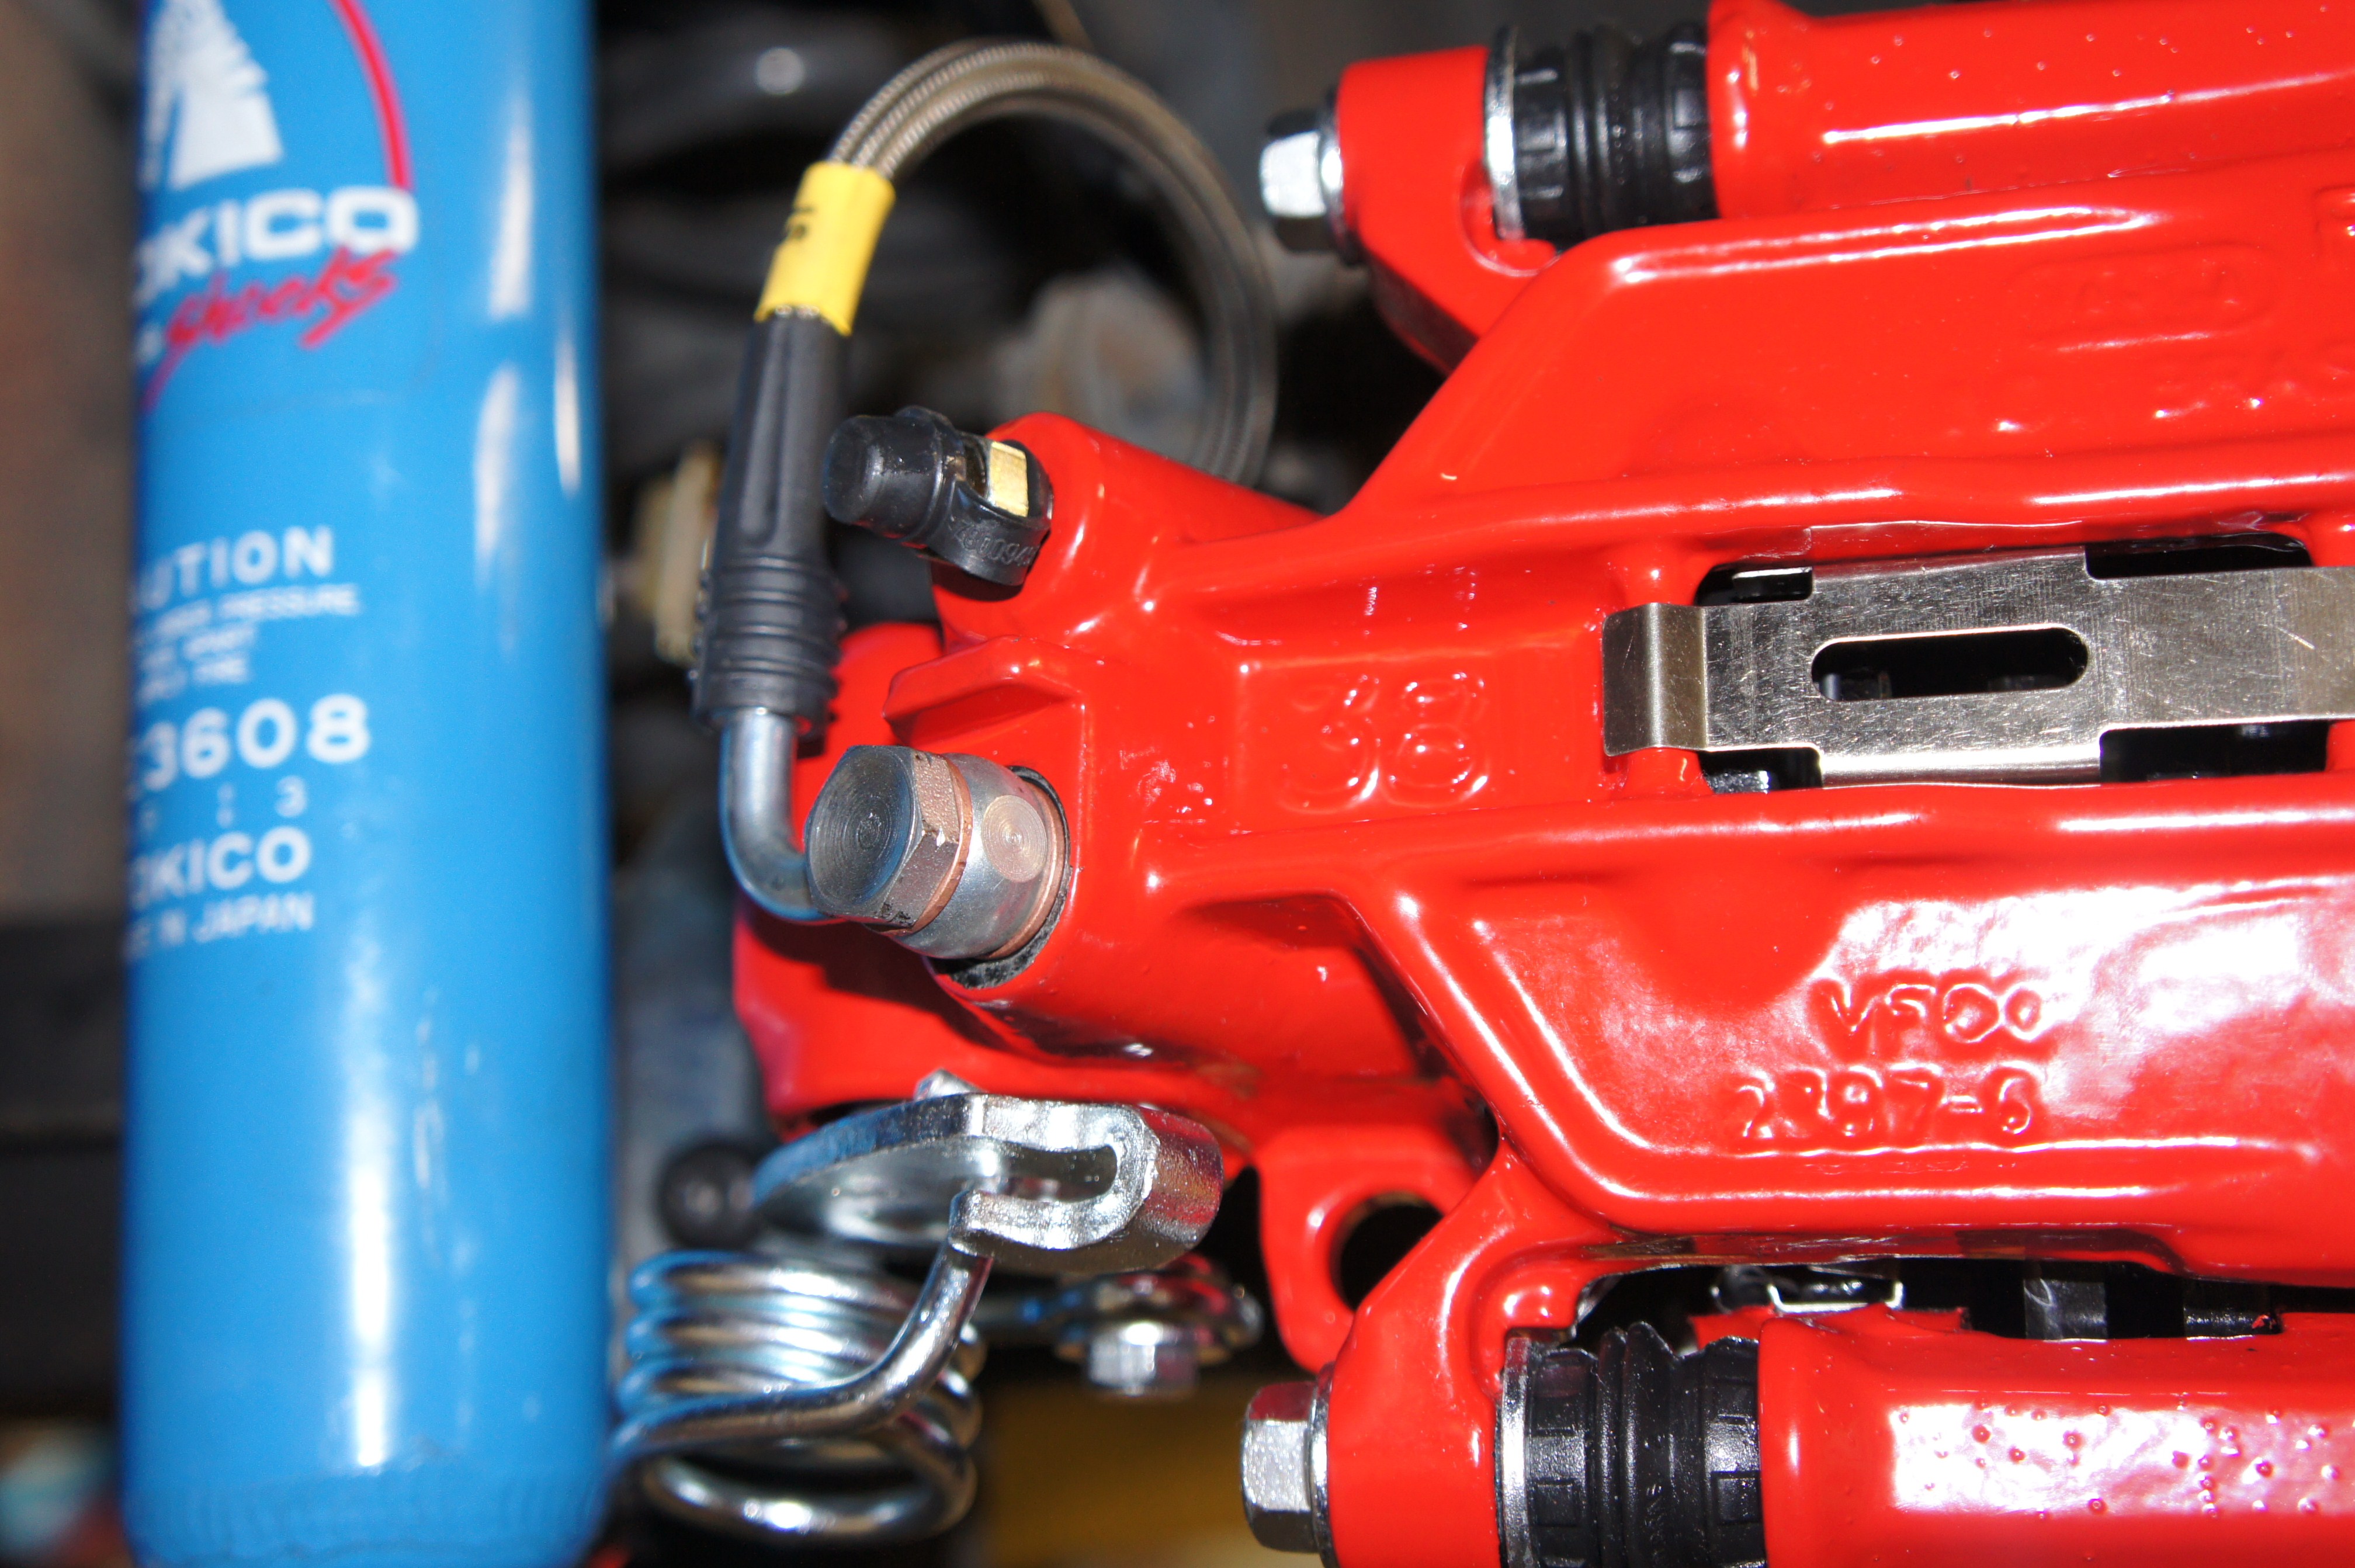
The calipers that are included in this kit are a 1994 to 2004 Cobra style caliper and are currently available in either a red or black powder coat with an SVE logo. They are pre-assembled with new pads and hardware. The included rotors are a premium offering and are slotted for added performance. The front rotors measure in at 13 inches in diameter and the rears 11.65 inches. Along with new calipers will be factory refurbished 96 to 04 spindles. These are OEM cores that are media blasted, thoroughly inspected and then powder coated for durability and corrosion protection.
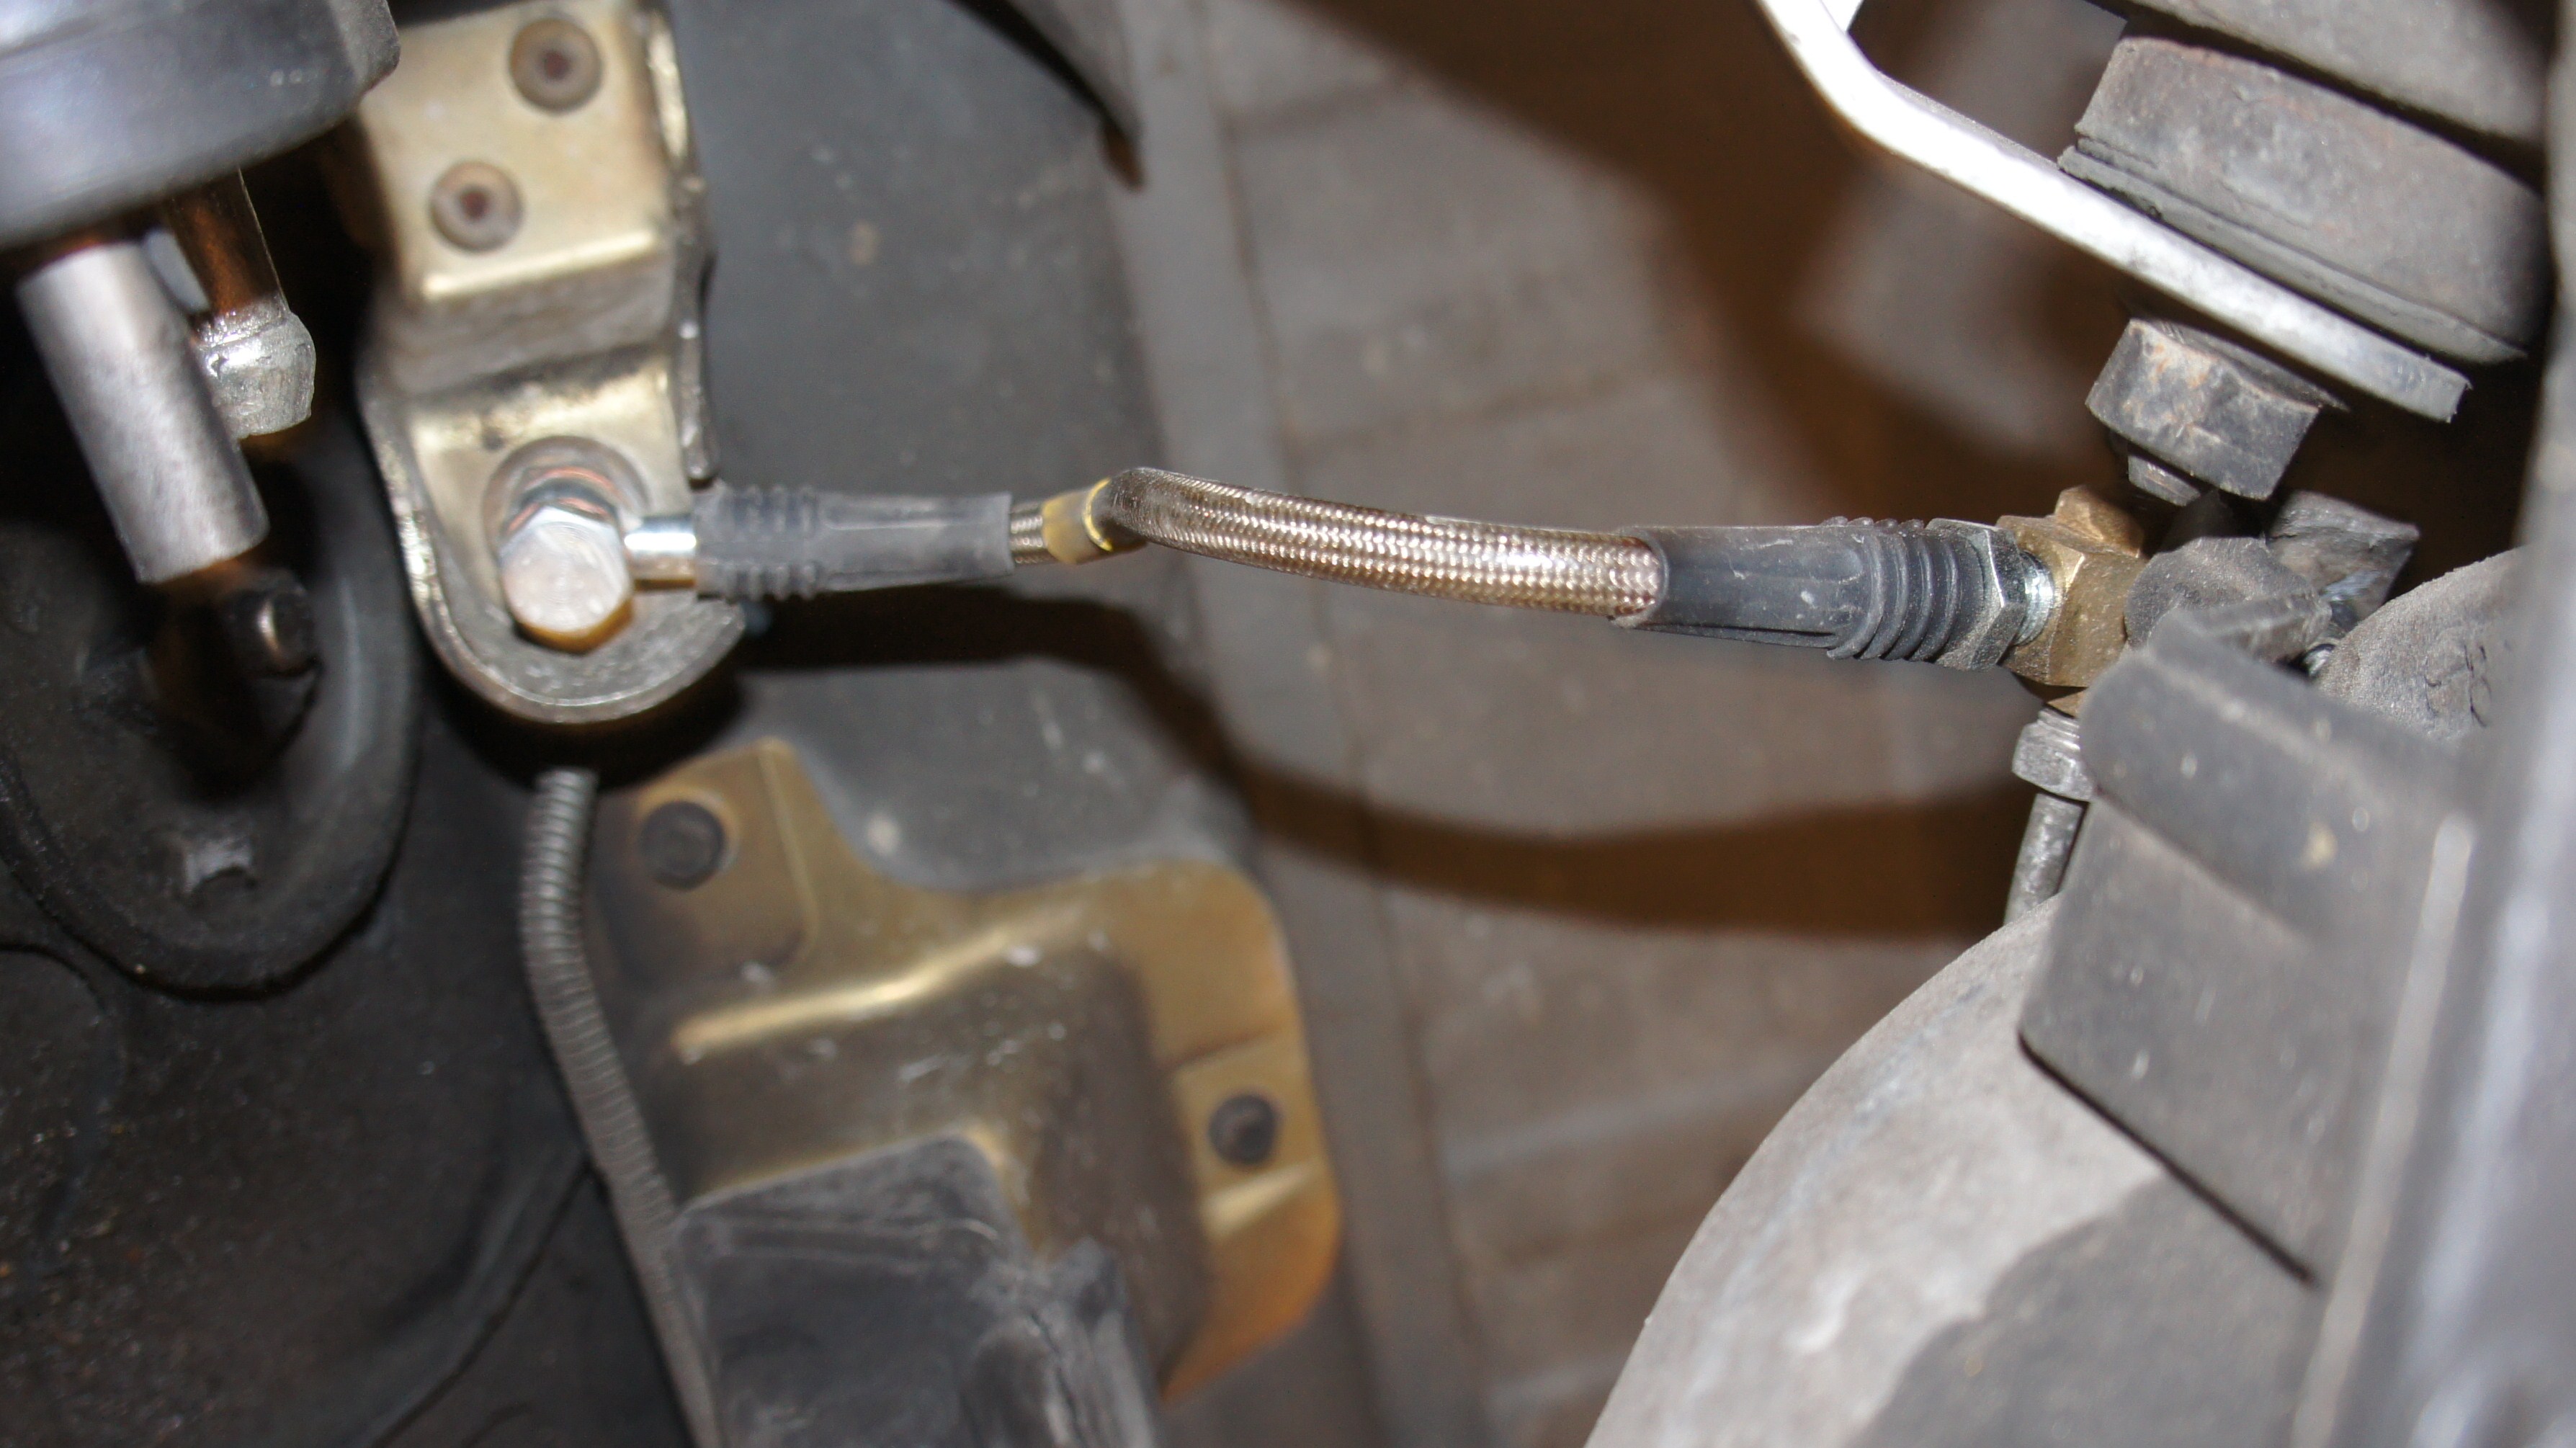
Rear components will feature fox length rear axles with an SN95 flange for the rear disc setup. Again these axles are currently available in either a 28 or 31 spline option. This kit will include the correct rear caliper brackets as well as our SVE axle hard lines. This means you don’t have to cut and flare the factory lines. Our SVE lines feature similar bends as the factory lines so minimal bending is required to get these installed.
Furthermore, this kit features a 93 Cobra master cylinder along with the master cylinder adapter lines, proportioning valve; front, rear, and center upper axle braided stainless brake hoses, parking brake cables, parking brake cable clips, all needed hardware and fluids for installation.
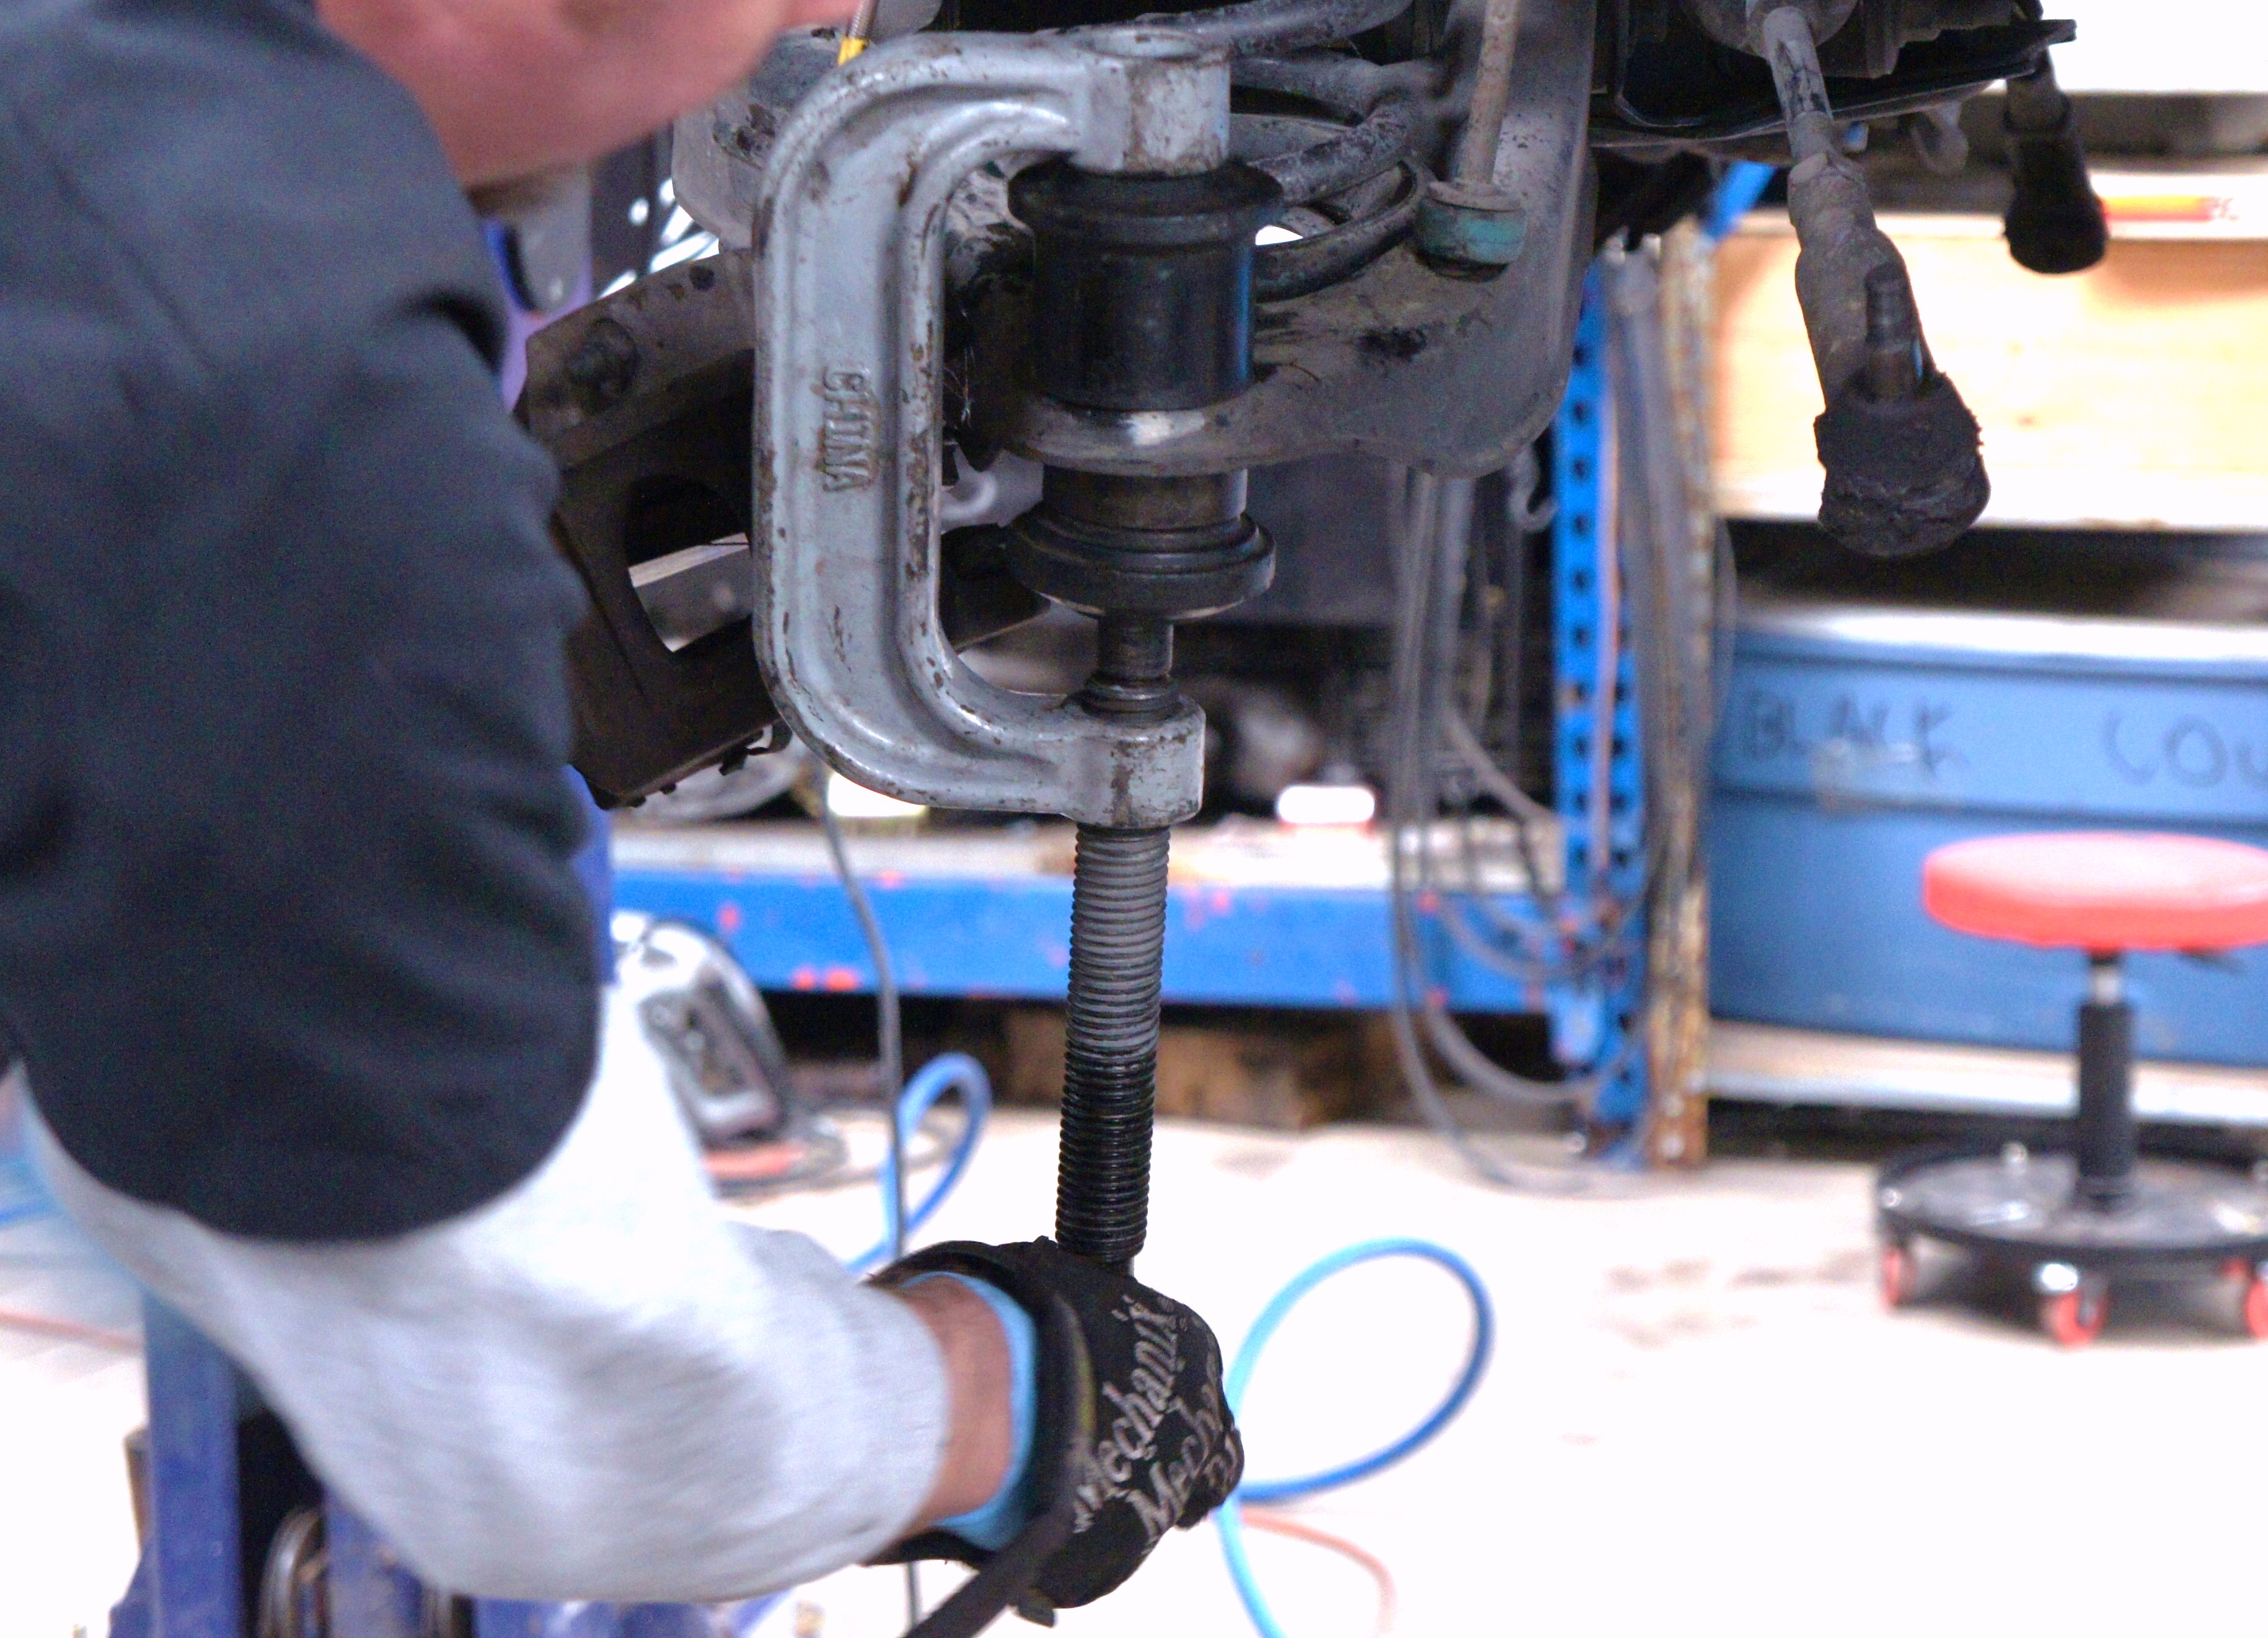
Now for the fitment notes. You can utilize factory Fox ball joints as long as you place a spacer between the ball joint and spindle so the nut doesn’t bottom out on the ball joint. If you choose not to do this, simply press out the factory ball joints and install 94 to 04 Mustang ball joints.
Also keep in mind wheel and tire choice. Quad shock removal may be required as well as rolling the rear fender lip. In the front you may have to trim the wheel well liner or lower front spat for tire clearance. These modifications will differ based upon the particular setup you’re going with.
A little disclosure before I begin the install. You will see two different cars in this video. We are using clips from our four lug rear disc conversion since the majority of the steps are the exact same. I am also going to include the correct way to modify your parking brake assembly to eliminate the factory self-adjusting feature.
To begin installation, support the car via a lift or jack stands.
Remove both rear wheels.
Remove the sway bar if equipped.
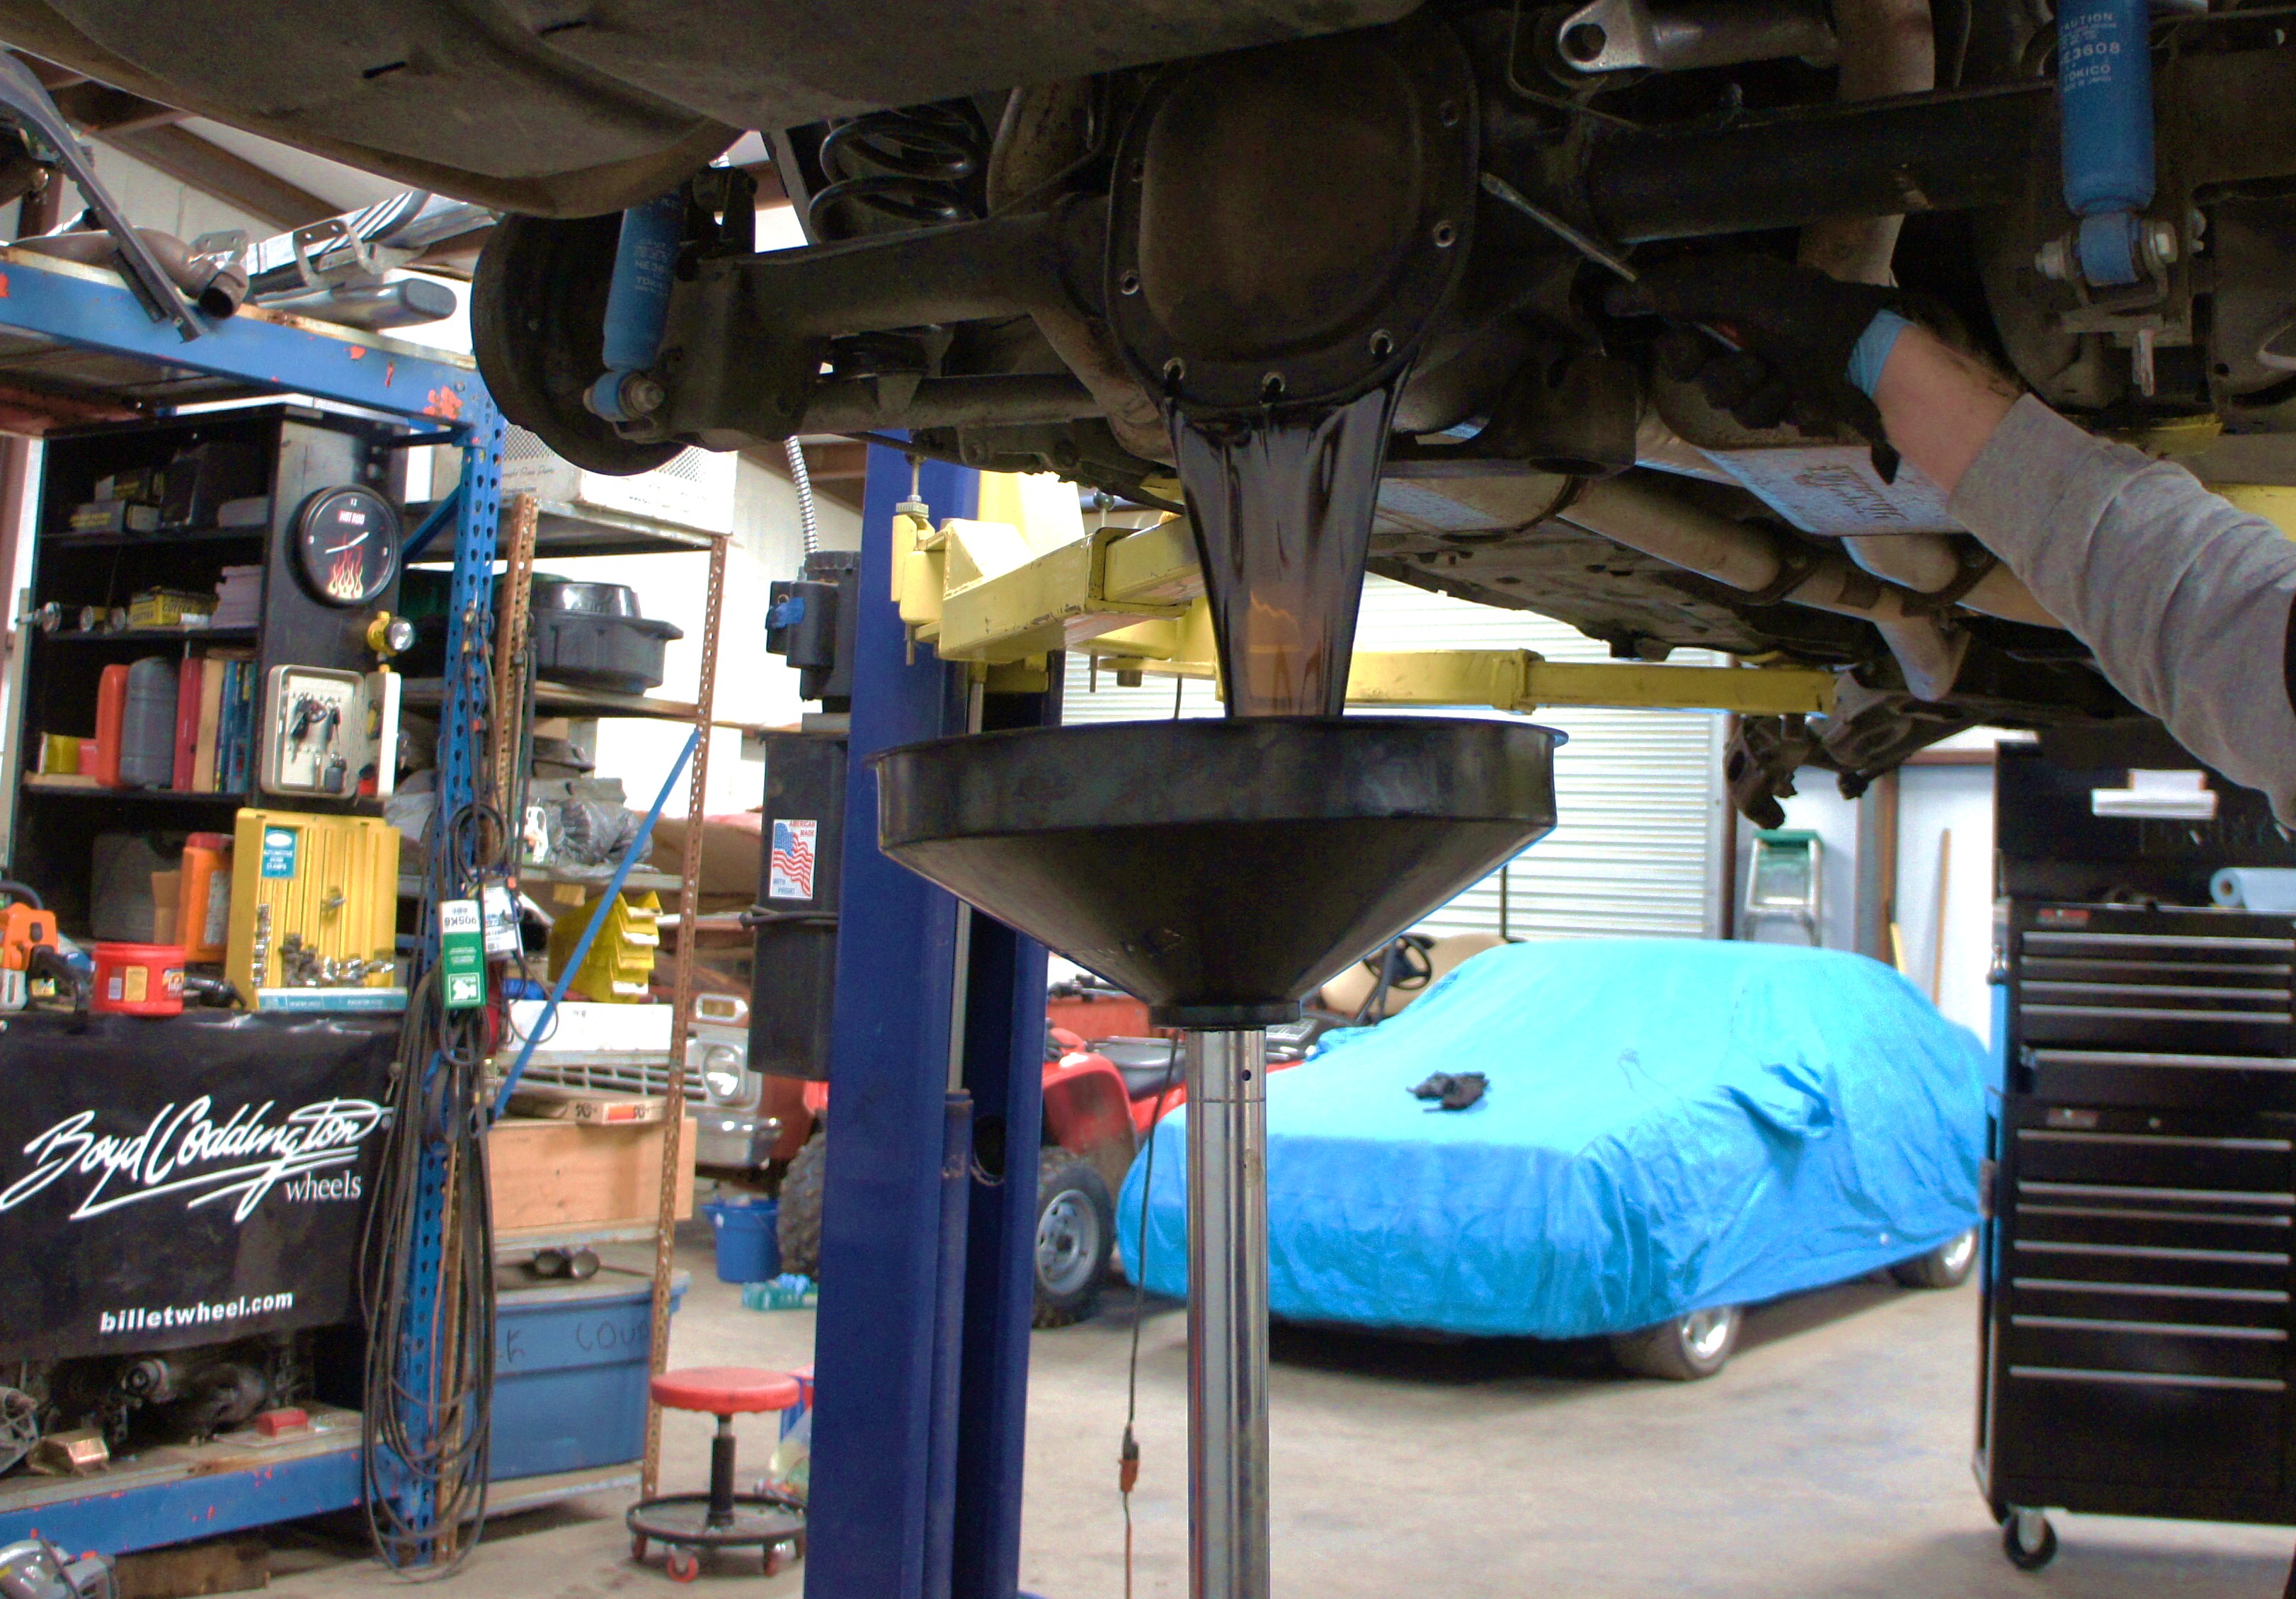
Position a drain pan or bucket underneath the center section.
Loosen and remove all of the bolts except for the top one.
This will keep the cover in place while you pry it open to drain the fluid.
Now, go ahead and pry the cover free with a flat head or pry bar.
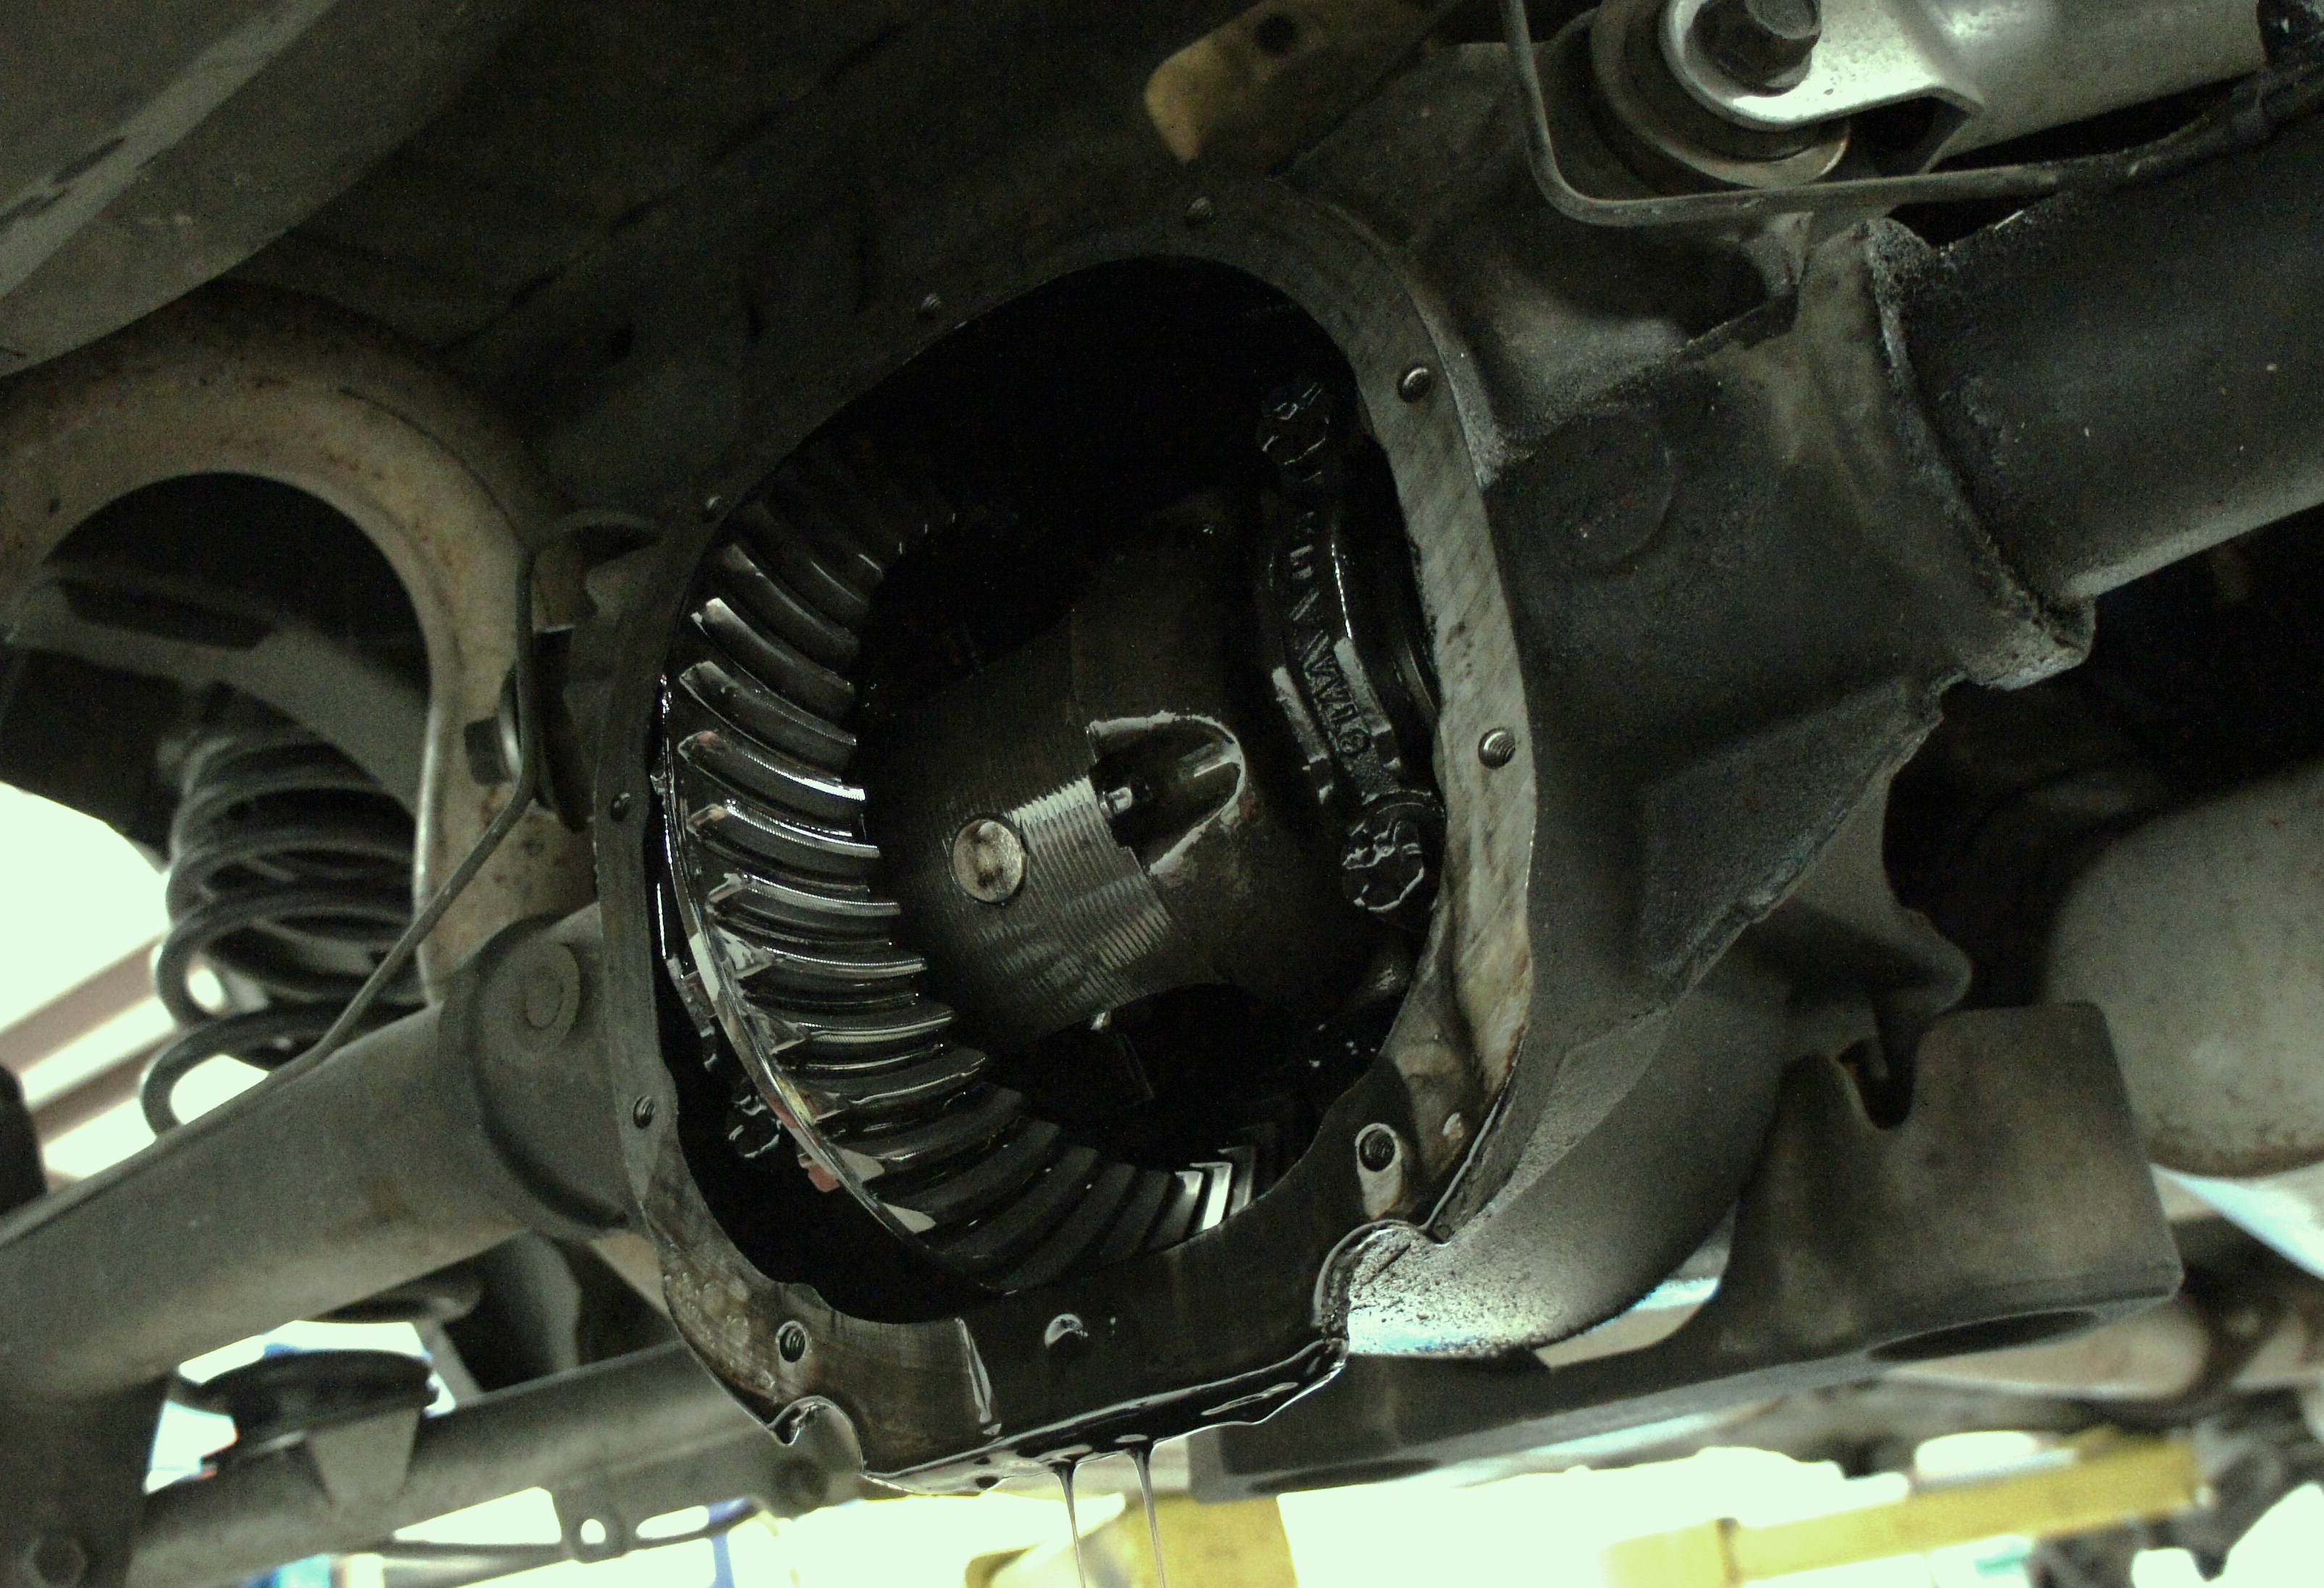
Allow the majority of the fluid to run out of the rear end and then remove the last bolt.
Set the differential cover aside for now.
Go ahead and scrap away any old RTV from the rear end to diff cover mating surface.
Spray quality brake clean into the rear end to thoroughly clean the carrier and the surrounding components.
Rotate the carrier so that the cross pin bolt is accessible.
Loosen the cross pin bolt and then slide the cross pin out of the carrier.
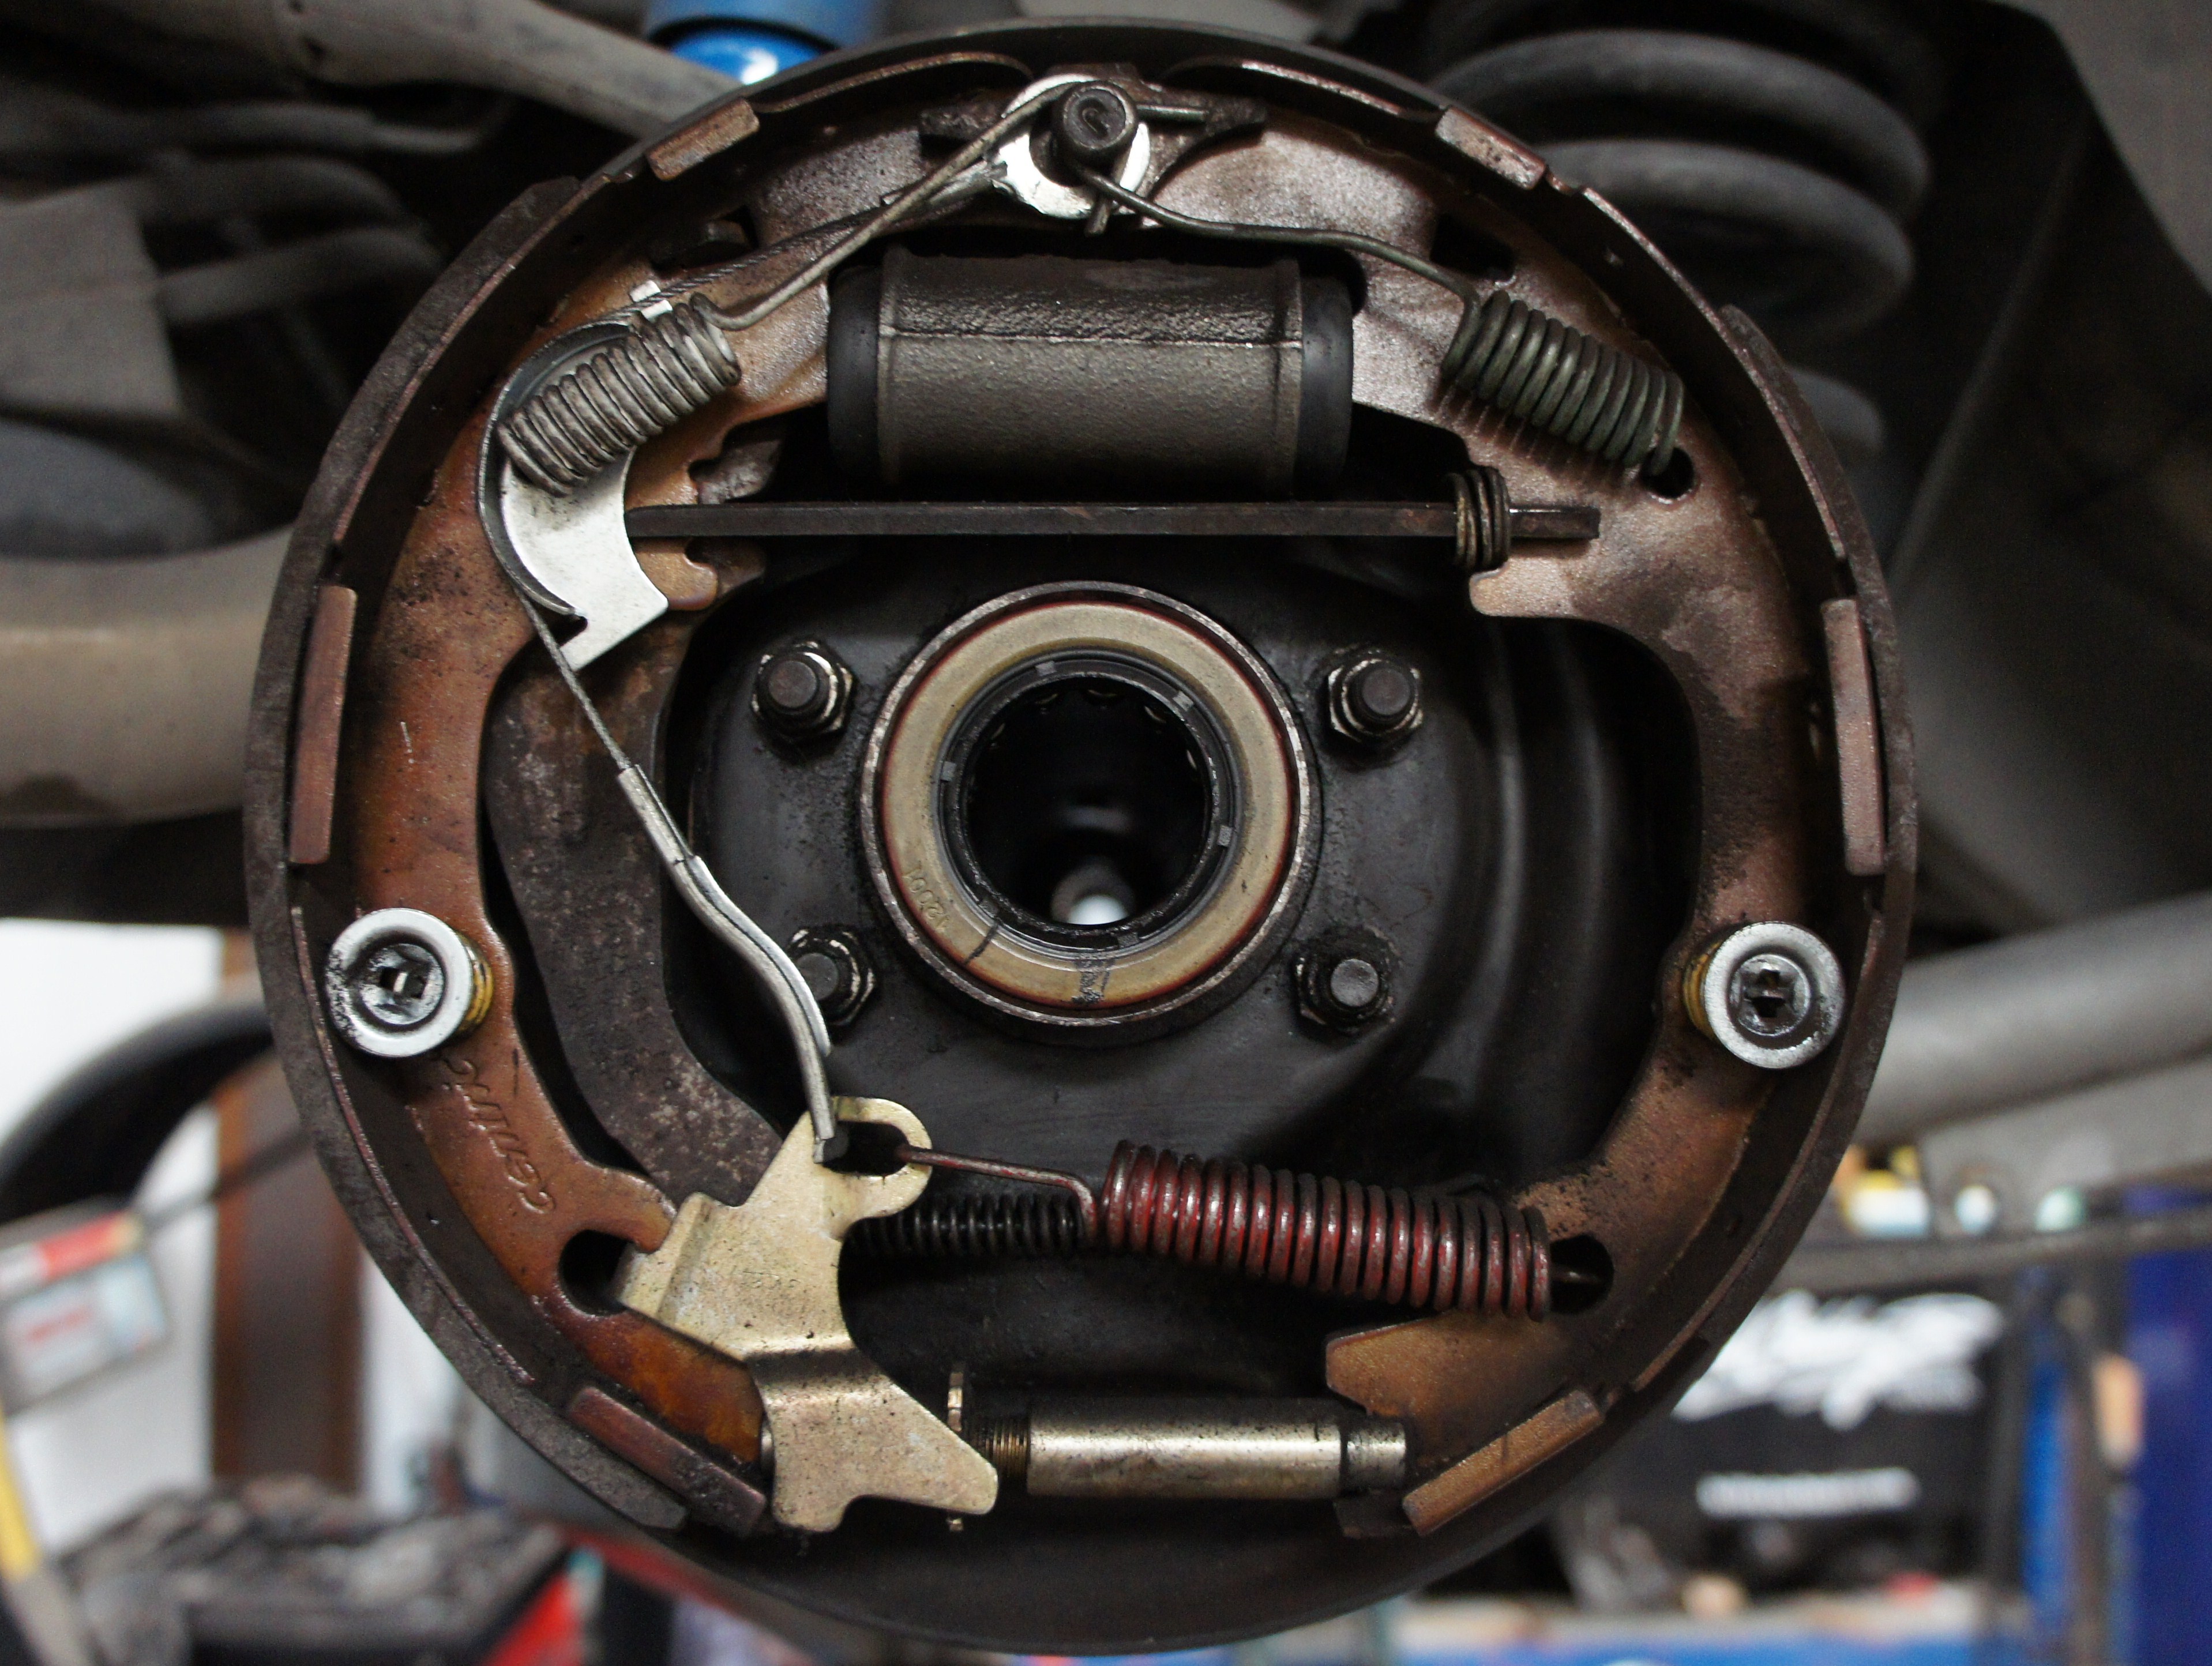
Now you can remove the drums from each side of the axles.
If the drum is stuck, lightly tap it with a hammer to free it from the backing plate.
Push in an axle and then remove a c-clip.
Use a rag to catch any fluid that may run out when you remove the axle from the housing.
Do the same for the other axle.
Mark the driveshaft with a paint pen and then remove the four driveshaft to flange bolts with a 12-point 12mm socket.
Remove the driveshaft from the car and then plug the tail shaft on the transmission.
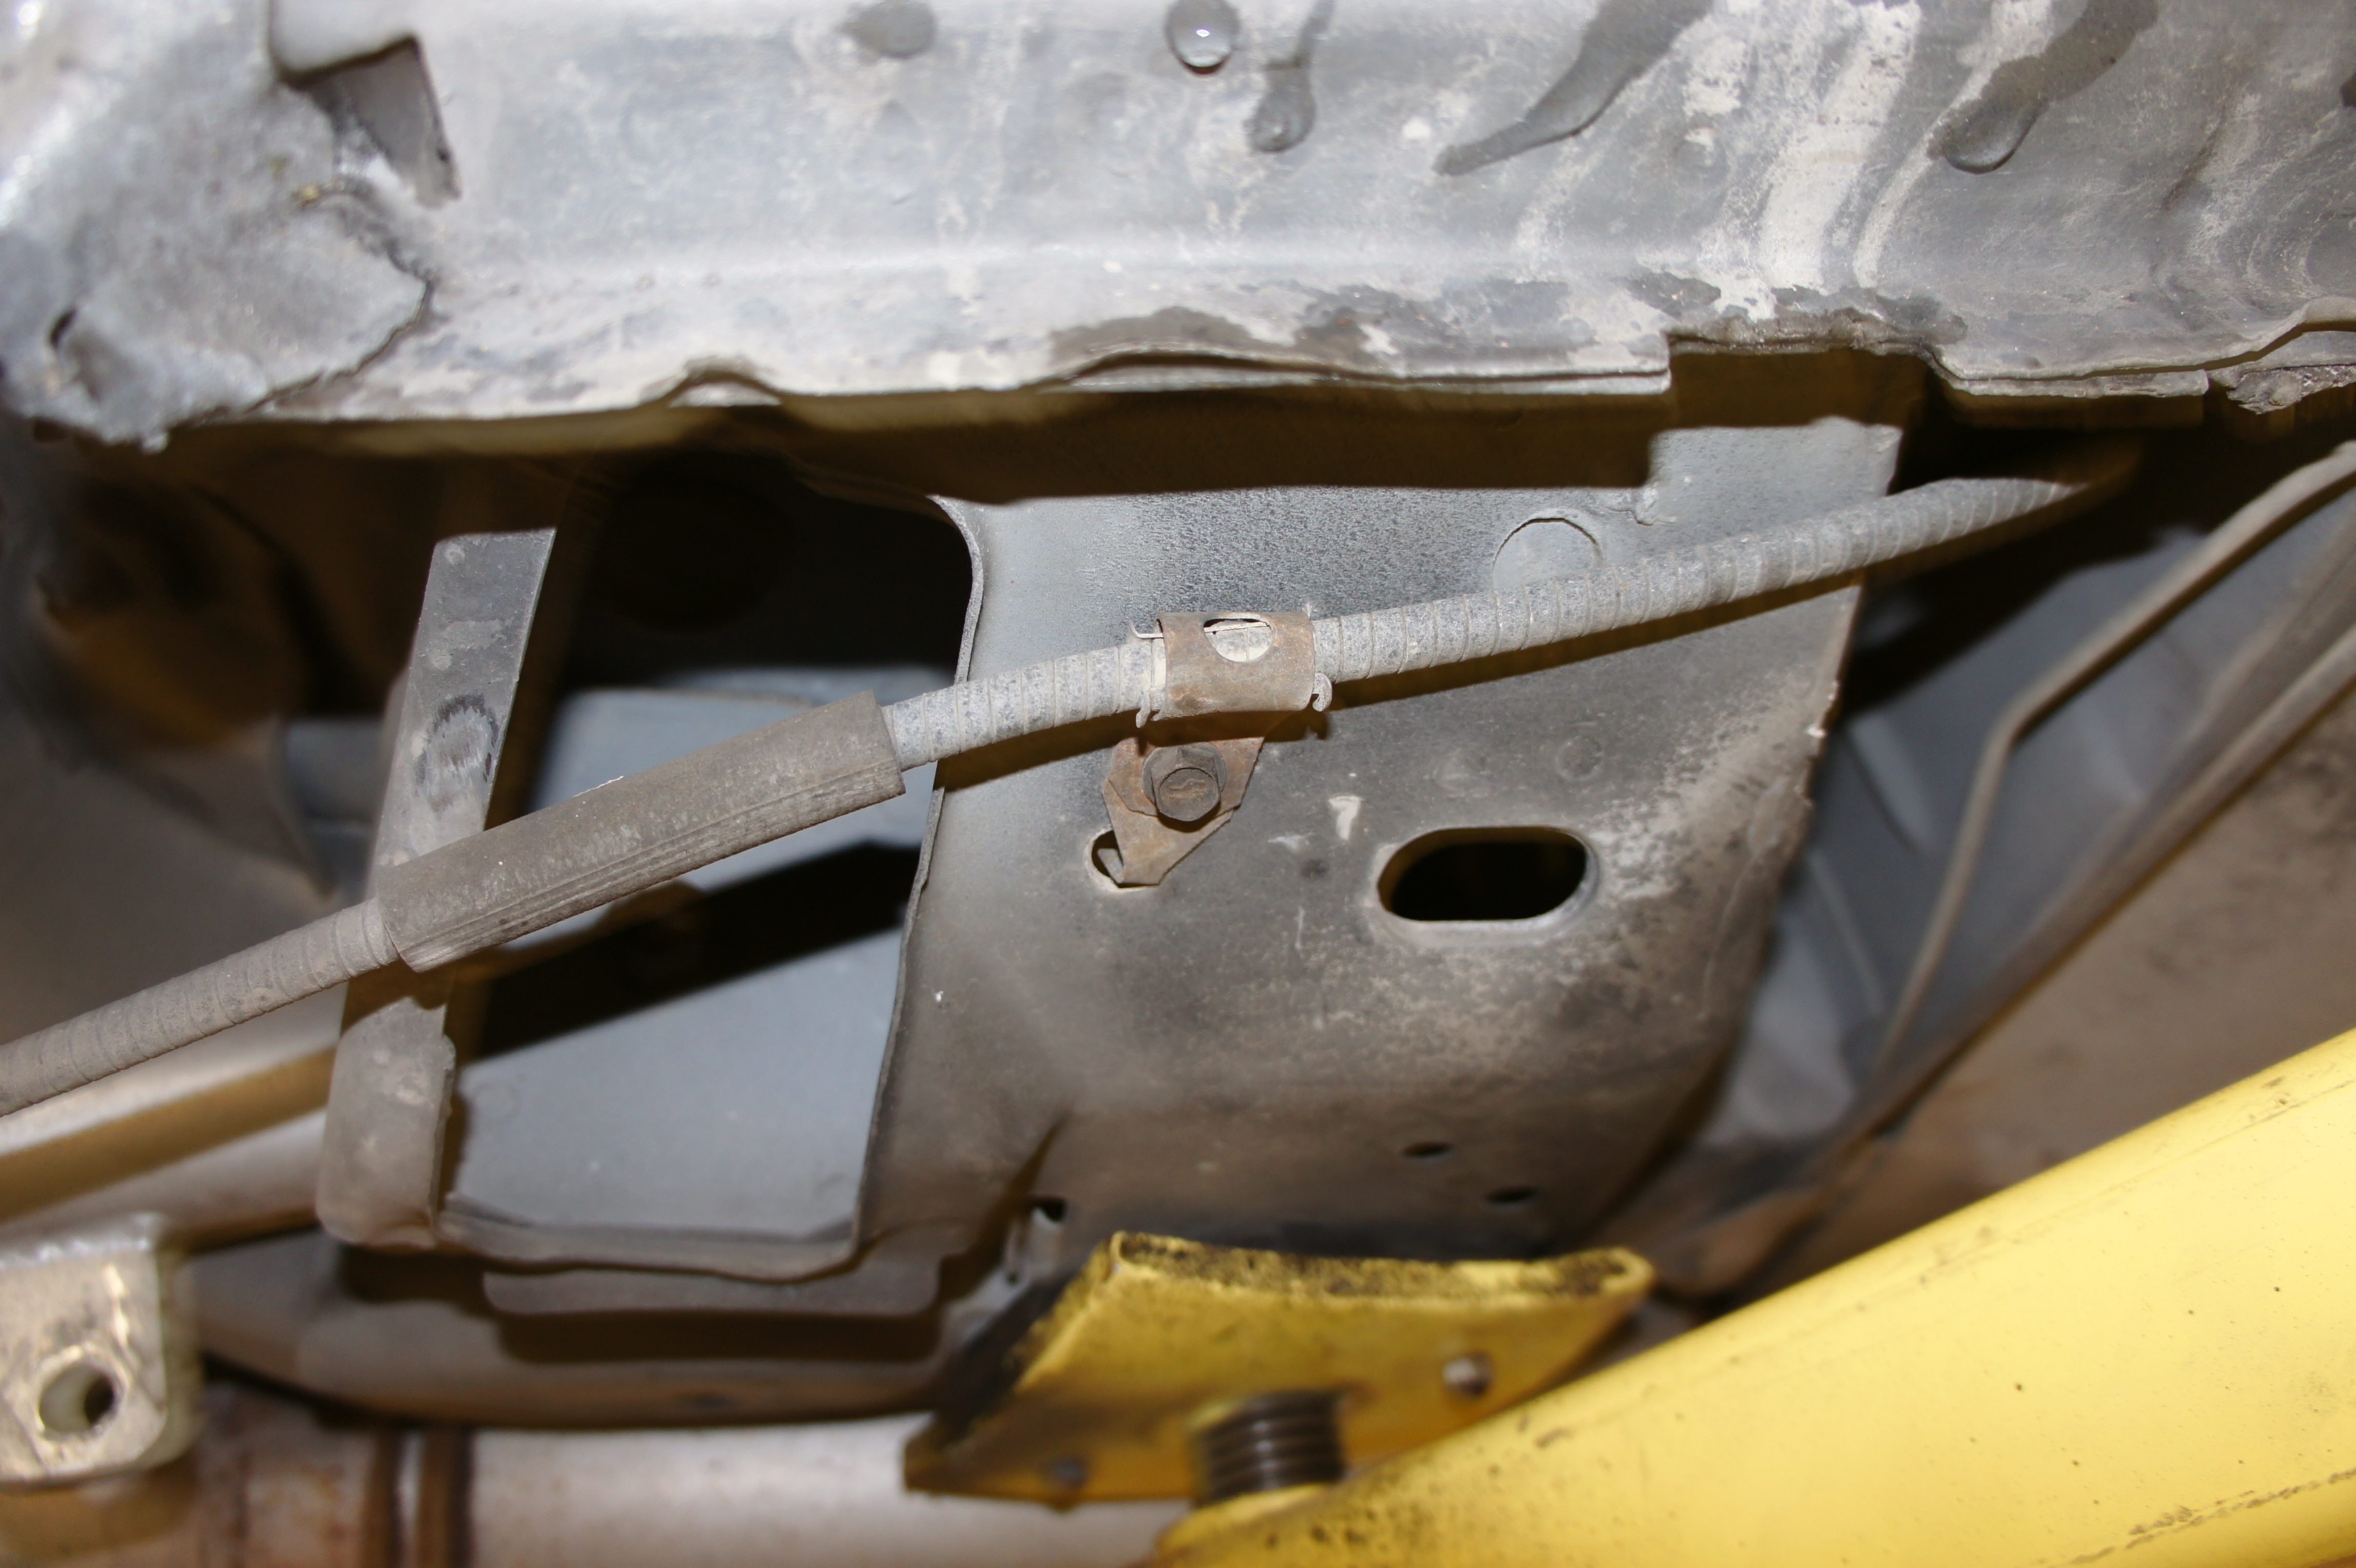
Removing the driveshaft will allow clearance to remove the parking brake cables.
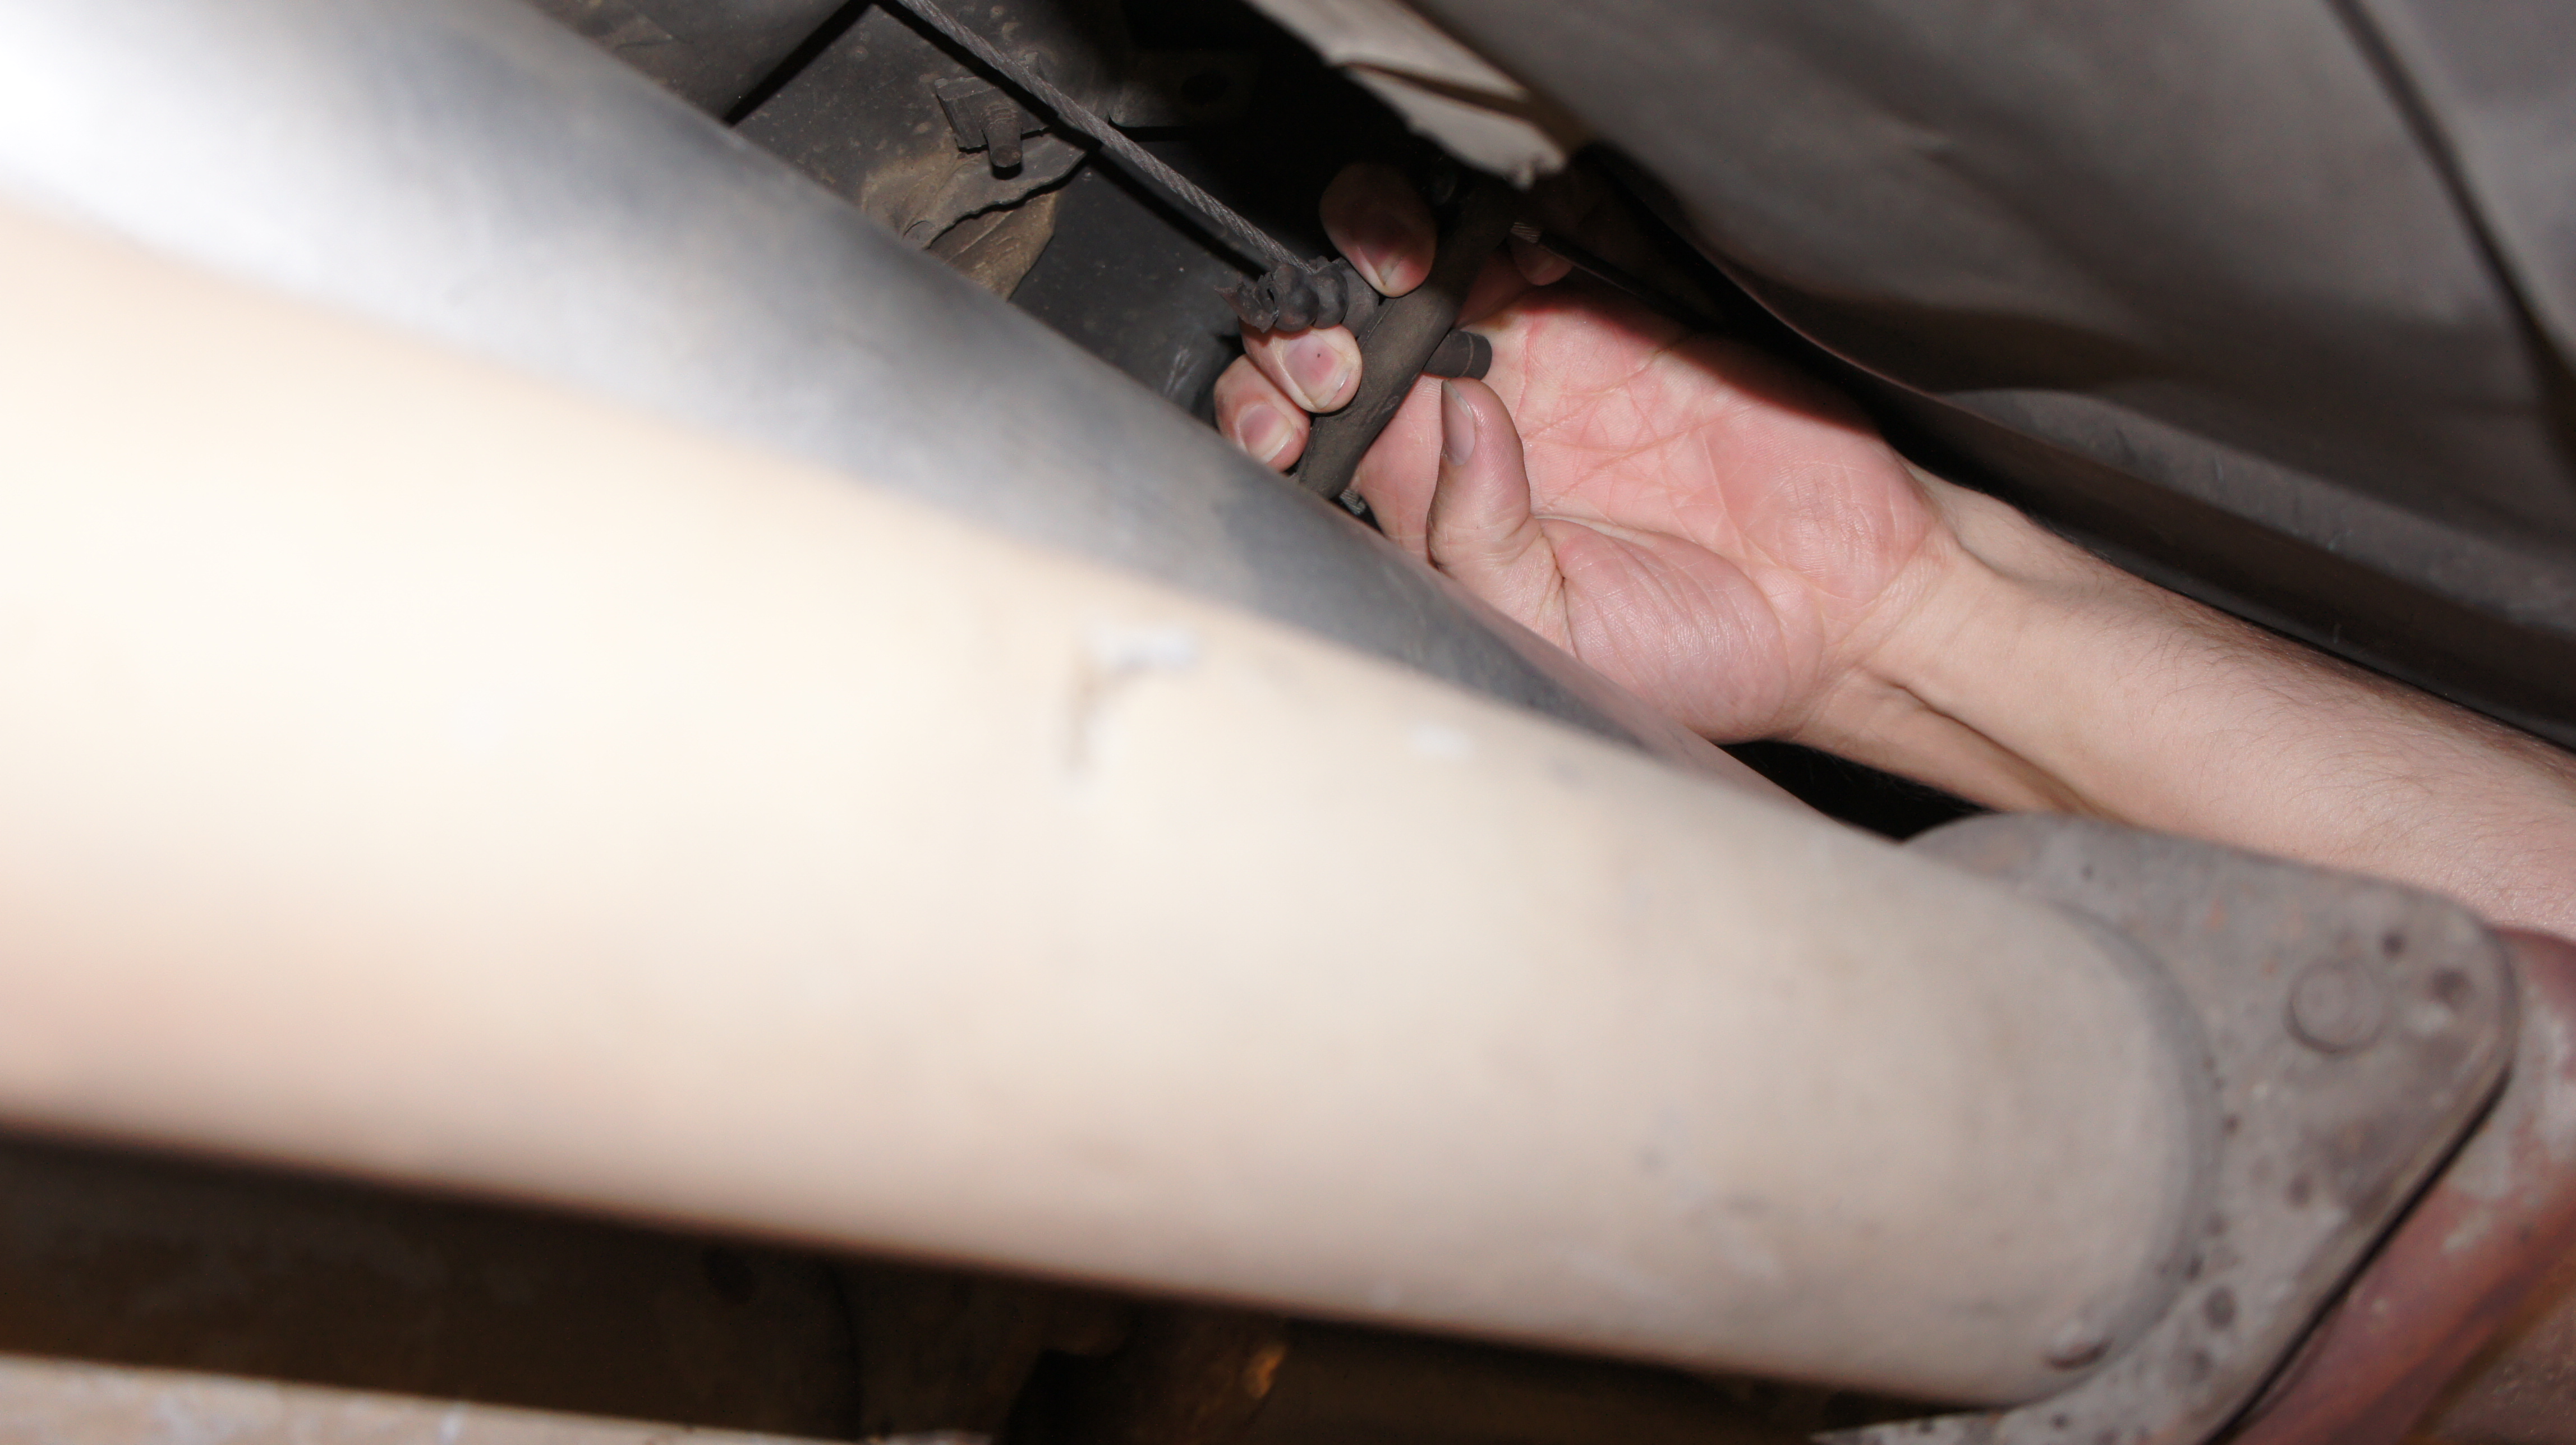
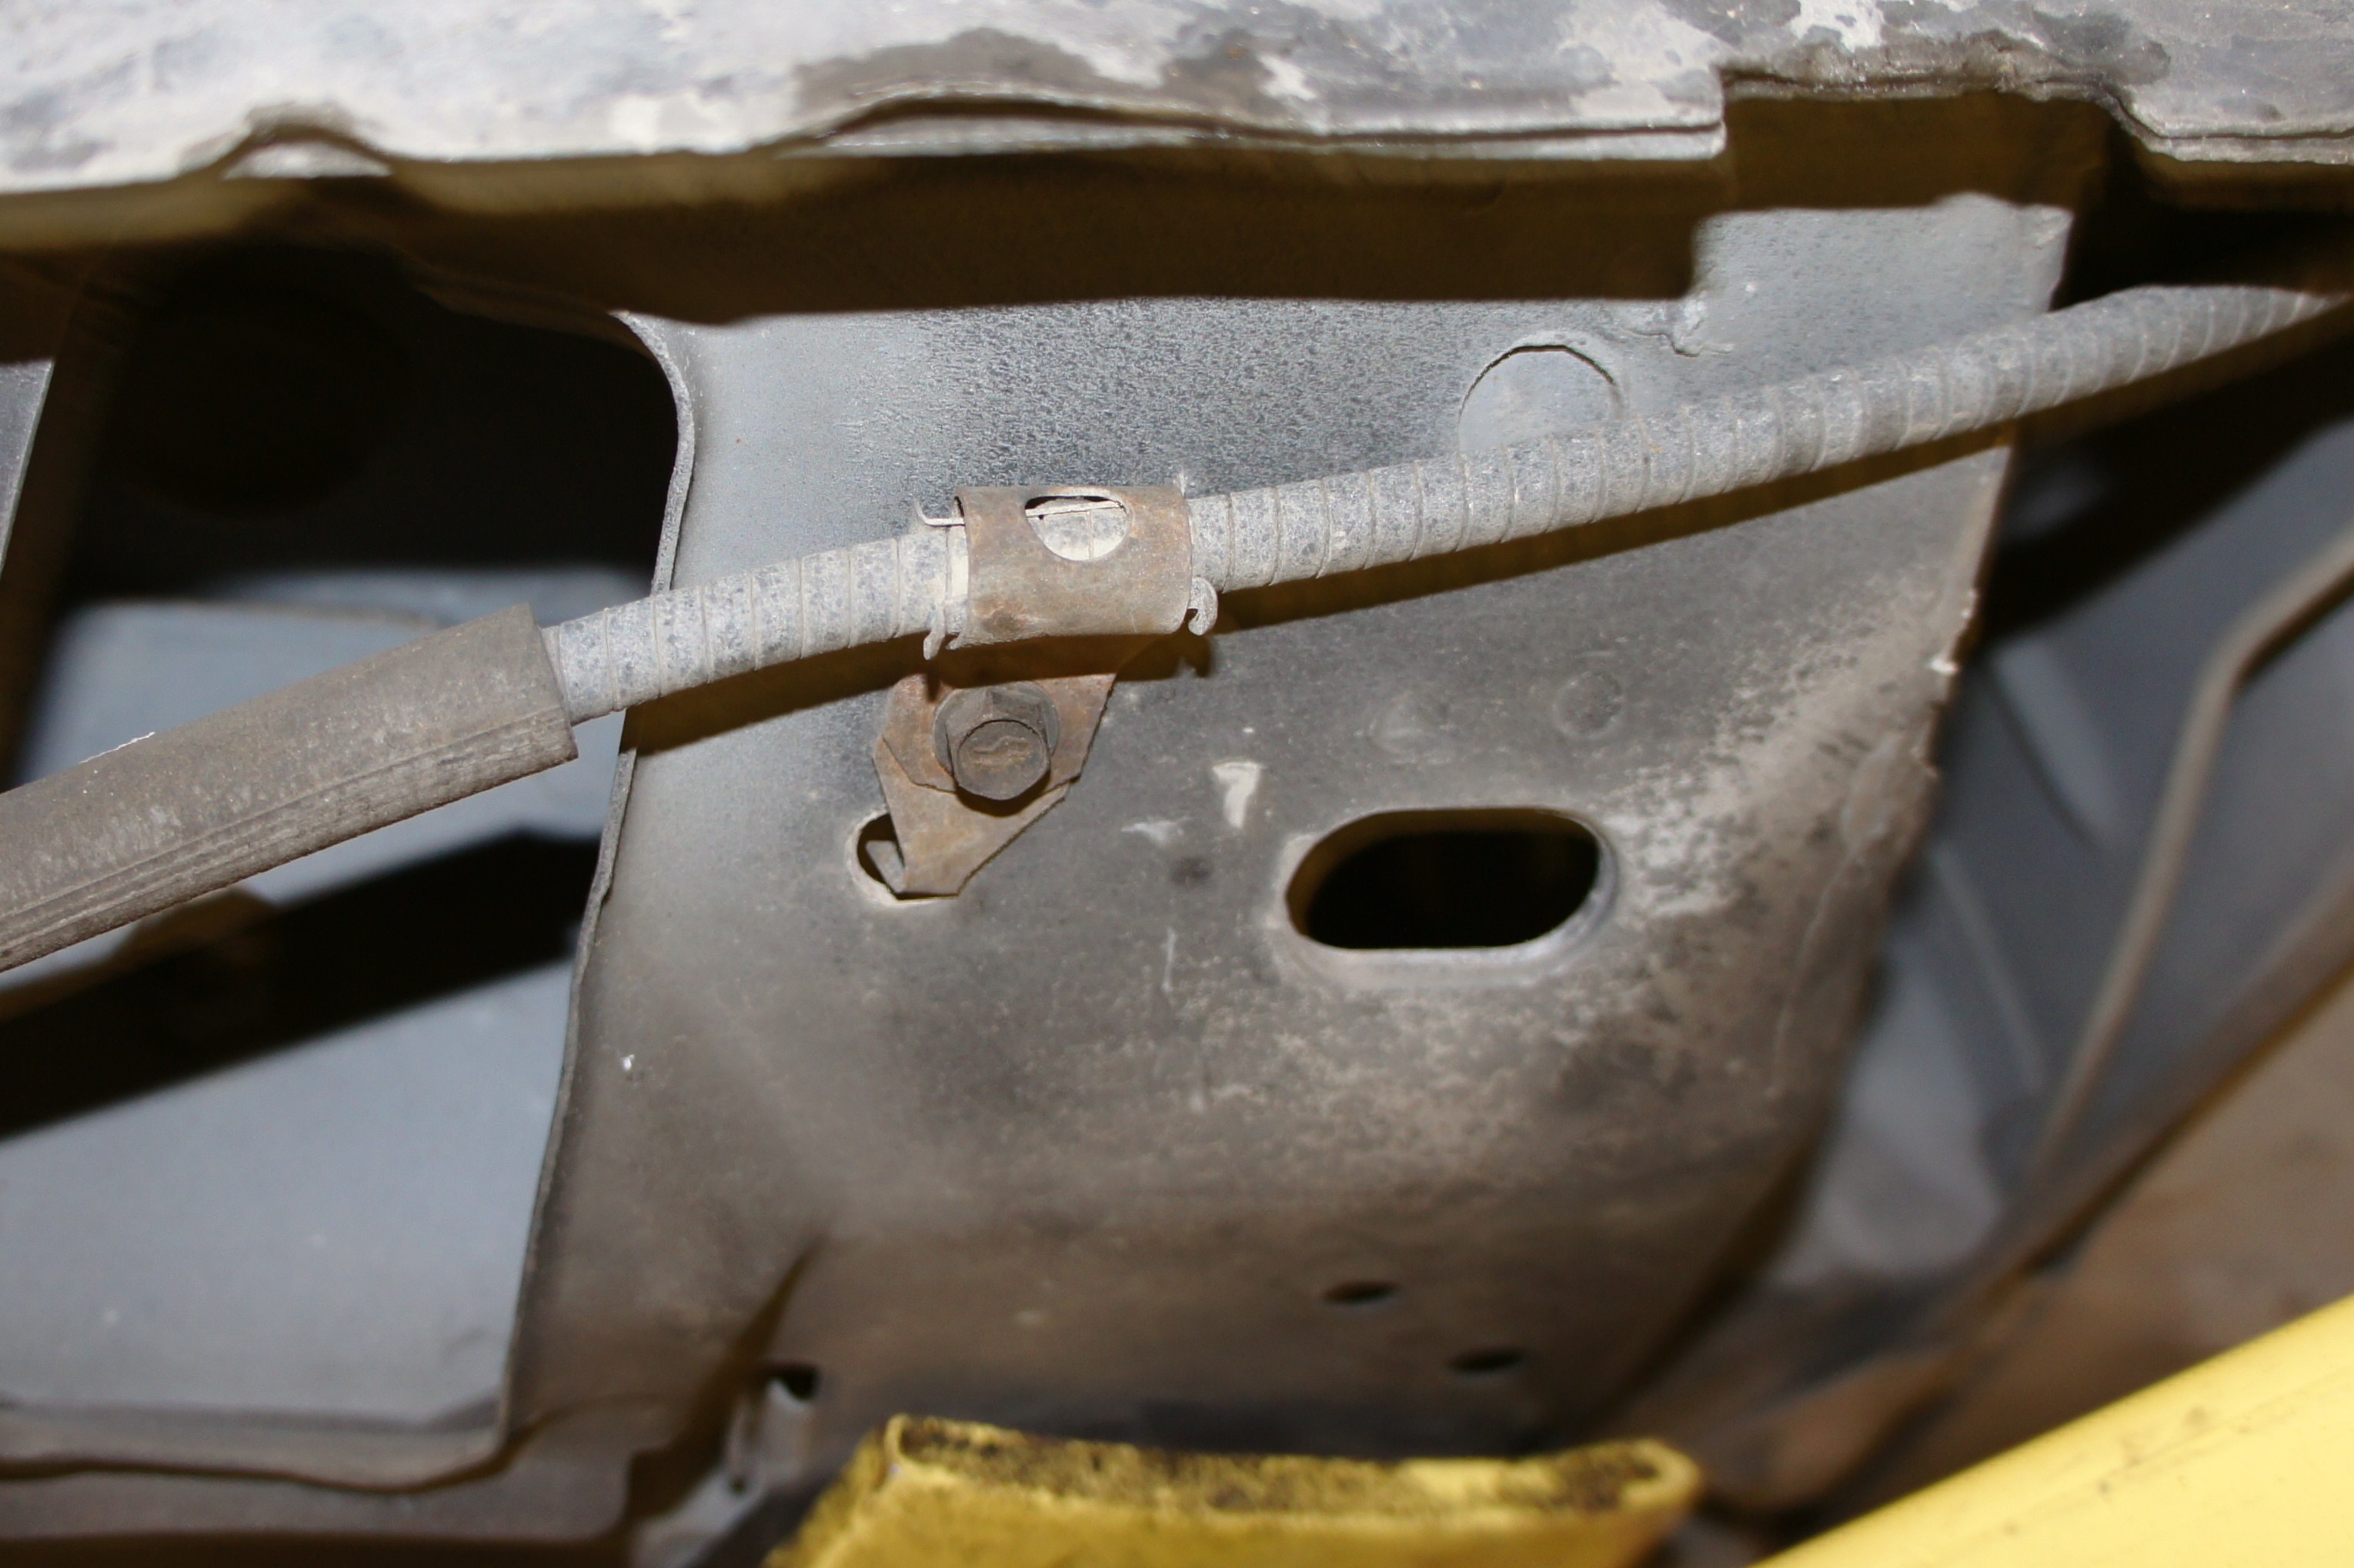
To do this, remove the loop brackets securing the parking brake cables to the lower torque box.
Remove the cable eyelets from the front parking brake cable.
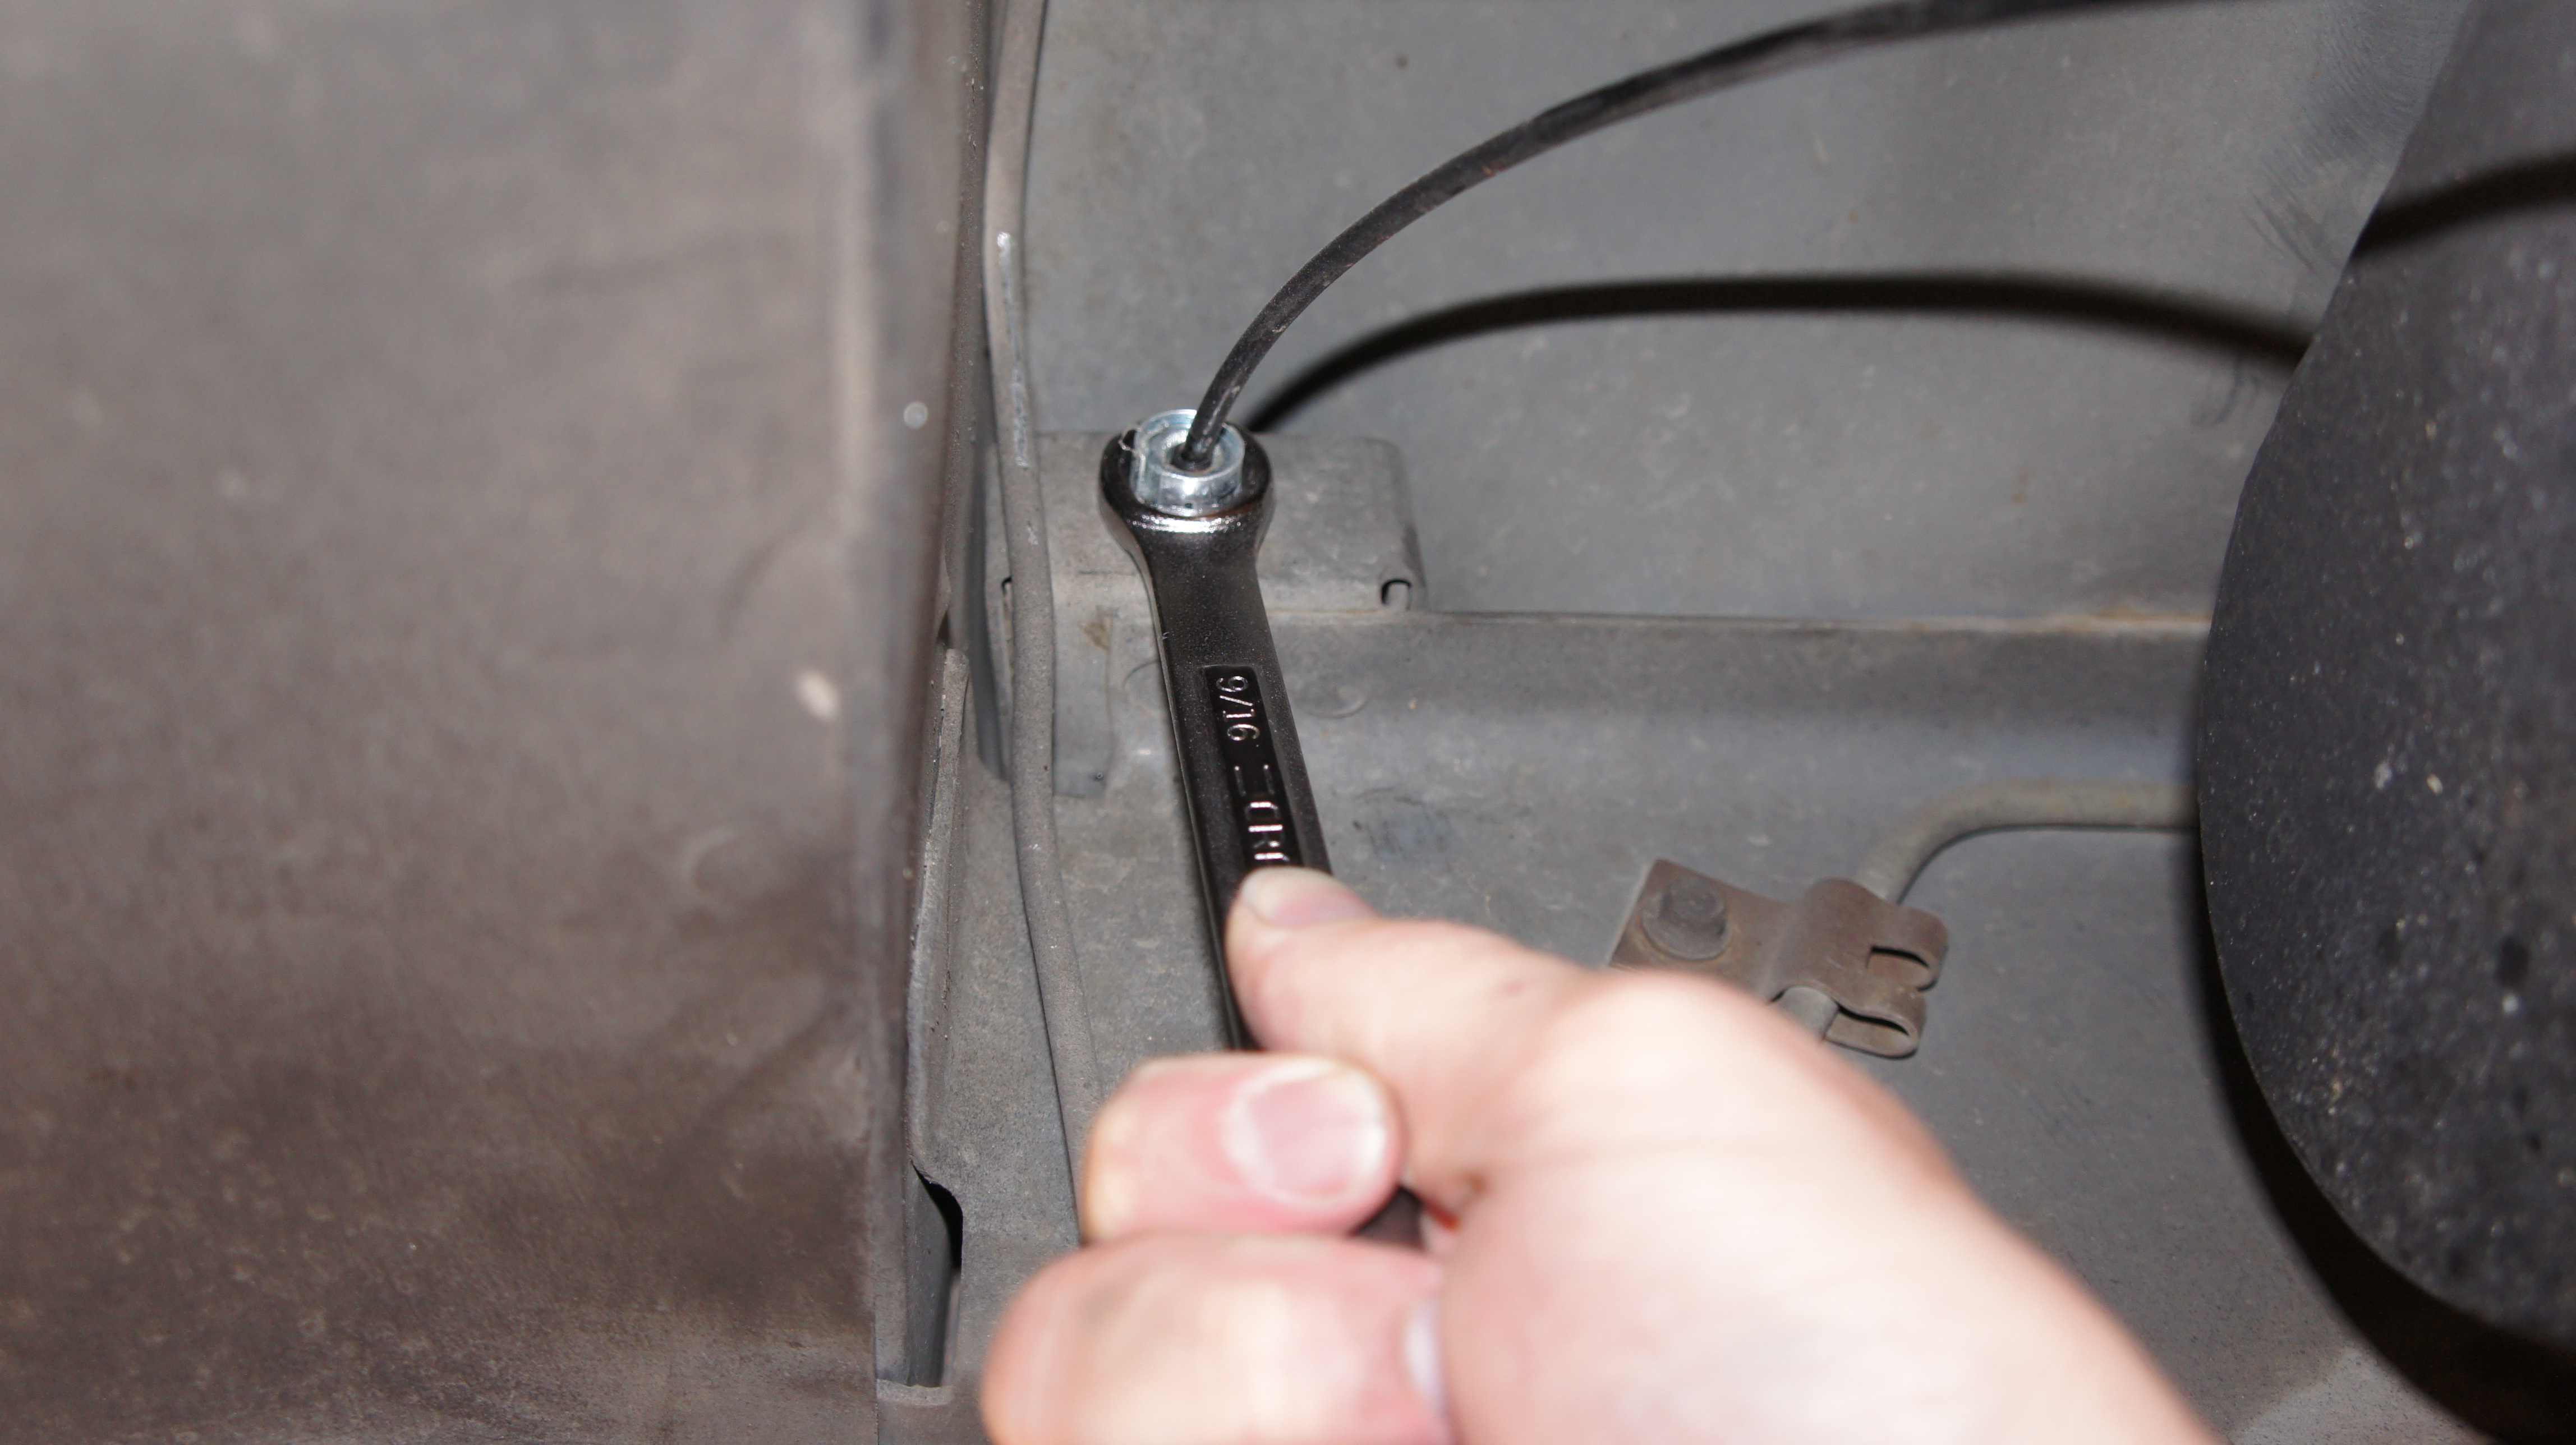
Pass the cable through the guides and then depress the clips on the cable retainer with a box end wrench.
Finally, remove the cable eyelet from the drum brake assembly and remove the two cables from the car.
Now, use a combination of a deep socket and box end wrench securing the brake backing plate to the housing.
Use a line wrench to remove the brake hardline, from the back of the backing plate.
Remove the backing plate and then cap the hardline.
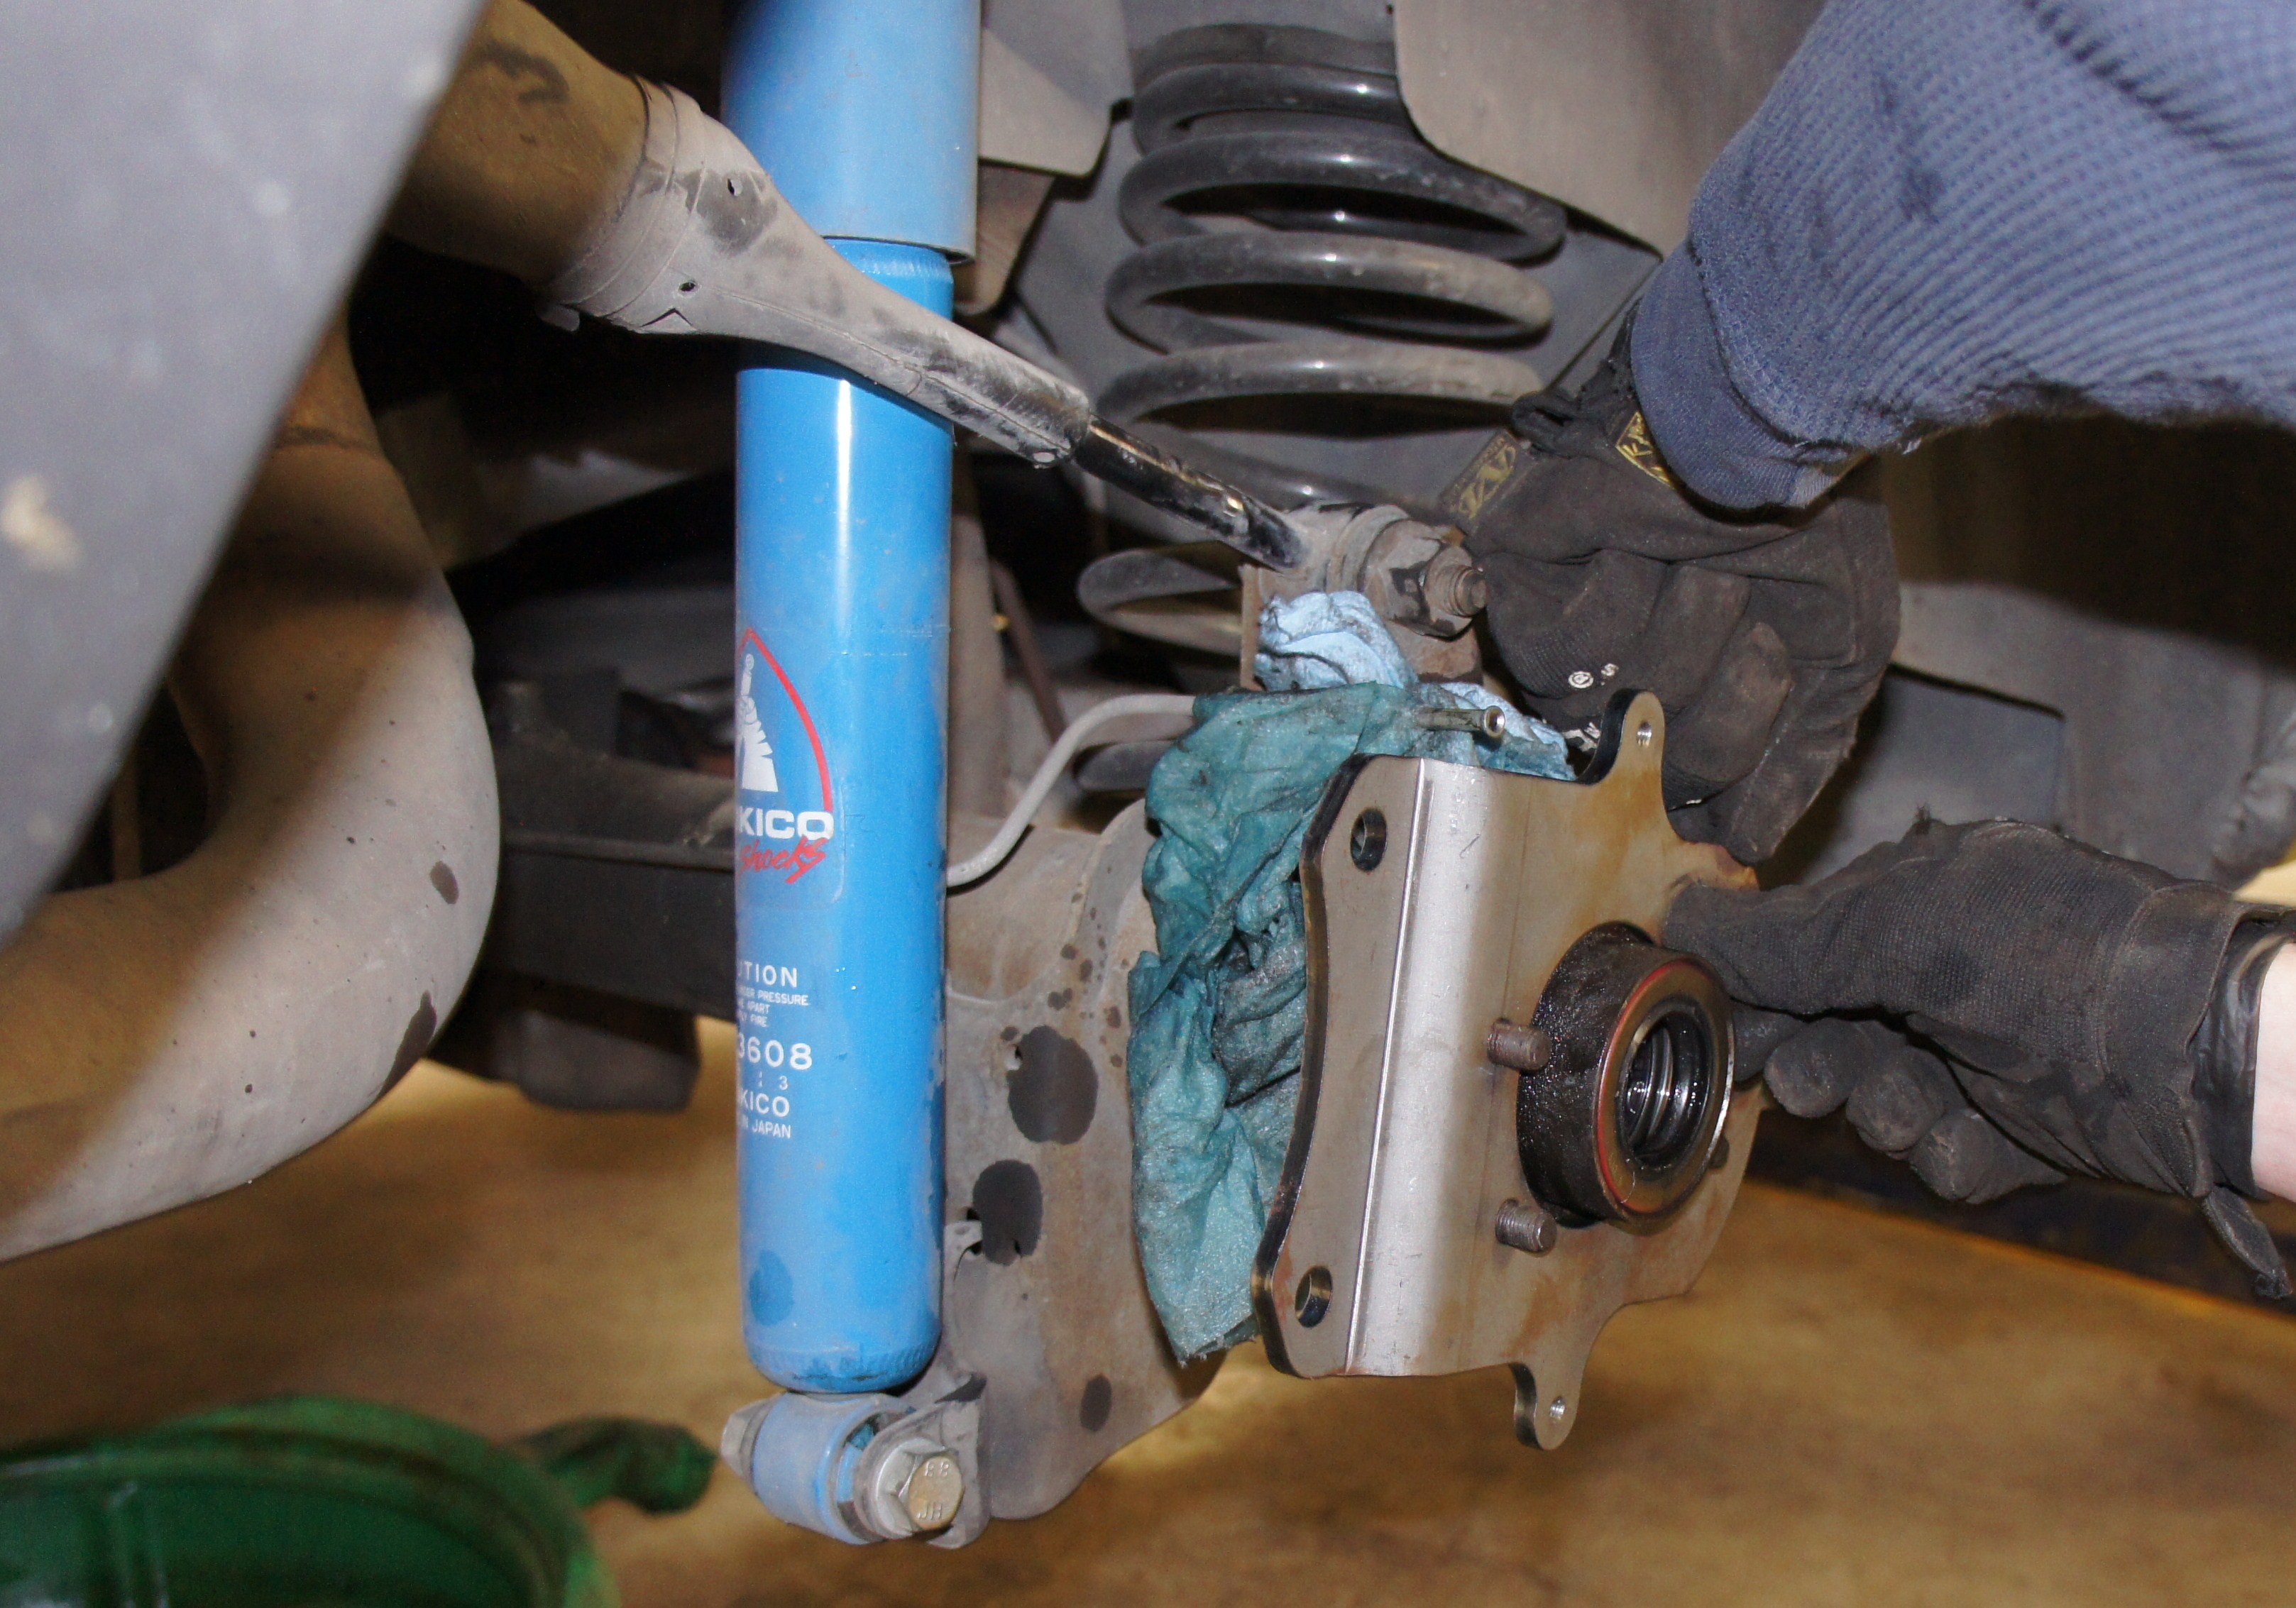
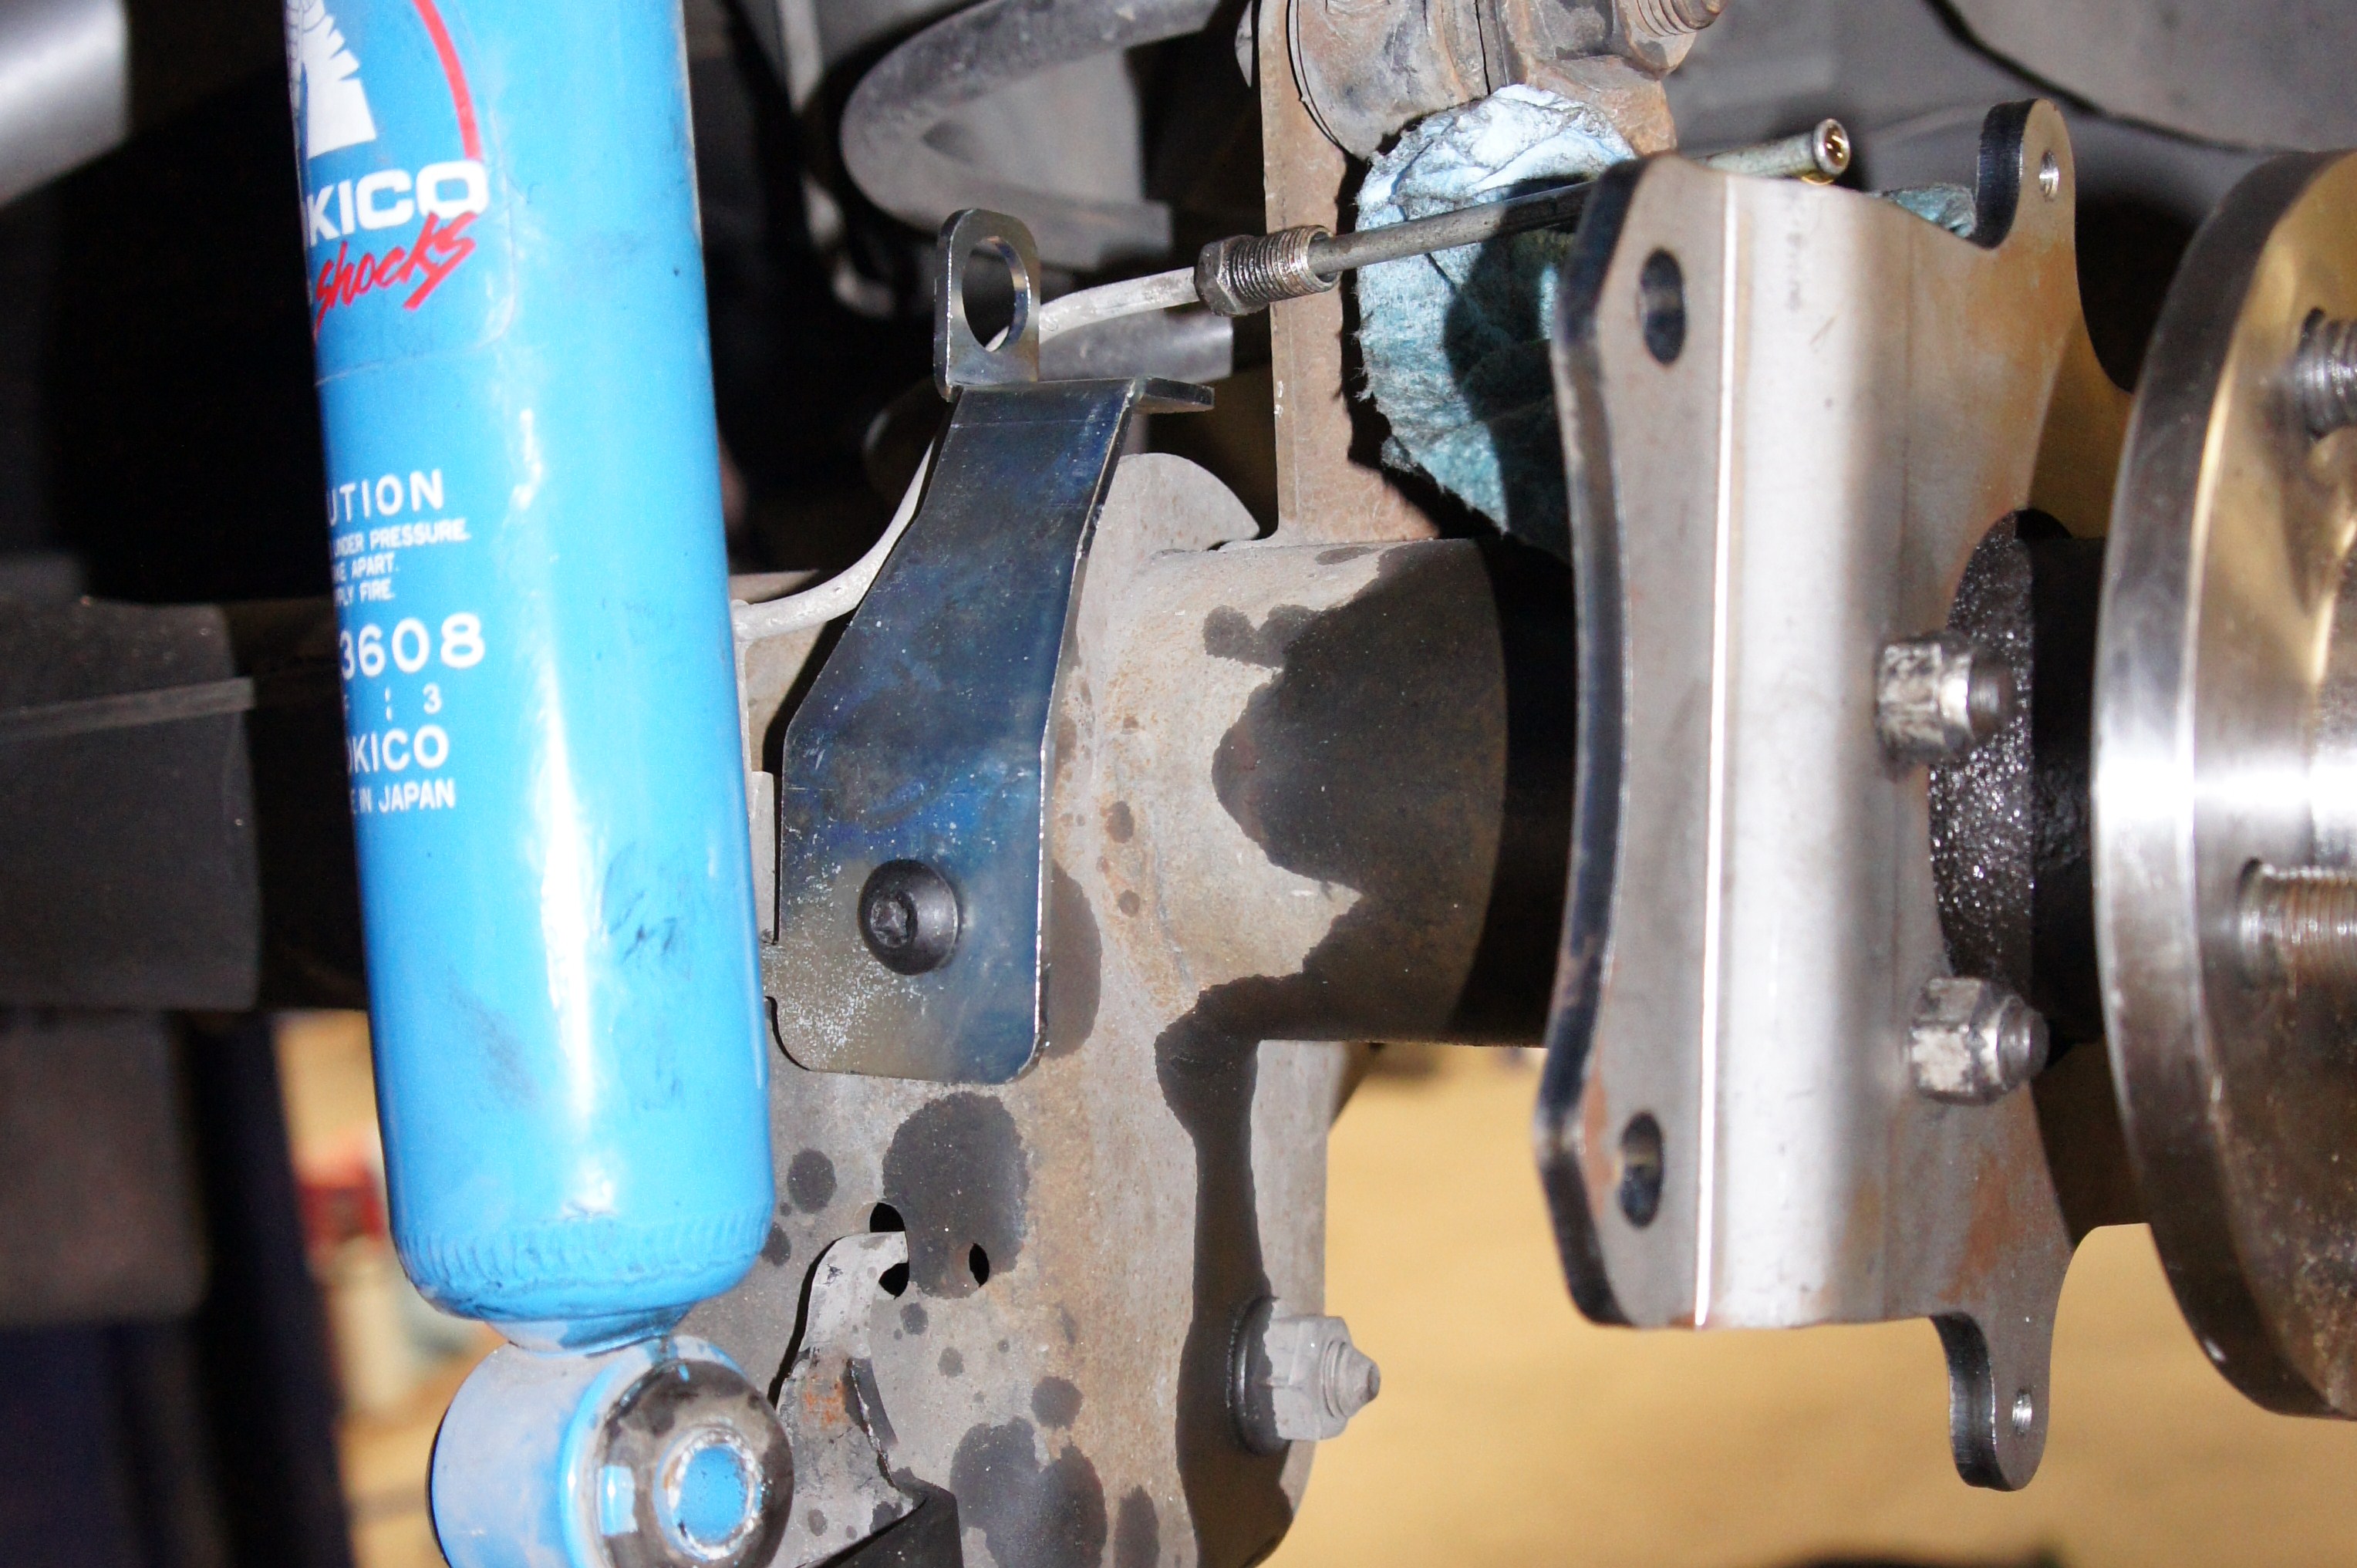
For the next step, removal of the lower shock hardware will help with additional clearance when fastening the brake line bracket.
Position the bracket over the shock mount on the axle housing.
Mark the bolt hole with a permanent marker.
Mark the area for the alignment tab or just simply cut the tab off with a cut off wheel.
Once you have made the needed marks, remove the bracket, spray some WD-40 over the marked areas for lubrication and begin drilling each hole with a quarter inch drill bit.
You may have to enlarge either of the holes to five sixteenths to get the tab or bolt hole aligned with the shock bracket.
Once the holes are drilled, clean the area with brake clean and then debur the holes.
Secure the brake hose bracket to the shock bracket with the supplied bolt.
Repeat those steps for the other side.
This kit includes the needed axle lines so you don’t have to cut and flare the factory lines.
Remove the banjo bolt securing the center upper axle hose to the upper hardline.
Remove the nut securing the upper axle hose bracket to the rear end housing.
Now, remove the upper axle hose and axle line assembly from the car.
Inspect the upper axle hose and replace if worn.
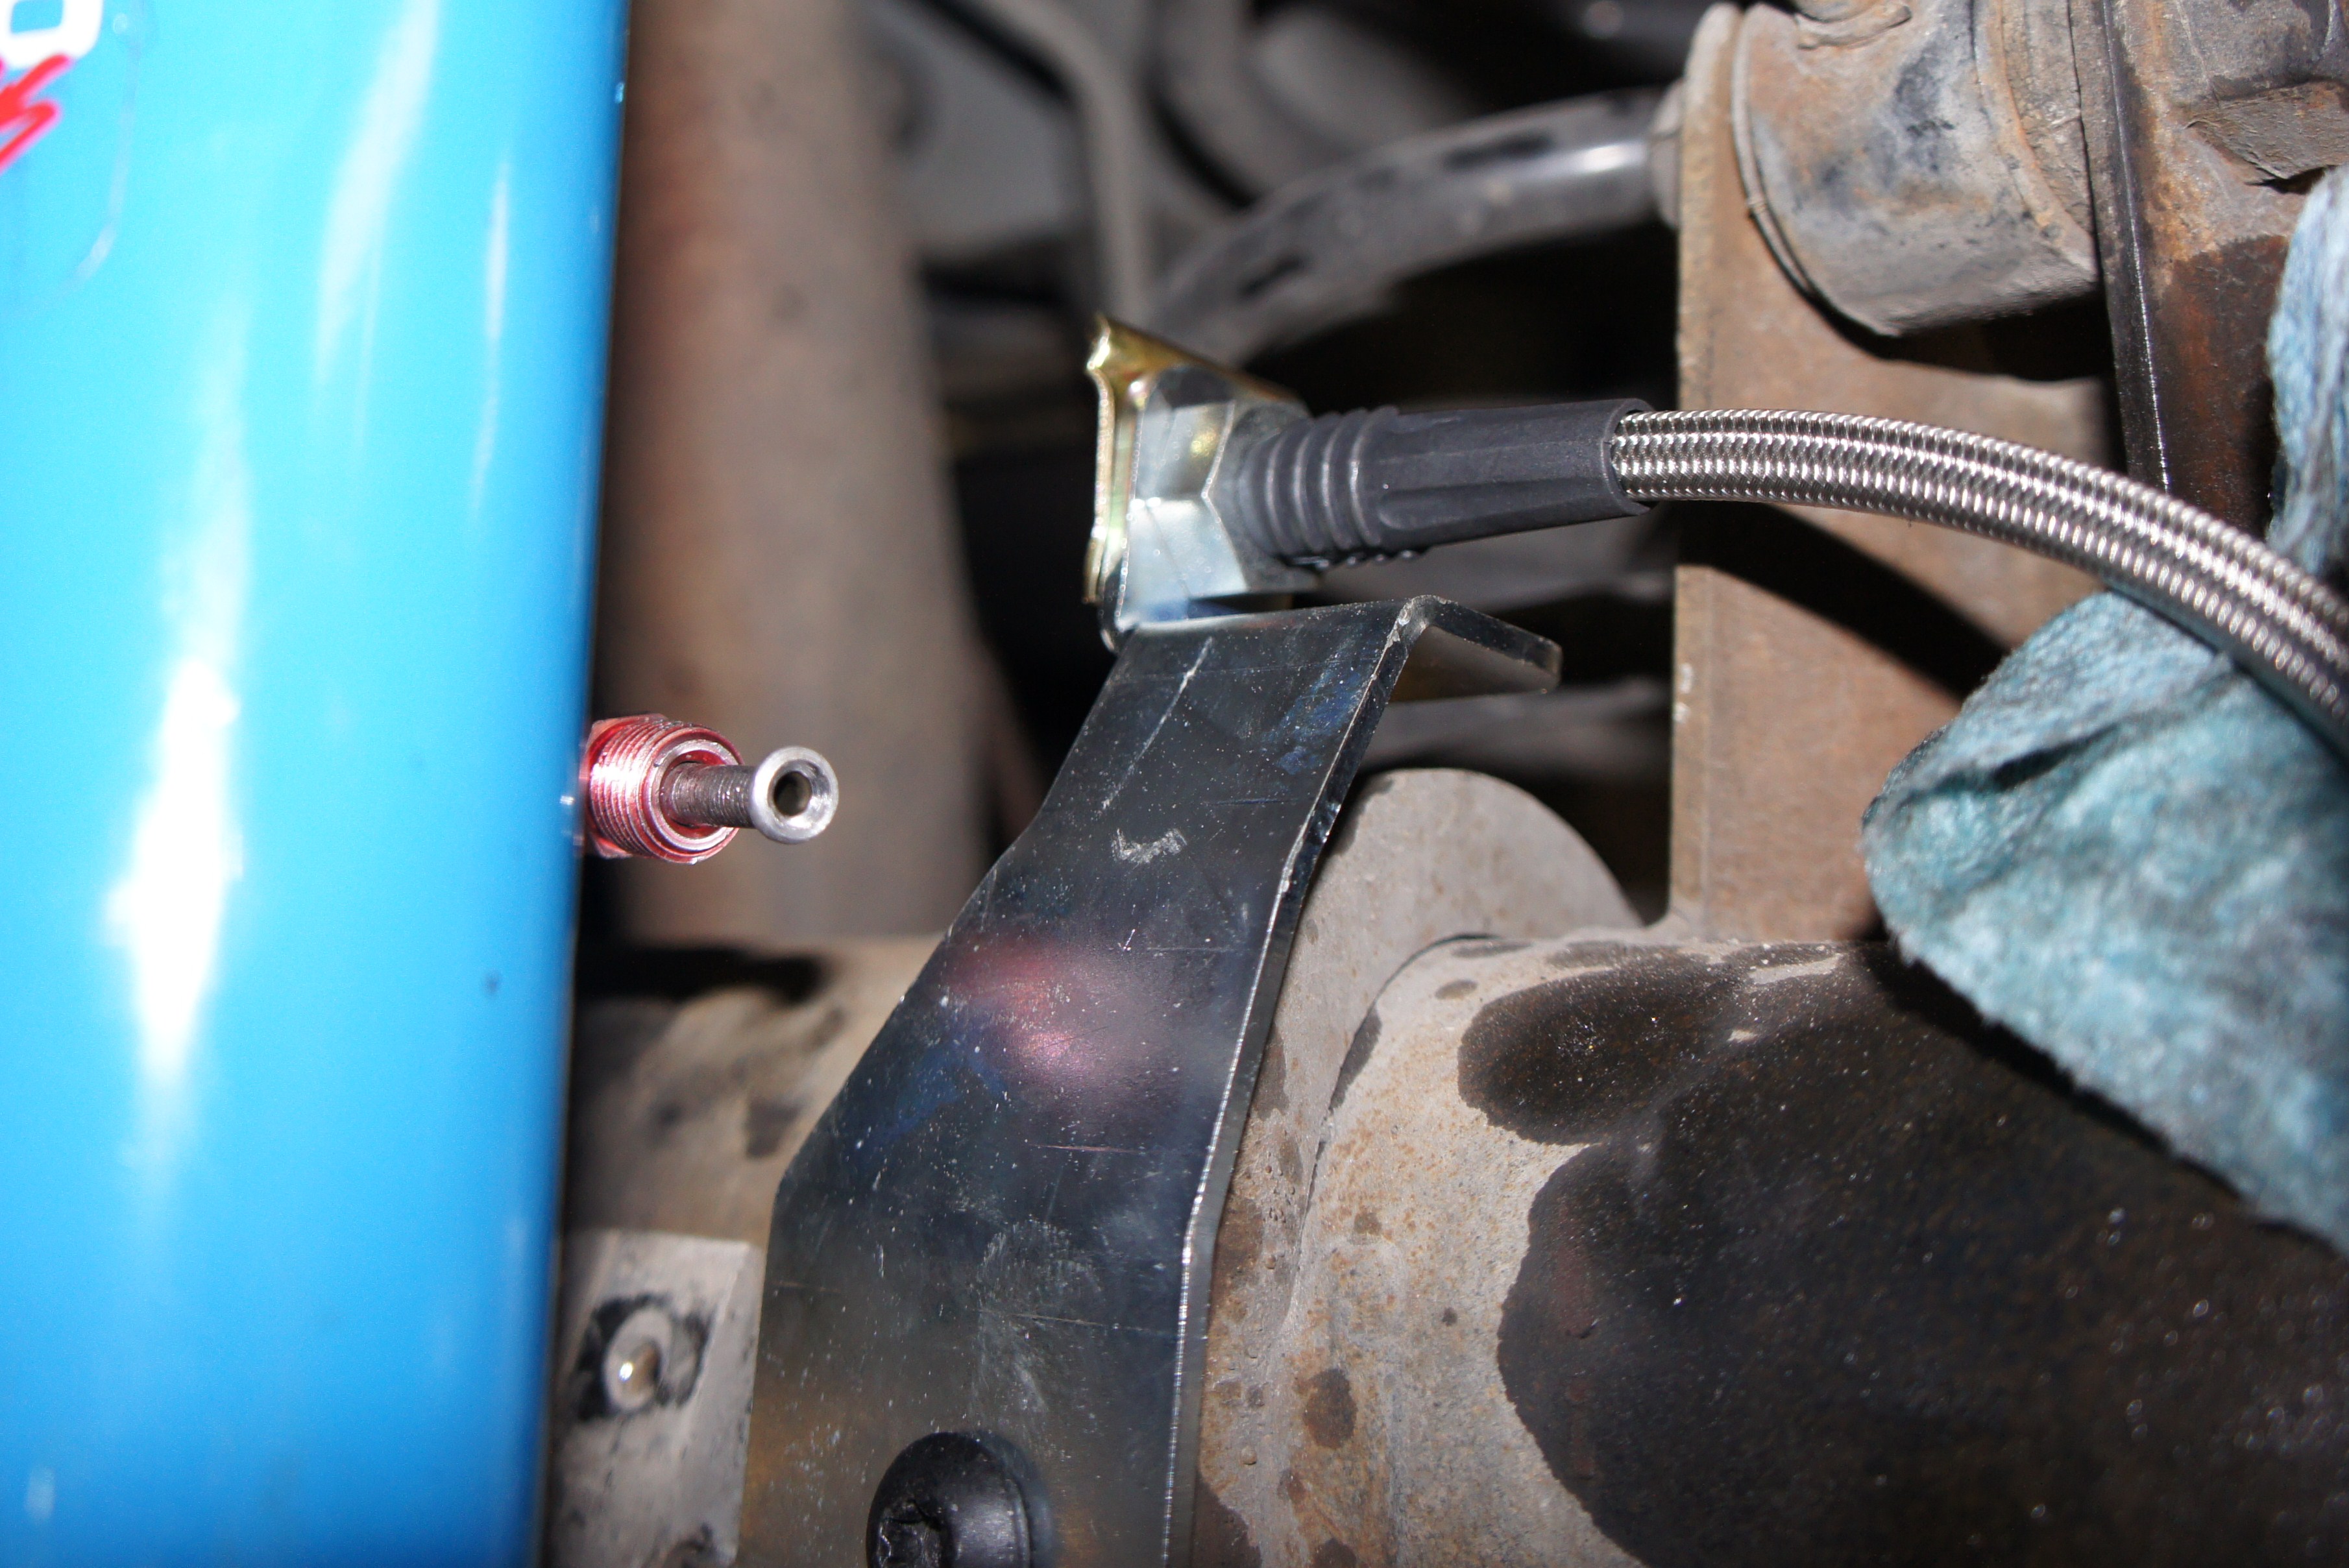
Install the supplied SVE axle hard lines into the crossover block on the provided braided stainless upper axle hose.
The longer of the two lines will be for the passenger side.
The purple fittings will screw into the upper axle hose block and the red fittings will screw into the soft line you installed previously.
Loosely thread the lines into the upper axle hose.
Tighten the nut securing the upper axle hose bracket to the rear end housing.
Use two new crush washers to the secure the upper axle hose to the upper hardline.
Torque the banjo bolt to 35 ft/lbs.
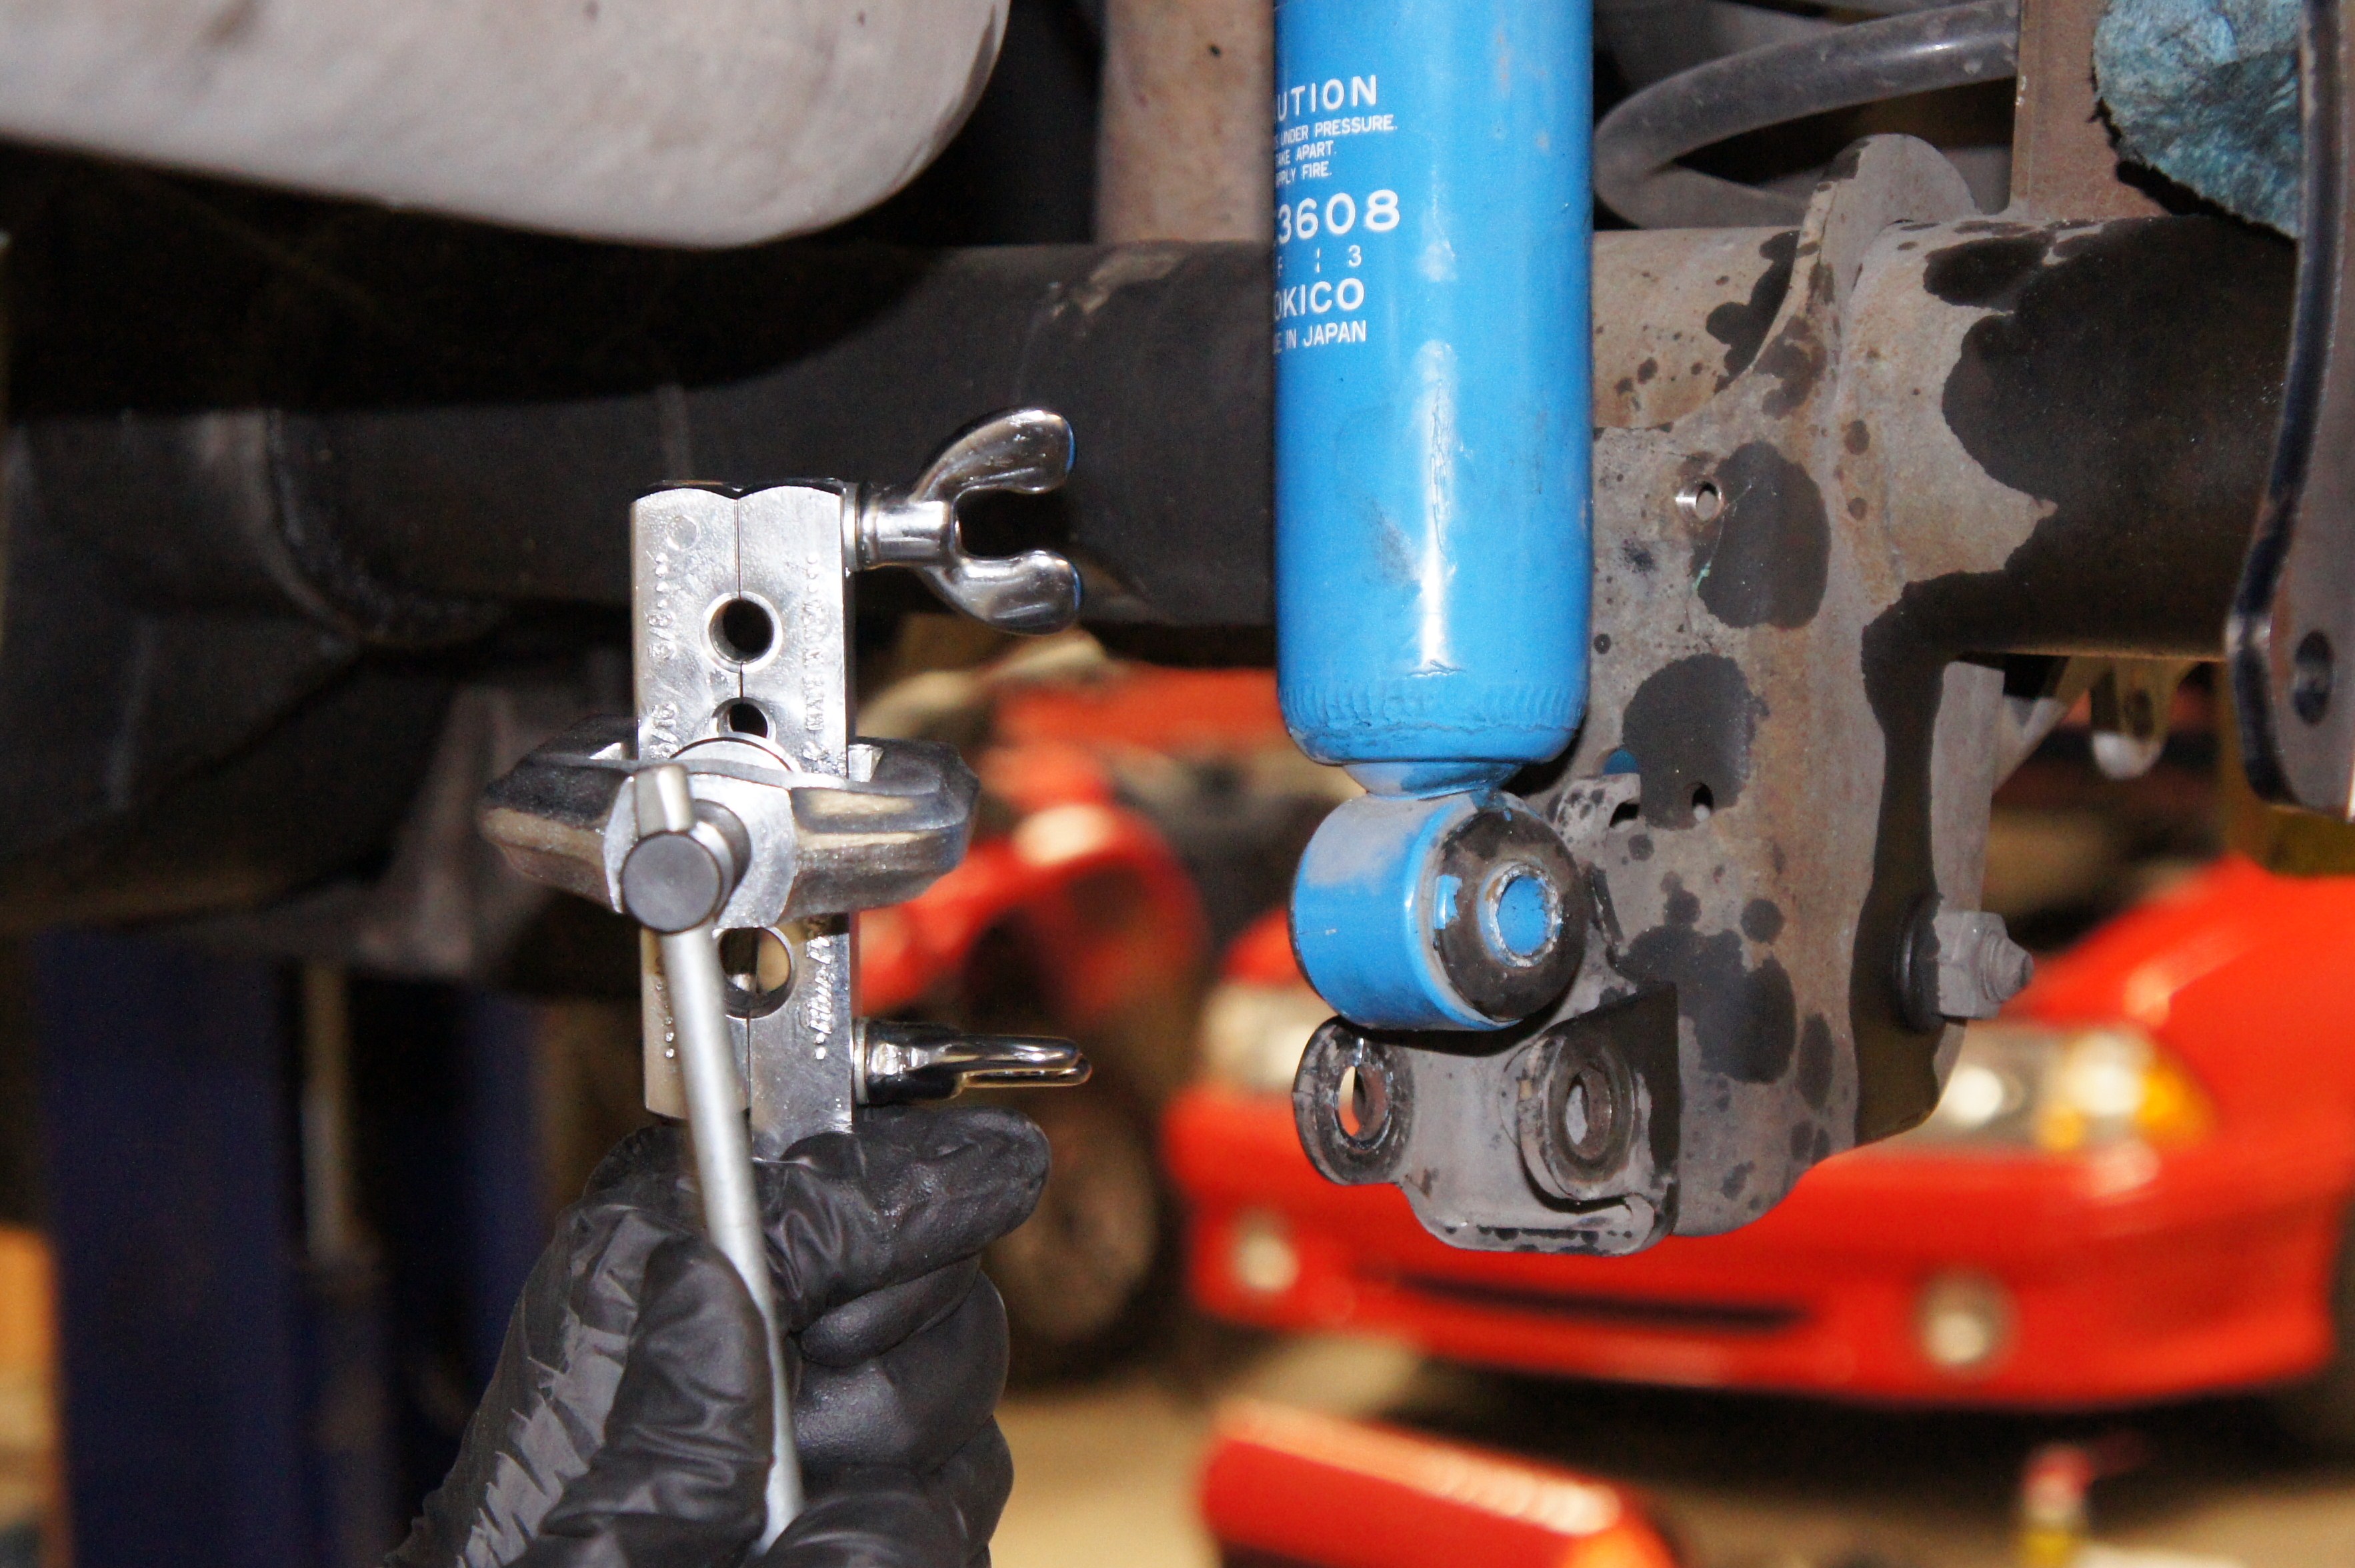
Now, carefully bend the new hardlines so that they sit parallel with the axle tubes.
Also, you will have to carefully bend the lines so that the red fittings sit flush and even with the soft lines.
Once all bends are completed, tighten down all of the fittings with the appropriate line wrenches.
Double check all of your bends and make sure the lines do not come in contact with the upper control arms or read end housing.
Next, reuse your previously removed hardware that securing the brake drum backing plate to the housing.
Slide the bolts back through the housing with threads on the outside.
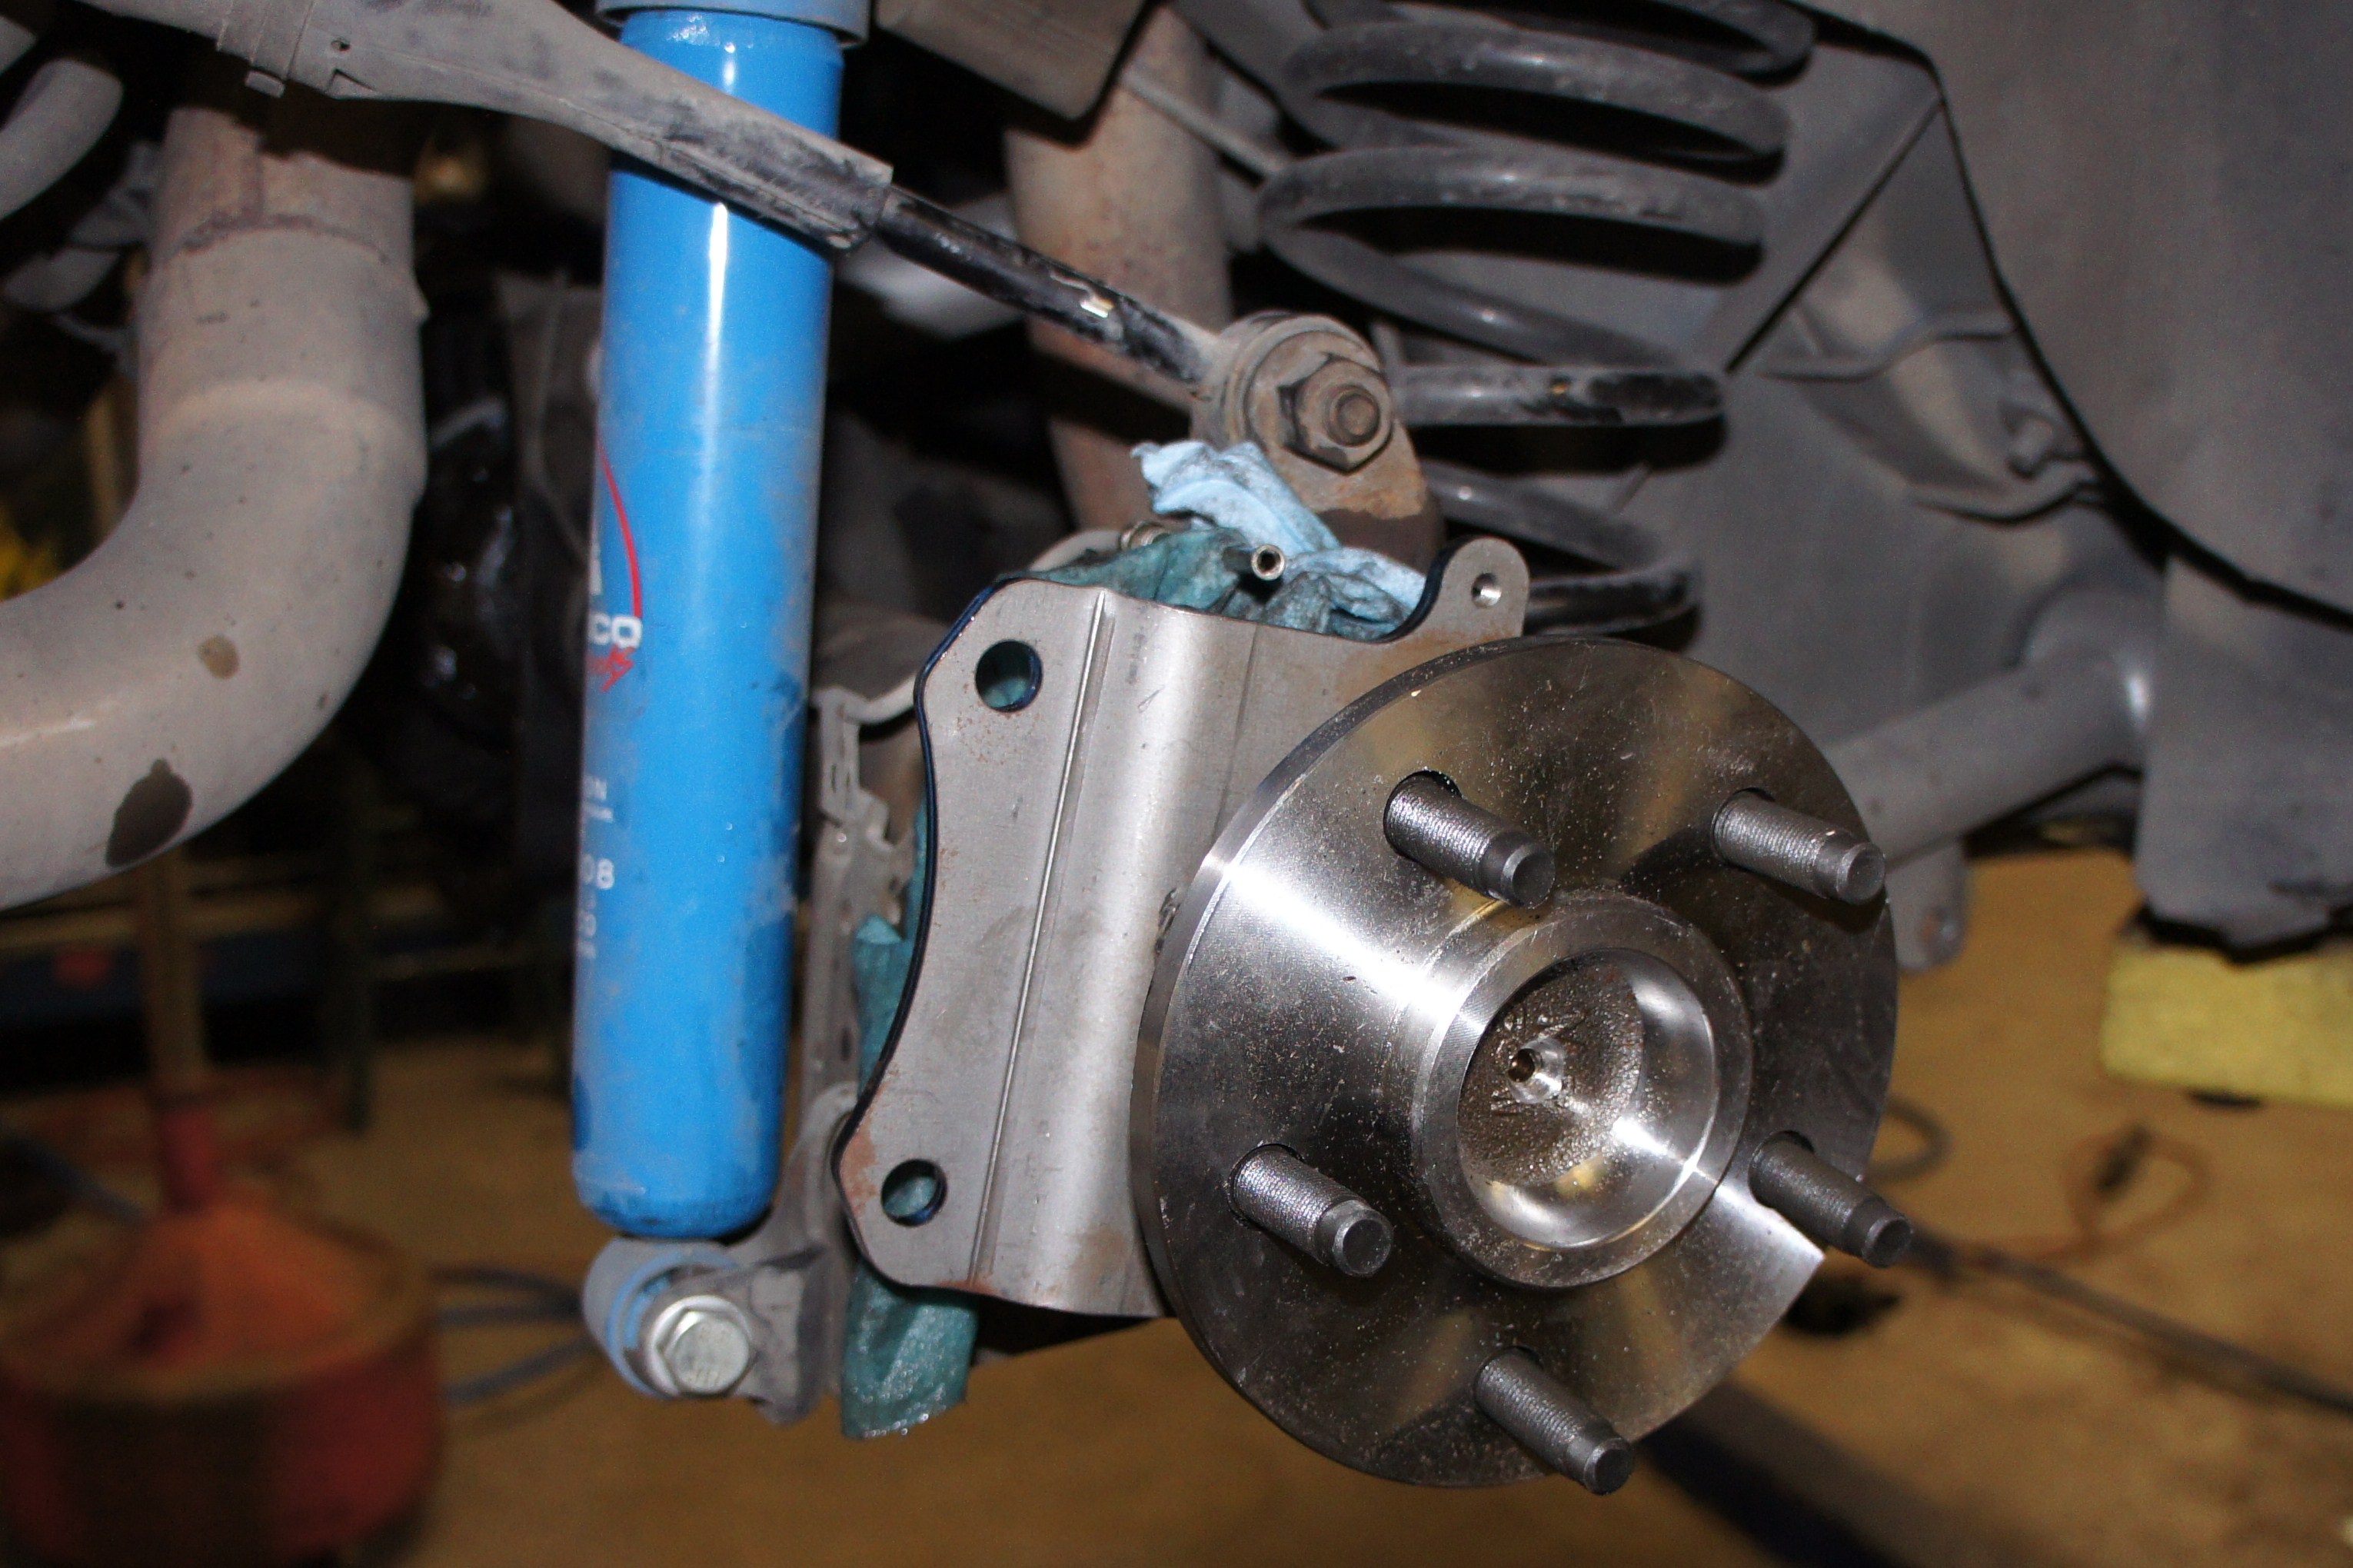
Position the supplied caliper brackets over the bolts.
They are marked “R” for passenger side, and “L” for drive side.
Torque the previously removed hardware to 45 to 50 ft/lbs.
Next, install the dust shields with the supplied hardware.
These are not side specific, but should be positioned so that the caliper bolt holes on the caliper bracket are not covered.
Tighten down the hardware.
Now, take this time to inspect your axle bearing and seals.
Replace if worn.
Do the same for the other side.
Either use a press or carefully hammer the studs into the axles.
Once complete, wipe down the axles.
One at a time, push an axle in, install the c-clip and pull out to lock it into place.
Do the same for the other axle.
Reinstall the cross pin and retighten the cross pin bolt to 15 to 30 ft/lbs.
Reinstall the lower shock hardware.
Before reinstalling the diff cover, make sure the mating surface is completely clean and no signs of old sealer is present.
Clean your cover and reinstall it.
Be sure to either use the Lube-Locker gasket we carry at LMR.com or apply fresh RTV.
Torque the bolts to; 20 to 25 lb/ft working in a star pattern and starting with the bottom bolt.
Slide one of the rotors over axles.
Since they are slotted, the hats will be marked with either an “L” for driver side or “R” for passenger side.
Use a lug nut to hold them in place while you install the calipers.
Position the assembled caliper over the rotor.
Slide two of the provided washers over two of the provided rear caliper bolts and torque to 70 ft/lbs.
Slide a crush washer over the banjo bolt.
Slide the banjo bolt through the brake hose block.
Place another crush washer over the bolt and then thread the bolt by hand into the caliper.
Torque the banjo bolt to 35 ft/lbs.
Do the same for the other side.
Inside of the car, remove the console top panel.
To see how that is done, click the card in the upper right hand corner.
With the top panel out of the way, remove the two 10mm parking brake assembly retaining bolts.
Loosen the small hex head screw securing the parking brake light switch to the assembly.
Remove the ground wire as well and then remove the assembly from the car.
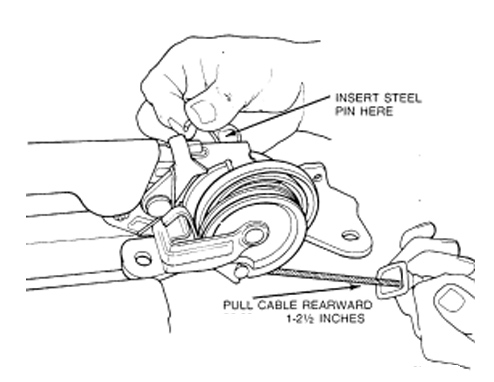
Step one is to cut the small tab from the self-adjusting spring with a cut off wheel.
I went a step further and removed a little more from the spring.
Once that is out of the way, weld the paw to the handle with the second from the last tooth engaged on the gear drive.
Now, you’ll need to cut the top tab off as well.
This is done to ensure that the handle will sit flat and parallel with the floor instead of at an angle.
For the next step, you will need Ford Performance part number M-2810-A.
This is the front parking brake cable that came in the old M2300K brake kits.
Remove the factory front cable from the assembly.
Push up on the cable so you can free the eyelet from the recessed groove.
Once the cable is removed, cut it in half to remove the receiver and floor seal.
Using an eleven thirty-second drill bit, drill out the center hole in the receiver.
Take the Ford Performance cable and position the eyelet into the recessed groove on the parking brake assembly.
Reinstall the assembly back into the car.
Route the cable through the opening in the floor.
Underneath the car, slide the modified receiver over the threaded portion on the front cable.
Use two 8x1.25 nuts to secure the receiver in place.
At this point, you can leave everything loose.
Now, find the end of the included parking brake cable that has the small groove in it.
This end will slide through the caliper and lock in place with the provided E-clip.
First things first, remove the rear sway bar retaining bolt.
Position the provided cable guide into place and retighten the bolt.
These are not side specific and will only go one way.
Slide the cable through the guide.
Slide the eyelet through the caliper mount and hook it into the parking brake clip on the caliper.
Push the cable into the caliper mount and secure the cable with the provided E-clip.
Route the new cable in the same direction as the old cable.
Pass it through the opening underneath the car and push this end of the cable toward the center of the car until the clips lock into place.
Route the cable through the guides and then hook the other eyelet into the front parking brake cable.
Do the same for the other side.
Now you can up the first nut to the receiver.
Turn this a few times to put tension on the rear cables.
Once adequate tension is achieved, run up the second nut to secure it into place.
Test for parking brake functionality and make additional adjustments if you have to.
Transfer the cable to chassis retaining hooks to the new cables and secure them into place with the previously removed screws.
Reinstall the driveshaft and tighten the bolts.
Unscrew the fill plug on the rear end with a three eighths extension.
Fill the differential with two quarts of fresh gear oil and friction modifier.
Retighten the fill plug.
Reinstall the sway bar.
This will complete the rear portion of the install.
Onto the front brakes now.
Remove the front wheels.
Loosen and remove the sway bar end link retaining nuts from both sides.
Position a bucket and a thin piece of cardboard under the soft line to hard line connections.
Loosen the fitting with the appropriate line wrench and allow the fluid to start draining.
Remove the bolt securing the soft line bracket to the frame rail.
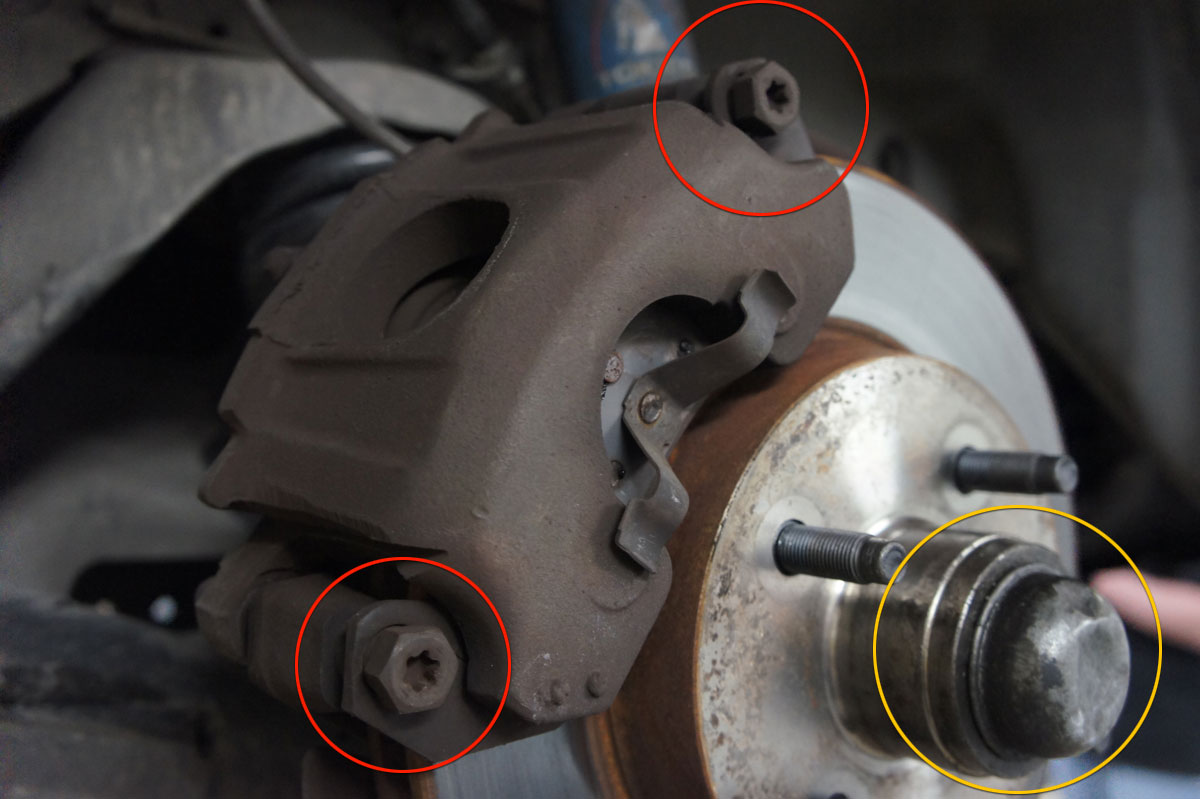
Remove the two caliper slide pins with a 17mm socket.
Lift up on the caliper to remove it from the rotor and set it aside.
Use a pry tool or flathead to pry off the grease cap from the rotor.
Once that is removed, remove the cotter pin followed by the spindle retaining nut.
Slide the rotor off of the spindle.
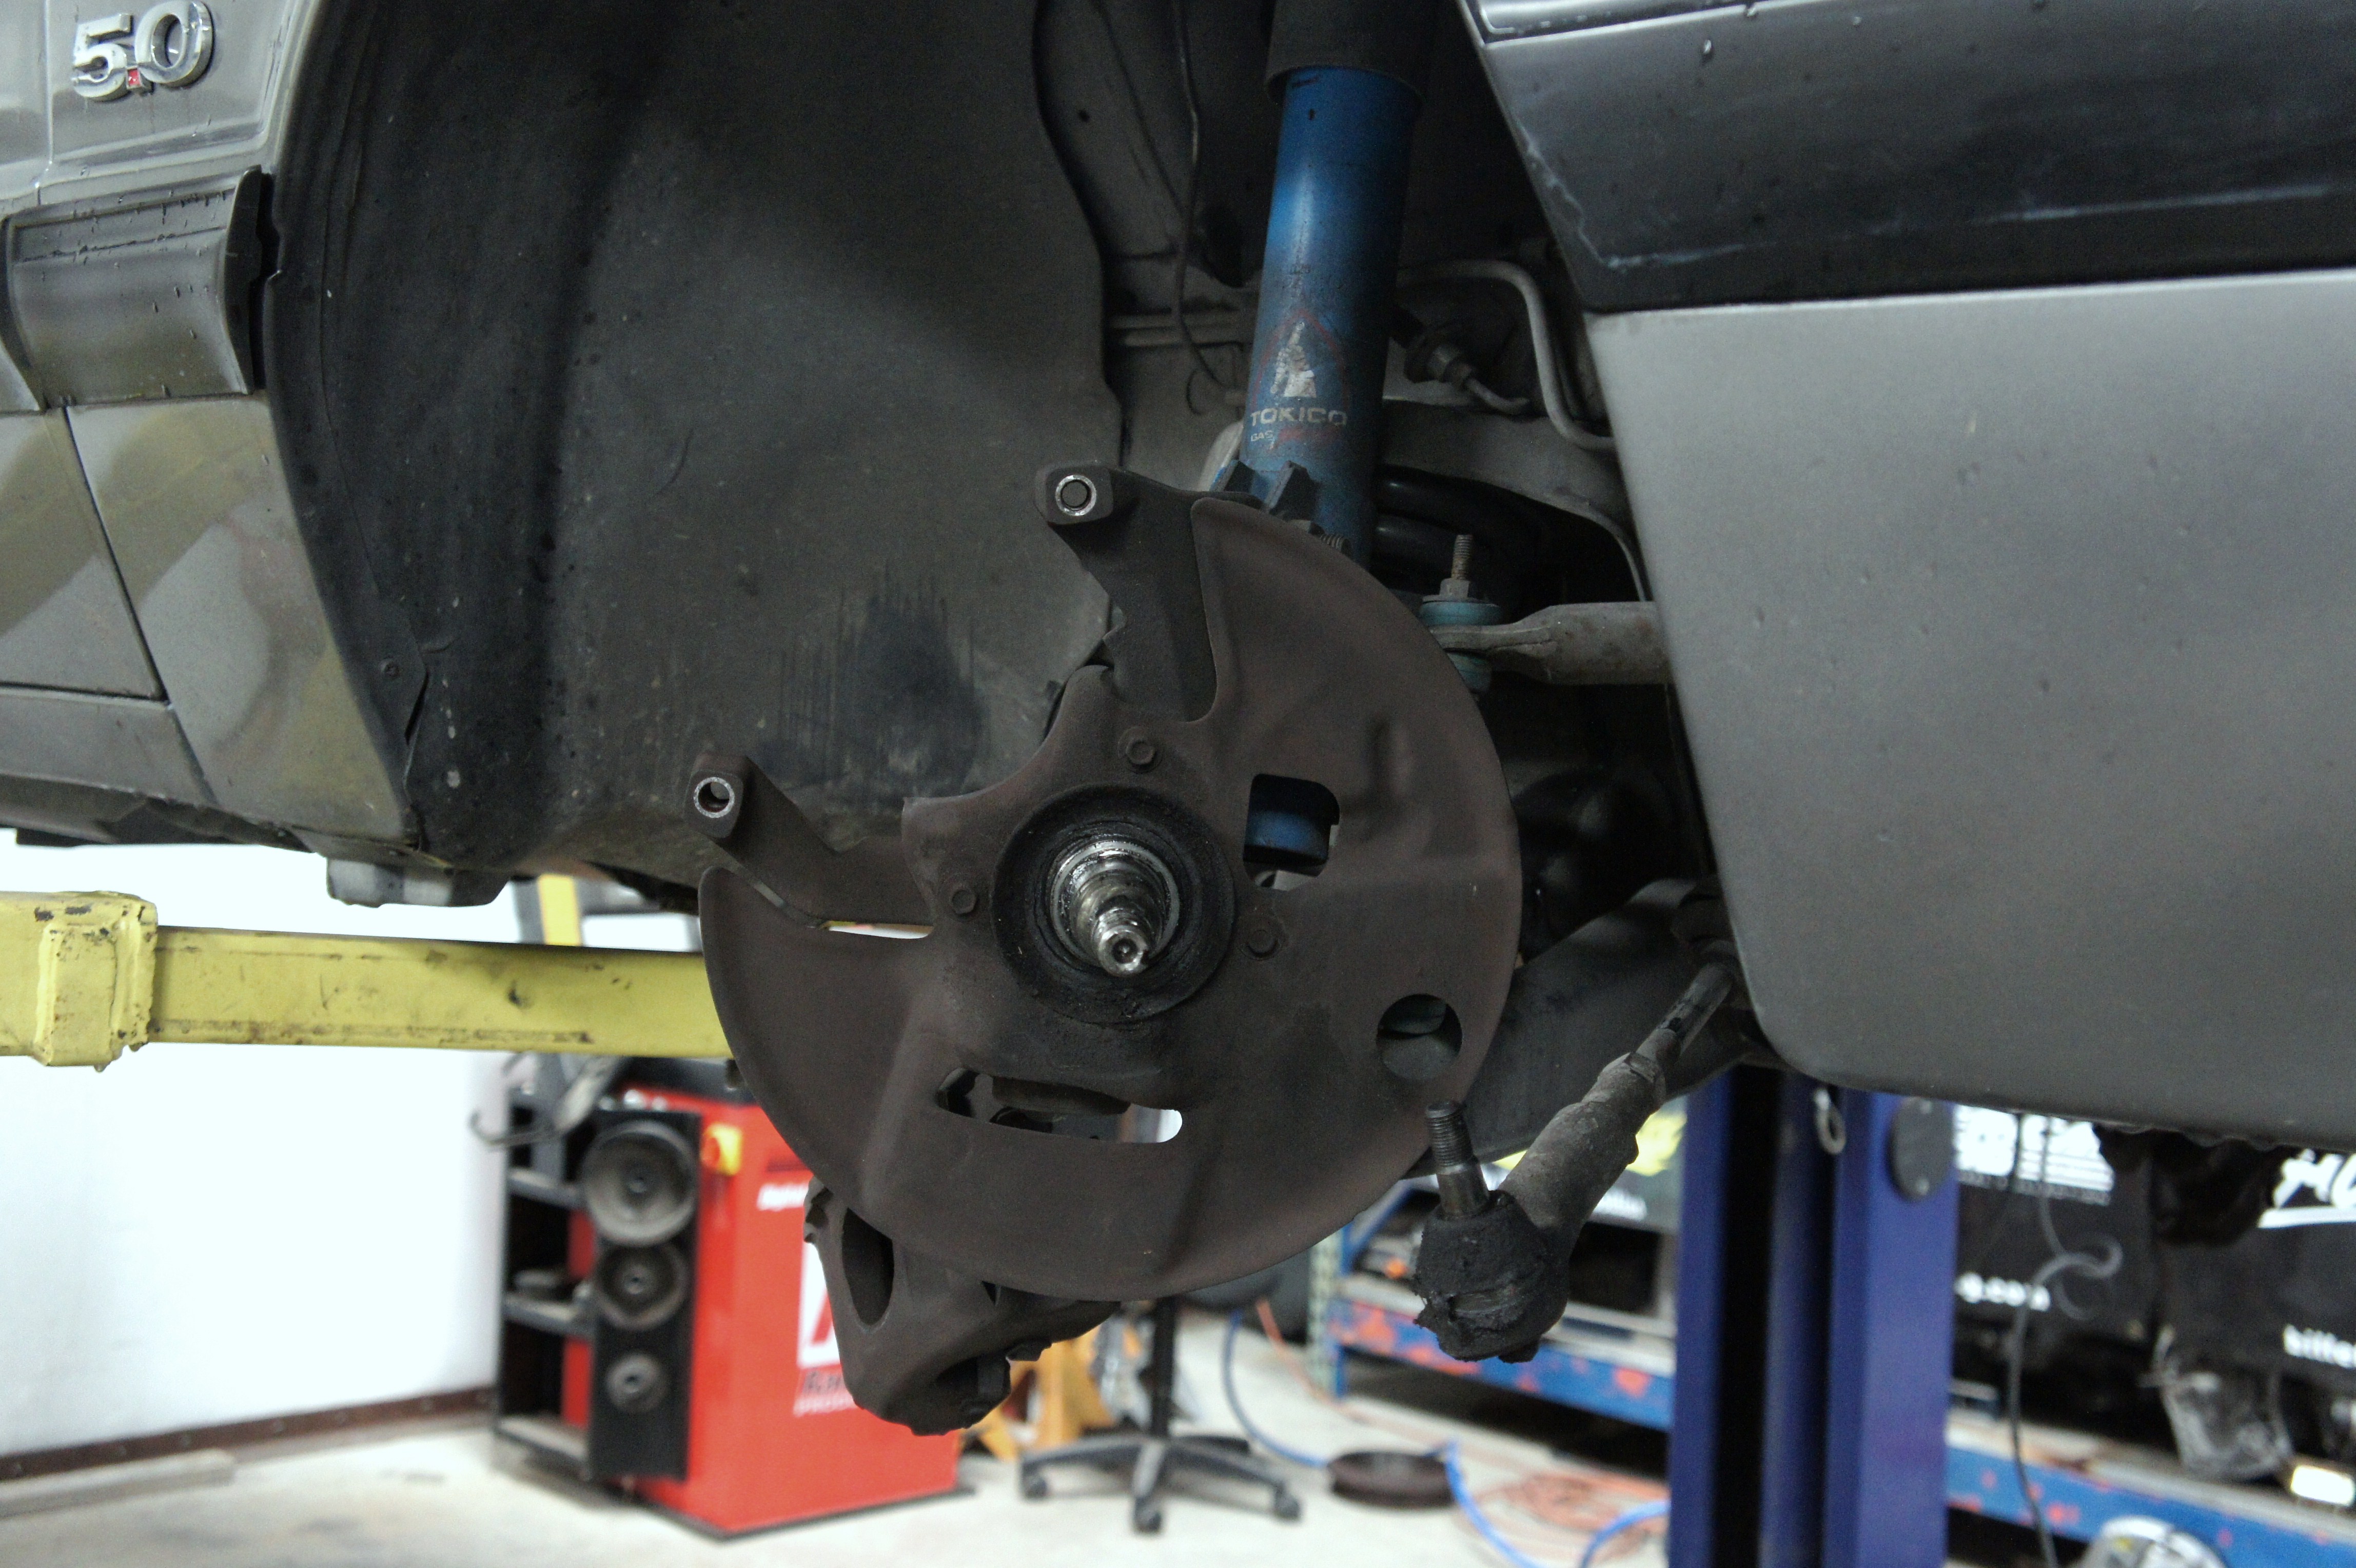
Remove the three dust retaining bolts and remove the dust shield from the car.
Support the control arm with another jack and position it underneath the spring perch.
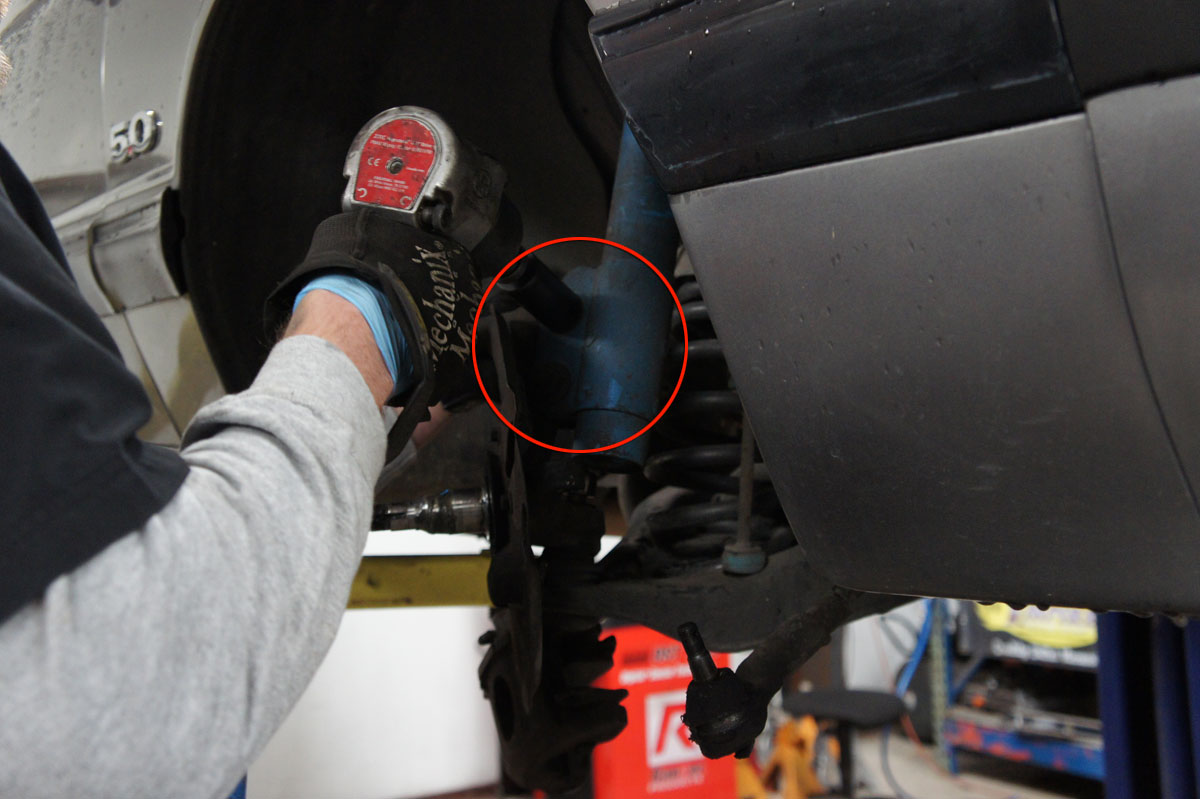
Loosen the strut to spindle hardware with a 21mm box end wrench and 24mm socket.
Slide the bolts out of the spindle and strut, and set this hardware aside.
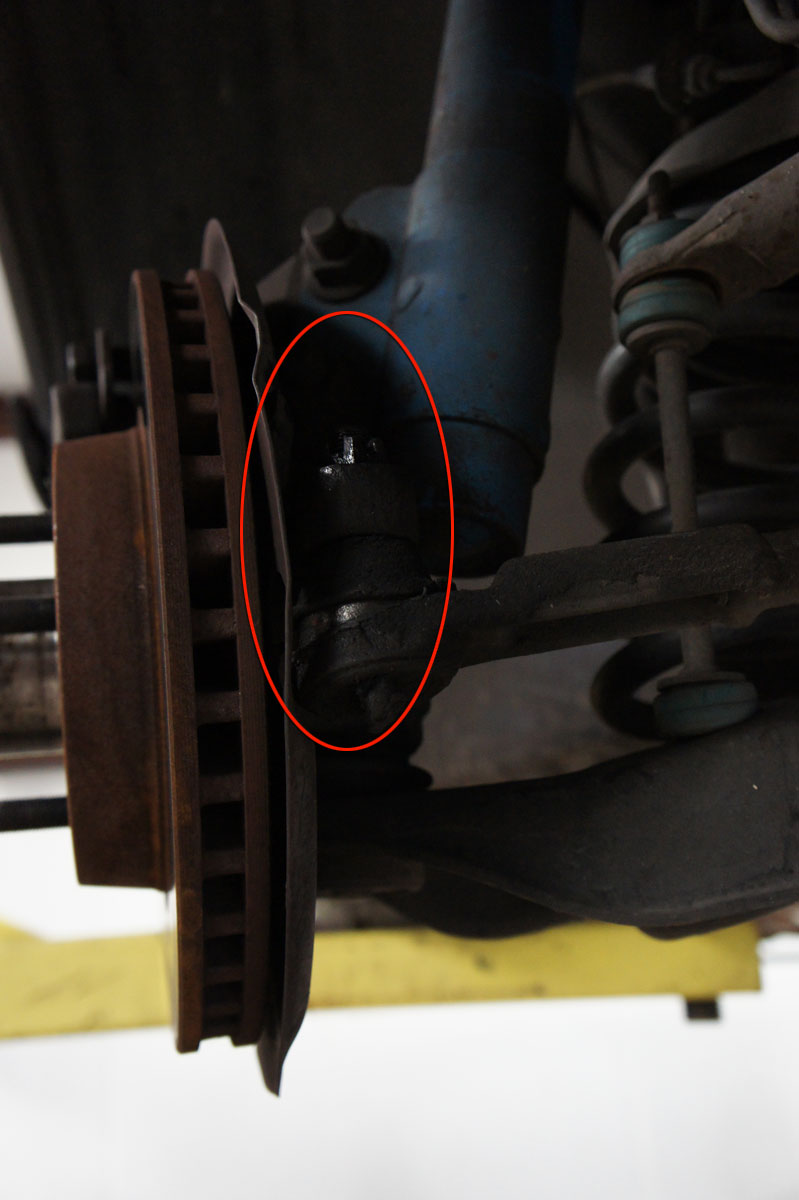
Remove the cotter pin from the ball joint.
Loosen and remove the ball joint nut with a 24mm socket.
To separate the spindle from the ball joint, strike the side of the spindle or use a joint separating tool.
Remove the spindle from the ball joint.
Here you can either reuse the factory ball joints if they are in good shape, or install 1994 to 2004 Mustang ball joints in their place.
If you leave the factory ball joints in the control arm you will need a spacer in between the spindle and ball joint retaining nut.
This will ensure that the nut doesn’t bottom itself out.
Clean the ball joint and apply a thin film of grease to the tapered stud.
Position the new SN95 spindle over ball joint.
Make sure you have the correct side.
Position the spacer over the spindle and then torque the previously removed nut to 129 ft/lbs.
Reinstall the cotter pin.
Position the strut over the spindle and reinstall the previously removed hardware.
Torque the nuts to 148 ft/lbs.
Remove the jack from the control arm.
Clean the spindle and apply some quality grease.
Slide the provided wheel hub assembly over the spindle.
Thread the spindle to hub retaining and then torque to 258 ft/lbs.
Align the provided grease cap and lightly tap it into place.
Position the dust shield into place.
These are side specific and will only go one way.
Slide three of the provided rivets into their designated location and then use a rivet gun to secure them into place.
On the factory caliper, remove the locking clip from the frame rail bracket with a small pry bar.
Remove the bracket and take this time to wipe it down.
Position the provided driver side hose into the bracket and reinstall the clip.
Reinstall the hose into the car and tighten the previously removed frame rail bolt.
Thread the new soft line into hard line and then tighten it down.
Install the rotor and use a lug nut to hold it in place.
Position the assembled, new caliper over the rotor.
Torque the provided caliper to spindle bolts to 85 ft/lbs.
Install the provided banjo bolt and crush washers into the caliper and torque to 30 ft/lbs.
Leave the outer tie rod off of the spindle for now, because this we’ll have to be adjusted at the very end.
Repeat these steps for the other side.
The only difference for the passenger side is the small fitting that needs to be installed in between the soft line and hardline.
Thread the fitting into the soft line by hand and then tighten it down.
Transfer this line to the frame rail bracket.
Because of the fitting, the hard line orientation needs to be slightly altered.
Un-bolt the frame rail clip from the hard line.
Carefully bend the line until the clip can be moved down and then retighten the bolt.
Thread the banjo bolt into the caliper by hand with the crush washers.
Torque to 30 ft/lbs.
Reinstall the sway bar over end links and tighten the retaining nuts to 14 ft/lbs.
Before reinstalling the outer tie rods, back off on the jam nut.
This is done by using a series of crescent wrenches.
Turn the tie rod counter clock wise and then slide the tapered stud into the spindle.
Rotate the tie rod until the rotor has very little positive toe.
This has to be done because of the SN95 spindle geometry.
Once you find an achievable point, retighten the jam nut.
The car will need to be taken to the alignment shop once you finish the install.
Repeat these steps for the other tie rod.
Moving to the engine bay, disconnect the low fluid level sensor on the master cylinder.
Position it out of the way and then remove the two nuts securing the master cylinder to the brake booster.
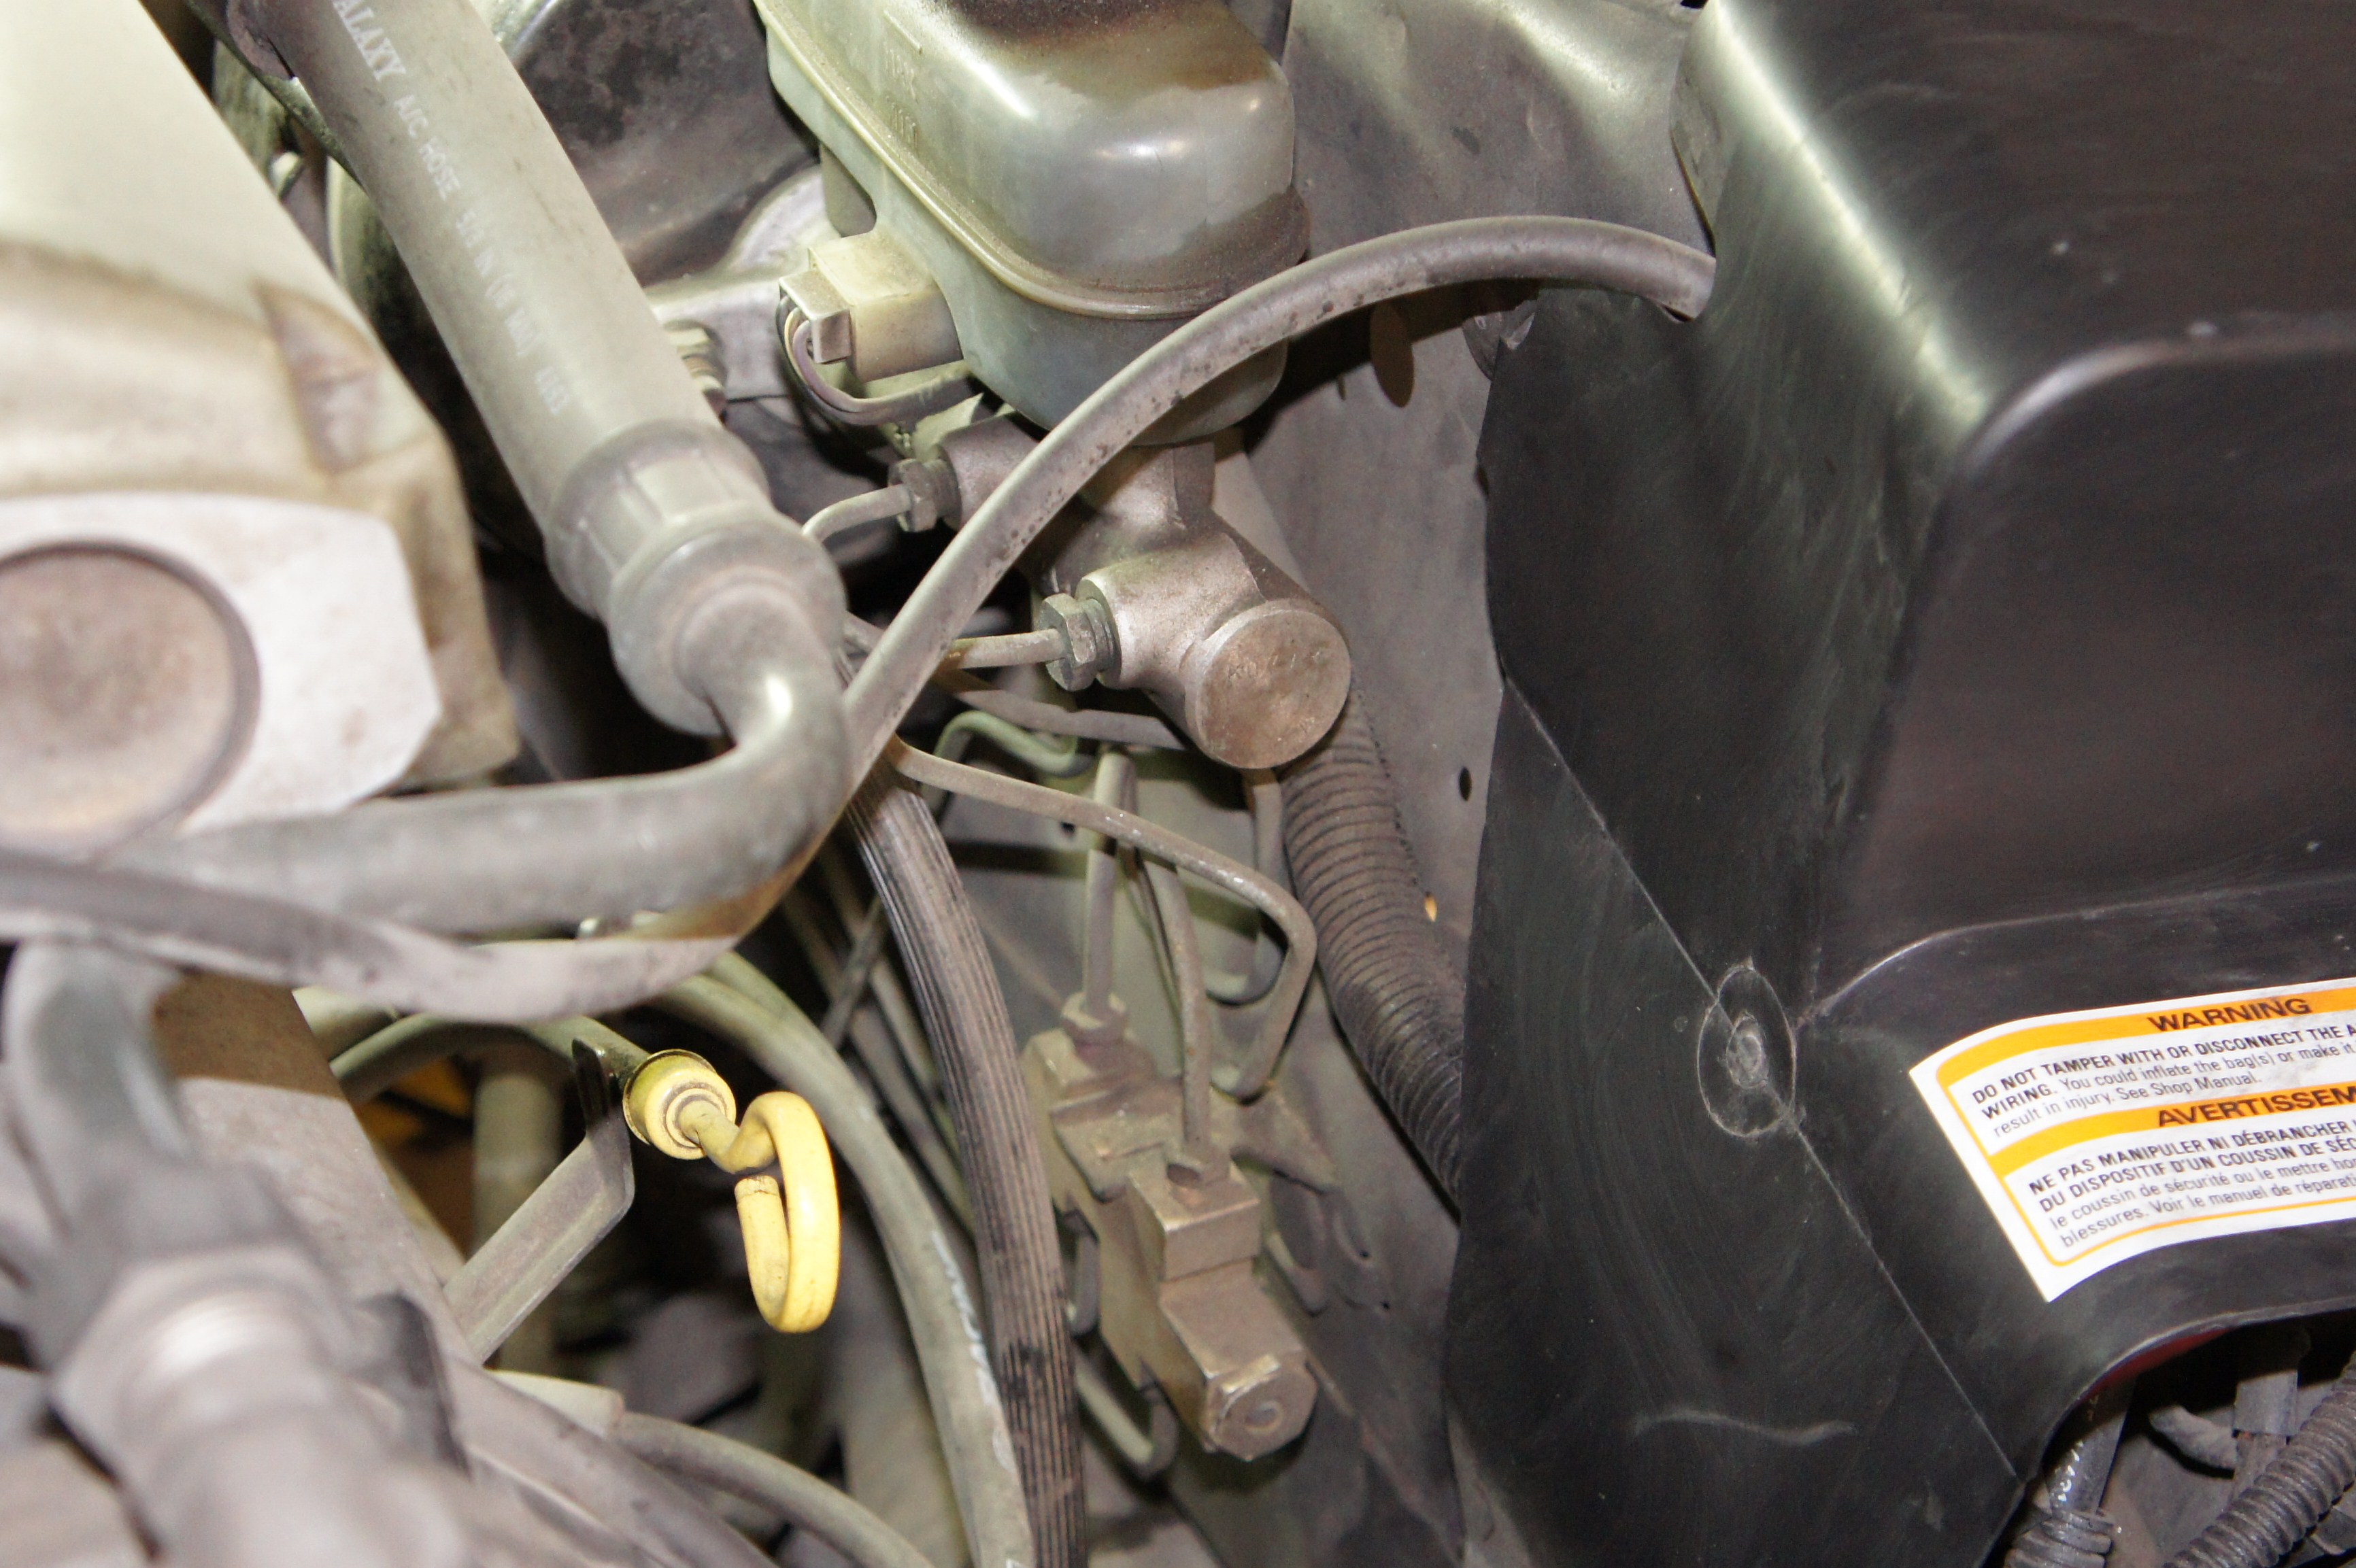
Before continuing to the next steps, place several old rags underneath the factory proportioning valve to catch any fluid that runs out.
Remove all three hard lines from the master cylinder.
Two on the side and one on the bottom.
Remove the master cylinder from the car.
Take this time to wipe up any brake fluid that may have come in contact with painted surfaces.
If you do not remove this within a timely manner, it will eat through the paint.
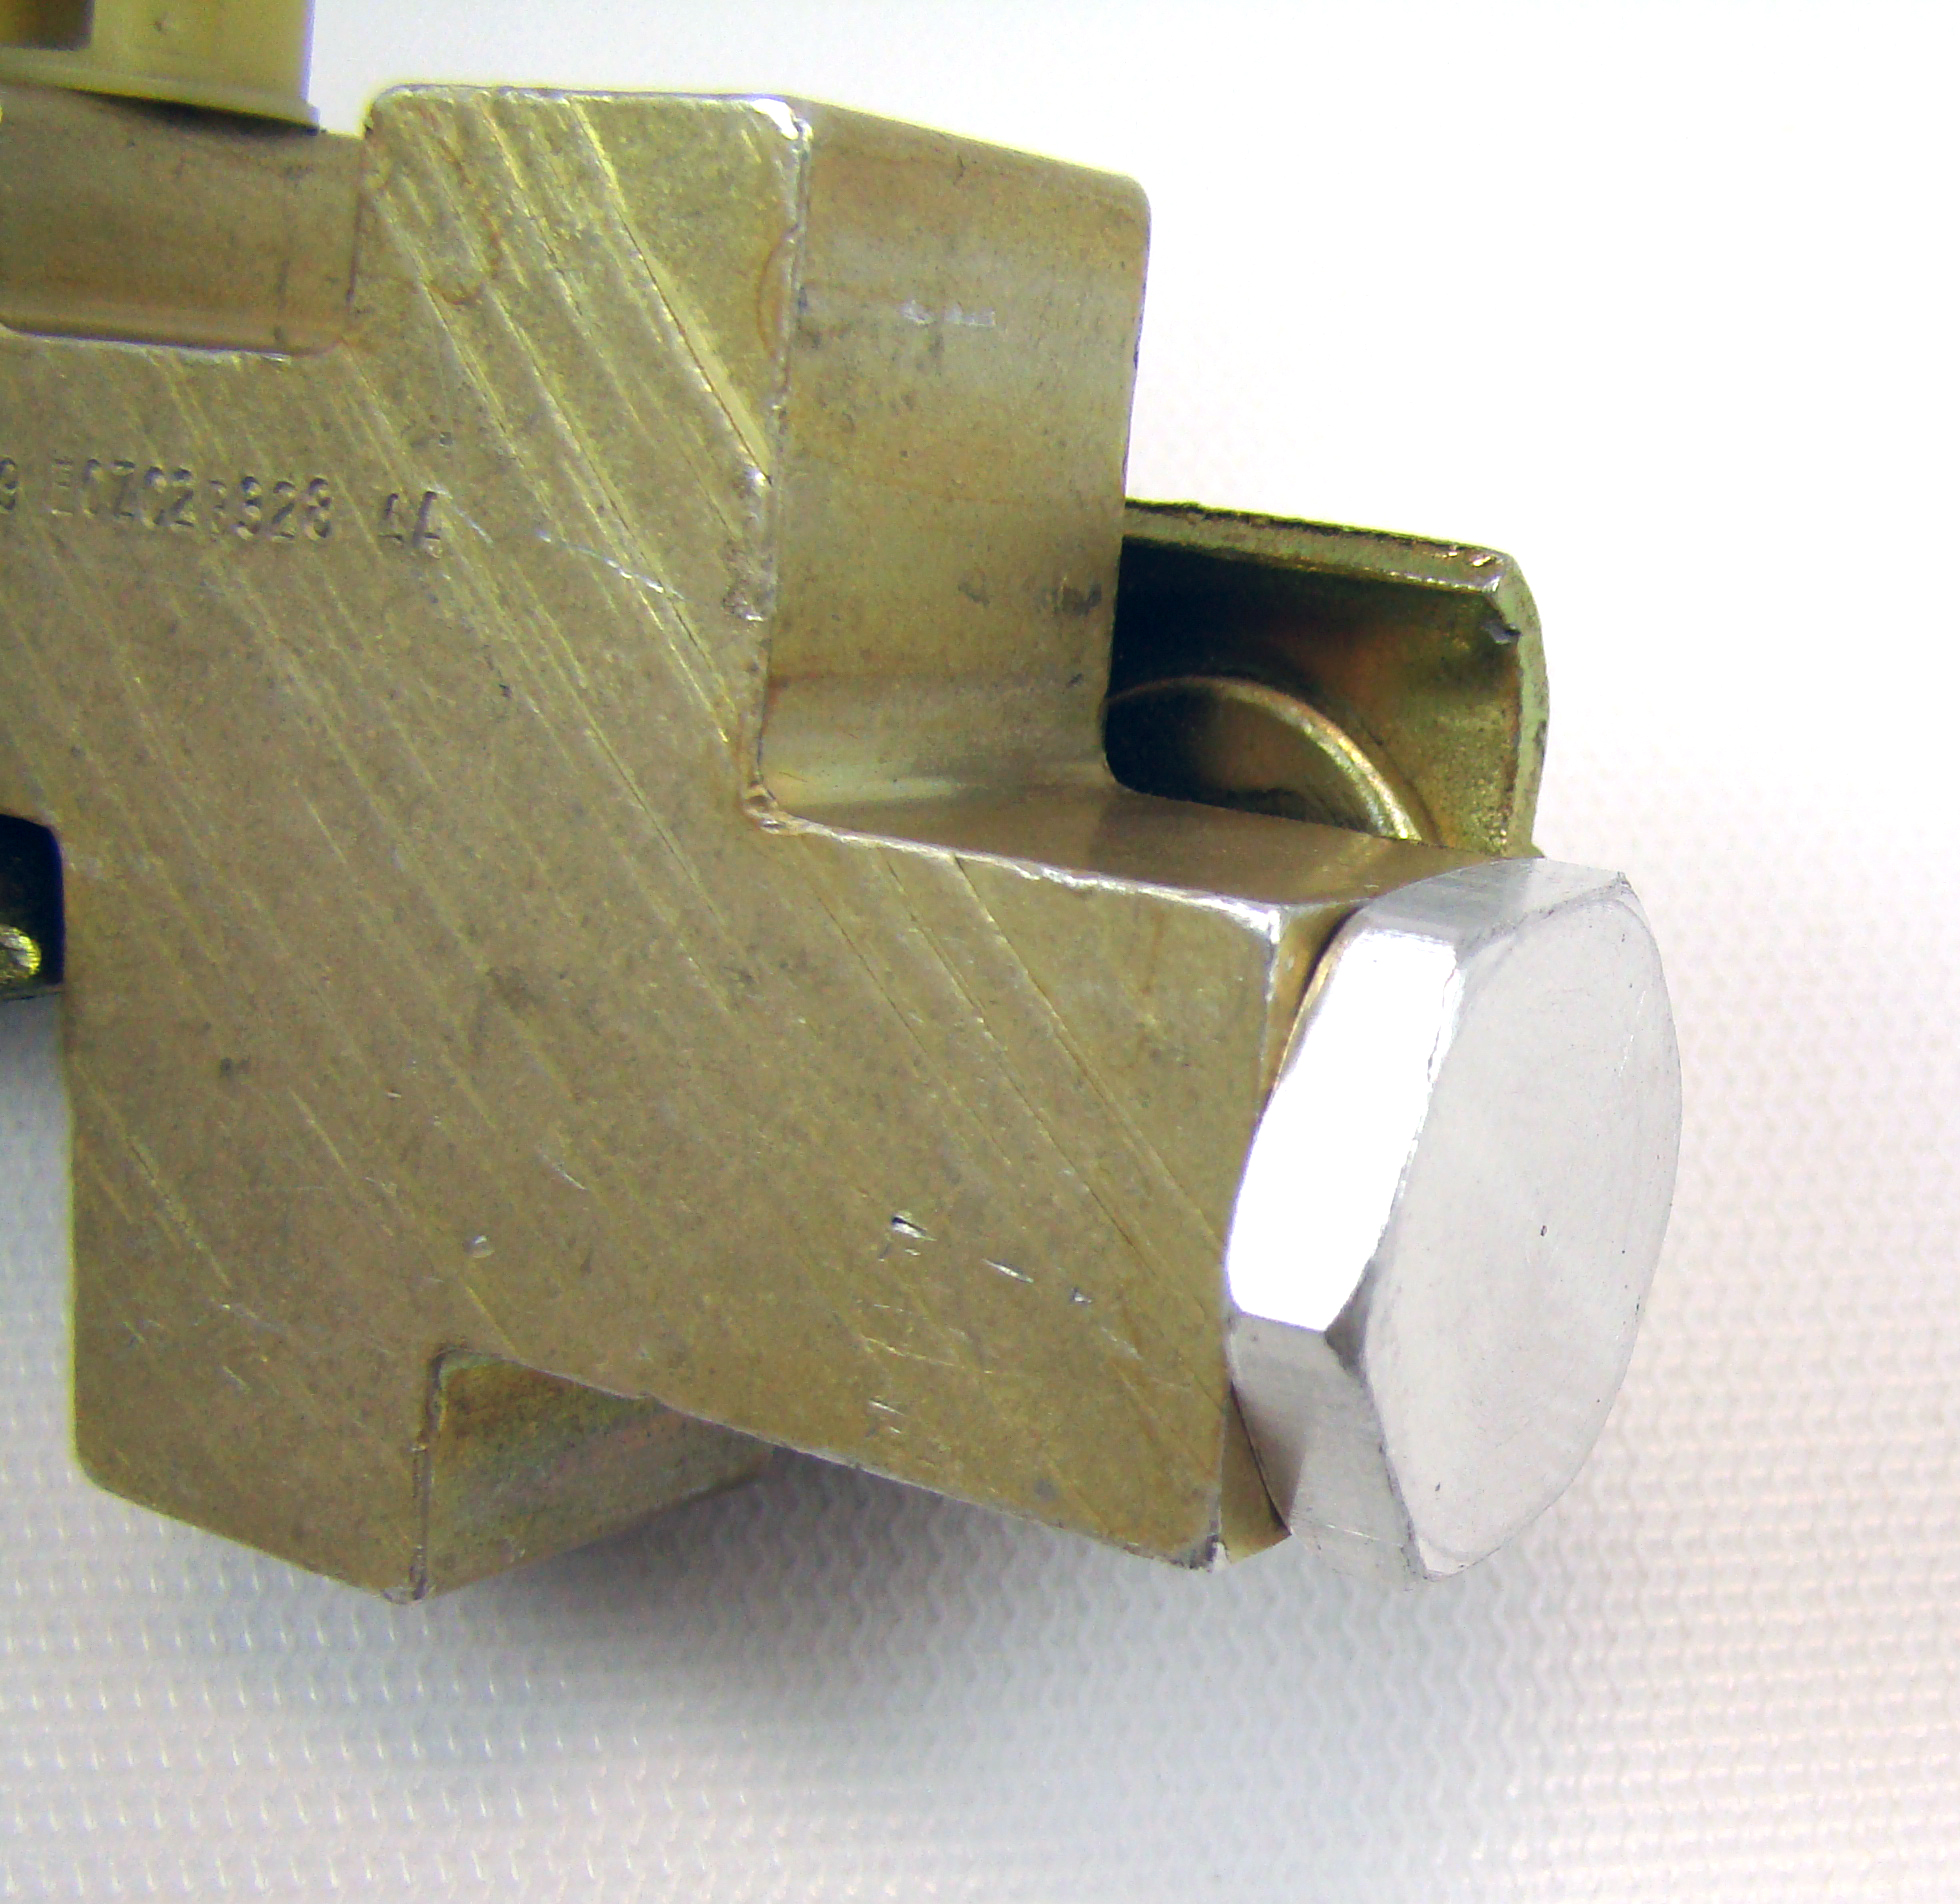
Remove the two hard lines from the factory proportioning valve.
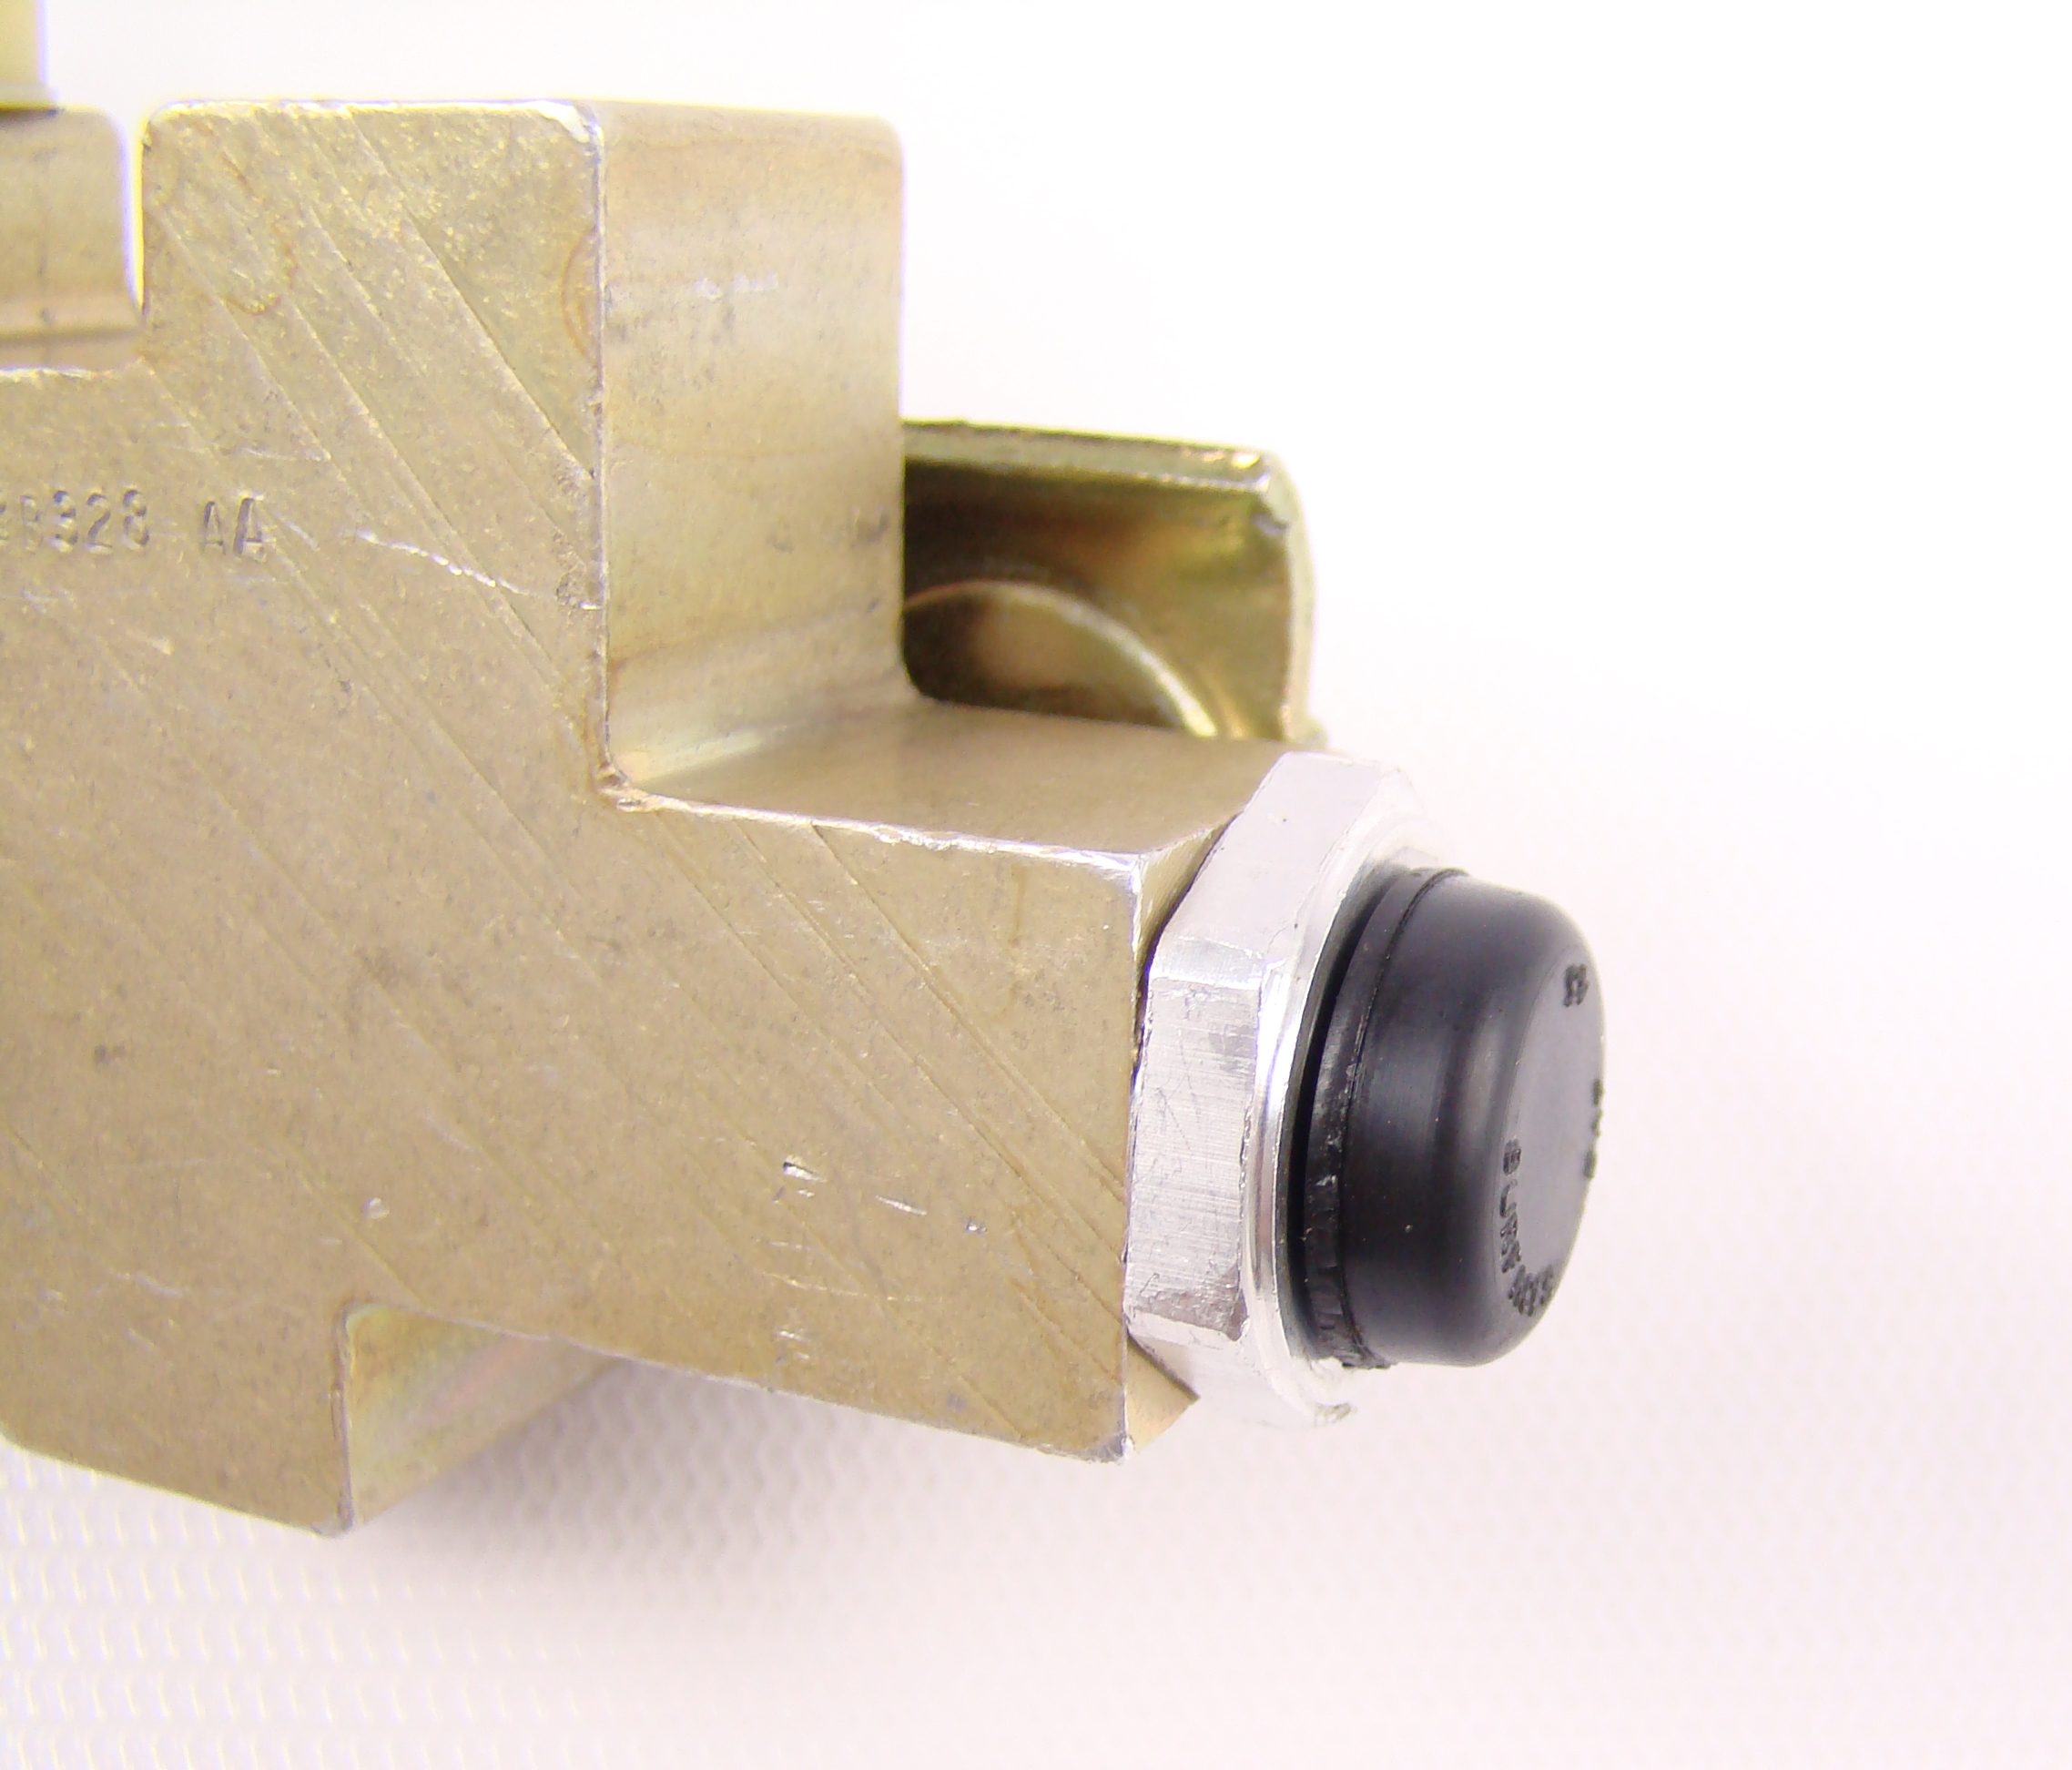
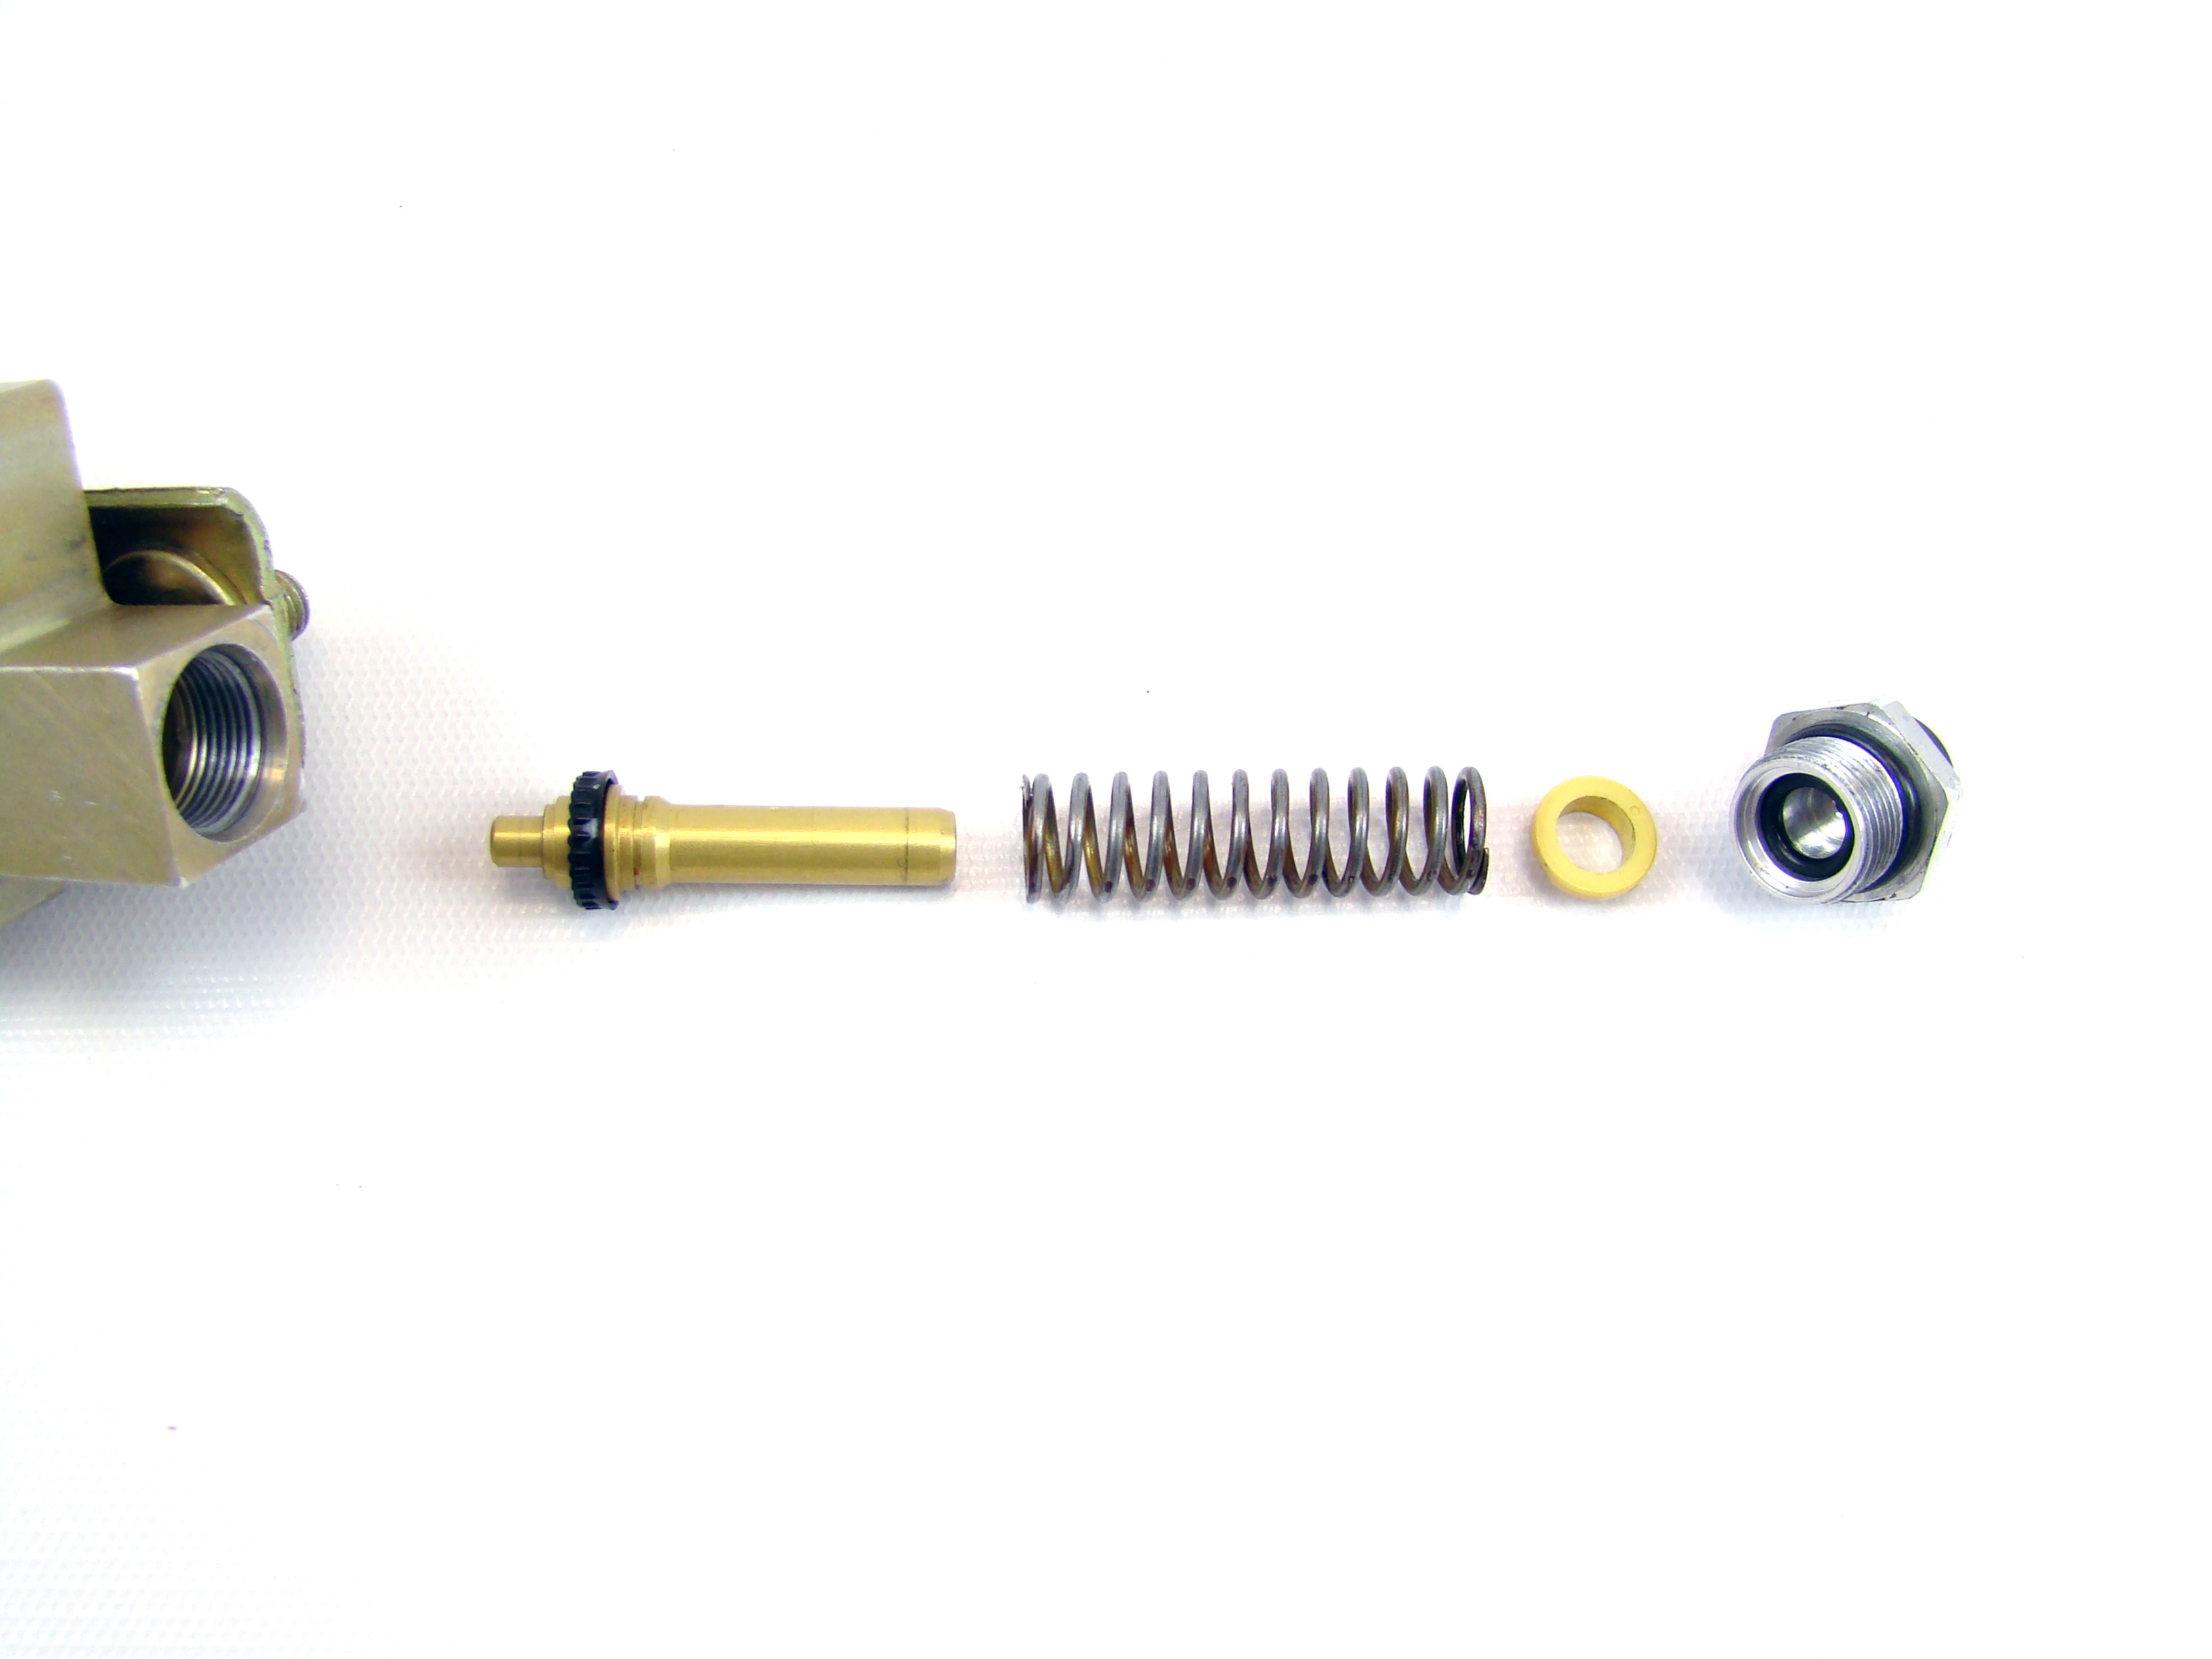
Now, use an open end wrench to support the proportioning valve while you loosen the three quarters inch hex head plug.
Remove the plug and then gut the factory proportioning valve.
Transfer the o-ring on the factory plug to the supplied proportioning valve plug.
Thread the included plug into the proportioning valve and tighten it down.
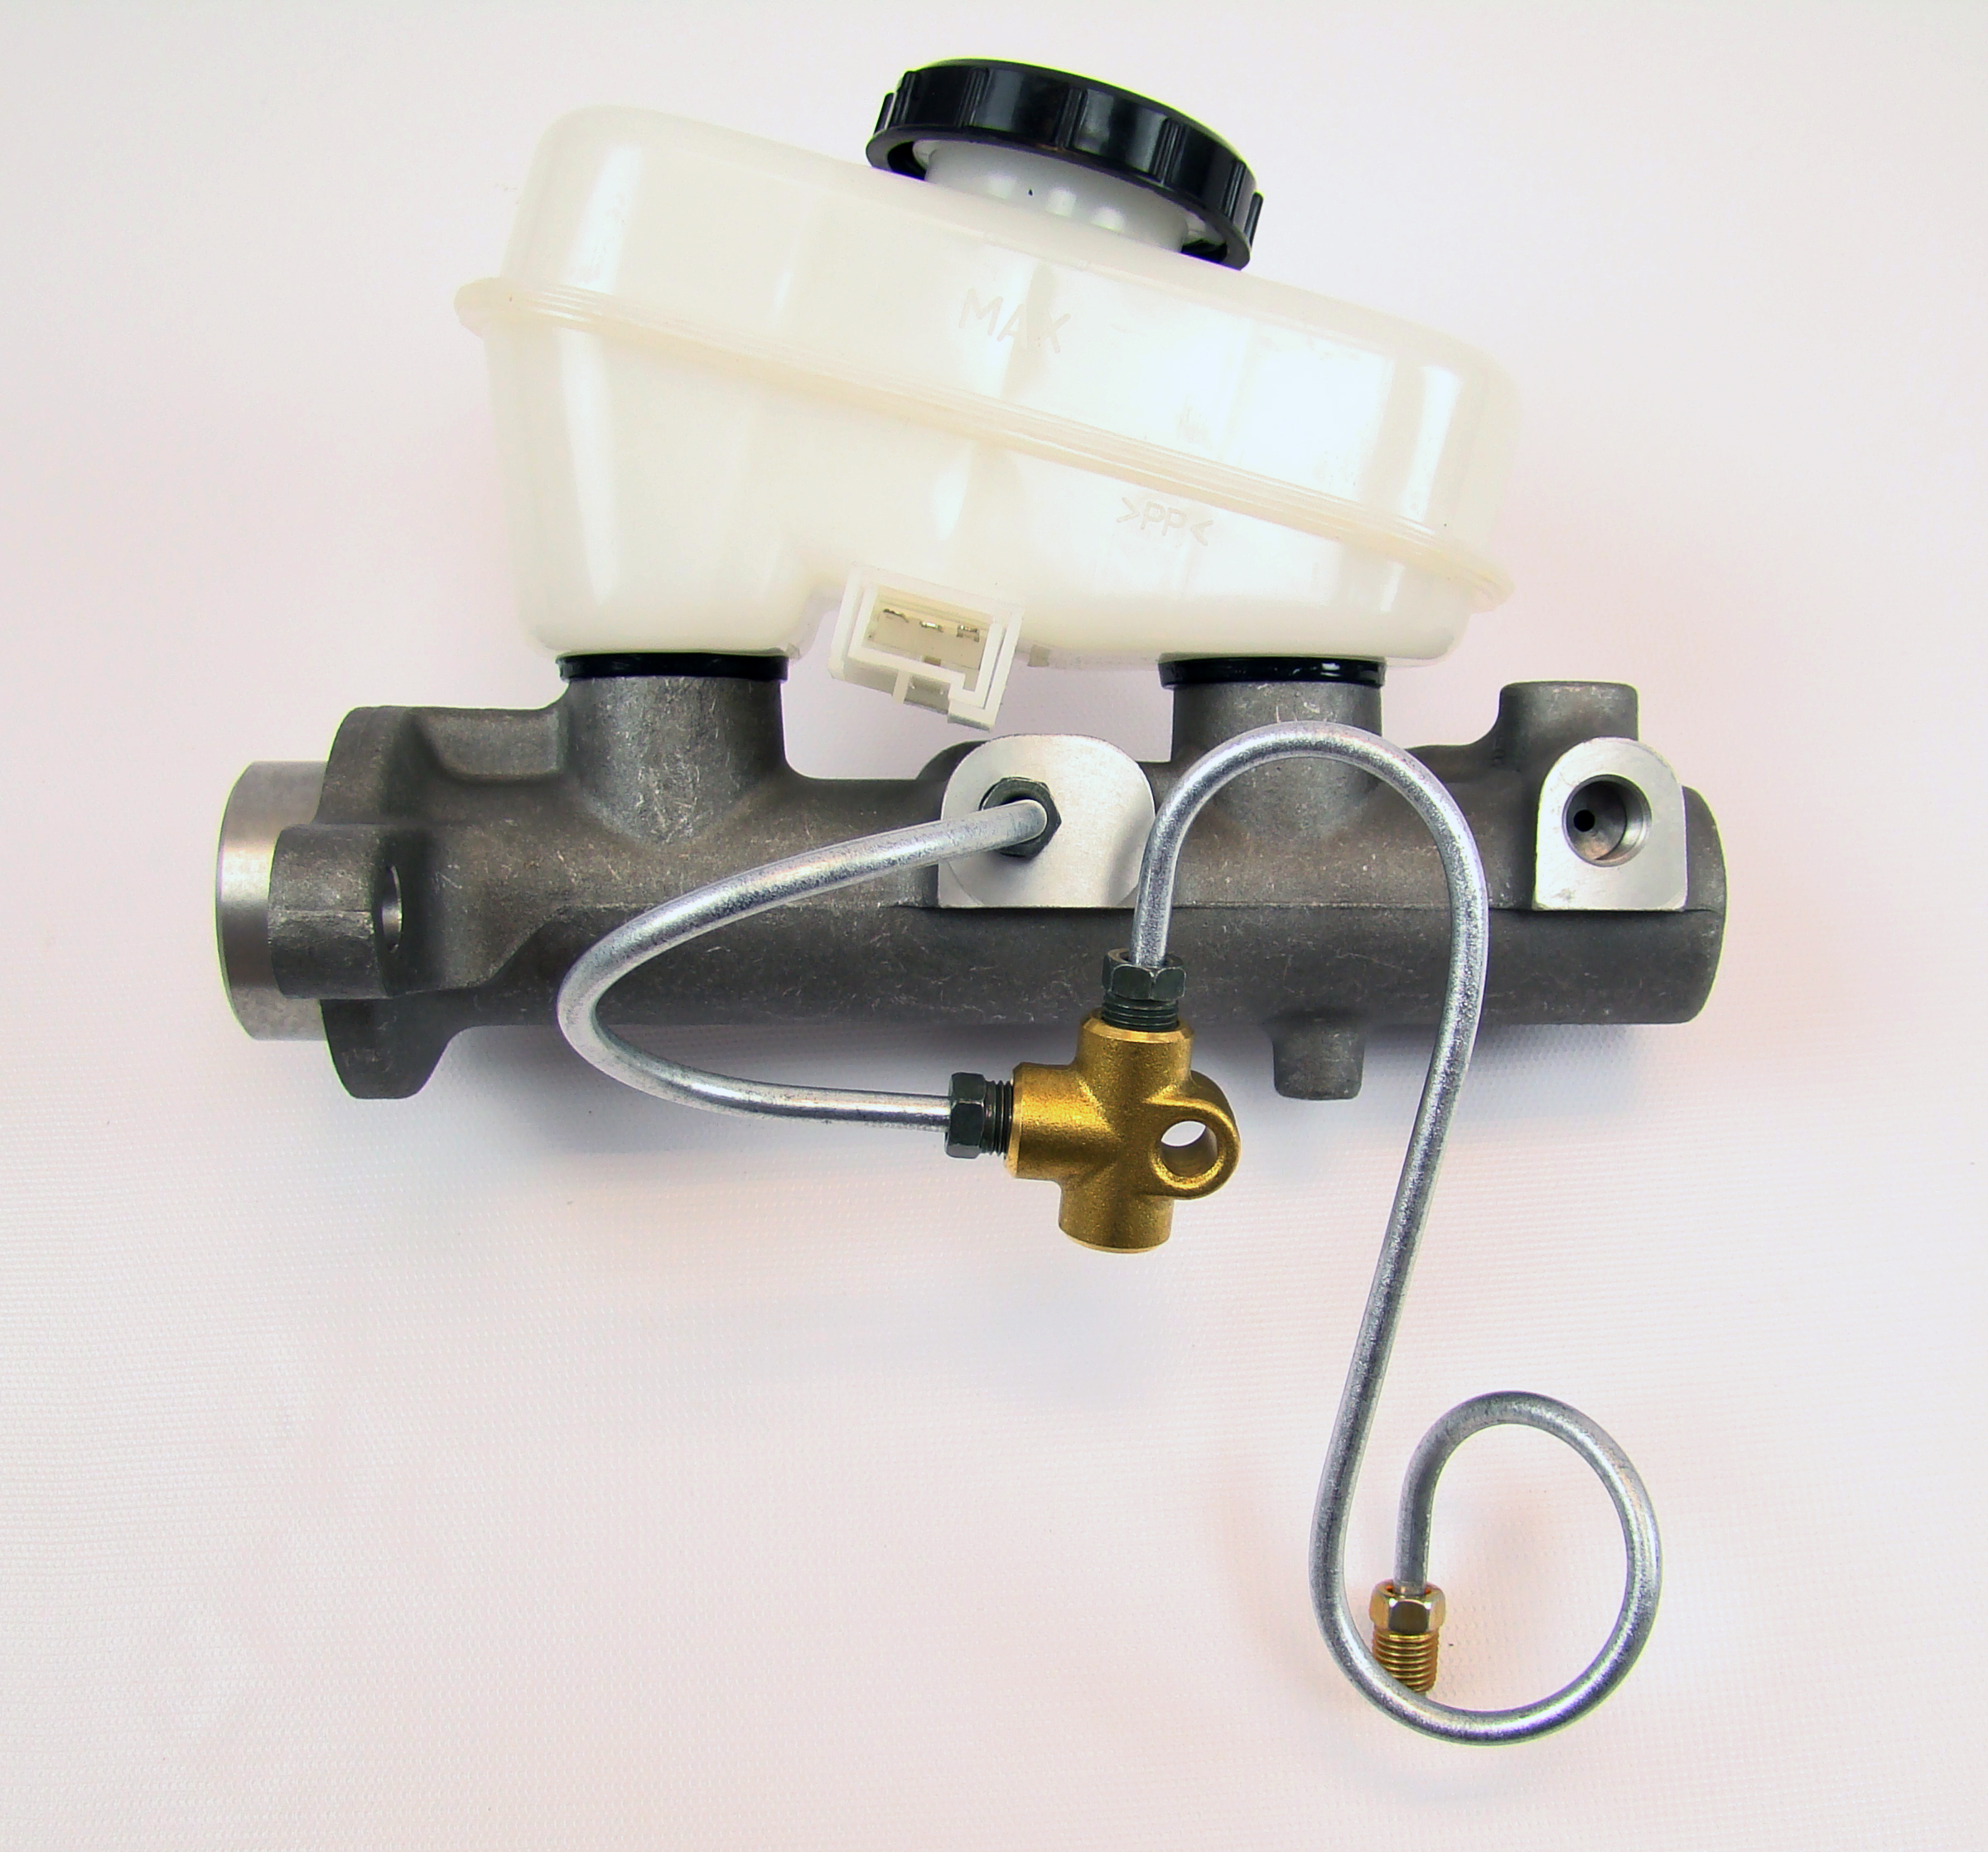
Install the supplied master cylinder over the studs on the brake booster and tighten down the previously removed nuts.
Remove the port plugs and thread the supplied line adapters into the primary cylinder on the master cylinder.
This is the port closest to the firewall.
Thread the bottom factory line into the t-fitting.
Use the other supplied line and install it into the top port on the t-fitting and the back port on the factory proportioning valve.
Loosely tighten the fittings.
Transfer the factory hardline that was threaded into the front port on the factory master cylinder.
Thread this line into the first port on the factory proportioning valve.
Tighten this fitting.
Now, carefully bend the line so that the upper fitting sits flush with the port on the new master cylinder.
Thread and tighten down the fitting.
Reconnect the low fluid sensor.
Locate the union fitting on the passenger side.
Loosen and remove the two hard lines from the union and discard it.
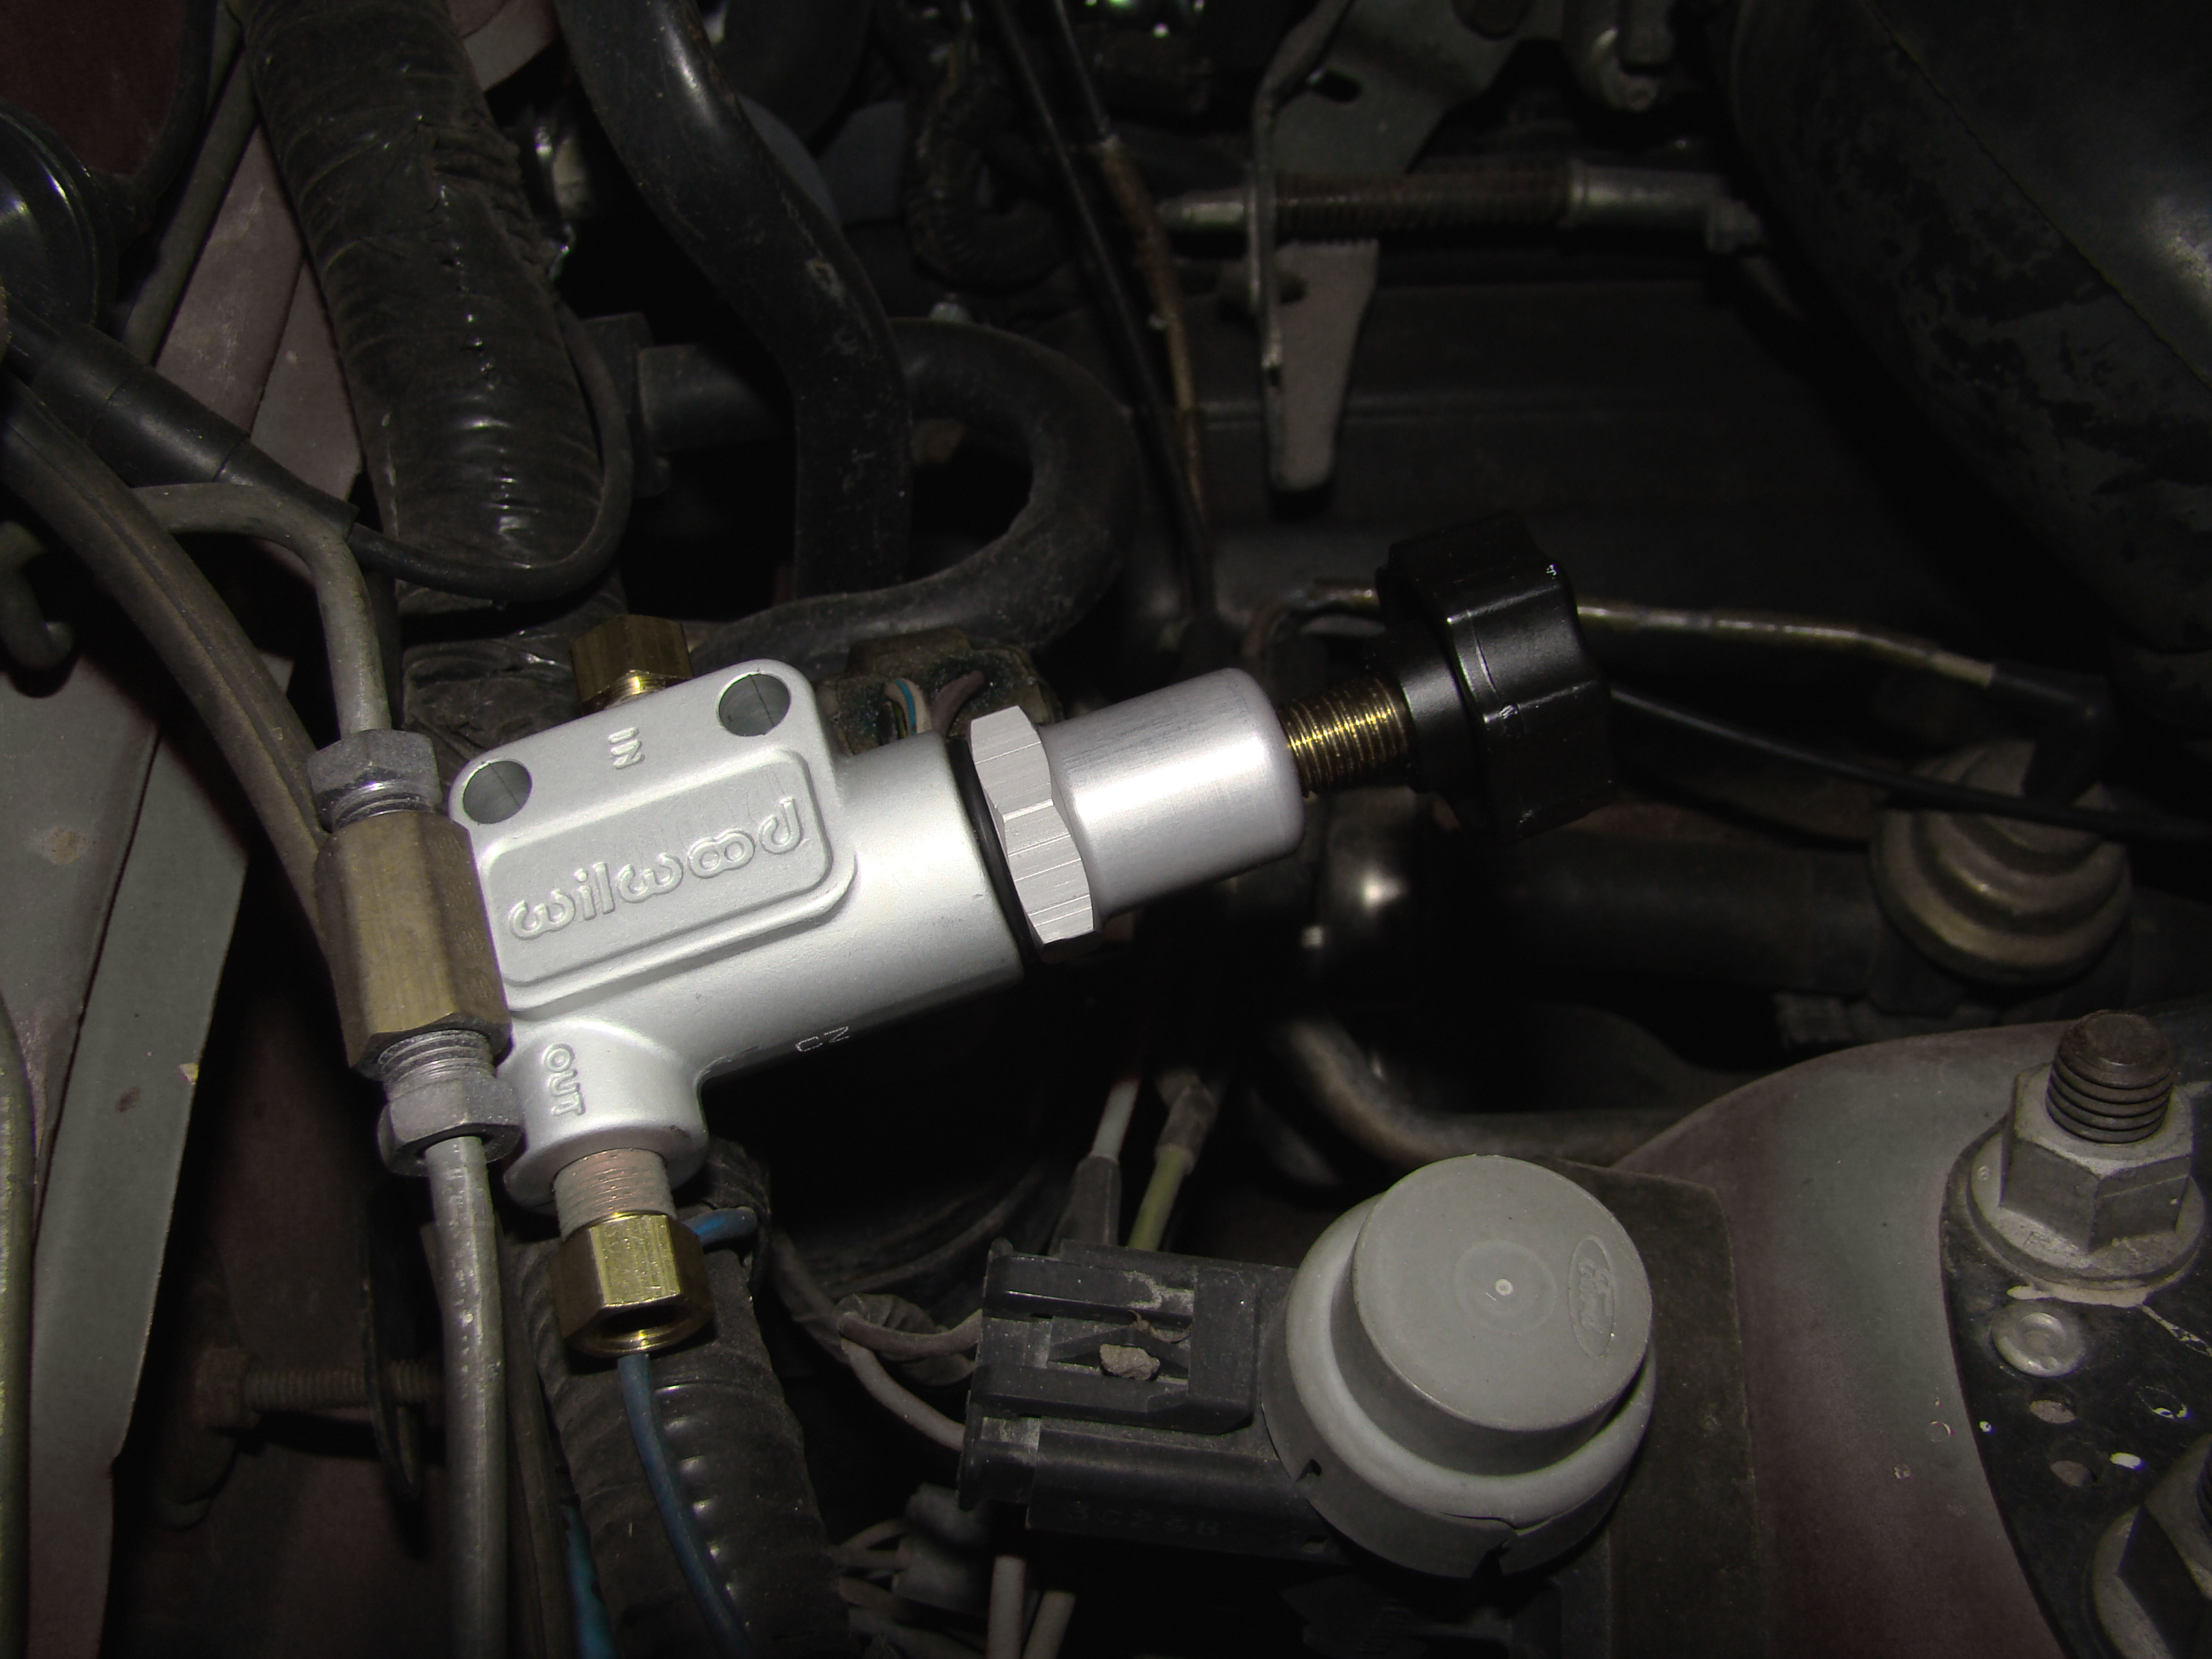
Thread the supplied line adapters into the “In” and “Out” ports on the included proportioning valve.
The port marked “In” will go to the line coming from the firewall.
The port marked “Out” will go the line leading to the rear of the car.
Tighten down the fittings.
Thread the knob all the way “in” or clockwise to allow full pressure of the brake system.
Once the brakes are bled, a setting in-between fully tight and fully open will yield a proportionally adjusted line pressure.
Now it’s time to bleed the brakes.
Open the master cylinder cap and fill the reservoir with the appropriate brake fluid.
Fill until the fluid reaches the “max” line on the reservoir.
Close the cap and remove the front wheels.
Grab a bucket or bottle and a quarter inch inner diameter clear hose.
Position the hose over the bleeder starting on the passenger rear caliper.
Have someone inside of the car pump the brakes two or three times and hold.
Open the bleeder and then close it.
Repeat this until fluid starts to flow.
Move to the driver side rear and repeat the steps.
Then to the passenger front and finally to the driver side front caliper.
While doing this, make sure the master cylinder reservoir stays topped off and doesn’t run empty.
Since I installed new axle hard lines, a new master cylinder, and rear calipers; I would repeat the process one more time to ensure all of the air is out of the system.
Once complete, the pedal should be firm.
Don’t forget to set the proportioning valve in-between fully closed and fully open.
Double check your work, and then take a light test drive.
Finally, enjoy your new SVE 5 lug conversion kit.
Overall guys, this install is pretty simple if you have a good selection of tools and above average mechanical ability. This can be done in your own garage off of jack stands. I would set aside a complete day with a few friends to help you get this one knocked out.
To continue watching the best Fox Mustang videos, subscribe to our YouTube channel if you haven’t already done so. While you’re at it, be sure and pick up an SVE SN95 5 lug conversion kit for your 1987 to 1993 Mustang from the real Fox Mustang enthusiasts, LMR.com!