SHOP

1994-04 Mustang Parts
Free Shipping on qualifying orders over $99* Details
LMR showroom & will call pickup service will be closed beginning Monday 9/21/26 for renovations until further notice. Need help? Contact Us.

New Edge Mustang Restoration: Project Keeping Comp

Created by Tyler Rodriquez / 10 min read
Date Created: 1/7/2022
Last Updated: 1/30/2026

Follow along as Late Model Restoration restores and updates a 2004 Mustang GT back to its former glory.

Viewing this install and using the information shared is subject to the terms set forth here - View the LMR Install Instructions Disclaimer.

Since we have restored our fair share of Fox Body Mustangs in the past, such as the Mercury Rising Project, it was time to take on something a little newer. So when the opportunity came up to purchase an employee's old Competition Orange 2004 Mustang GT, we knew this was the perfect restoration project.

The car was in less-than-desirable condition when LMR bought the car from a local dealership. Since it was sold by the employee, it has gone through some wear and tear over the years and was in need of a good restoration.

The goal of this project is simple, bring it back to its former glory with a touch of OEM+ styling. Follow along as we take this car from faded to fresh!
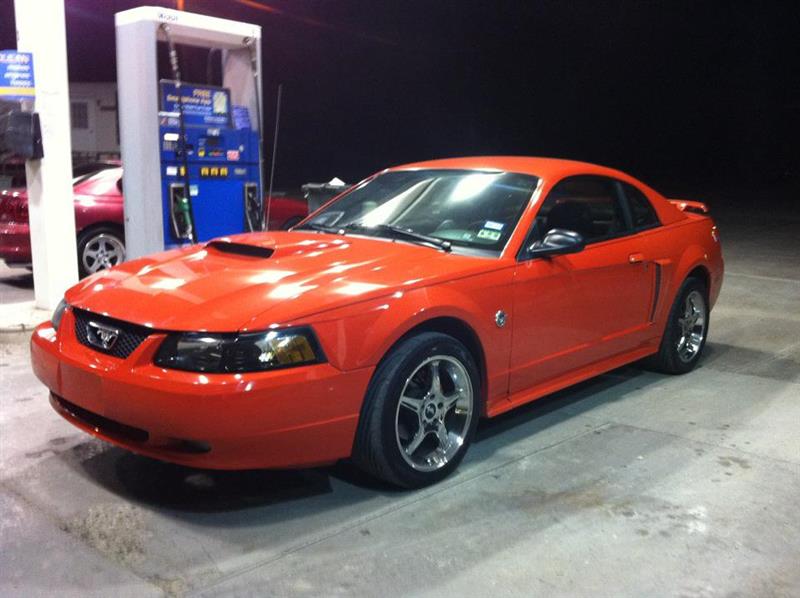
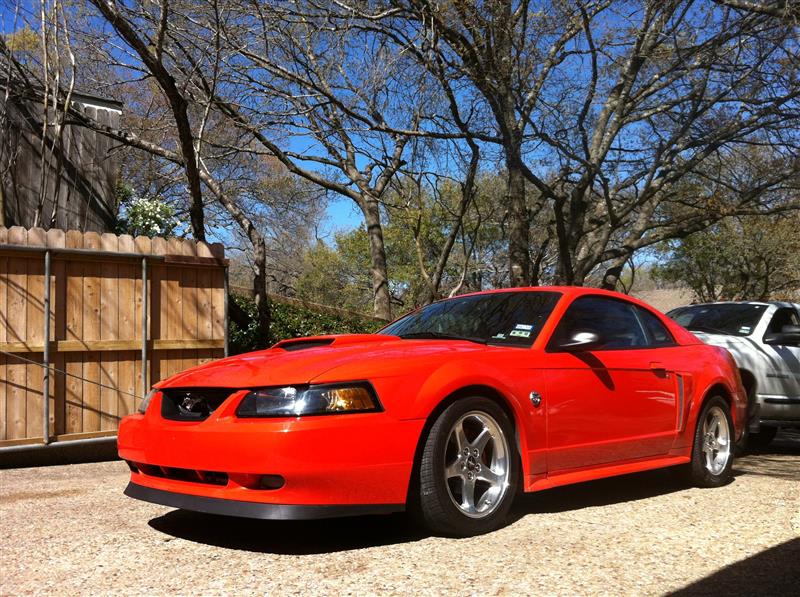
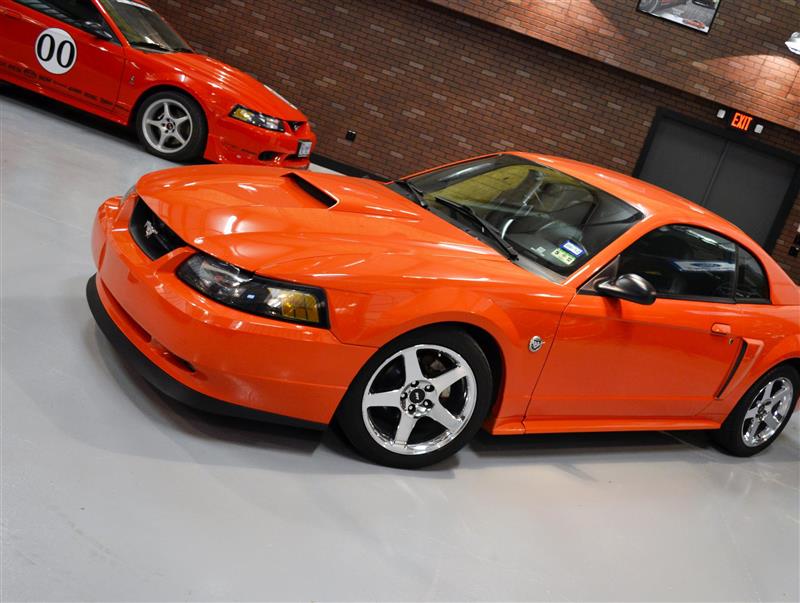
Table Of Contents

  1. Where It All Started
  2. Demo Day
  3. Faded To Fresh
  4. Unforeseen Clean
  5. Home Stretch
  6. Finishing Touches
  7. Restoration Complete
  8. Upgrading To A 99-01 Cobra Bumper
  9. Coyote Swap
  10. Keeping Comp Parts List

Where It All Started

When I first started at LMR, I had already sold my '04 Convertible GT and was currently driving a little Ford Ranger while in college. After a year or two of working at LMR, the Mustang bug bit me again, and I was on the lookout for another New Edge. As a fan of the 1999-2004 Mustang body style, I was eager to find another. While aimlessly scrolling through Craigslist, I found a 2004 Competition Orange GT for sale about 2 hours away. I quickly jumped at the opportunity to take a look at it and knew it was the car I wanted.
 
Project Keeping Comp | EP: 1 - Lost & Found - Project Keeping Comp | EP: 1 - Lost & Found

The car got a quick overhaul as soon as I got it home, as a matter of fact, I had purchased parts for it before I even went to pick it up. The car was relatively stock with the exception of some aftermarket pinstriping and chrome 1995 Cobra R wheels. The first day I had the car, I installed a Mach 1 grille delete, Mach 1 chin spoiler, SVE lowering springs, and some factory 1999 Cobra wheels I had laying around. This got the car to where I wanted it to be for the time being and gave it a great new look.
 
Project Keeping Comp | EP: 1 - Lost & Found - Project Keeping Comp | EP: 1 - Lost & Found

After a couple of years of swapping out parts, doing some road racing, and a little drag racing, it was time to get rid of the car. I was planning on starting a family and getting a house, and the Mustang did not fit the current plans that I had. I ended up selling the car locally, and it was sold again to another local resident, where it lived for the next few years.

Project Keeping Comp | EP: 1 - Lost & Found - Project Keeping Comp | EP: 1 - Lost & Found

Over the years, I would see the car driving around town, and I truly missed driving it. I watched as it got some upgrades, such as a new cowl hood, different wheels, and even some engine upgrades. I had always wanted to buy it back, but with two kids, it simply was not in my financial future.
 
Fast forward to April of 2020, and I get a text from Scott Springer with a photo of the car sitting at a local car lot. He said he just picked it up and was thinking it would make a good project car. I was in shock. Rarely do you ever see your old car, which you wish you had never sold, let alone have the chance to drive it again. I jumped at the opportunity to be the one to pick it up and was immediately saddened by the condition it was in.

Project Keeping Comp | EP: 1 - Lost & Found - Project Keeping Comp | EP: 1 - Lost & Found

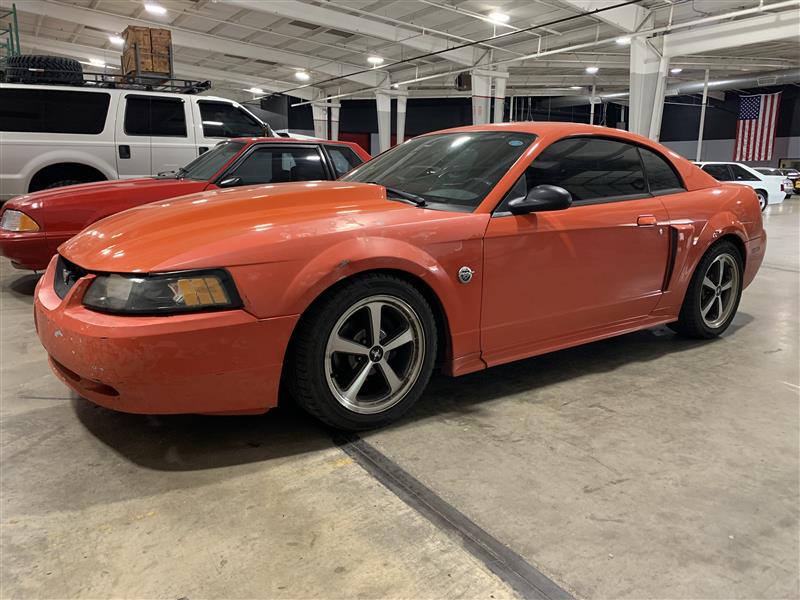
With 180,000 miles on the clock, this Mustang surely showed it. The classic ripped upholstery and faded paint that plagues neglected New Edges were pretty evident, and the car needed a lot of work both inside and out. If there was ever a perfect New Edge project car for us to bring back to life, this was it. With the state that it was in, being a Competition Orange color, and being owned by a previous employee, the stars aligned for a great restoration project.
 
So this is where the car sits now, ready for whatever we want to do with it. The goals of this project are simple: show that New Edges can be saved and fully restored with an OEM+ touch. OEM+ is a term you will hear tossed around this project and refers to restoring the vehicle to an OEM look with a few much-needed upgrades. Stay tuned for episode 2 to see what we have in store for this 2004 Mustang!

Demo Day

With the car in our possession, it's time to get our hands dirty and get the car ready for paint. We consulted with our local paint shop, Anderson Collision, and discussed what we could remove and replace in order to make their job a little easier. This not only helped to make the painting process go quicker, but also allowed us to find and address other issues beyond the surface of the car.

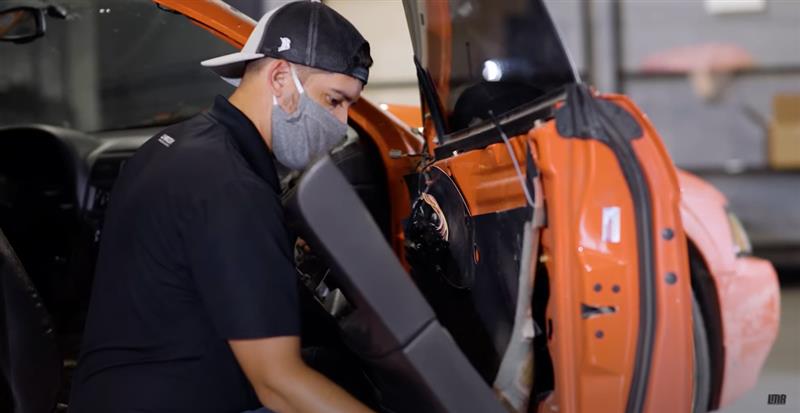
We started to tackle the interior of the car first. I started by removing the door handle inserts, door panels, and window switches while Scott Hubbard tackled the windshield wipers, wiper arms, and cowl panel. With the door panels removed, we were able to remove the mirrors, speakers, and moisture barriers. To finish up on the doors, we secured any loose wiring to keep them out of the way.

Project Keeping Comp | EP: 2 - Demo Day - Project Keeping Comp | EP: 2 - Demo Day

To help save some money in labor, we opted to remove a few body panels and replace a few items that were damaged and needed to be painted. We removed all of the lights, moldings, door handles, emblems, and a few more easy-to-remove items. When removing the taillights, we discovered nearly half a cup of water that had leaked into the housings from a small crack at the top of the assembly.

Project Keeping Comp | EP: 2 - Demo Day - Project Keeping Comp | EP: 2 - Demo Day

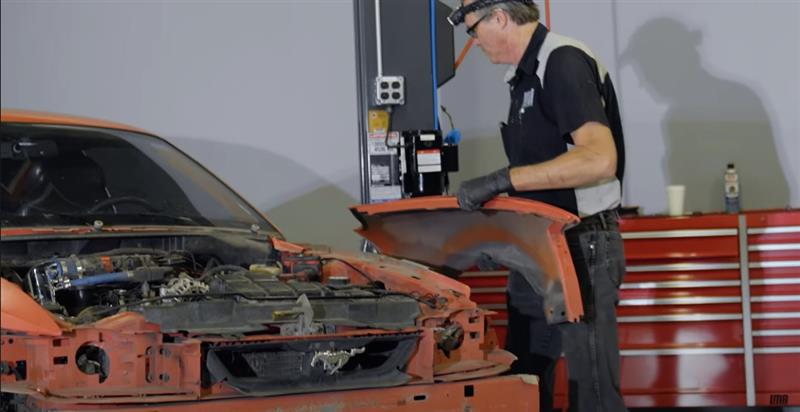
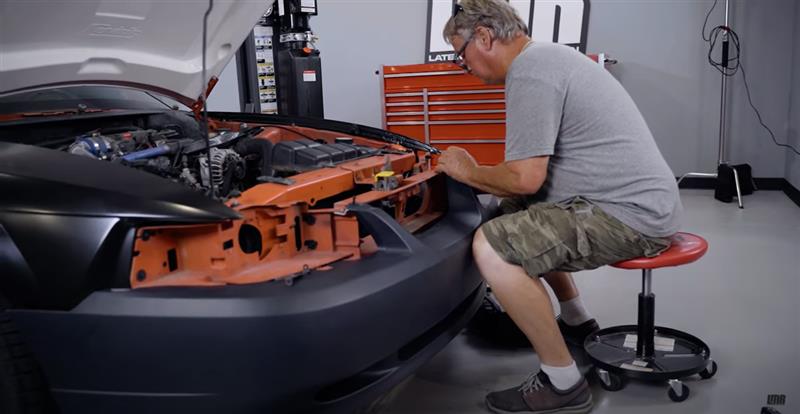
With all of the smaller items off of the car, it was time to get the car in the air to remove some of the larger body parts. We started by removing the front splash shields so that we could remove the front fenders and bumpers. Next, we removed the front bumper and absorber from the vehicle. We lowered the vehicle back down to access the front fender hardware and removed both fenders.
 
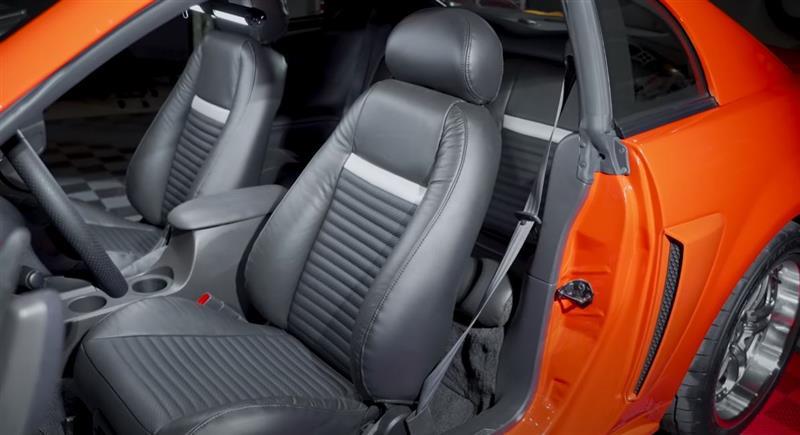
To get a jump start on the interior while the car was at painting, we went ahead and removed most of the interior. We started by removing the seats as this would give us the room we needed to access the rest of the interior components. Next, we removed the map lights, sun visors, and headliner. These items were on our list to replace, so they were scrapped in favor of new replacements.
 
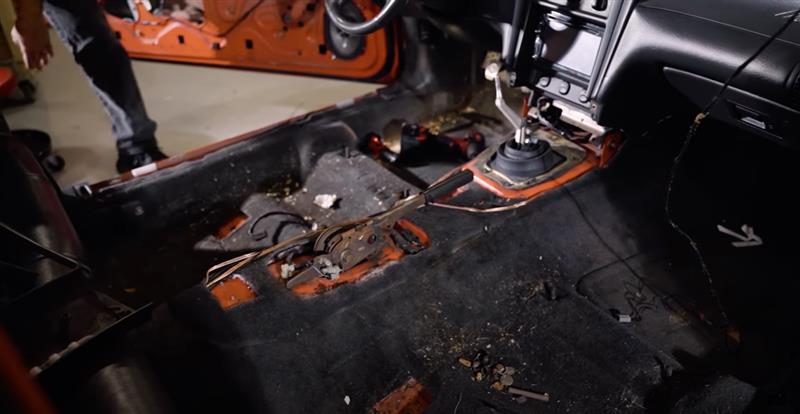
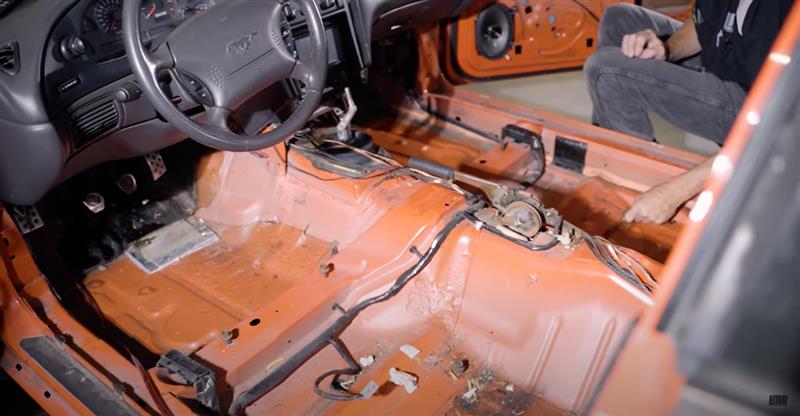
Since we needed to remove the carpet, the center console was removed from the car as well. The remaining interior trim and rear seats were removed, which exposed just how bad the factory carpet had gotten. With 180,000 miles on this car, it’s safe to say we are going to add new carpet to the list. This left just the dash in the car which we opted to leave in while it was at paint.

Project Keeping Comp | EP: 2 - Demo Day - Project Keeping Comp | EP: 2 - Demo Day

With the car fully stripped down to what we needed it to be, there were still a few things that needed to be addressed before we dropped it off at Anderson. Seeing the car in this state was a surreal experience as I never thought it would have ever gotten this type of attention.

Project Keeping Comp | EP: 2 - Demo Day - Project Keeping Comp | EP: 2 - Demo Day

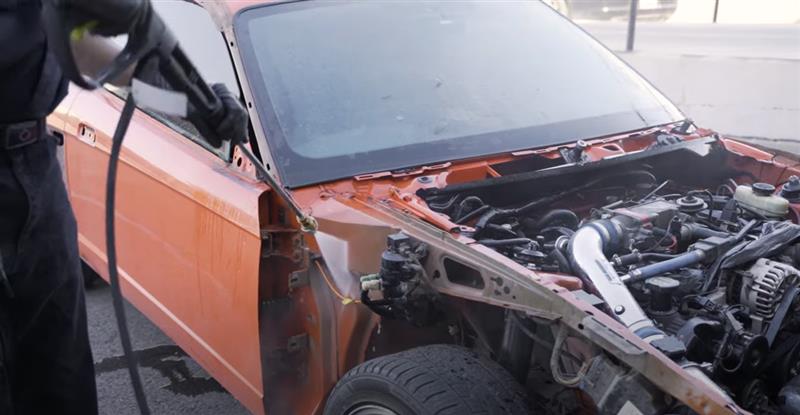
Since the car was stripped down, this presented a perfect time to get the car fully power washed and cleaned to help make the job easier for paint. We also took this time to power wash the engine bay after covering some of the more sensitive components.

Project Keeping Comp | EP: 2 - Demo Day - Project Keeping Comp | EP: 2 - Demo Day

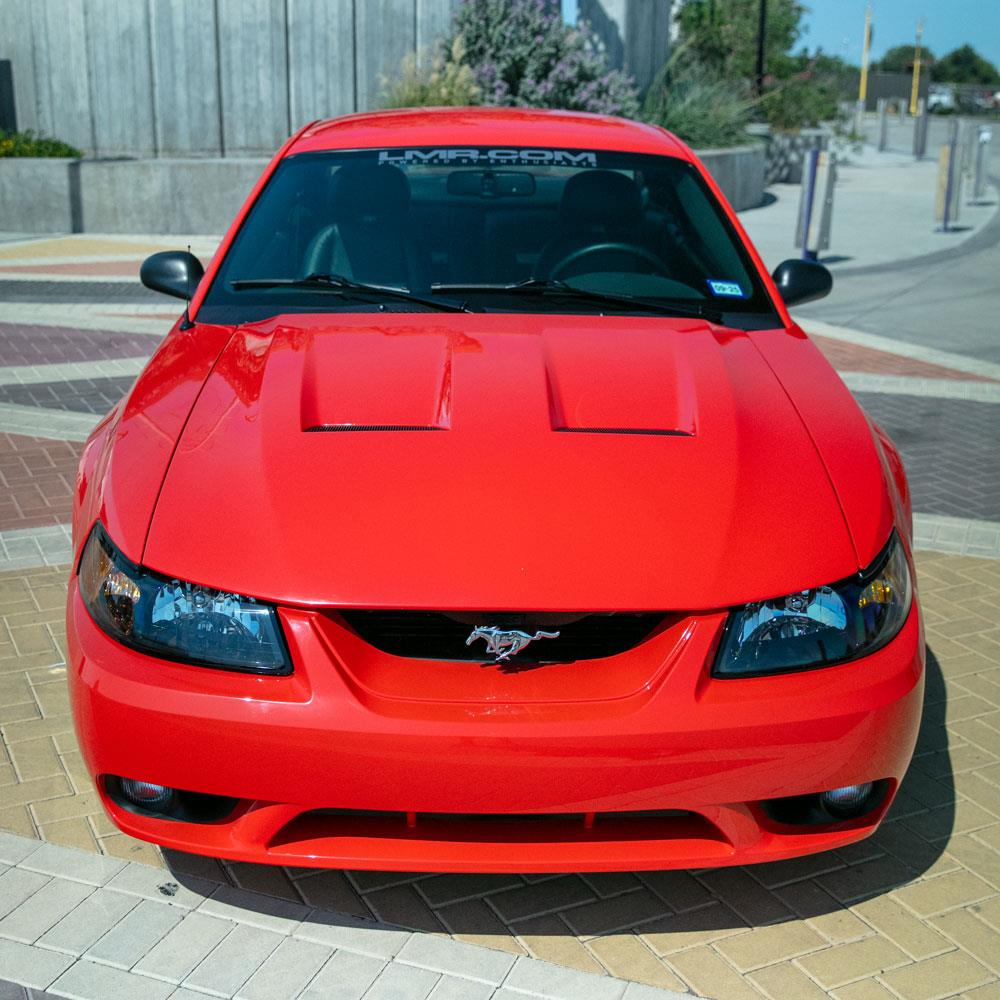
After looking at the factory front bumper and fenders, we decided to simply replace them rather than have them repaired. We went with direct replacement fenders and a factory GT/V6 bumper to keep the classic GT look. Since the car came with a cowl hood and I was wanting to go a different direction with the car, I opted for an 03-04 Cobra hood from Cervini’s for a sleek, OEM+ look.

Project Keeping Comp | EP: 2 - Demo Day - Project Keeping Comp | EP: 2 - Demo Day

To get the body panels completely straight and lined up perfectly for paint, we had Uncle Ted work his body shop magic. You might remember Ted from our Project Mercury Rising series where we secretly restored his ASC McLaren. Ted has a vast background in bodywork and was able to get our panels lined up perfectly for us.

Project Keeping Comp | EP: 2 - Demo Day - Project Keeping Comp | EP: 2 - Demo Day

With the car ready for paint, it’s ready to drop off and get a fresh coat of Competition Orange paint laid on it. The next time you see Keeping Comp, it will be free of anybody blemishes and have a fresh coat of paint.

Faded To Fresh

Now that the car has been stripped down and gotten some new replacement parts, it's just about time to take it off to paint. Just to recap, the car's interior has been removed, a new Cervini Cobra-style hood was added, the front fenders and GT front bumper were replaced, and everything was lined up to make things easier for the paint shop. With the car ready for some new paint, it was off to our good friends at Anderson Collision.
 
At Anderson Collision, we met up with the owner Paul and Jeff who were mutual friends of the company and well known for their spectacular work. Knowing Jeff for quite some time and knowing his passion for Mustangs, I was excited to know that the car was in great hands. We discussed the final details of the project and unloaded the car for them to get to work.

Project Keeping Comp | EP:3 - Faded To Fresh - Project Keeping Comp | EP:3 - Faded To Fresh

Since most of the front end had some type of damage on it, we opted for new replacement parts from our site to make things easier for the paint shop and cut down on overall costs on the project. The top of the car and the trunk had some pretty serious sun-fading damage so that was one of the biggest areas of concern. We also opted for a Bullitt look and had the factory spoiler holes in the trunk filled. This gave the car a sleeker look and helped add to the OEM+ styling we were going for.

Project Keeping Comp | EP:3 - Faded To Fresh - Project Keeping Comp | EP:3 - Faded To Fresh

Jeff and his team got the rest of the car disassembled, got the bodywork completed, primed, and ready for paint. Paul explains that they use waterborne paint, which is the same paint used on most new vehicles. With this project, they were wanting to put the same type of paint that was on the car from the factory.
 
With the Competition Orange color being so unique to the 2004 year, coming on the GT, Mach 1, and Cobra, I had to go back with the same Competition Orange. The color is one of, if not the sole reason I purchased this car in the first place.
 
As the car was getting painted, I tried my best to wait and see the finished product once it was complete and put together, but curiosity got the best of me. Throughout the painting process, I stopped by to check out the progress a couple of times. When I purchased the car, it was already 10 years old and had plenty of Texas summers under its belt. The paint was great, but it definitely was not new. Seeing Competition Orange freshly sprayed was one of the most awe-inspiring parts of this whole restoration. This color seriously pops when it's new.

Project Keeping Comp | EP:3 - Faded To Fresh - Project Keeping Comp | EP:3 - Faded To Fresh

When we went to pick up the car, I was completely blown away seeing it semi-put together and with a new paint job. The color is so deep and getting it out into the sun really made it pop even more. You could easily tell that Jeff and his team took the time to make sure this car looked perfect.

Project Keeping Comp | EP:3 - Faded To Fresh - Project Keeping Comp | EP:3 - Faded To Fresh

Getting the car back to the shop, we all were able to look it over and take in the beauty of it. With all of the new body panel, fresh paint, and spoiler holes filled, this car was ready to be put back together. While I was skeptical about the hood and bumper combination, after seeing it with paint, I was sure it was going to look great.

Project Keeping Comp | EP:3 - Faded To Fresh - Project Keeping Comp | EP:3 - Faded To Fresh

I can't thank Paul, Jeff, and their team enough for the great work that they have done over the past few weeks on this car. My excitement for finishing up this project is at an all time high and I can't wait to see the car with all of the finishing touches on it.

With the car back from paint, it's time to start moving through the rest of this project. Until part 4, keep it right here with the real Mustang enthusiasts, LMR.com.

Unforeseen Clean

We are back with episode 4 of Keeping Comp, our 2004 Mustang restoration project, and in today's episode, we are focusing on the engine bay, undercarriage, and wheel wells. In previous episodes, the car got new body panels, new paint, and is ready to be reassembled. While there was plenty to attack, we decided to start with the engine.

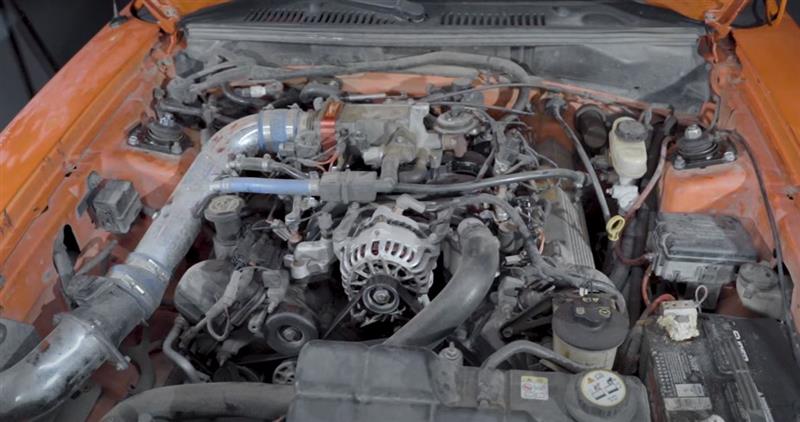
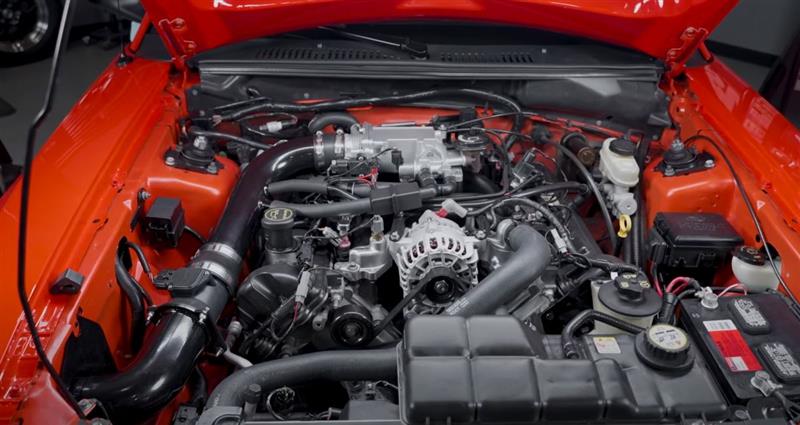
Since the point of this project was to restore the car back to its former glory, at this time, we opted to stay with the factory 2v until we decide what the ultimate goal of the car is. With 180,000 miles on it, the old 2v 4.6 engine has seen a lot and has the looks to prove it. While I tried my best to keep the engine bay somewhat clean while I owned it, it looks as if this was an area that went addressed for some time over the past few years. So who better to complete a meticulous detail job than Landan?

Project Keeping Comp | EP:4 -  - Project Keeping Comp | EP:4 -

To get started, the car was lifted up into the air and put on jack stands to remove the front wheels, upper strut mount plates, and let the suspension hang freely. While we could have used our resources and removed the complete engine and transmission to get a full detail, we wanted to approach this detail how average New Edge owners would, with the engine still in the car.

So Landan started to disassemble some of the easy-to-remove parts of the engine to allow for better access to the engine and to allow for more detailed cleaning. He removed the intake manifold, the radiator, cooling fan, injector harness, and a few other various parts. From here, Landan was able to organize all of the parts and get them ready for cleaning. With the intake ports covered up, Landan went to town degreasing and cleaning the strut towers, engine, and all of the other accessories that were left in the engine bay.

Project Keeping Comp | EP:4 -  - Project Keeping Comp | EP:4 -

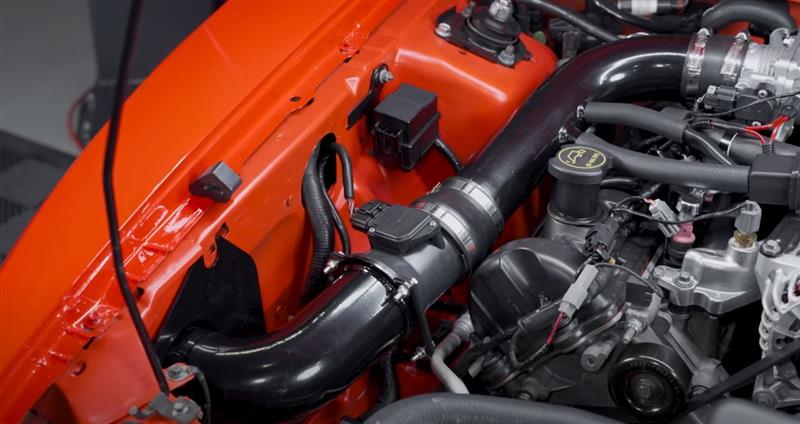
One of the main areas of concern was the battery terminals and battery tray. Aftermarket battery terminals were added at some point on this car and the large amount of battery acid that was leaking out of the battery caused some corrosion on the metal beneath the battery tray. We managed to save it by grinding down all of the corrosion and rust, sealed it up, and shot most of the engine bay with a satin Competition Orange paint. This gave the engine bay a completely new look and was one of the more satisfying parts of the restoration. To finish up the battery portion of the engine bay, new OEM battery terminals were added to complete the OEM look we were chasing.

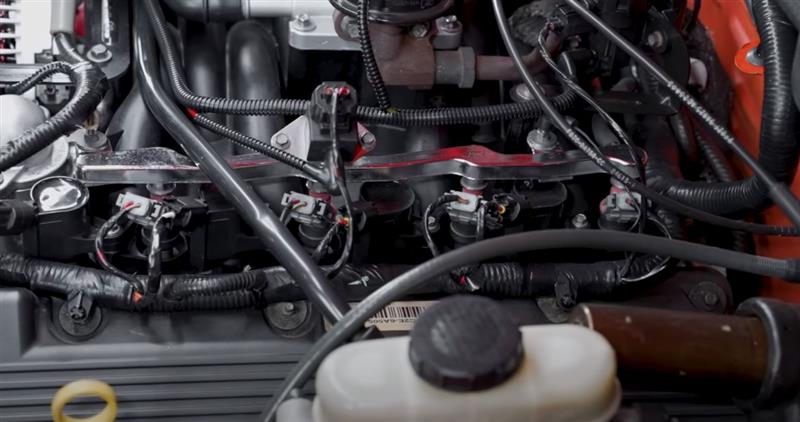
From here, we addressed all of the wiring harnesses. After visually inspecting all of the wiring harnesses and rewrapping a few, Landan cleaned, dressed, and reinstalled them back into the engine bay. While most people will quickly clean a harness here and there when they detail their engine, this complete cleaning and dressing really made one of the biggest differences on this old 2V.

From there, it was on to blasting and recoating the engine brackets that were originally coated from the factory. We also took this time to respray the factory throttle body and paint a few other engine components for a factory-correct look. All of these components came together to make a nearly 2 decade old engine look like it was brand new. We opted to replace a few things as well such as the radiator, the radiator cover, the cowl panel, and some more misc parts to finish up the restoration.

Project Keeping Comp | EP:4 -  - Project Keeping Comp | EP:4 -

Project Keeping Comp | EP:4 -  - Project Keeping Comp | EP:4 -

Project Keeping Comp | EP:4 -  - Project Keeping Comp | EP:4 -

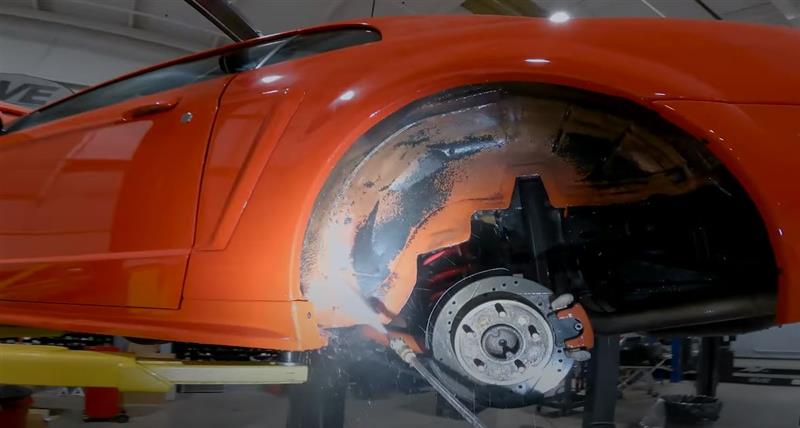
Moving onto the underside of the car, we hosed the entire undercarriage down with a degreaser and let that get to work. We came back in with a power washer to start washing out any road grime, dirt, and debris from the years of daily driving. We then used an assortment of brushes to scrub any stubborn and caked-on grime before hitting it one more time with the power washer. With this car being a future daily-driving vehicle, we weren't chasing perfection on the undercarriage, we simply wanted to get it cleaned up and looking better.

Project Keeping Comp | EP:4 -  - Project Keeping Comp | EP:4 -

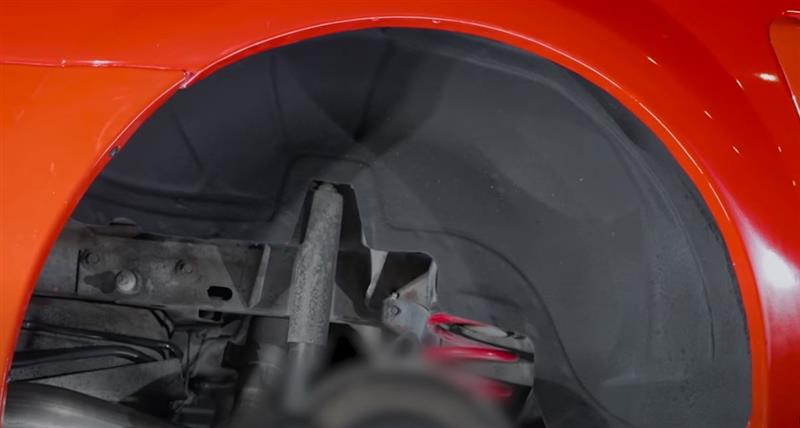
One area we did spend some time on was the rear fender arches. We scrubbed these down until they were as clean as we could get them and coated them with 3M Wheel Well undercoating. This covered up the factory faded Competition Orange paint and added a very nice, clean factory look to the car.

Project Keeping Comp | EP:4 -  - Project Keeping Comp | EP:4 -

With all of this completed, the anxiousness to get the car done is getting higher and higher. While I have big dreams of this car getting a Coyote Swap sometime down the road, the 2V is plenty healthy and now that it is all cleaned up, it is looking better than ever.

Home Stretch

With the light at the end of the tunnel shining brightly, we are in the home stretch for completing our New Edge restoration project car Keeping Comp. In previous episodes, we stripped down the car, had it repainted, added a few body modifications, restored and cleaned the engine bay, and restored the interior with some Mach 1 upgrades. In today's episode, we are going to finally address finishing up the exterior.

If you have been keeping up with Keeping Comp, you know that the car still lacks some of the essential exterior components such as headlights, taillights, 3rd brake lights, moldings, tailpipes, emblems, and much more. Follow along as we get this New Edge looking brand new again.

Project Keeping Comp | EP:6 - Home Stretch - Project Keeping Comp | EP:6 - Home Stretch

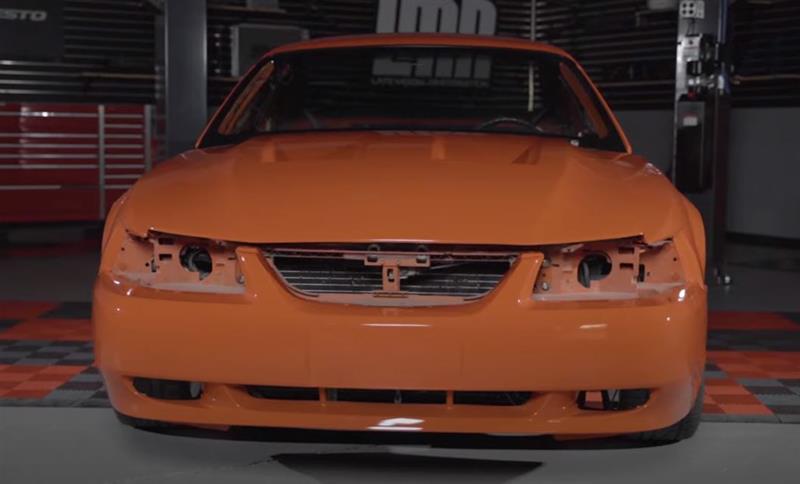
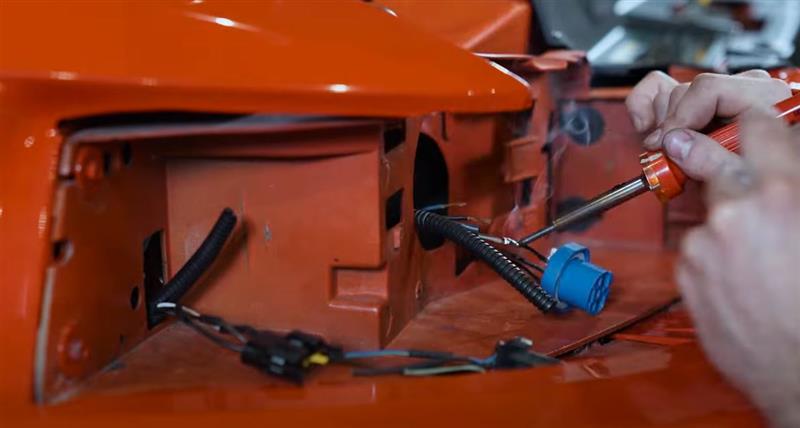
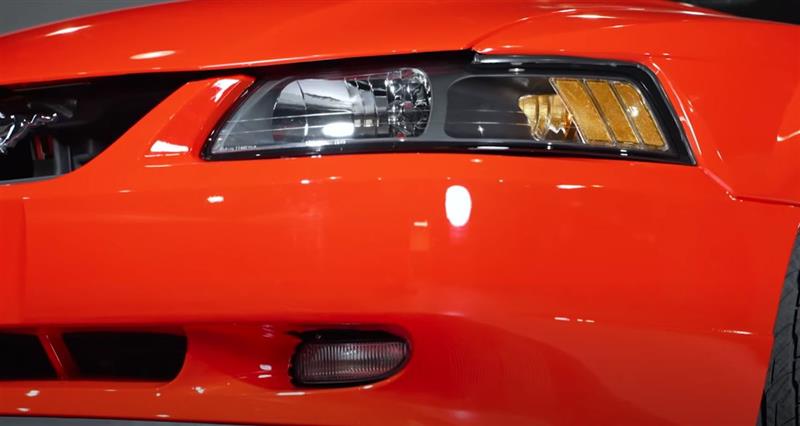
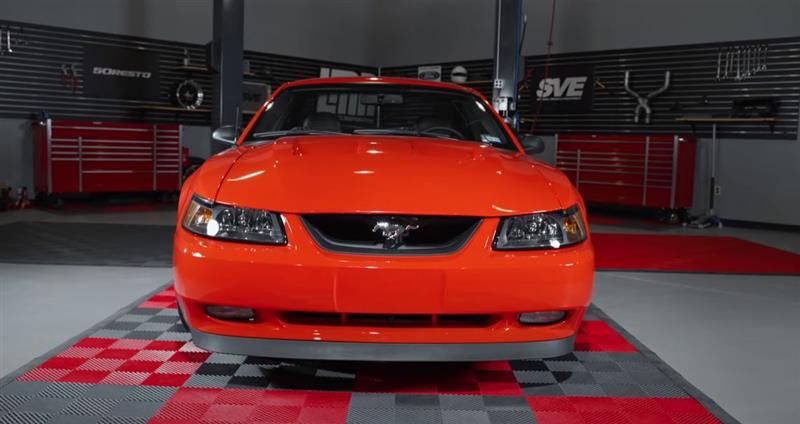
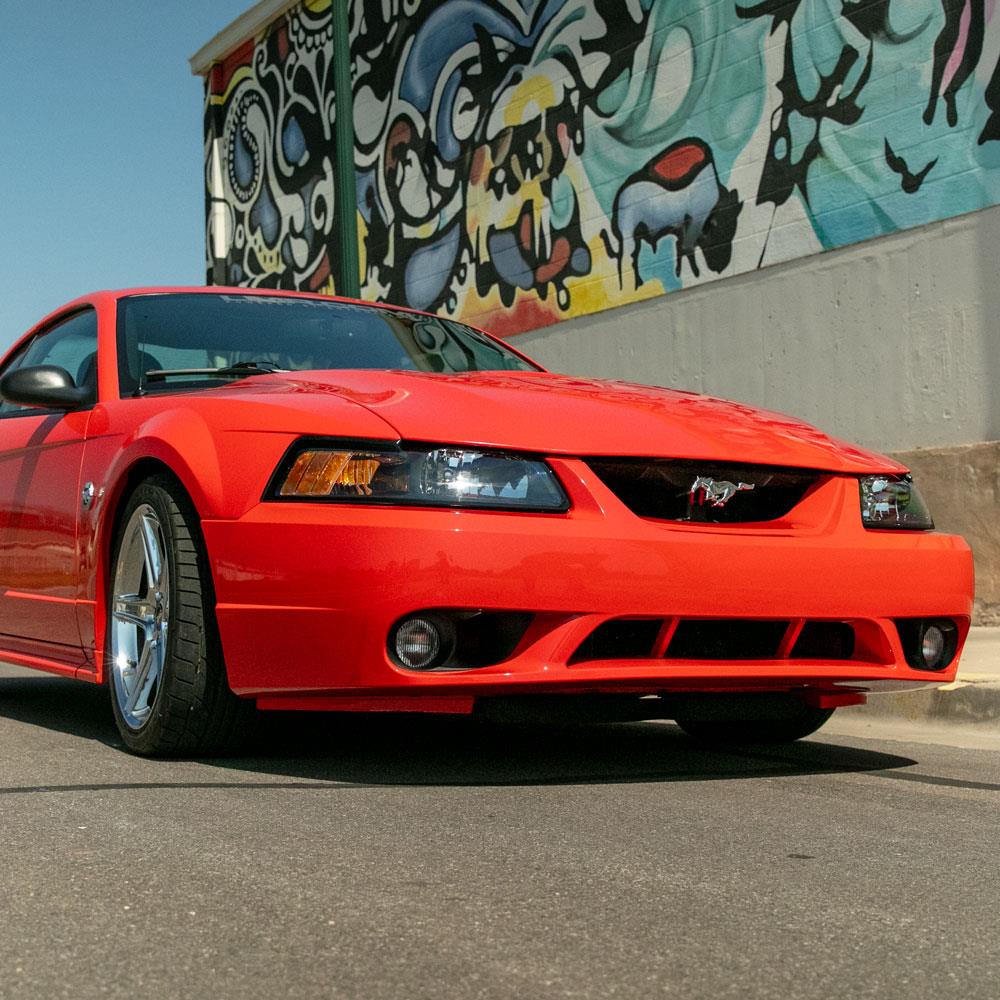
We started with the front bumper as the headlight bulb connectors needed some repair. The tabs on the headlight bulb connectors were broken off, a common issue with these cars, so Will Jo got new headlight sockets installed and looking factory again. This allowed us to install some OEM style 2001-2004 Mustang headlights which really completed the look on the front end.

Project Keeping Comp | EP:6 - Home Stretch - Project Keeping Comp | EP:6 - Home Stretch

To compliment the new headlights, we added in new OEM style 1999-2004 Mustang fog lights to keep with the OEM/OEM+ theme. We thought about adding ultra clear fog lights, but after putting them in place, it didn't fit our original goal of trying to keep the car looking as OEM as possible.

Project Keeping Comp | EP:6 - Home Stretch - Project Keeping Comp | EP:6 - Home Stretch

Lastly, we added a Mach 1 Chin Spoiler and Mach 1 Grille Delete to continue with the Mach 1 theme, and let's face it, these cars just don't look as good without them.

Project Keeping Comp | EP:6 - Home Stretch - Project Keeping Comp | EP:6 - Home Stretch

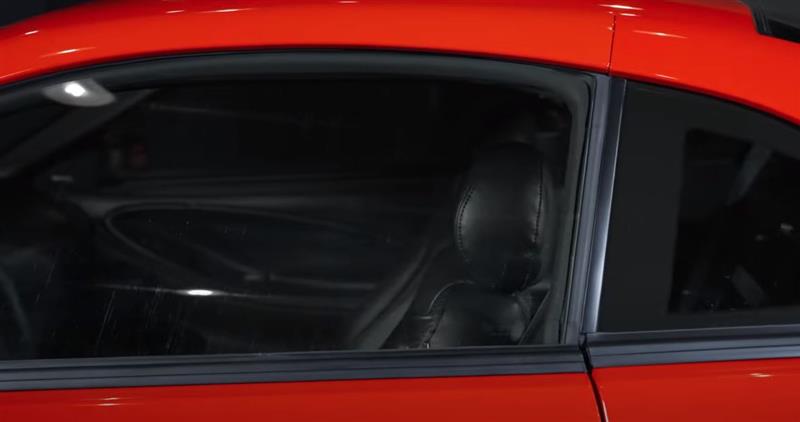
One of my favorite parts of the exterior, and interior, is the new weatherstrip. I know weatherstrip isn't as exciting as a new exhaust or wheels, but it can make a world of a difference. Not only does it replace your faded and sun-baked exterior seals, but it also helps to reduce wind noise and road noise when driving. Let me tell you, if you have never closed an older Mustang with a new weatherstrip, it is one of the sweetest sounds. Driving the car before and after replacing the door to body weatherstrips was like driving a brand new car.


Project Keeping Comp | EP:6 - Home Stretch - Project Keeping Comp | EP:6 - Home Stretch

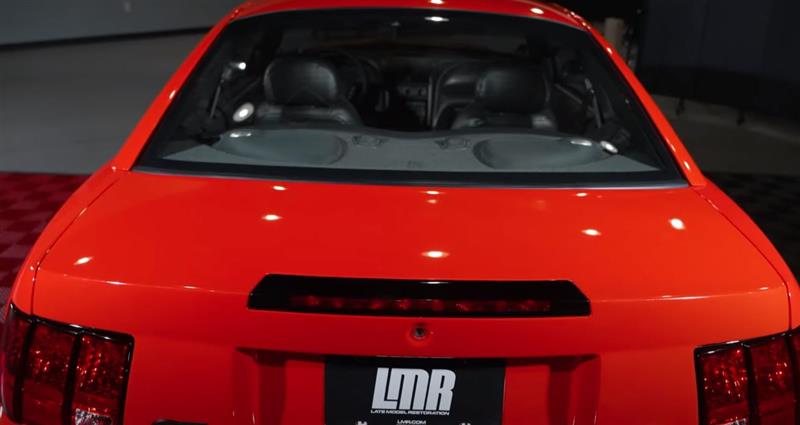
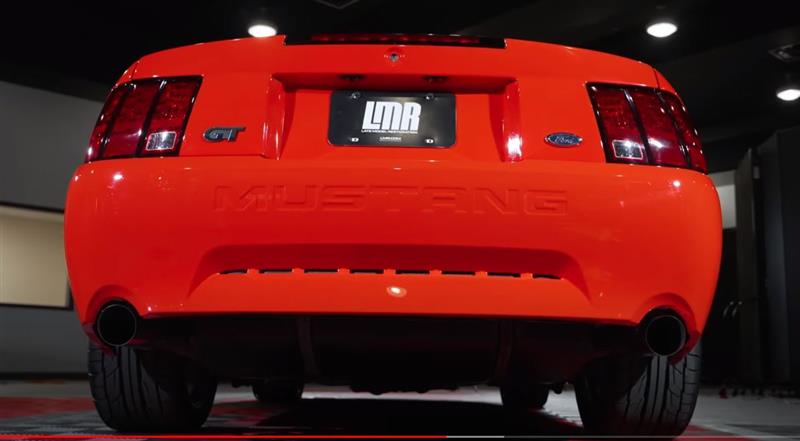
Moving to the rear of the car, we addressed the trunk first. While at the body shop, we had them fill the holes for a Bullitt-style look, and frankly, I am just a fan of a spoiler-less New Edge. To finish up the trunk, we added an OEM Ford third brake light, new trunk springs, and new trunk struts. For those who have been KO'd by a trunk due to old shocks, you can appreciate this part of the restoration. Lastly, LED license plate lights and new housings, and new emblems were added to complete the trunk.


Project Keeping Comp | EP:6 - Home Stretch - Project Keeping Comp | EP:6 - Home Stretch


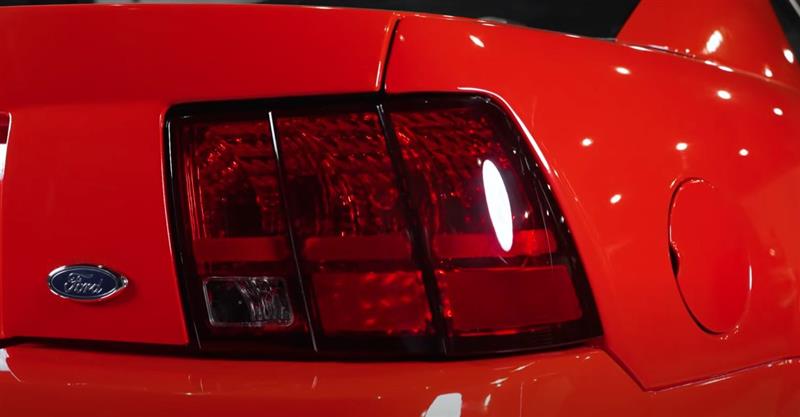
New factory style taillights were added and this is where the whole rear end really came together. While New Edge taillights don't take the same abuse as the headlights do, replacing them really makes you realize how bad yours were. In our case, they were a huge upgrade from the tinted taillights that the car came with.


Project Keeping Comp | EP:6 - Home Stretch - Project Keeping Comp | EP:6 - Home Stretch

To wrap up the rear, we replaced the tailpipes that were on the car when we picked it up. When I first purchased the car years ago, the car came with a very nice Borla exhaust kit which sounds amazing. You can check out the dyno video to hear it for yourself. The Borla kit and tips were still on the car when we purchased it back, but it looked to have some plastidip caked on the tips which had worn down over the years. In order to keep the same great sound and get a new look for the rear, we had Bret, or Birdman as we like to call him, weld on some new Magnaflow exhaust tips to give us a new look while retaining that Borla exhaust sound.

Project Keeping Comp | EP:6 - Home Stretch - Project Keeping Comp | EP:6 - Home Stretch

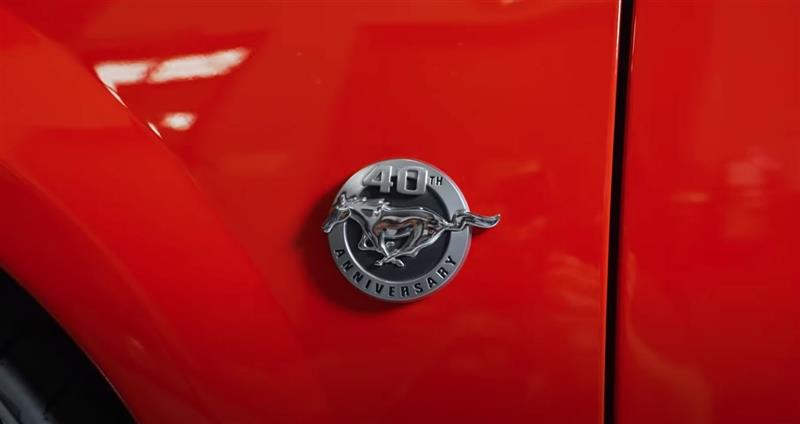
Finishing up the exterior, we added the small details such as new wiper arms, a shorty antenna, emblems, a new cowl panel, and a few more components. Adding the emblems back to the car was the perfect finishing touch of the car. While I did not have a huge hand in the full restoration, adding the emblems back was really sentimental to me and a great way to finish off the exterior.


Project Keeping Comp | EP:6 - Home Stretch - Project Keeping Comp | EP:6 - Home Stretch


Finishing Touches

Up to this point, it's been a long journey for everyone involved with this project. In previous episodes, we stripped down the car, had it repainted, added a few body modifications, restored and cleaned the engine bay, and restored the interior with some Mach 1 upgrades. Along with updating and addressing all of the exterior parts, we can finally see the light at the end of the tunnel.

The wheels and braking system were our next primary focus for this project. With TONS of aftermarket options between the two, we had hours and hours of decision-making ahead of us. For the front and rear brakes, we chose a few kits from our friends over at Ford Performance.

PROJECT KEEPING COMP | EP:7 - FINISHING TOUCHES  - PROJECT KEEPING COMP | EP:7 - FINISHING TOUCHES

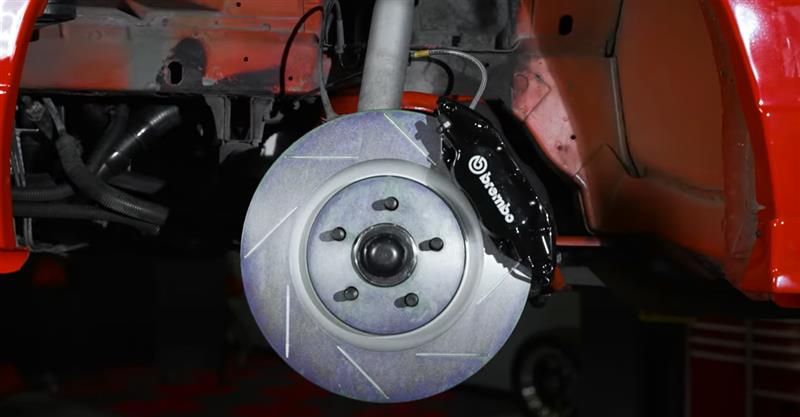
On the front end of the GT, we wound up using the M-2300-X kit that was featured on the 2000 Cobra R. Thi kit features 13" rotors, braided stainless lines, and a massive 4-piston Brembo Caliper. Since this kit was a direct bolt-on kit to our factory spindle, this honestly was a no-brainer!


PROJECT KEEPING COMP | EP:7 - FINISHING TOUCHES  - PROJECT KEEPING COMP | EP:7 - FINISHING TOUCHES

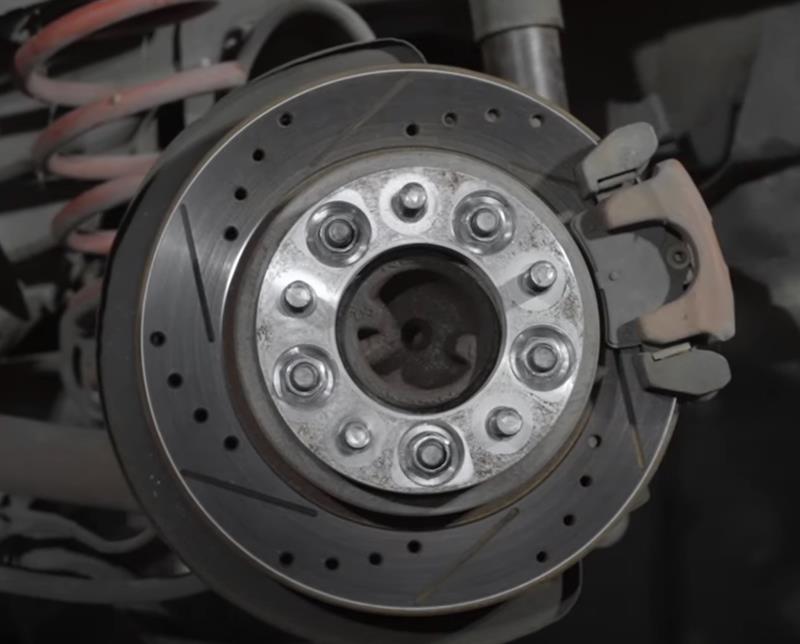
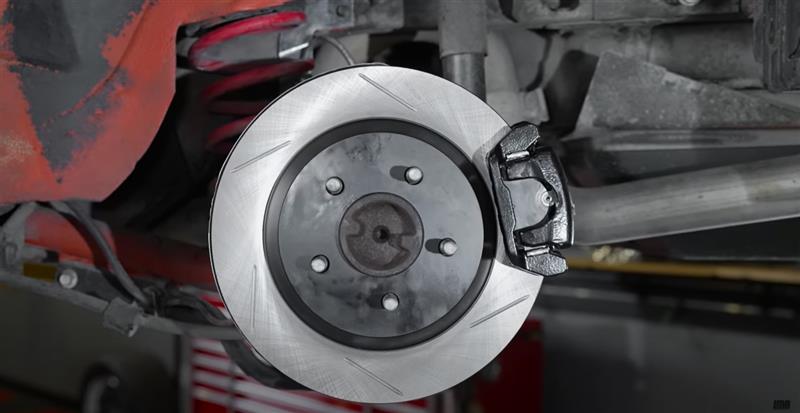
On the rear head of the car, we chose another popular kit from Ford Performance, the M-2300-M brake kit. This is the same rear brake setup found on all factory SN95/New Edge 1994-2004 Cobra Mustangs. This kit features OEM rotors, caliper brackets, and dust shields.


PROJECT KEEPING COMP | EP:7 - FINISHING TOUCHES  - PROJECT KEEPING COMP | EP:7 - FINISHING TOUCHES

To match the brakes upfront, we chose to upgrade a few other components here. We used a loaded SVE black Cobra caliper set to match the Brembo's upfront, braided stainless lines, and a slotted rotor to add to the overall performance and aesthetics.

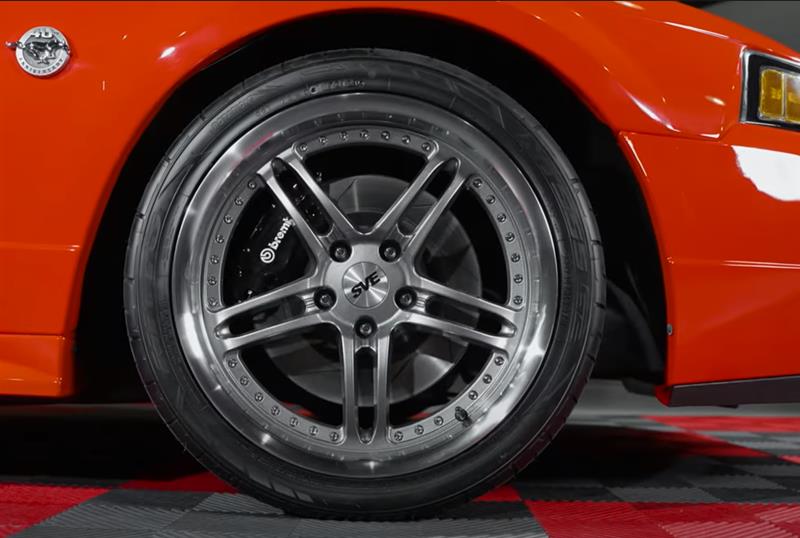
Now we have come to the wheels for this build. We went back and forth numerous times before we all could agree on the perfect setup. We wound up choosing the SVE Series 2 Gun Metal Wheels. This combination used was a 18X9" in the front and 18X10" on the rear of the car. We paired this with a set of 265/35/18 and 285/35/18 Nitto NT555 G2 tires. This provided us with perfect handling for any type of driving

PROJECT KEEPING COMP | EP:7 - FINISHING TOUCHES  - PROJECT KEEPING COMP | EP:7 - FINISHING TOUCHES


Restoration Complete

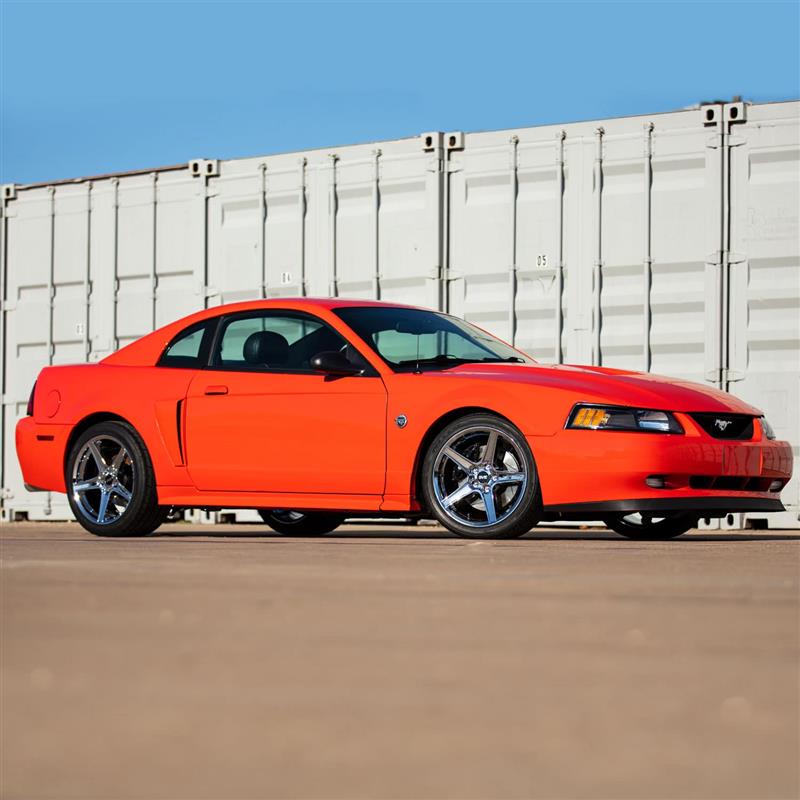
Up to this point, it's been a long journey for everyone involved with this project. If you have followed along on this build, we have started from a rough high mileage worn-out GT and are now to the finished product you see today. Ultimately, this project did take us a fair amount of time to complete, but we did go through this car thoroughly to ensure that the end result was great and that our customers also reaped the benefits from this project.

Through this build, the LMR team has developed many new unique fixes and restoration parts for the SN95/New Edge platform that otherwise may have gone overlooked. These fixes and new products allow our customers to make their project cars shine just like this one.


Upgrading To A 99-01 Cobra Bumper

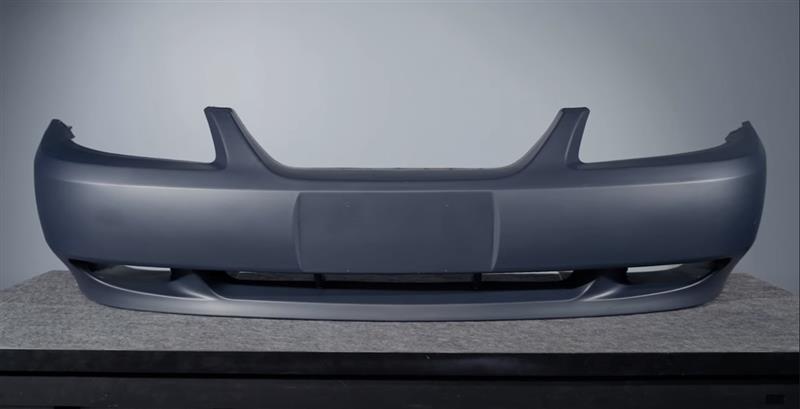
As any Mustang owner knows, we are never really done with a build. Even the cars we have fully restored can be upgraded from time to time. That was exactly the case with this car. At the time of this restoration, we went with a GT/V6 front bumper as the only other option was an 03-04 Cobra bumper. Since then, we released the LMR 99-01 Cobra Bumper and thought "what better car to put this on than Keeping Comp?". So that is exactly what we did and it really gave this car the upgrade it needed.

1999-01 Mustang Cobra Front Bumper Cover


1999-01 Mustang Cobra Front Bumper Cover


Out With The 2V, In With A Coyote

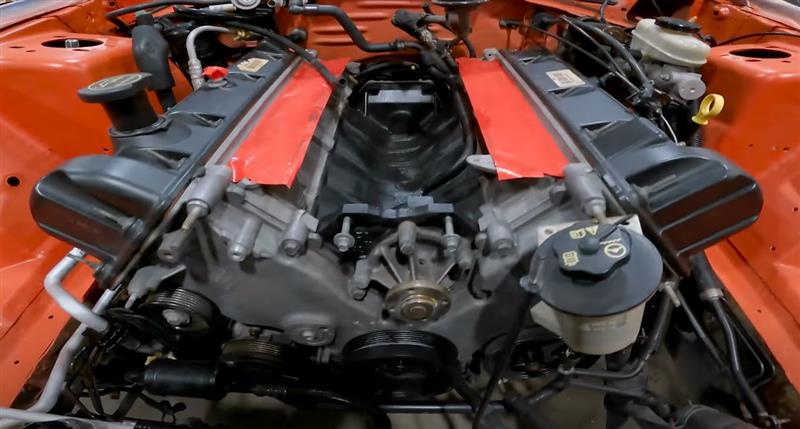
While the high-mileage 4.6L engine was still putting down decent numbers on the dyno, there were some signs of age, including blue smoke on startup, various leaks, and a few other nuances that come with high-mileage engines. So when we were debating on what this car needed in the engine department, we went back and forth on building a max-effort 2V vs the ease of driveability with a Coyote Swap. Since we have been researching and developing a wide variety of Coyote Swap parts and having done a Fox Body Coyote Swap and New Edge Coyote Swap before, this was the route we needed to go. 

We opted for a used Gen 2 Coyote Engine and mated it up to our factory 3650 transmission for a budget-friendly option. We also used our SVE Coyote Swap shorty headers to allow us to use our factory K-member, saving us even more money.


Keeping Comp Parts List

Exterior Parts:


Engine Bay:

2V

Coyote


Interior Parts:


About the Video

New Edge Mustang Project Car | Project Keeping Comp (Full Video)

Check out our YouTube channel for even more tech tips, installation videos, how-tos, and more. The best place to go for anything Mustang related!

Published on 2022-04-26
We restore this 2004 Competition Orange New Edge Mustang GT Project Keeping Comp get restored!

Since we have restored our fair share of Fox Body Mustangs in the past, such as the Mercury Rising Project, it was time to take on something a little newer. So when the opportunity came up to purchase an employee's old Competition Orange 2004 Mustang GT, we knew this was the perfect restoration project.

Through this build, the LMR team has developed many new unique fixes and restoration parts for the SN95/New Edge platform that otherwise may have gone overlooked. These fixes and new products allow our customers to make their project cars shine just like this one. The goal of this project car is simple, bring it back to its former glory with a touch of OEM+ styling. Follow along as we take this car from faded to fresh!
*Visit*

Project Keeping Comps parts list:
https://lmr.com/products/new-edge-mustang-restoration-project-keeping-comp

*Watch More*

Coyote Swap Fox Body Build - Project Mercury Rising - ASC McLaren:
https://youtube.com/playlist?list=PLMti2eKQ3th8SyvFKg0I0aUS1ljNaxLPd

SN95 Bondurant Cobra | Mustang Coyote Swap Project:
https://youtube.com/playlist?list=PLMti2eKQ3th-hdtBjS5HLQnmmckoopMOl

YouTube: https://latemodelres.to/youtube-subscribe
Facebook: http://www.facebook.com/latemodelresto
Instagram: http://instagram.com/latemodelresto
TikTok: https://www.tiktok.com/@latemodelresto
#LMR #Mustang #Carrestoration

Use of this video is subject to the terms as set forth in our LMR Install Video Disclaimer | https://lmr.com/page/lmr-install-video-disclaimer
Thumbnail image of the author of this article, Tyler Rodriquez.

About the Author

Tyler has written content for Late Model Restoration for nearly 8 years, producing over 300 articles. As an avid New Edge fan, Tyler has owned 4 2004 Mustangs and an 88 Convertible Fox Body. Read more...